

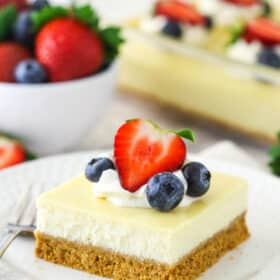
Classic cheesecake bars offer all the creaminess and buttery graham cracker crust of a baked cheesecake, with less hassle and in a fraction of the time. Designed for a 9×13-inch baking dish, this easy cheesecake bars recipe allows you to skip the springform pan and water bath and get straight to delicious eating.
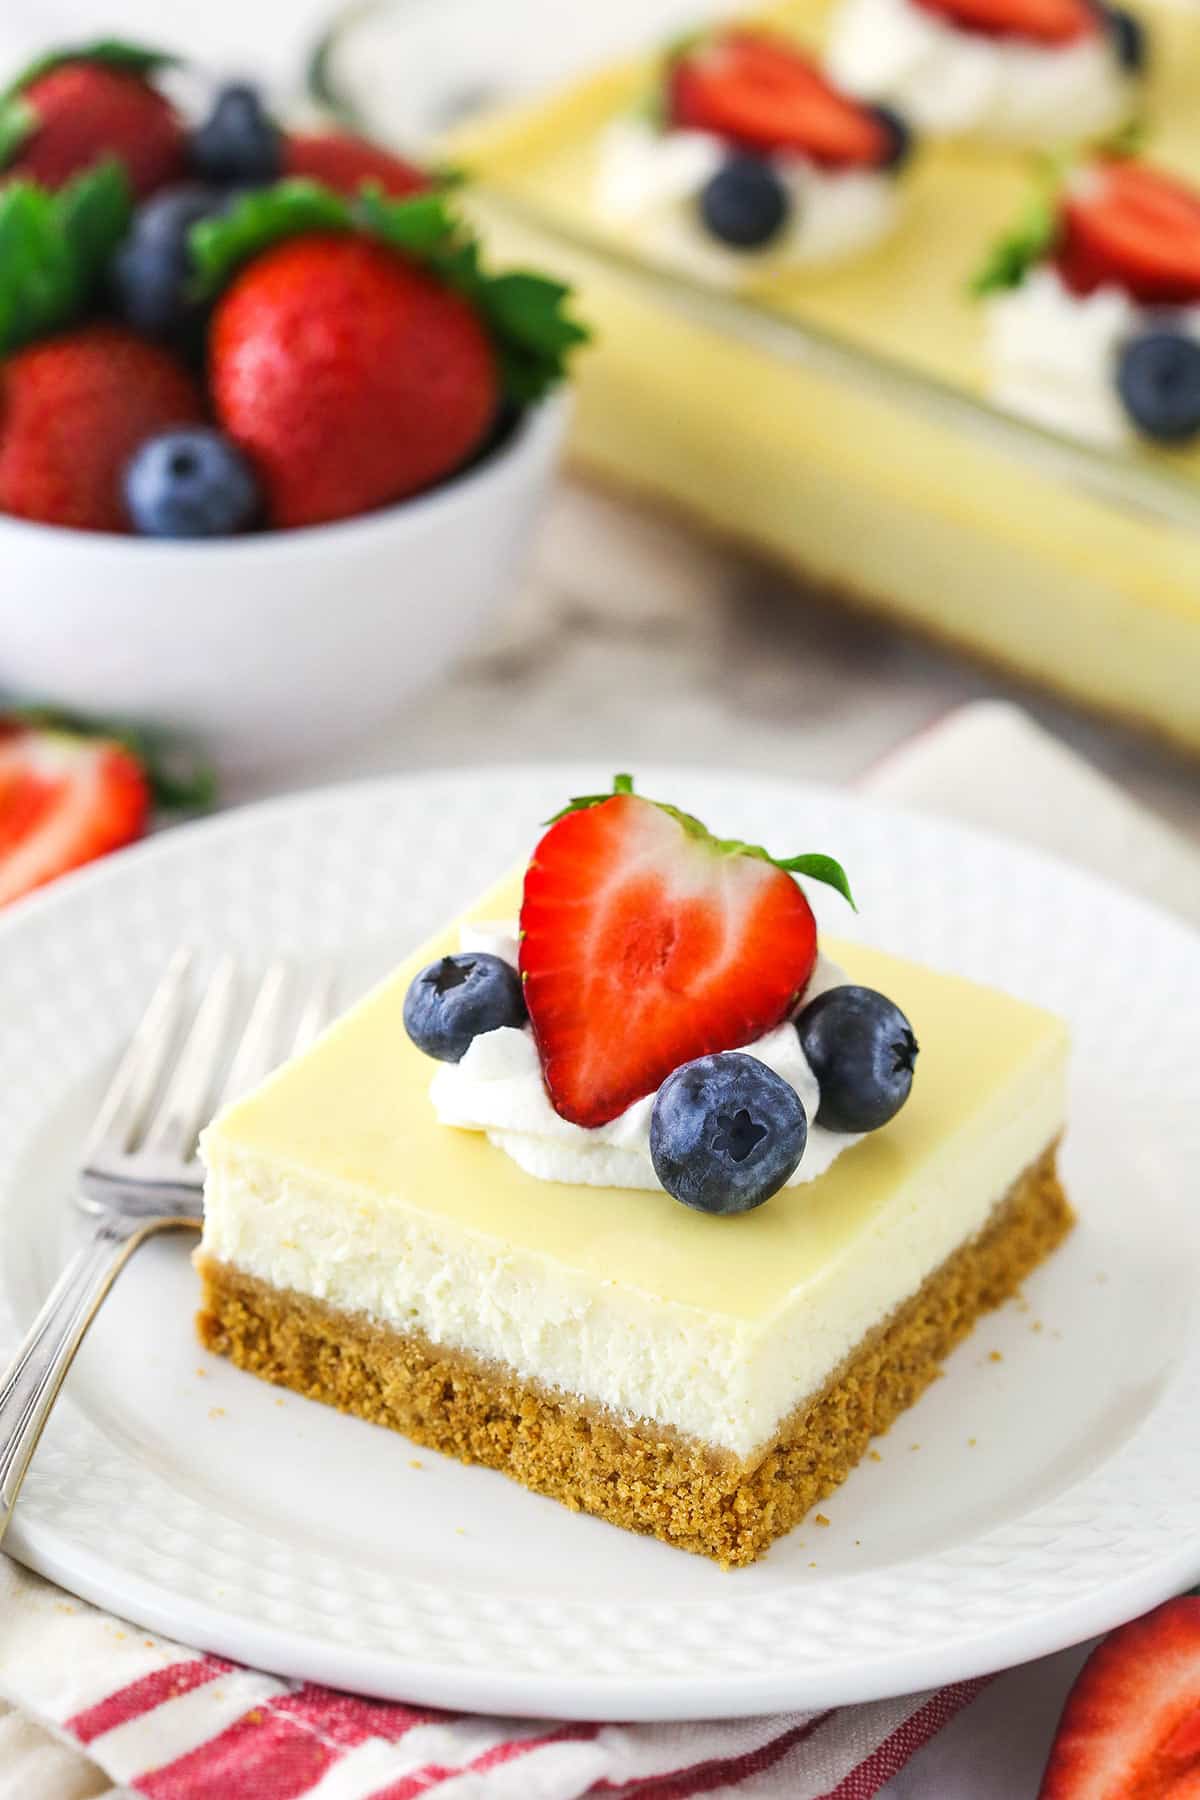
I hear you. Baking a cheesecake can be intimidating. I happen to love spending hours in the kitchen perfecting my favorite dessert, but I also understand that sometimes there just isn’t enough time in the day. This simple cheesecake bars recipe is the perfect way to satisfy a craving for baked cheesecake without the fuss of a springform pan or water bath.
This recipe has a classic sweet, tangy, creamy vanilla cheesecake filling set over a buttery graham cracker crust. To make it, you don’t need anything more than a standard 9×13-inch baking pan. The whole dessert is prepped, baked, and cooled in a fraction of the time it would take to make a traditional cheesecake. It’s also a great way to serve cheesecake to a crowd once it’s sliced into bars. Give it a try!
I’ve since adapted this recipe to make my fall pumpkin cheesecake bars and Mexican-inspired sopapilla cheesecake bars. And for another delicious way to prepare cheesecake without a water bath, try a no-bake cheesecake.

Why This Cheesecake Bars Recipe Makes It Easy
- No water bath. Cheesecake bars combine the deliciousness of a classic cheesecake with the convenience of a dessert bar recipe. Just bake directly in the oven in a 9×13-inch pan.
- No fancy pan. Most cheesecakes call for a 9-inch springform pan to make them easier to serve. These baked cheesecake bars are perfectly thick, sliceable, and easy to eat (you can even eat them with your hands!).
- It doesn’t take as long. This cheesecake takes significantly less baking and cooling time than a conventional cheesecake.
- Versatile. Top your cheesecake bars with any garnishes you’d like. Check out my Topping Ideas section below for some of my favorites.
- No cake carrier needed. Cheesecake bars are easier to transport than a regular cheesecake. It makes them an ideal dessert for potlucks, parties, and special occasions.
What You’ll Need
It doesn’t take much to make this simple vanilla cheesecake. Here’s a list of what you’ll need. Scroll to the recipe below for detailed measurements.
- Graham crackers – To make the easy graham cracker crust for your cheesecake. You’ll crush the graham crackers into a fine crumb and combine them with melted butter and sugar. You could also use Nilla wafers or make an Oreo cookie crust.
- Cream cheese – It is very important that the cream cheese is at room temperature. If it is too cold, it will not mix well with the other ingredients, and you will end up with a lumpy cheesecake filling. You also want to use brick-style cream cheese, not the kind in the tub.
- Sugar – Use granulated sugar.
- All-purpose flour – To thicken the filling and help it set up firm. As with all baked goods, make sure to measure the flour correctly so you don’t add too much. Feel free to use your favorite 1:1 gluten-free flour instead.
- Sour cream – Like the cream cheese, the sour cream should be at room temperature to achieve a smooth batter. You could substitute plain Greek yogurt if needed.
- Vanilla extract – Pure vanilla extract is a must for the best possible flavor.
- Eggs – Start with room-temperature large eggs. They will incorporate more easily with the other ingredients, giving you a smoother filling.
How to Make Cheesecake Bars
Here are the steps to bake the best cheesecake bars in a 9×13-inch pan. Scroll to the recipe below for more detailed instructions.
Get ready to bake by preheating the oven to 325°F and greasing a 9×13 pan with baking spray. Meanwhile, combine the crust ingredients.
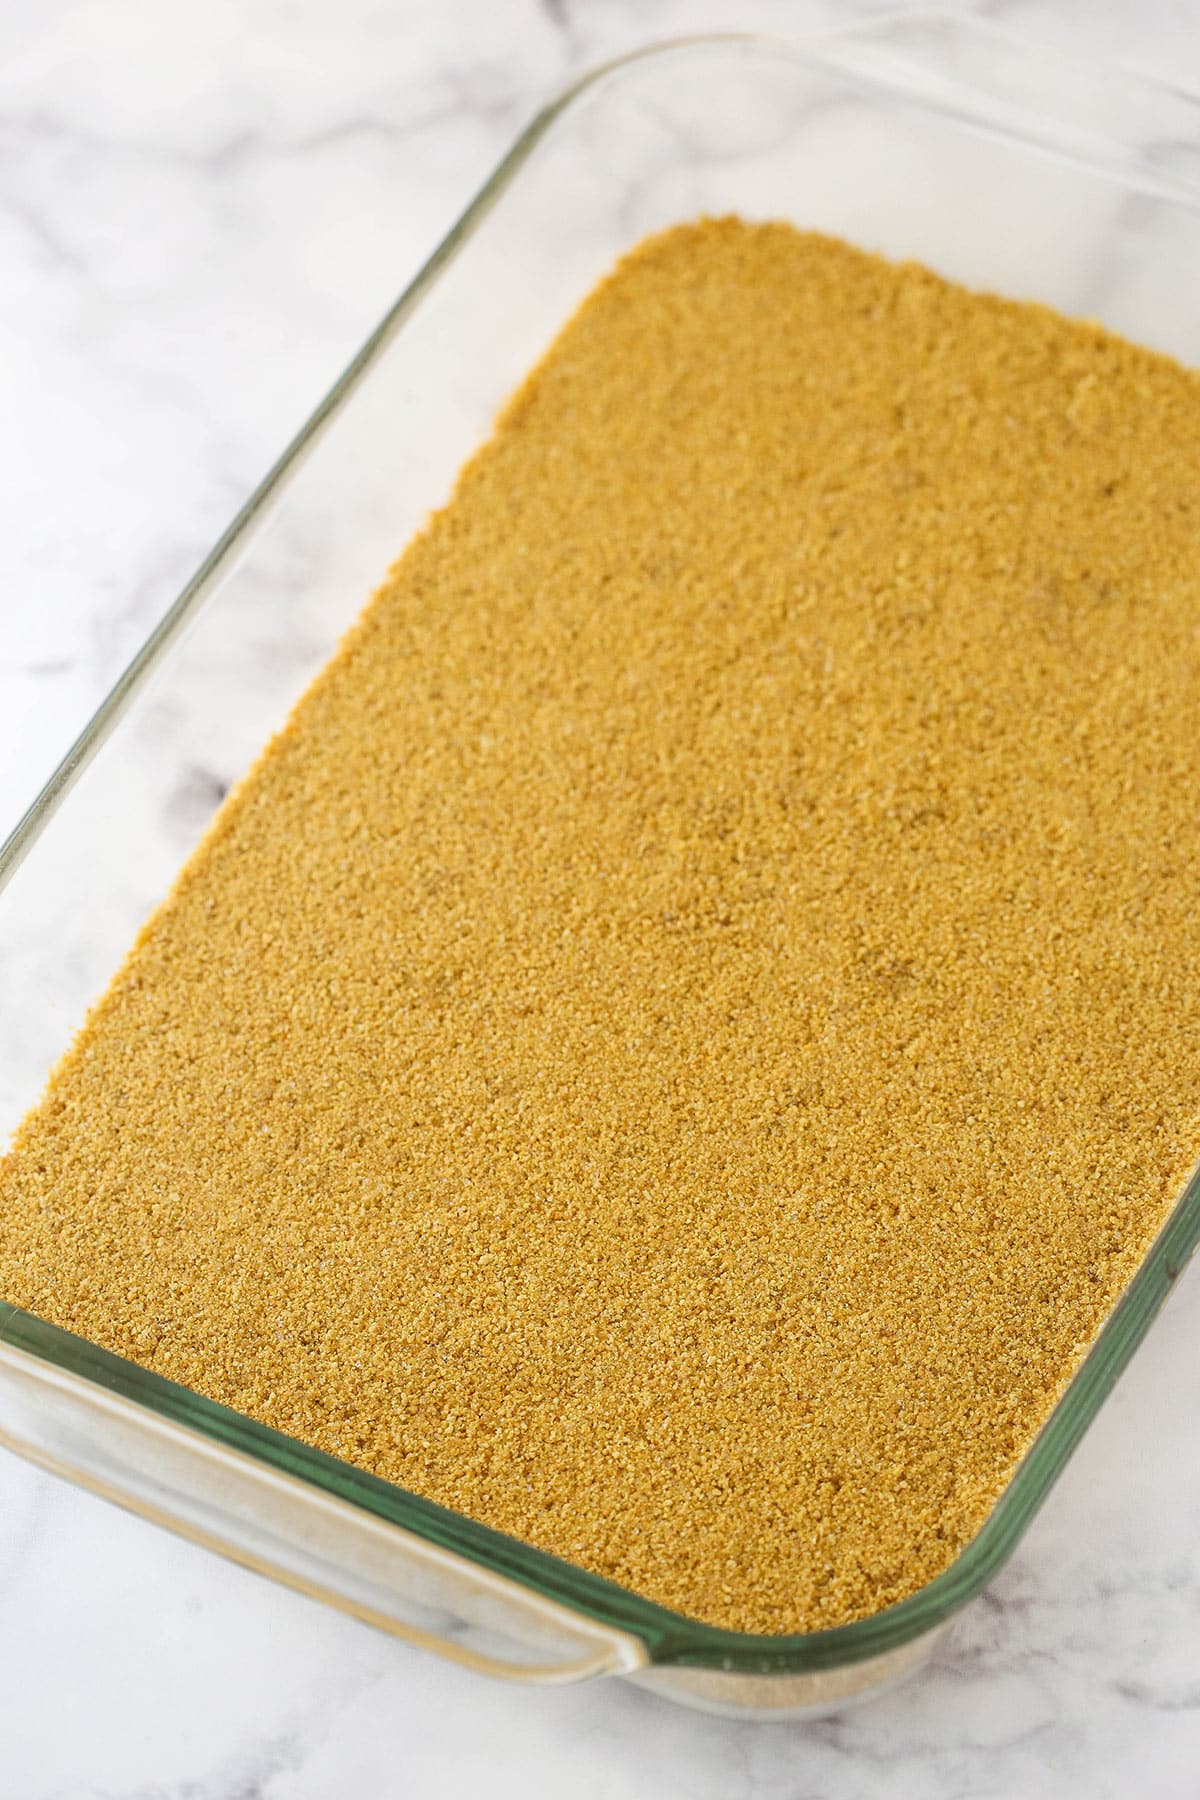
Press the crust into the bottom of the pan. Bake at 325ºF for 10 minutes.
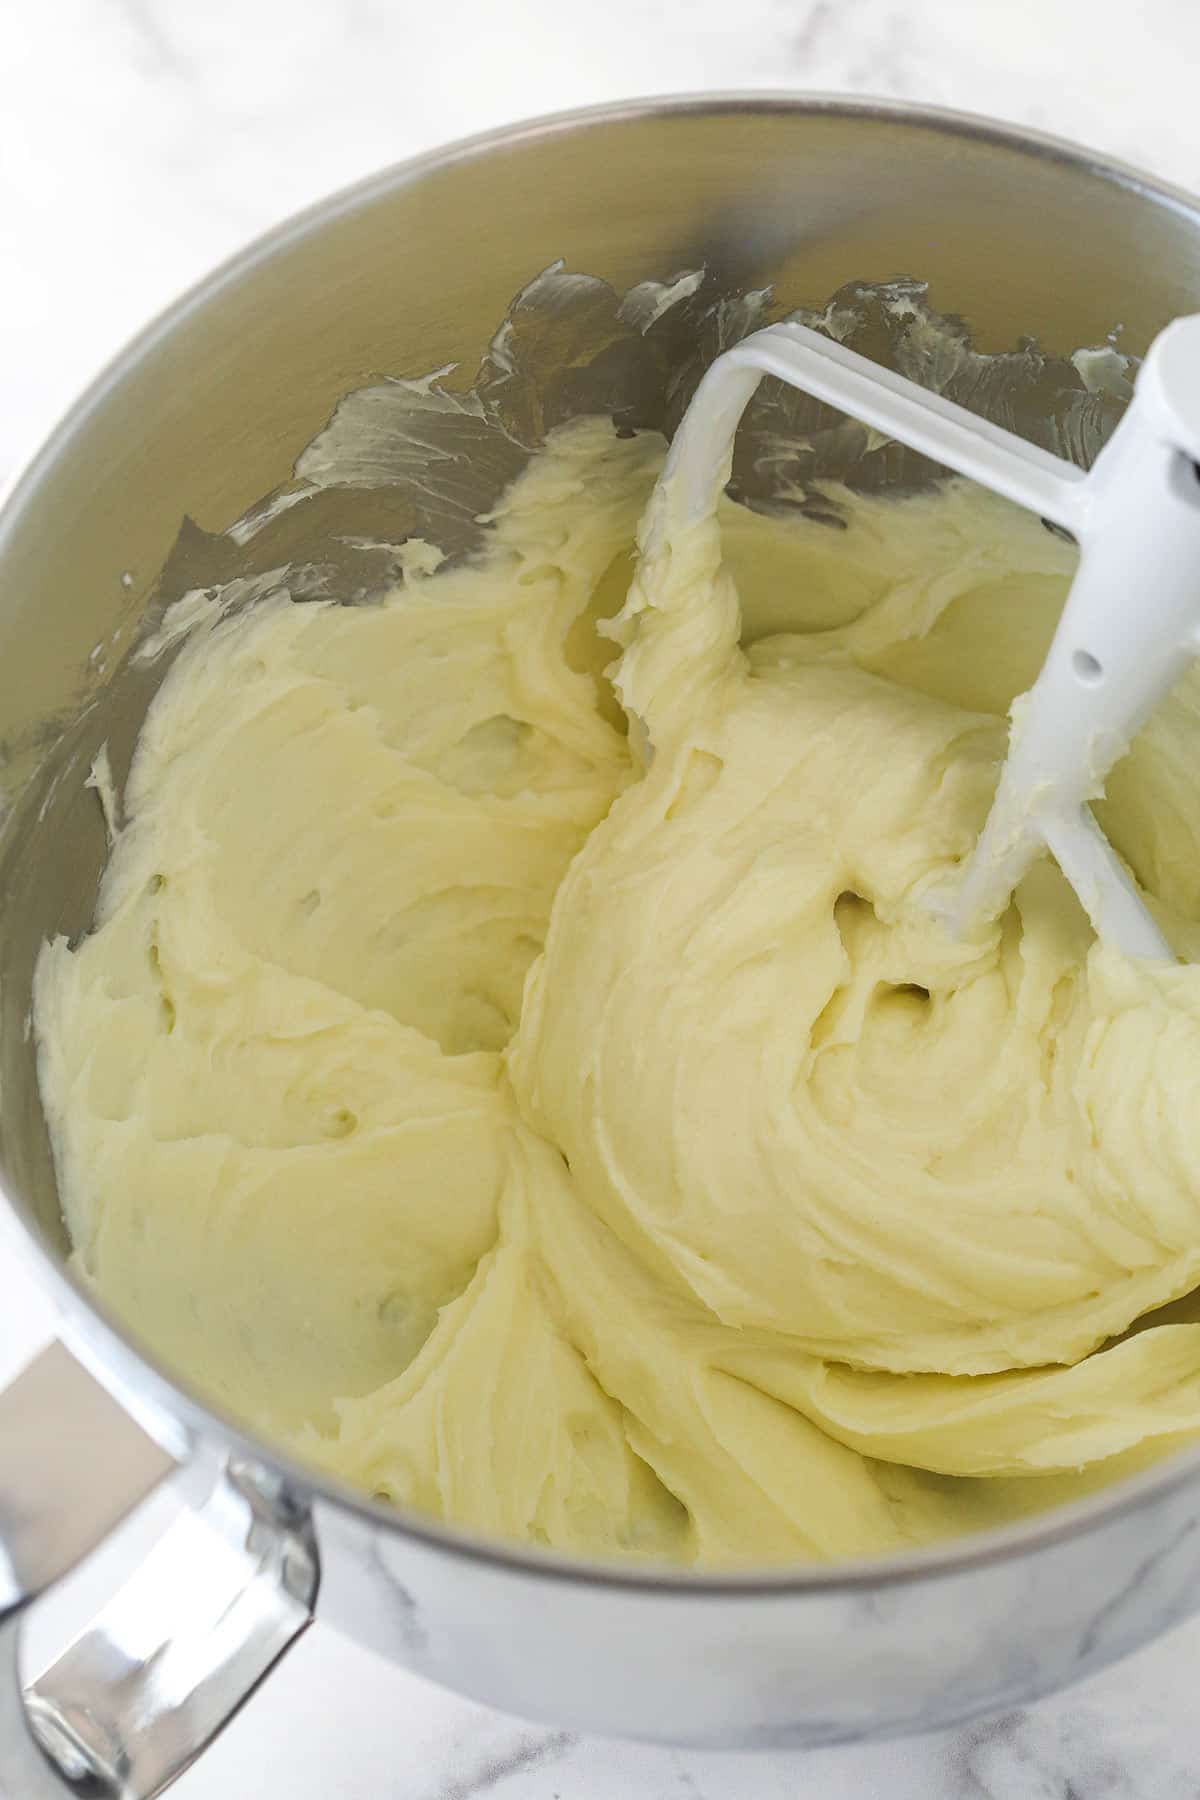
Reduce the oven temperature to 300°F. Beat the cream cheese, sugar, and flour on low speed.
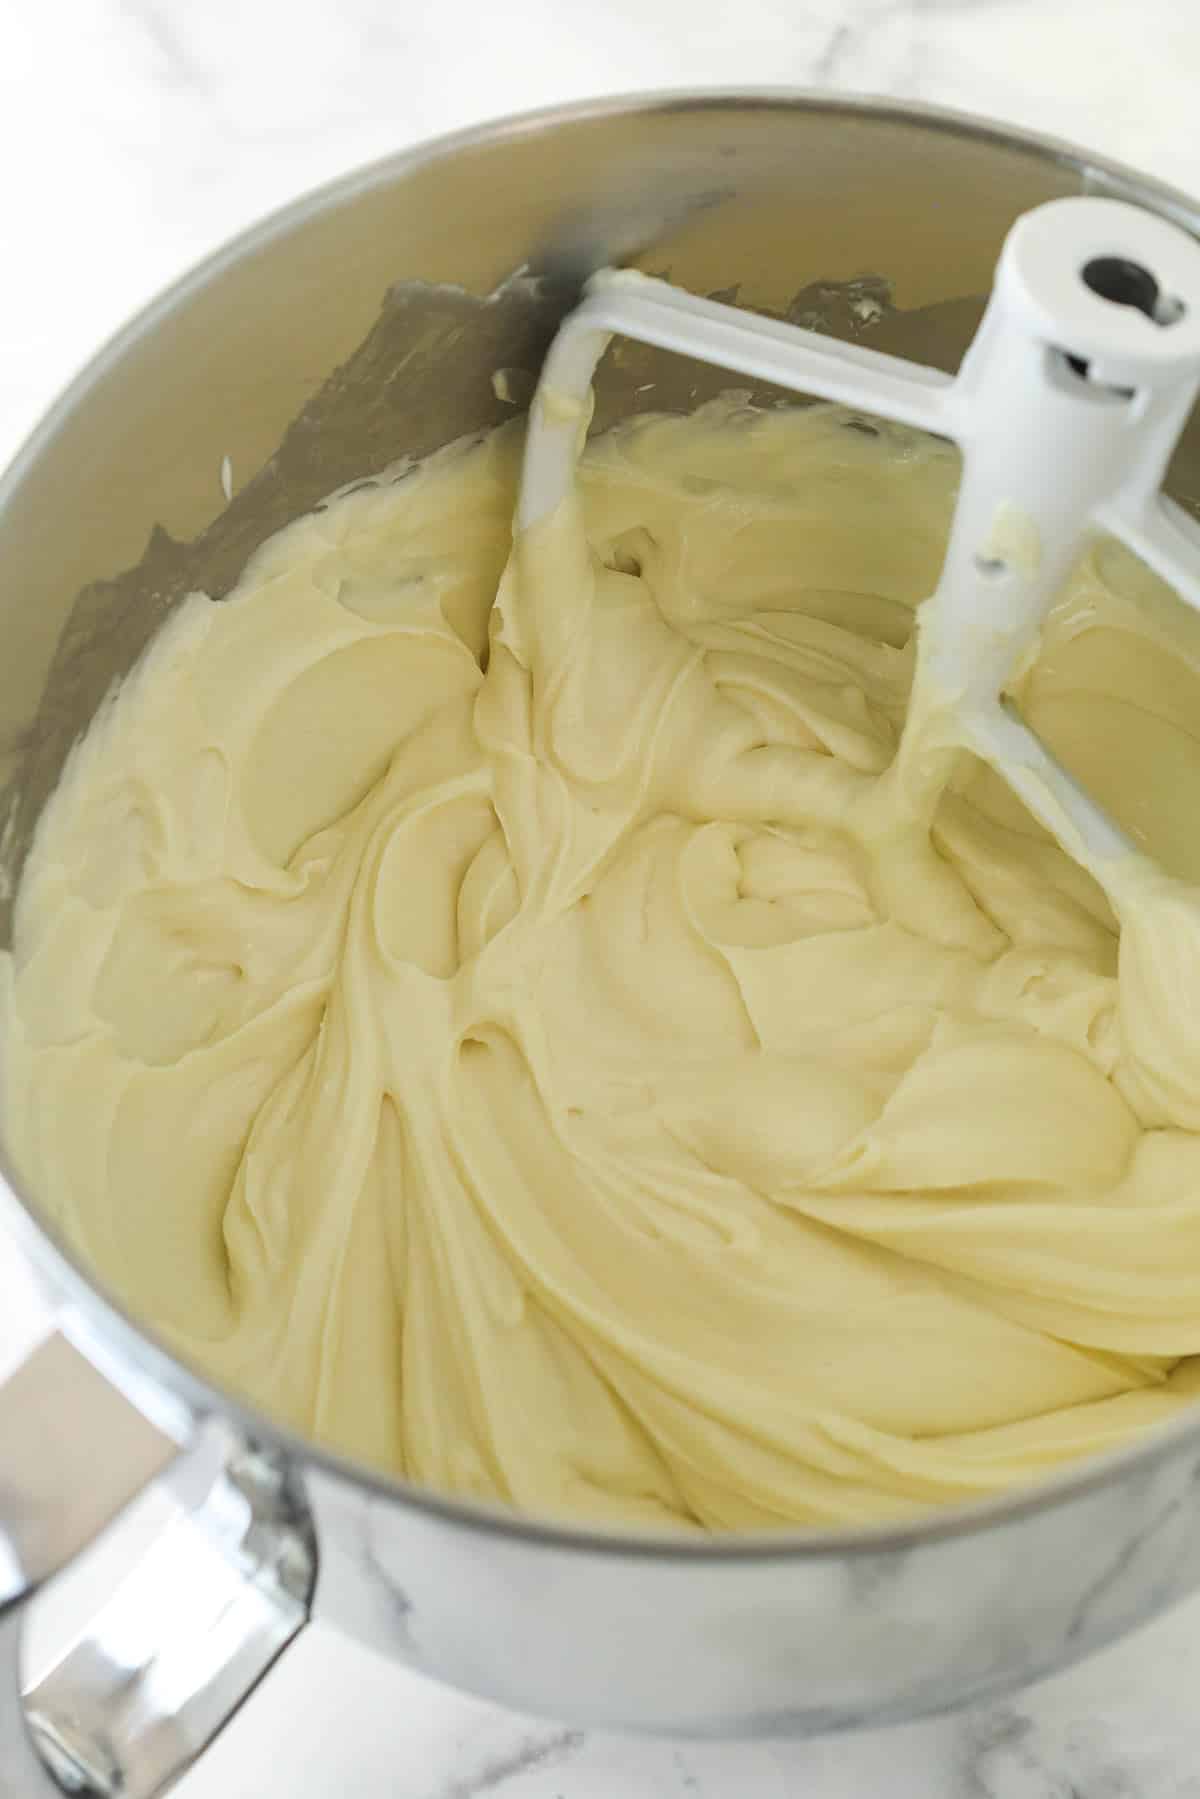
Add the sour cream and vanilla extract and mix until smooth.
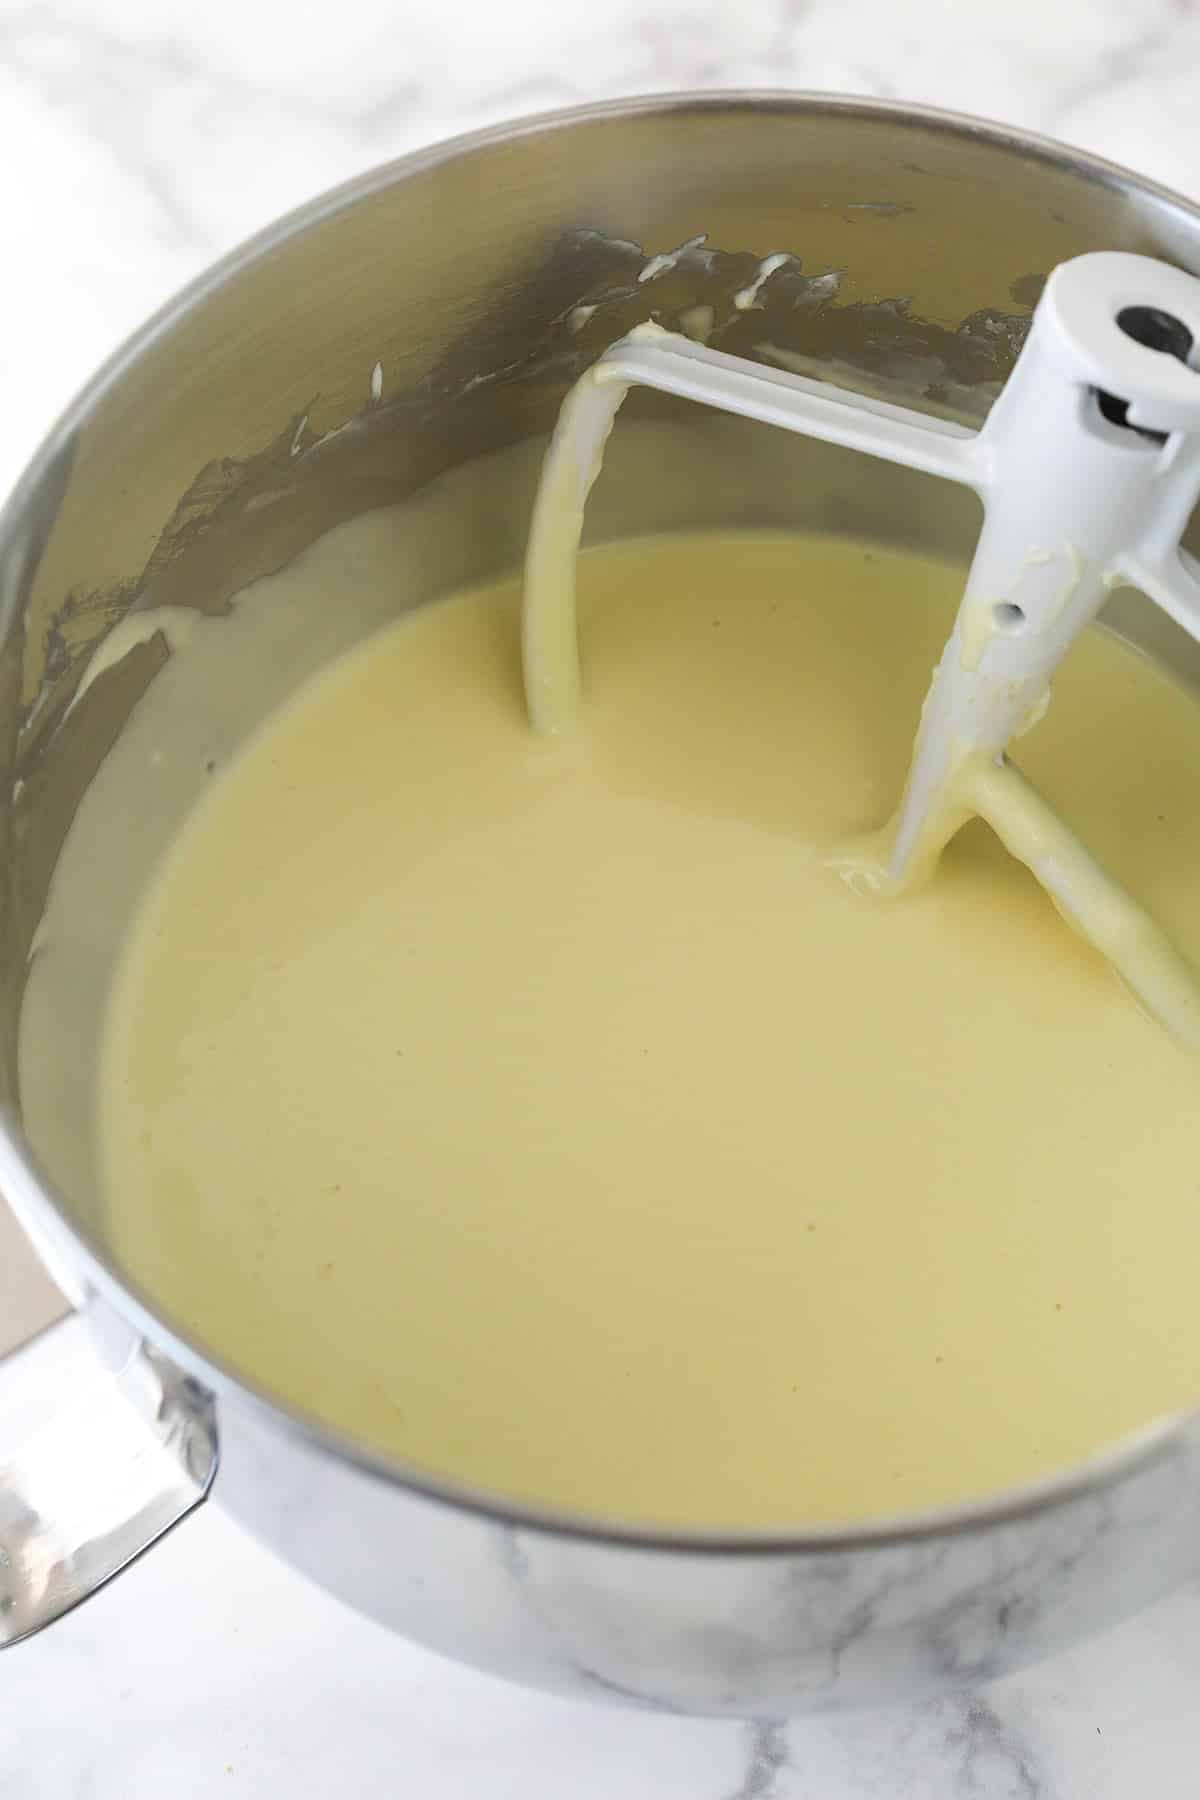
Add the eggs one at a time, mixing until smooth after each addition.
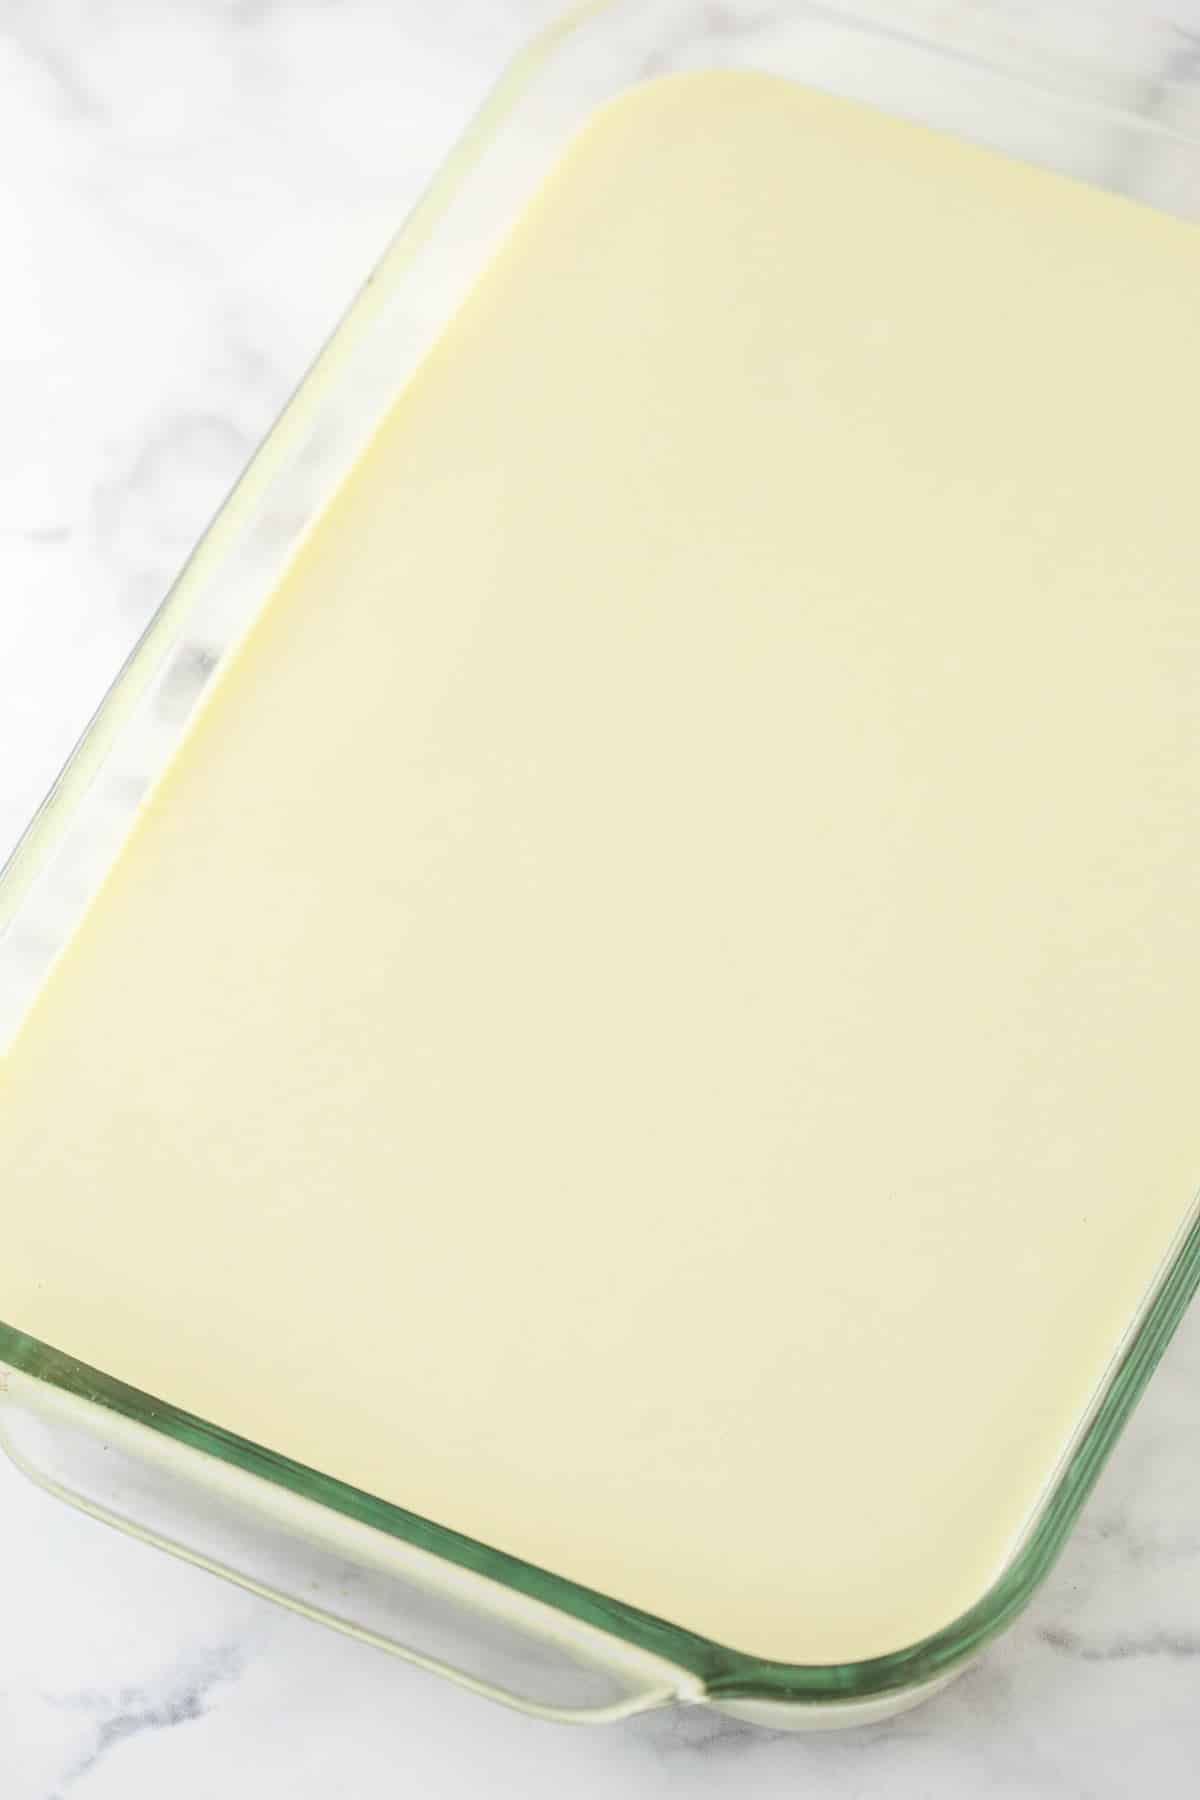
Pour the batter over the crust and bake for 30 minutes. Turn off the oven.
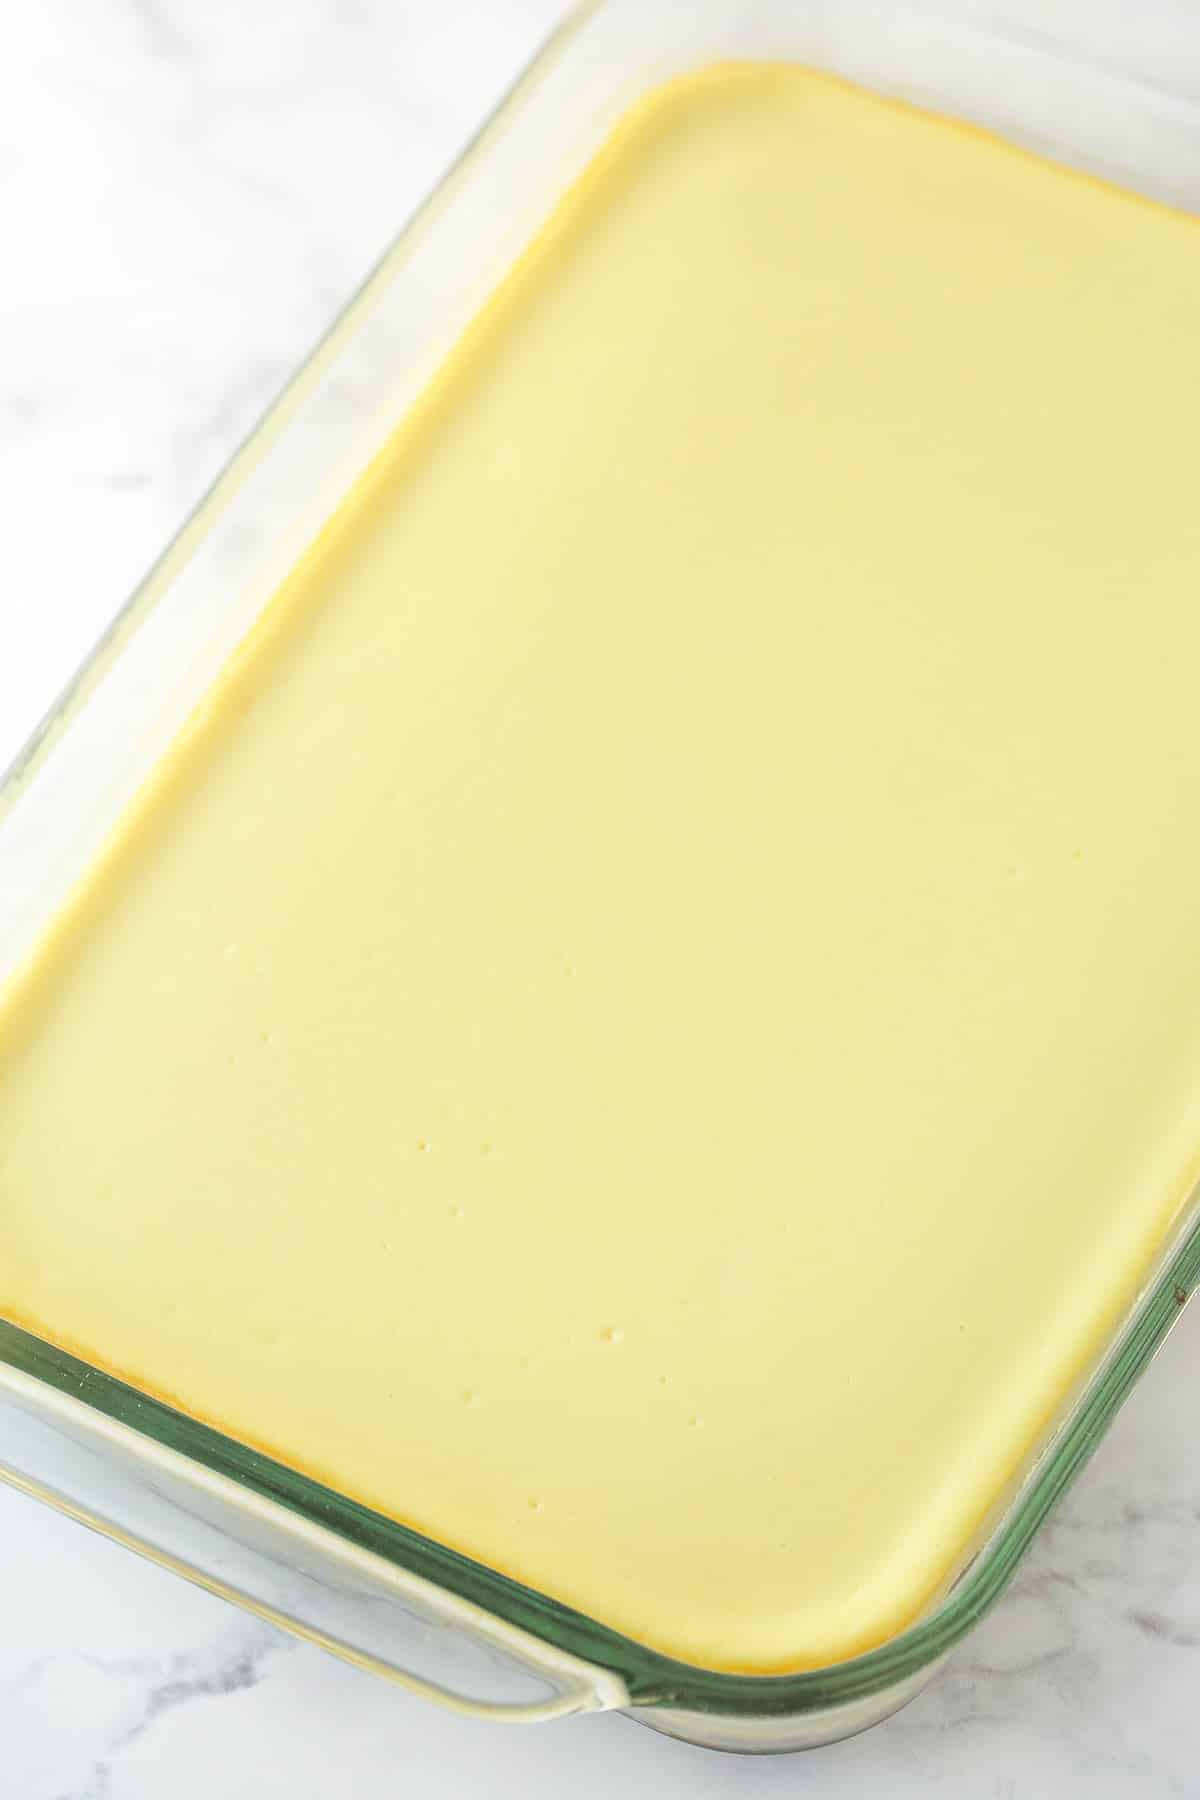
Leave the cheesecake in the closed oven for 20 minutes. Crack the door, and cool for an additional 15 minutes.
After the cheesecake has rested in the oven, chill the cheesecake in the refrigerator for 3-4 hours before serving.
Tips for the Best Cheesecake Bars
- Start with room-temperature ingredients. As with any cheesecake, it is crucial to start with room-temperature cream cheese, sour cream, and eggs. They will mix much more smoothly with each other and the other required ingredients than they would in chilled form. So, for a smooth cheesecake filling, start with these ingredients at room temperature.
- Don’t overmix the batter. Overmixing (or mixing on too high of a speed) cheesecake batter will incorporate air into the filling. The air bubbles work to cause the cheesecake to crack as it bakes. So mix low and slow for a cheesecake that is not only tasty but also visually appealing.
- Avoid over-baking. If you would like to avoid a cracked, dry cheesecake, try not to overbake. Check out my post on How to Know When Your Cheesecake is Done for some pointers.
- Cool gradually. Allowing the cheesecake to sit in the closed oven and then in the cracked oven after baking is an important part of the cheesecake process. It will allow the dessert to bake fully with the added benefit of preventing cracks in the cheesecake.
Variations
I’ll let you in on a little baker’s secret: Just about any cheesecake can become cheesecake bars. Once you’ve made this classic recipe, you can try it with different crust flavors, fillings, and mix-ins, or adapt your favorite baked cheesecakes as bars instead. These are some ideas:
- Different crust: Swap Graham crackers in the crust with crushed Nilla or chocolate wafers, Oreos, shortbread, or gingersnaps.
- Chocolate: Borrow the filling from my chocolate cheesecake and bake with an Oreo crust.
- Oreo: Make an Oreo cheesecake as bars.
- Coconut: Make coconut cheesecake topped with whipped cream and toasted coconut.
- Lemon: Add fresh lemon zest and lemon juice like the filling in my lemon cheesecake. Try another variation with a raspberry swirl.
- Fruit filling: These strawberry cheesecake bars are an easy way to jazz up this recipe. Or try my blueberry swirl cheesecake.
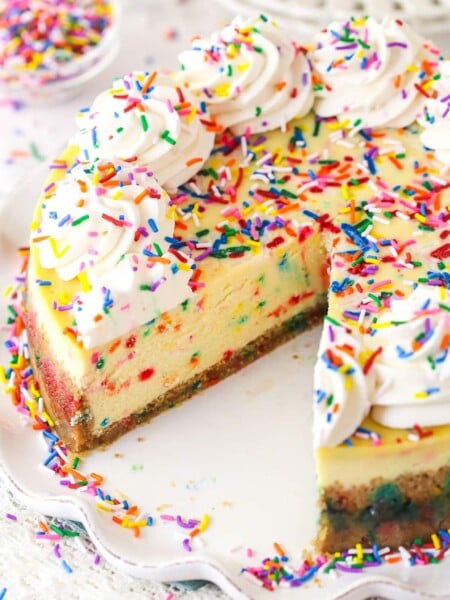
- Sprinkles: Fold in colorful sprinkles for funfetti cheesecake bars. Use rainbow jimmies (rods) or quins rather than nonpareils so the color doesn’t bleed into the batter.
- Apple: These apple streusel cheesecake bars are an easy fall or Thanksgiving dessert, or make this caramel apple cheesecake.
In most cases, the filling amounts can remain the same, but you’ll need to double the crust for a 9×13-inch pan. Keep in mind, you’ll also need to shorten the baking times when baking a cheesecake as bars.
Cheesecake Toppings
One of my favorite things about this quick cheesecake bars recipe is how versatile it is. It boasts a rich vanilla flavor that’s the perfect base for a variety of toppings:
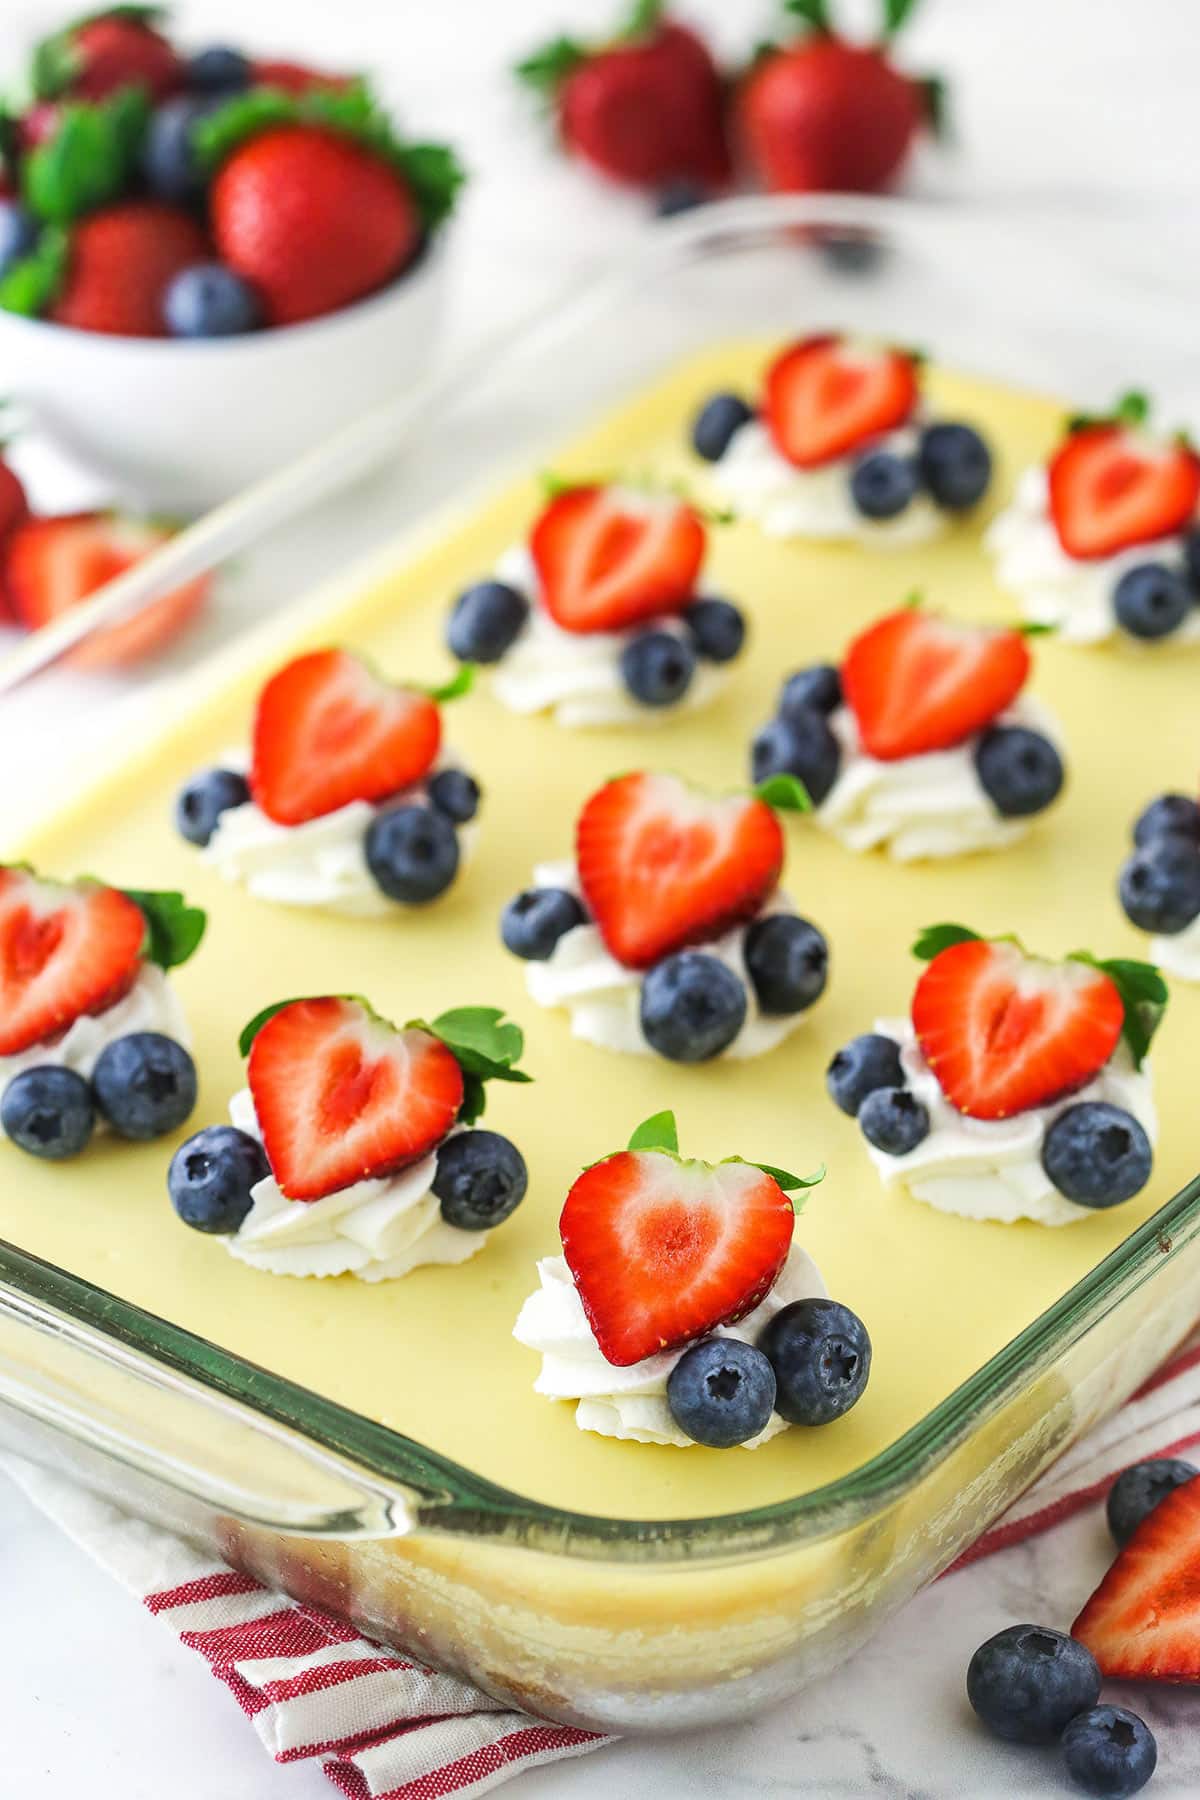
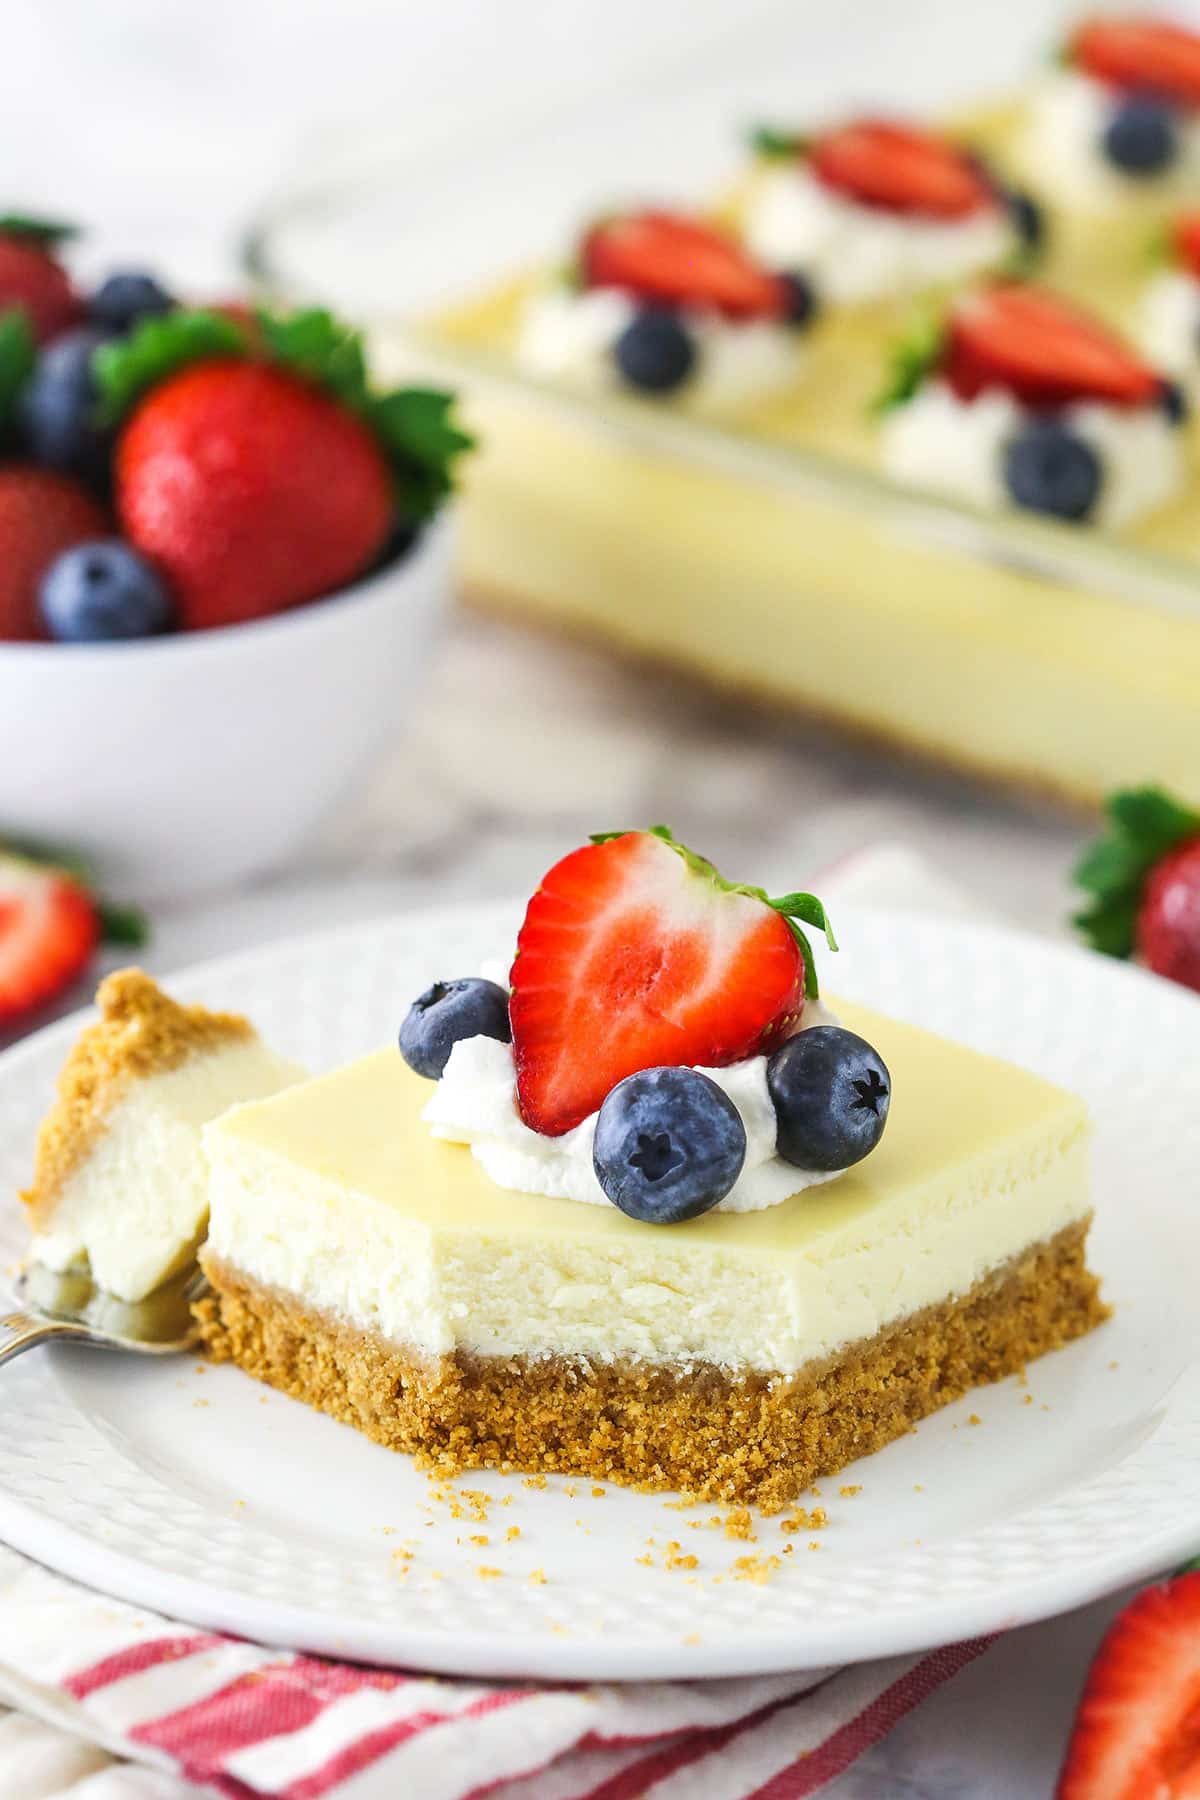
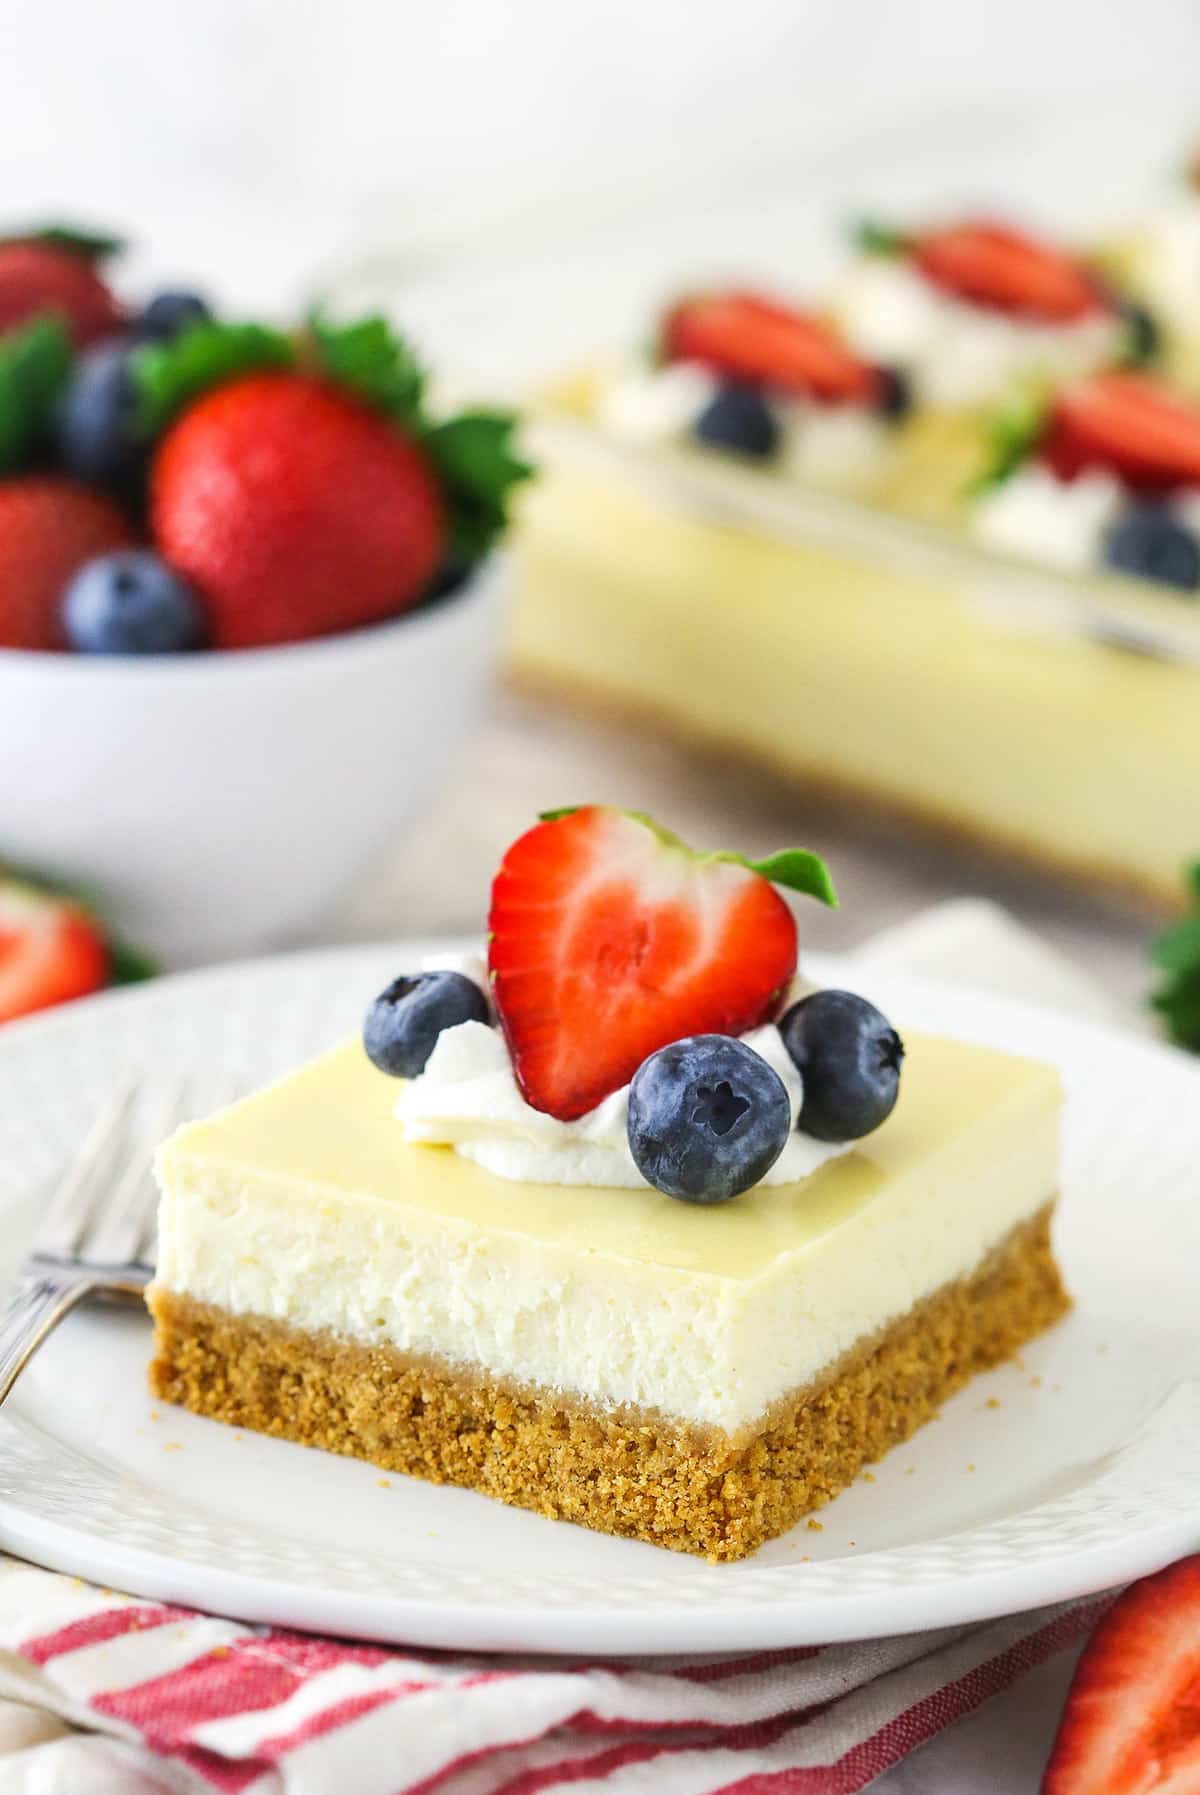
- Swirl on classic homemade whipped cream and top with fresh berries
- Dollop with strawberry sauce, raspberry sauce, or blueberry sauce
- Looking for a little pucker? Spread lemon curd on top
- Drizzle with chocolate ganache or salted caramel sauce
How to Store
- Refrigerate. Store your cheesecake in the refrigerator for up to 4 days. Keep the pan covered or wrap it in Saran Wrap and place it in the fridge.
- Freeze. Tightly wrap the whole pan and freeze it for up to 3 months. Alternatively, you can flash-freeze the individual cheesecake bars until firm, and wrap them individually or store them together in an airtight container. If you store the slices together, separate any layers with parchment paper to prevent sticking. When you are ready to enjoy, transfer the cake or the desired portions to the refrigerator to thaw.
More Cheesecake Recipes to Try
Easy Cheesecake Bars Recipe
- Prep Time: 30 minutes
- Cooling: 3 hours
- Cook Time: 1 hour 15 minutes
- Total Time: 4 hours 45 minutes
- Yield: 15 1x
- Category: Desserts
- Method: Baking
- Cuisine: American
Description
Creamy cheesecake bars have all the vanilla richness and buttery graham cracker crust of a baked cheesecake, ready in a fraction of the time. No water bath or springform pan needed!
Ingredients
For the crust
- 2 1/4 cups (302g) graham cracker crumbs
- 3 tbsp (39g) sugar
- 10 tbsp (140g) salted butter, melted
For the filling
- 24 ounces (678g) cream cheese, room temperature
- 1 cup (207g) sugar
- 3 tbsp (24g) all-purpose flour
- 1 cup (230g) sour cream, room temperature
- 1 1/2 tbsp vanilla extract
- 3 large eggs, room temperature
Instructions
To make the crust
- Preheat oven to 325°F (163°C). Grease a 9×13 pan with baking spray.
- Combine the crust ingredients in a small bowl. Press the mixture into the bottom of the prepared pan.
- Bake the crust for 10 minutes, then set aside to cool.
To make the cheesecake
- Reduce the oven temperature to 300°F (148°C).
- In a large bowl, beat the cream cheese, sugar and flour on low speed until well combined and smooth. Be sure to use low speed to reduce the amount of air added to the batter, which can cause cracks. Scrape down the sides of the bowl.
- Add the sour cream and vanilla extract and mix on low speed until well combined.
- Add the eggs one at a time, mixing slowly to combine after each addition. Scrape down the sides of the bowl as needed to make sure everything is well combined.
- Pour the cheesecake batter into the crust and spread evenly. Bake the cheesecake for 30 minutes.
- Turn off the oven and leave the cheesecake in the oven with the door closed for 20 minutes.
- Crack the door of the oven, with the cheesecake inside, for 15 minutes. This slow cooling process helps prevent the cheesecake from cracking.
- Put the cheesecake in the fridge to cool completely, 3-4 hours.
- Serve the cheesecake with your favorite toppings. I used my homemade whipped cream and fresh fruit. Store the cheesecake in the fridge, well covered. Cheesecake is best if eaten within 3-4 days.
Nutrition
- Serving Size: 1 Slice
- Calories: 417
- Sugar: 22.4 g
- Sodium: 355.2 mg
- Fat: 27.6 g
- Carbohydrates: 36.5 g
- Protein: 6.5 g
- Cholesterol: 108.7 mg













When you crack the door to the oven is the oven on or off?
It’s off.
HOW MANY GRAHAM CRACKERS MAKE 2 1/4 CUPS?
About 17 full sheet graham crackers.
Can you sub the flour for GF flour
That should be fine. You can also use half the amount of cornstarch.
Does it make a difference whether you use a glass or metal baking dish? Does one work better than the other for this recipe? Also do you have any tips for getting the pieces out of the pan without making a mess of the rest of the cake?
Generally a metal dish is better, but I did bake these in glass and they were fine. You could use either. As for slicing, I just use a sharp knife. The first piece can be a little messy, but it’s usually easier after that.
I am so excited to try this and serve it at a wedding reception. It sounds yummy! Thank you for this recipe.
I made this for my sons 17th birthday and we all loved it. It’s definitely “print and keep” worthy. My kids requested that I make it for all the holidays and family gatherings. We set up a toppings bar which was totally a hit. 10 out of 10. Thank you!
I’m so glad it’s been a hit!
Is it possible to bake any of your other traditional springform cheesecake recipes in a 9×13 pan also? Or specifically this recipe only?
For sure! The main thing I’d change in the others would be to reduce the number of eggs from 4 to 3. You may need to make other changes, but it’s hard to give a blanket statement about other things. Baking times could vary, etc.
I used to make cheesecakes in springform pans. I was away camping with friends for their anniversary and they asked for a cheesecake for dessert. We only had a 9×13 glass pan. Found this recipe. The only thing I change is I add ricotta. And it is the best! They said it was the best they’d ever had! We topped it with fresh pineapple compote. I never make cheesecake any other way anymore! Always comes out beautifully! Thanks so much.
I am the go-to dessert baker in my friend’s group, and one of them requested cheesecake for his birthday. I do not own a springform pan, so I started searching for a recipe that I could use a 13×9 and this was the first one I came across, and it looked easy enough so I made it. My very picky friend said this is the best cheesecake he has ever had! And all of my other friends as well. In fact, it has been requested multiple times now for multiple birthdays! It has just the right crust to filling ratio. Thank you for this recipe.
Awesome! I’m so glad it’s a hit!