

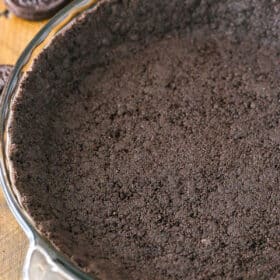
Make this easy Oreo pie crust at home with just two ingredients in 10 minutes! Perfect for pies, cheesecakes, and other desserts, it works in both baked and no-bake recipes. Plus, a homemade Oreo cookie crust tastes WAY better than store-bought!
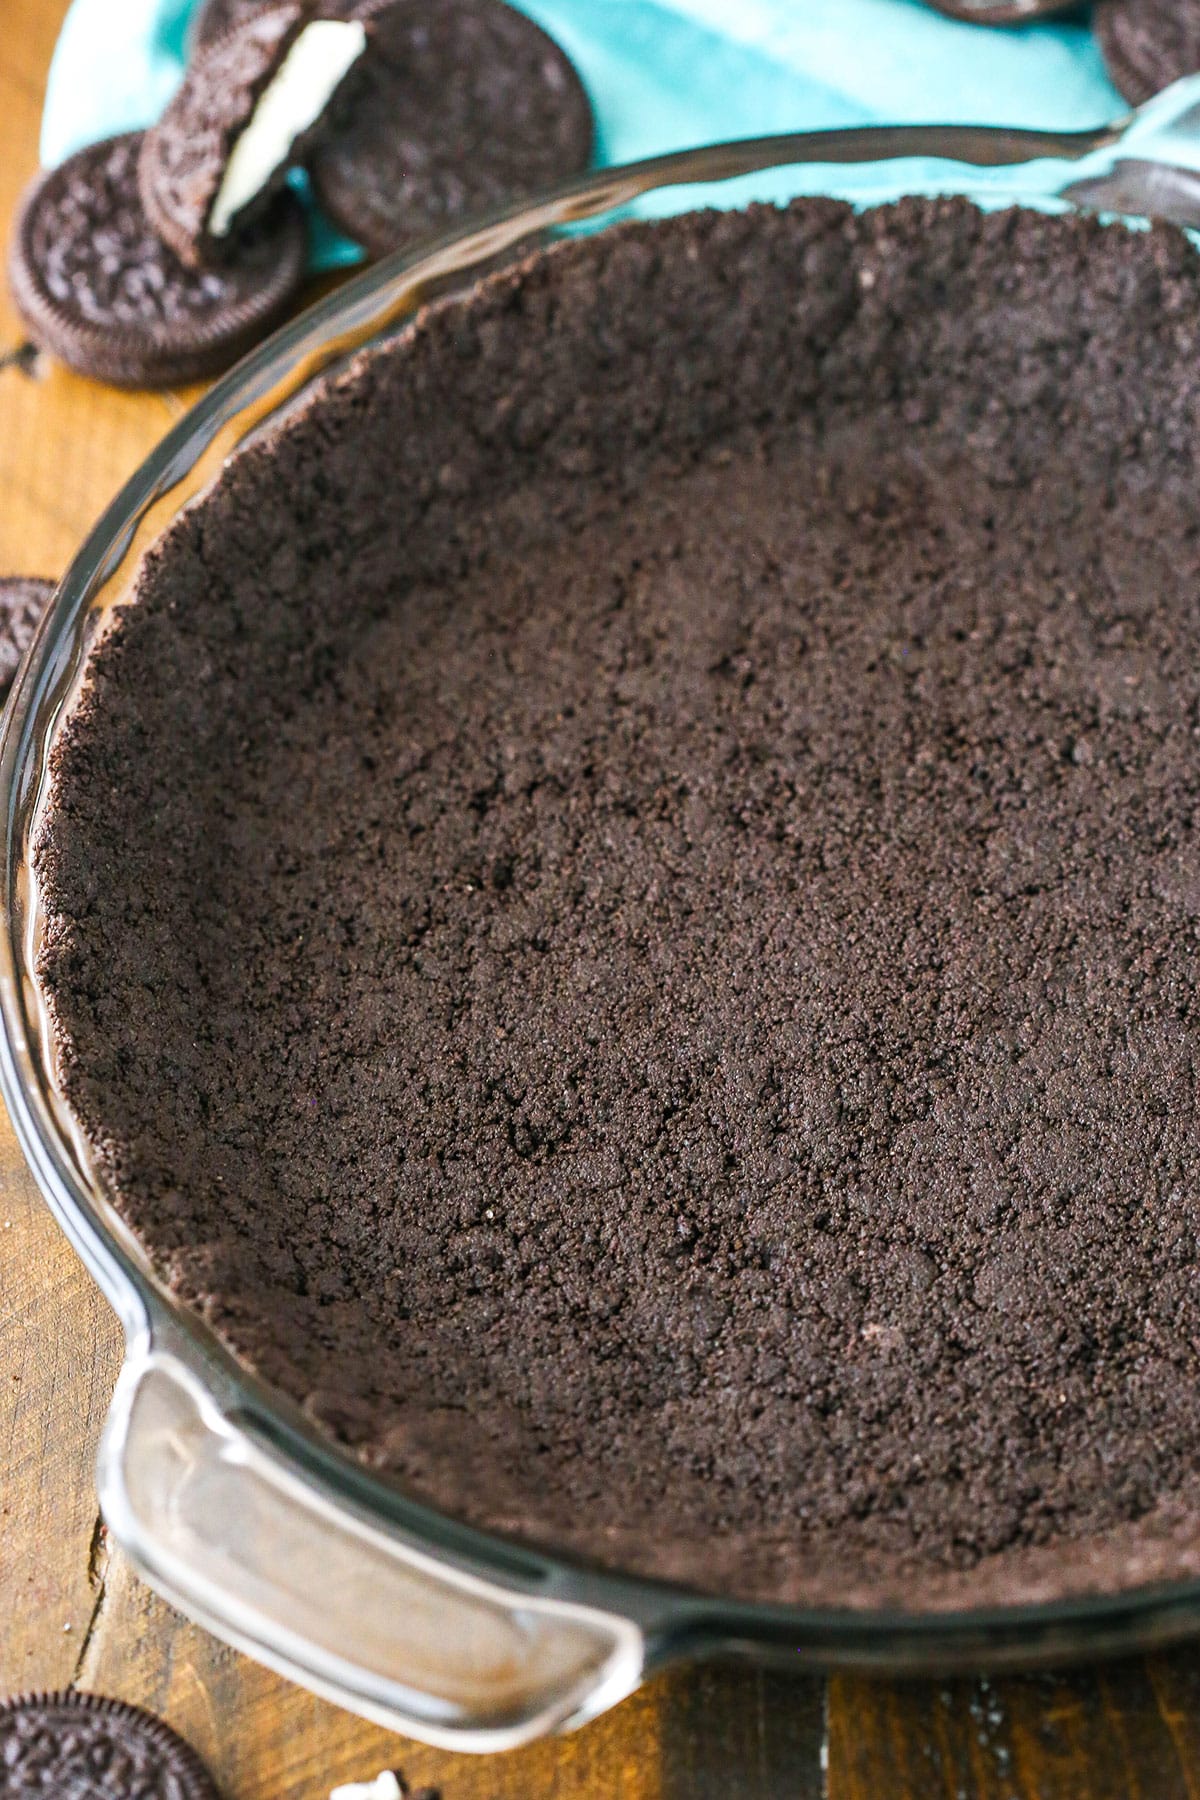
Today, I’m going to teach you how to make the easiest Oreo crust with just 2 ingredients in 10 minutes or less. I’ve lost track of the number of cheesecakes and pies I’ve made with this crust. It’s my go-to for pretty much any chocolate pie and Oreo dessert, including chocolate cream pie and my all-time favorite Oreo cheesecake. This Oreo cookie pie crust recipe is rich, chocolatey, and works with both baked and no-bake desserts. What more could a baker ask for?!
After making about a million versions of this Oreo pie crust, I’m sharing my tips and tricks for getting the perfect texture and flavor every time, whether you’re making it for a pie or cheesecake. This is truly a foolproof recipe and the only crust you’ll need for your favorite future desserts.
I’ve never been a user of store-bought Oreo crusts. Not only do I prefer to make my own, but the “pie plate” they come in really isn’t the cutest thing. I’m all about using my own fun pie plates whenever I bake dessert. After today, I think you’ll be a believer in this homemade Oreo crust, too!

What Makes This the Best Oreo Cookie Pie Crust Recipe
- Only 2 ingredients. Oreos and butter. That’s it; that’s the shopping list for this pie crust! And if you’re anything like me, you probably have those in the kitchen 90% of the time anyway.
- Rich chocolatey flavor. Making a dessert that needs a chocolate boost? Start with this pie crust! I use it in most of my chocolate and Oreo pies and cheesecakes, like my Oreo pie, but you can also use it in place of a graham cracker crust in other recipes.
- Bake it, or not. For traditional pie and cheesecake recipes, this Oreo pie crust bakes in just 10 minutes. But it’s equally perfect for no-bake desserts (looking at you, no-bake chocolate cheesecake!) and doesn’t need to be pre-baked.
Which Oreos Should I Use?
I recommend using regular Oreo cookies when preparing a pie or cheesecake crust. There’s no need to remove the filling from the Oreos, as it works with the crust ingredients to hold the crust together.
- Double Stuf: As much as I love eating the double- and mega-stuffed Oreos, the excess filling adds moisture to the crust, which can make it soft and greasy. You may end up with a crust that leaks a little butter when baked. If you’re using Double Stuf Oreos, I suggest scraping the creme filling from half of the cookies to reduce the impact on the texture.
- Golden Oreos: Golden Oreos can be used interchangeably with regular Oreos since the amount of filling is the same. These make a perfect vanilla cookie crust in desserts like this funfetti birthday cake cheesecake.
- Mint Oreos, etc.: When it comes to flavored Oreos, most of them SHOULD work in this recipe, though I haven’t tested all of them. My Mint Oreo cheesecake uses mint-flavored Oreos in the crust.
- Generic (store-brand): I’ve only tested this with name-brand cookies. Store-brand sandwich cookies should also work as a budget-friendly alternative. However, they may have less filling or be a different size, so you might need to adjust the number of cookies to make the correct amount of crumbs.
Graham Cracker vs. Oreo Crust
I use half the amount of butter in this Oreo crust than in my graham cracker crust recipe. This is because the Oreo filling already adds flavor and acts as a binder for the crust. You simply don’t need as much butter to help hold things together when you leave the creme filling in.
Graham crackers have a toasted honey flavor that makes a graham cracker crust best suited to New York-style cheesecake and key lime pie. In contrast, the fudgy chocolate flavor of an Oreo crust makes a great base for Oreo and chocolate desserts. See the section later on for ways to use this homemade Oreo crust in recipes.
How to Make Oreo Cookie Crust
Once you see how easy this crust is to make, you’ll never look back! Here’s an overview; the printable instructions can be found in the recipe card below.
Begin by crushing the Oreos into fine crumbs. I recommend using a food processor or blender to grind the crumbs because it’s easier to get fine crumbs that way. In a pinch, putting them in a Ziploc bag and using a rolling pin will work, but it is harder to get nice, fine crumbs.
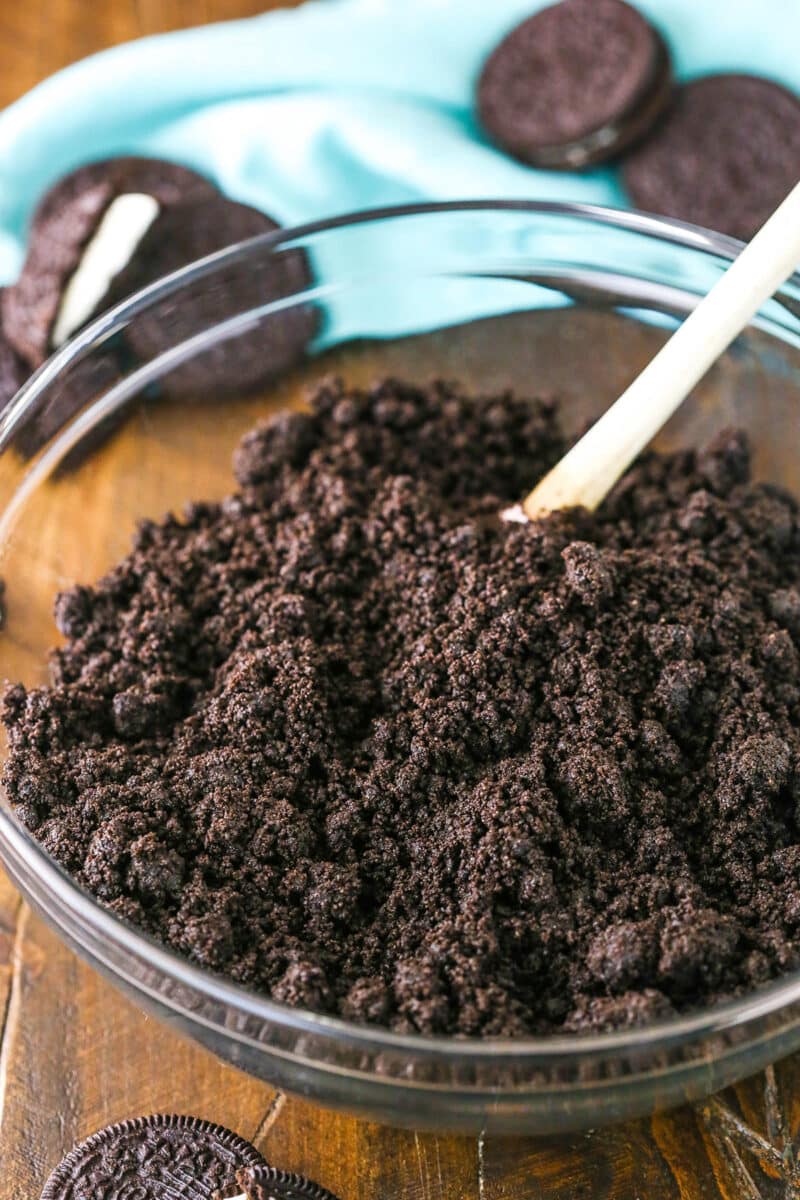
Combine the cookie crumbs and butter in a bowl.
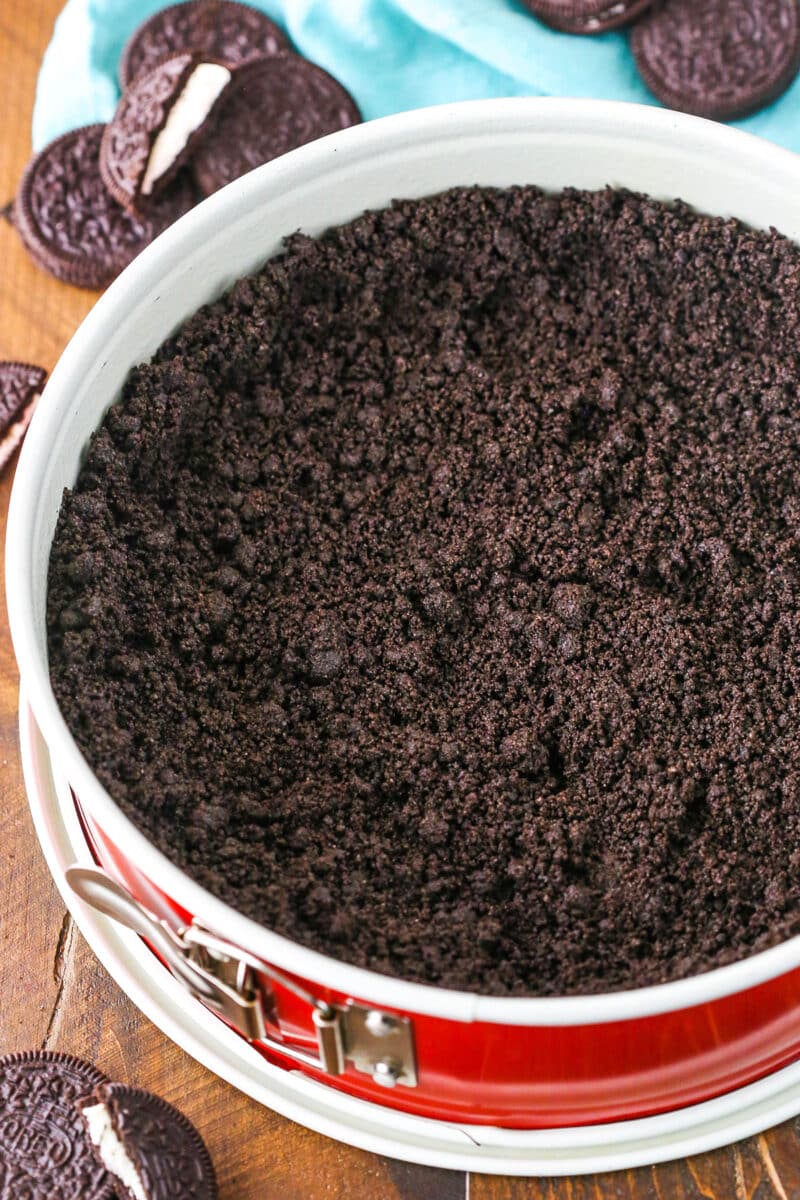
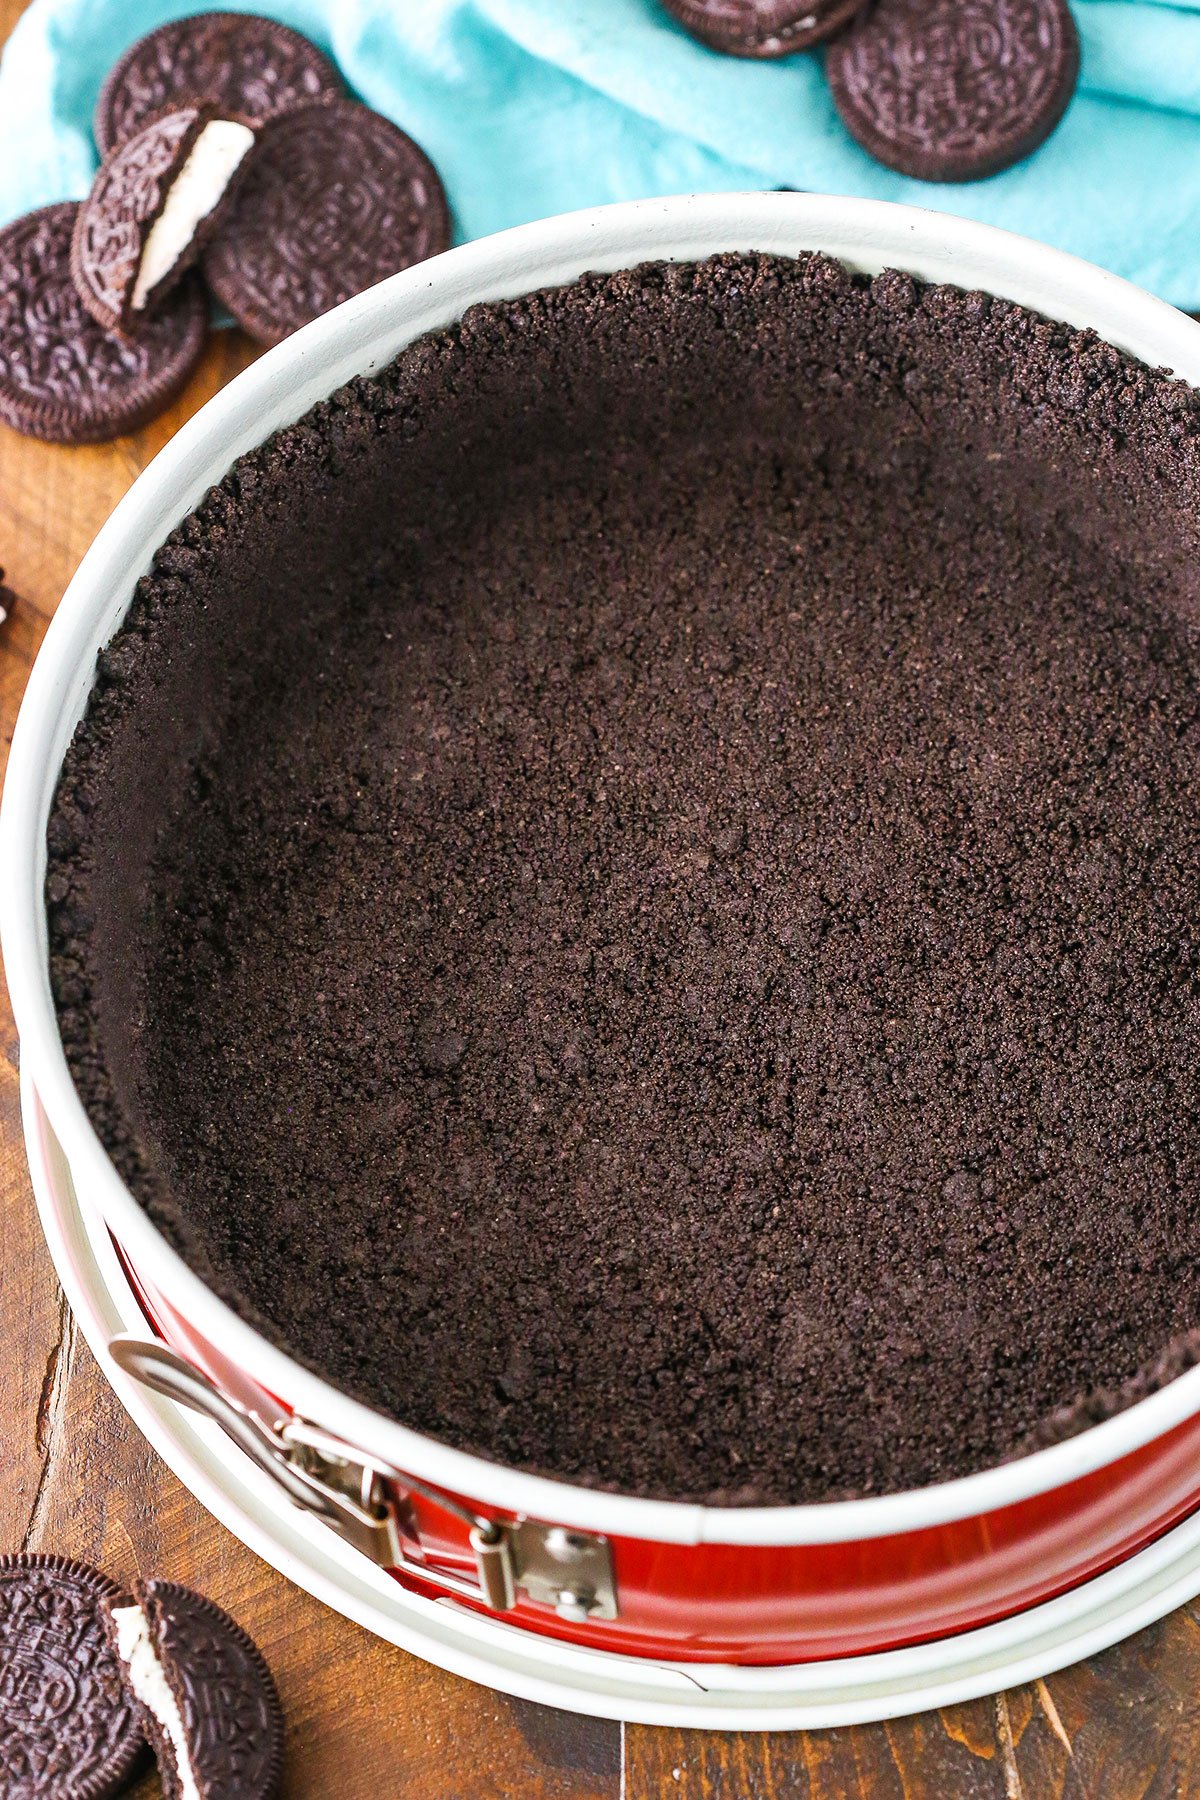
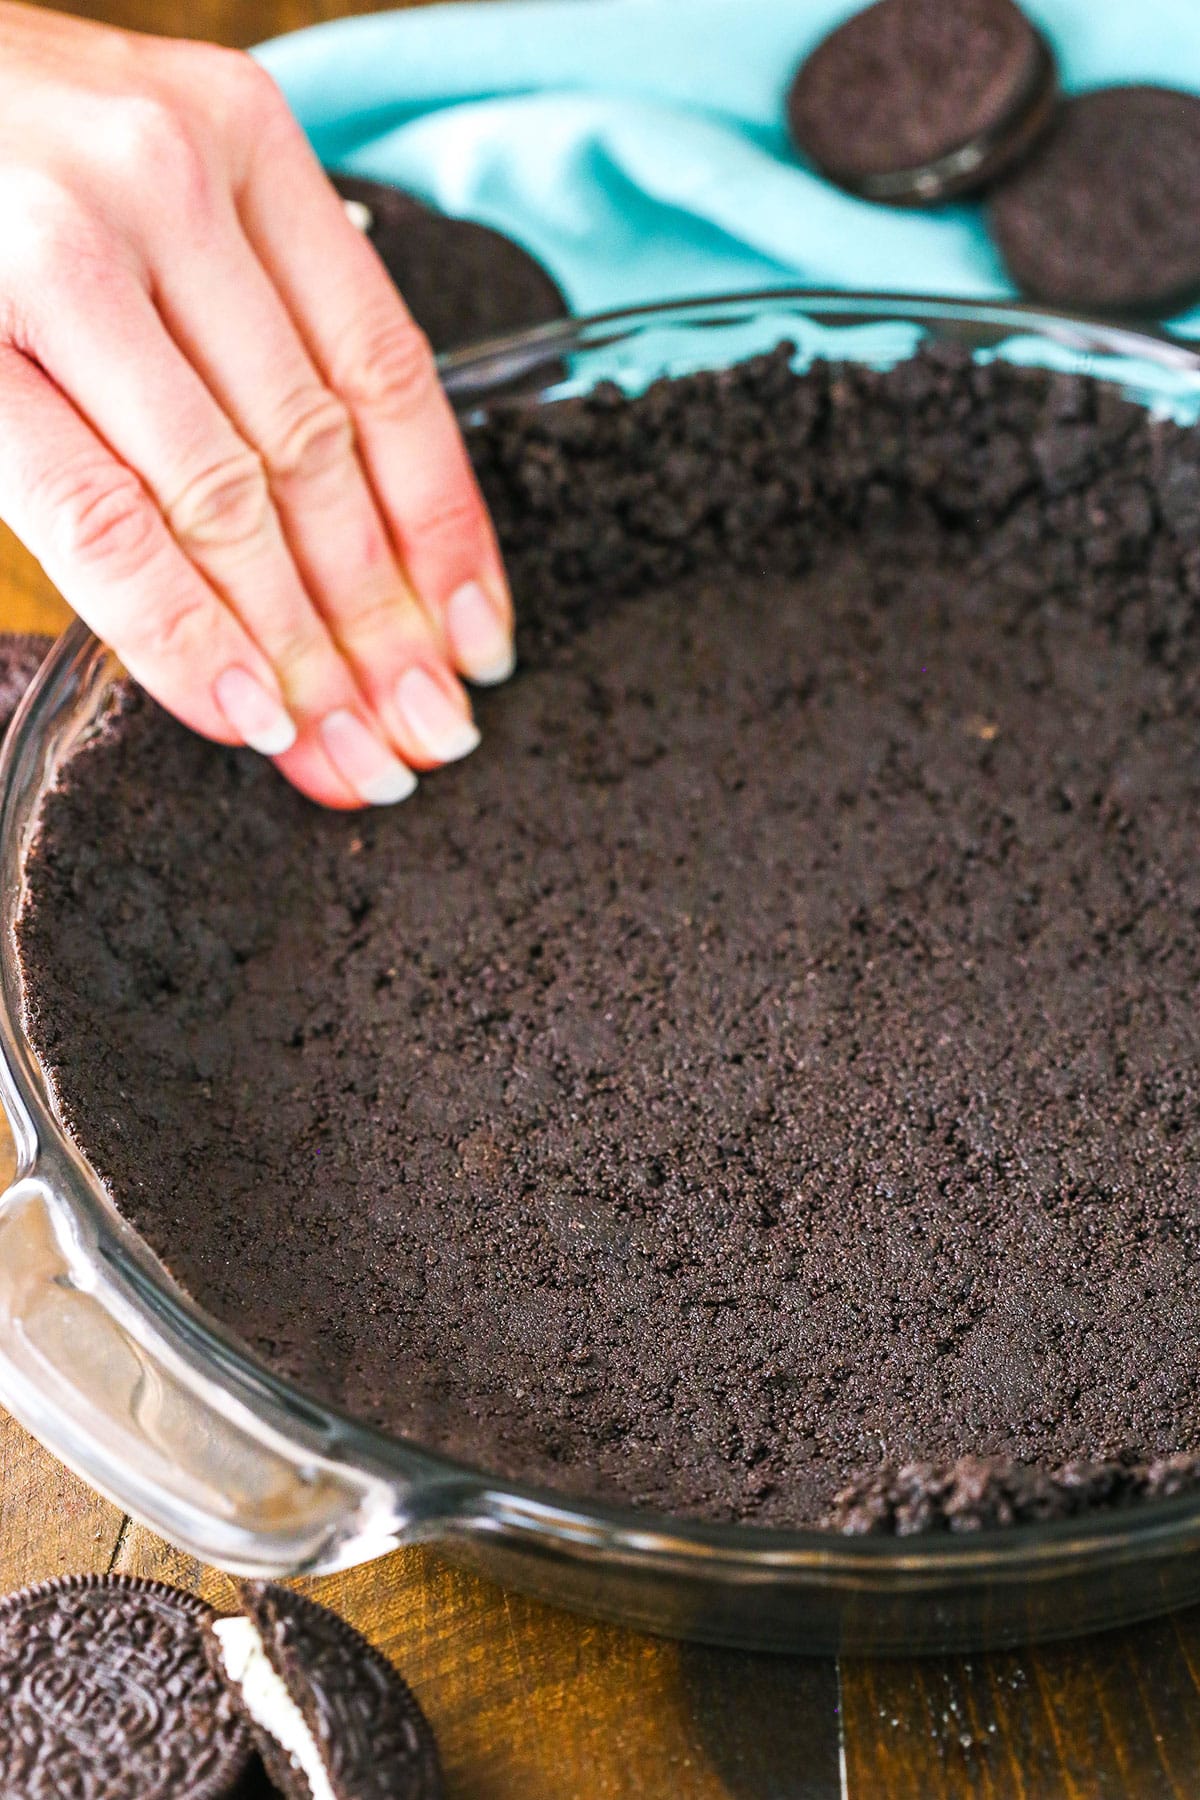
Add the mixture to a pie plate or springform pan.
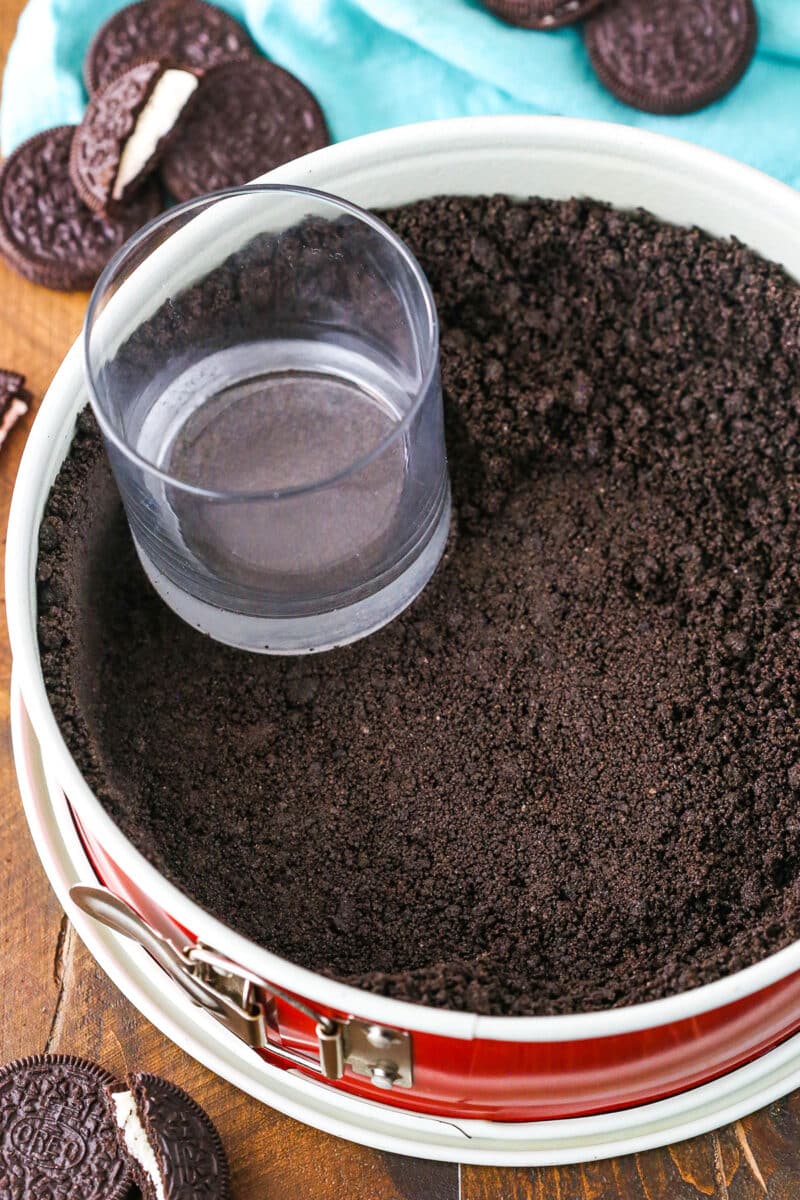
Use the bottom of a glass to firmly press the crumbs into the bottom and up the sides of the pan.
Do I Need to Bake My Oreo Pie Crust?
This Oreo cookie crust works baked and unbaked. Always refer to the recipe you’re using to know if it calls for a non-baked, partially baked, or fully baked crust.
- For a no-bake dessert, you can simply refrigerate it until it’s time to add the filling.
- For a baked crust, bake it at 350ºF for 8-10 minutes. You can also blind-bake the crust and let it cool to use it for a no-bake dessert, if you prefer. A baked crust will hold up better to slicing. So, if you’re worried about a crumbly crust, consider baking it, just in case.
Common Mistakes (and How to Avoid Them)
- The crumbs aren’t fine enough. When grinding the cookies, continue pulsing until you reach fine crumbs with no big pieces remaining. Fine crumbs mix into the butter more easily and will hold together better.
- Overprocessing the Oreos. On the other hand, too much blending turns the cookies and cream into a sticky, dense paste. Stop when you have a fine crumb. Otherwise, it’ll be difficult to mix with the butter, and you’ll end up with a heavy, greasy crust.
- Not measuring the butter correctly. An incorrect butter-to-Oreo crumb ratio leads to either a crumbly crust (not enough butter) or a greasy one (too much butter). Measure before melting. For a standard Oreo pie crust, my ratio is 4 tablespoons of butter per 24 Oreos, or 2 cups of crumbs. For a cheesecake crust, it’s 5 tablespoons per 3 cups of Oreo crumbs. See below.
- You didn’t grease the pan. I like to spray my pie dish or springform pan with non-stick spray before adding the Oreo crust mixture. It makes it so much easier to slice and serve later!
- Not pressing the crumbs tightly. I like to use a glass cup or measuring cup to help press the crust into the bottom of the pan. Remember to also press up the sides, especially for a cheesecake.
Cheesecake vs. Pie Crust
I use this Oreo cookie crust to make both pies and cheesecake. You’ll notice in the recipe card that the measurements are different for pie crust and cheesecake crust. Let’s talk about why!
- Cheesecake needs more crust. The springform pan cheesecake is prepared in is typically a bit bigger than most pie plates, and the sides are a bit higher. So, naturally, you need a bit more crust, which means more Oreo crumbs.
- Pie crust needs more butter. There’s more butter in the pie crust to ensure it all stays together. I think pie crust is harder to remove from the pie plate without it falling apart, so the extra butter helps.
Oreo Crust Troubleshooting and FAQ
A cracked crust usually means there wasn’t enough butter, it wasn’t pressed tightly enough in the pan, or it was overbaked and dried out.
If it’s cracked before baking, firmly pack the crumbs back into the pan (use the flat bottom of a glass) and refrigerate for 30 minutes. If the crust looks cracked after baking, you can brush melted butter over the cracks and chill the crust so the butter sets. It acts as a sort of “glue!”
Leaking is caused by the melted butter or cream filling separating from the Oreo crumbs during baking. The risk of a leak is a lot higher if you use Double Stuf Oreos or too much butter.
If the crust crumbles or falls apart when slicing and serving, this is likely because it wasn’t packed tightly enough in the pan. It could also be because the Oreo crumbs were too large or uneven in size. Remember to pulse until you get a fine, uniform crumb.
Ways to Use an Oreo Crust
An Oreo cookie crust adds a burst of chocolatey flavor to almost any pie, cheesecake, or no-bake dessert. Here are a few of my favorite recipes that pair well with this Oreo crust:
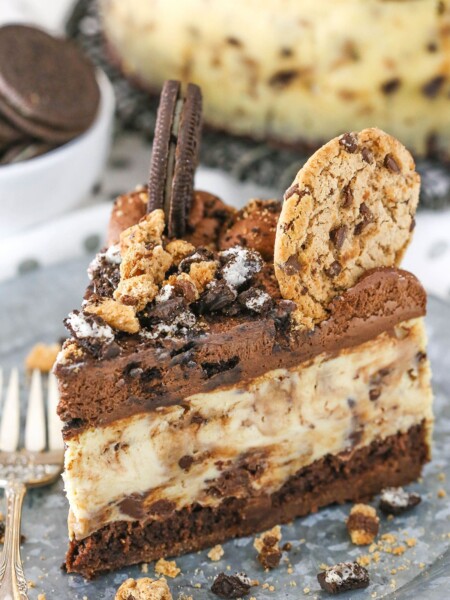
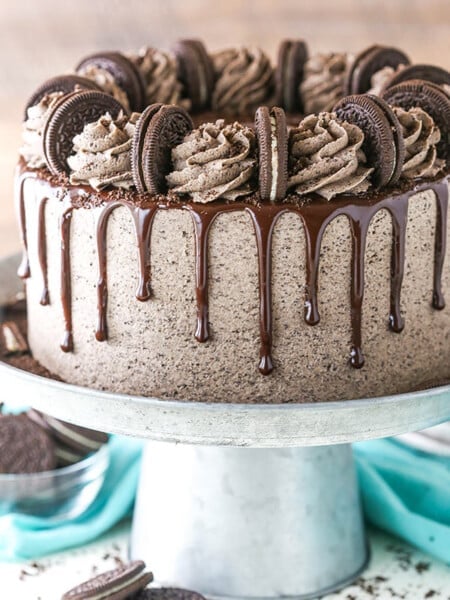
- Cheesecakes: It adds a wonderful chocolate base to my popular Reese’s cheesecake and chocolate cheesecake. Plus, it’s a must in all of my Oreo cheesecake recipes, including no-bake Oreo cheesecake.
- Pies: Starting with a chocolate crust makes any chocolate pie even better, including French Silk pie. Some of my other favorite pies made with Oreo crust include Mississippi mud pie and Reese’s peanut butter pie.
Proper Storage
- Fridge: Oreo pie crust can be prepared 1-2 days in advance and stored in the fridge, covered with foil.
- Freezer: For longer storage, let the crust cool completely, then cover it with foil and wrap it in plastic wrap. It can be frozen for 2-3 months.
More Oreo Recipes
Oreo Pie Crust
save this recipe
Enter your email & we’ll send it to your inbox. Plus get new recipes from us every week!
Ingredients
Oreo Cookie Pie Crust
- 24 Oreos (to yield 2 cups/268g Oreo crumbs)
- 4 tablespoons (56g) salted or unsalted butter (melted)
Oreo Cookie Cheesecake Crust
- 35 Oreos (to yield 3 cups/403g Oreo crumbs)
- 5 tablespoons (70g) salted or unsalted butter (melted)
Instructions
- Add the Oreos to a food processor or blender and grind into fine crumbs. You do not need to remove the filling from the Oreos.
- Add the Oreo crumbs to a bowl and combined with the melted butter.
- Pour the mixture into your pie pan or springform pan (I like to grease mine to ensure no sticking) and press into an even layer on the bottom and up the sides.
- For a no bake crust (pie or cheesecake), you can refrigerate it for 30 minutes before adding your filling. If you are going to bake it, bake at 350°F for 8-10 minutes.
Nutrition
The nutrition facts provided are calculated using a third-party tool and are estimates only. Actual nutritional content may vary based on the ingredients and brands you use, as well as portion sizes. For accurate results, please consult a registered dietitian or nutritionist.













If you freeze your Oreo cookies and put in blender directly from freezer they pulse into fine crumbs faster with much less mess from cream.
CAn you freeze this
Yes, that should be fine.
What size crust does this make?
I typically use it for a 9 inch cheesecake or pie.
I used a full wine bottle to crush the Oreos in a zip up bag. Works faster than a rolling pin.
In doing a cheesecake that needs to be baked do you bake the crust first or just bake once the filling is put in pan?
I typically bake the crust for about 8 minutes on it’s own, then add the filling.