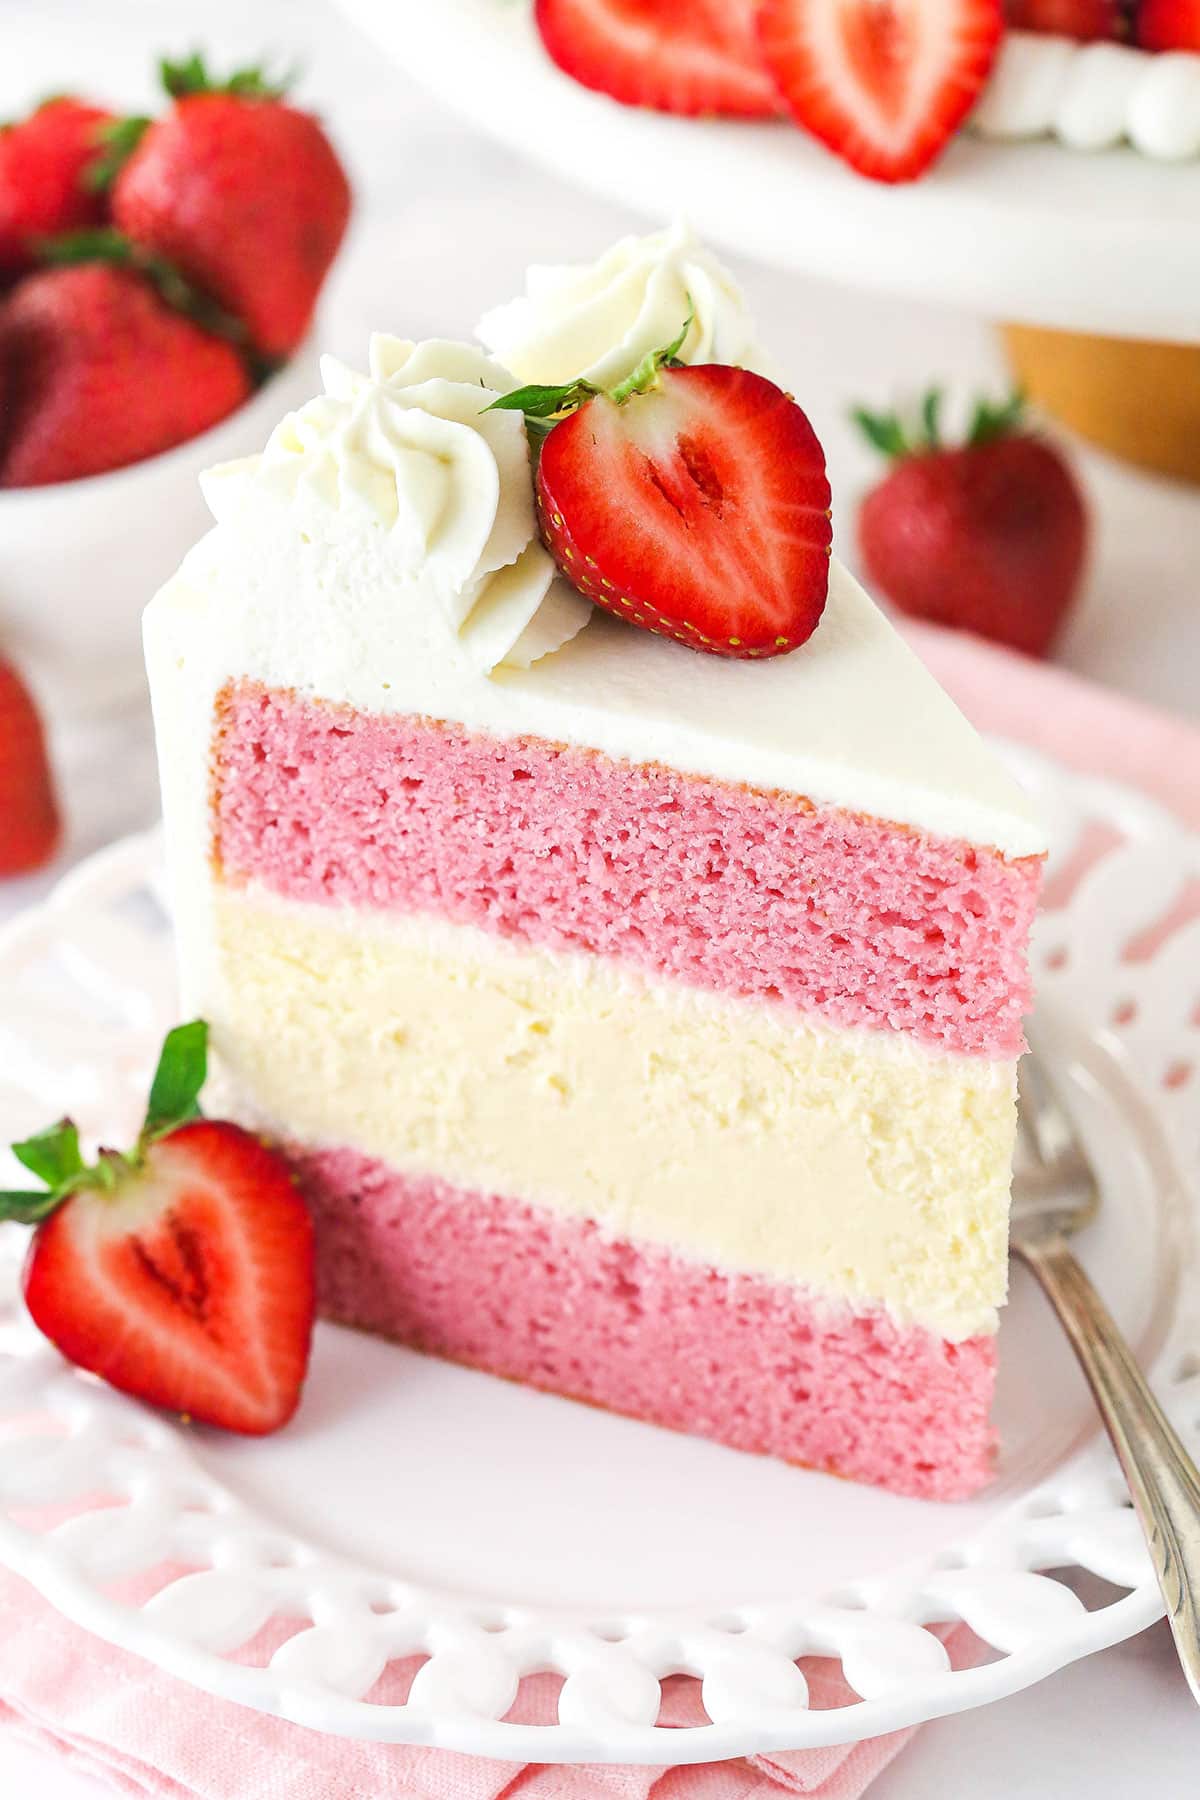
Cake or cheesecake? Why choose? This strawberries and cream cheesecake cake combines vibrant strawberry cake layers, a creamy vanilla cheesecake center, and fluffy cream cheese frosting for one incredibly indulgent dessert.

Cheesecake lover that I am, I am a BIG fan of sandwiching cheesecake between light, fluffy cake layers and wrapping it all in decadent frosting. I have a few “cheesecake cakes” on my site, including my Red Velvet Cheesecake Cake, my Carrot Cake Cheesecake Cake and this Chocolate Pumpkin Cheesecake Cake, but this vibrant pink strawberry version is one of my favorites.
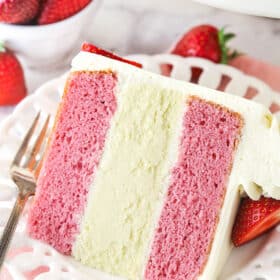
If you’re a fan of strawberries and cream, get ready to fall in love. This aptly named strawberries and cream cheesecake combines strawberry cake layers, vanilla cheesecake, and whipped cream cheese frosting. The moist strawberry cake layers are full of bold berry flavor, while the silky cheesecake adds a rich, velvety contrast. And that light, fluffy, ever so slightly tangy cream cheese frosting!? I’m obsessed. From first glance to the last crumb, this dessert has it all!

Why You’ll Love This Strawberries and Cream Cheesecake Cake
On top of the fact that it’s bright pink and a total crowd-pleaser, this cake’s got a lot going for it. Here’s why:
- Classic flavor combo. With sweet strawberry cake layers, vanilla cheesecake, and a whipped cream cheese frosting, this cheesecake cake will take you right back to sunny days spent dipping fresh berries in fluffy whipped cream.
- Luxurious texture. Biting into this dessert is nothing short of heavenly. The cake layers are wonderfully moist and tender, and the cheesecake is so silky smooth. Then there’s that light and fluffy whipped cream cheese frosting. Hello!
- Endless customization. This recipe is a fabulous blueprint for creativity. You can easily swap out the cake, cheesecake, or frosting flavors to create your own unique masterpiece. See the section below titled “Variation Ideas” for inspo.

Ingredient Notes
Time to grab your ingredients and turn on the oven! Here’s a list for you of substitutions and important tips. (see the recipe card below for precise measurements):
- Cream cheese – Start with room temperature cream cheese. If it’s too cold, it won’t mix as smoothly with the other ingredients and may result in a lumpy filling or frosting. It’s also important to use the brick-style full-fat cream cheese, not reduced fat or the kind in the tub. Those would be too soft for cheesecake.
- All-purpose flour – For the cake layers, I recommend using a scale or spooning the flour into the measuring cup and leveling it off, so that your cake doesn’t end up dry. You can see all my tips for measuring flour here. For the cheesecake layer, the starch prevents the egg proteins from over-coagulating, giving you a creamier texture and helping you prevent any cracks. If you are looking for a gluten free alternative, cornstarch will work too. Use half as much cornstarch as you would flour.
- Sour cream – I love the extra tang the sour cream contributes to the cheesecake. It breaks up the richness of the cheesecake layer beautifully and makes it extra silky smooth. In the cake, it adds wonderful moisture.
- Eggs – Be sure to use large eggs, not medium or extra large.
- Milk – Whole milk or 2% will work great.
- Strawberry extract – This gives the natural strawberry flavor from the puree a little boost of extra flavor.
- Strawberry puree – Just throw some strawberries in a food processor and pulse until smooth.
- Pink food color – You could leave this out, but I’m a big fan of the bold color it gives the cake layers.
- Heavy whipping cream – The heavy cream must be chilled. Otherwise, it won’t whip up and hold volume properly.
- Powdered sugar – To add sweetness and volume to the frosting. Don’t try to use a different kind of sugar unless you want a gritty frosting. And don’t try to use less. Your frosting will fall flat.
How to Make Strawberries and Cream Cheesecake Cake
Let’s get started! Here’s a look at how to make this delicious cheesecake cake. You’ll find more detailed instructions in the recipe card below.
Make the cheesecake layer
Preheat oven to 300°F. Line the entire inside of a 9-inch cake pan with aluminum foil. Press it into the pan to get it as flat as you can. You’ll use the aluminum foil to lift the cheesecake out of the pan when it’s baked and cooled.
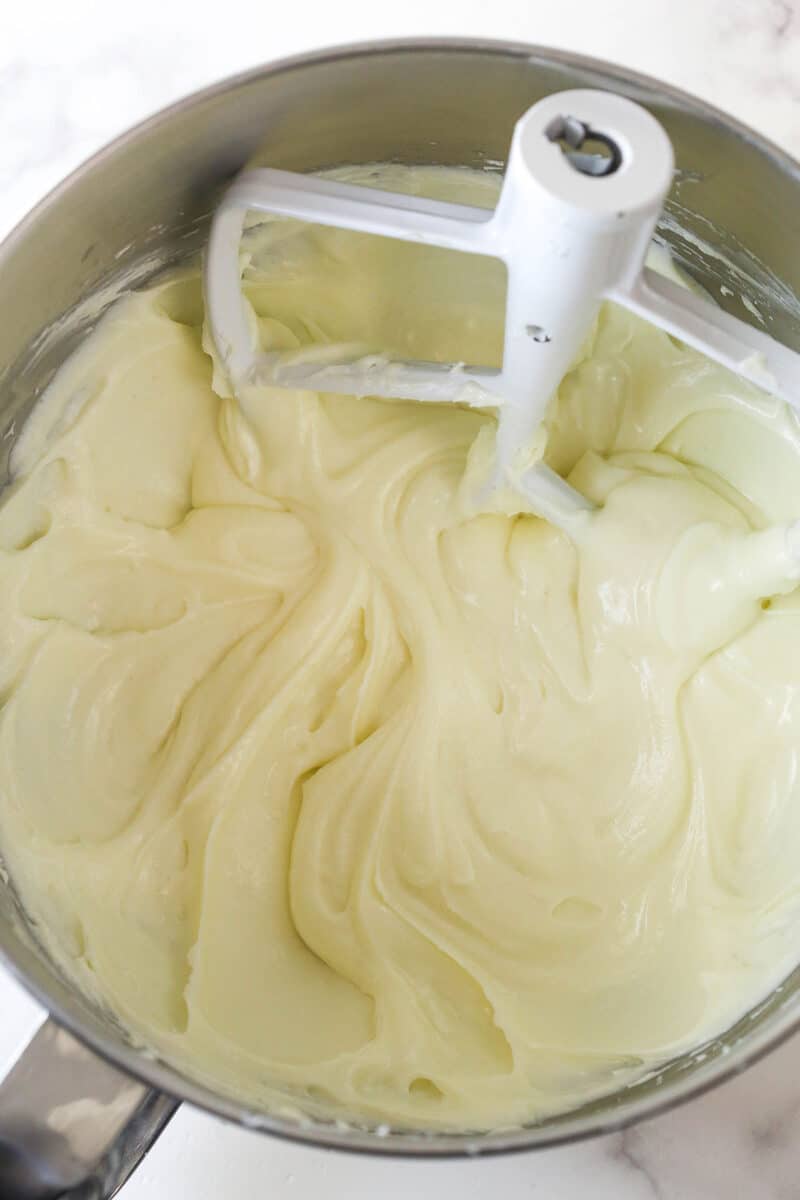
In a large mixer bowl, mix the cream cheese, sugar and flour together until combined.
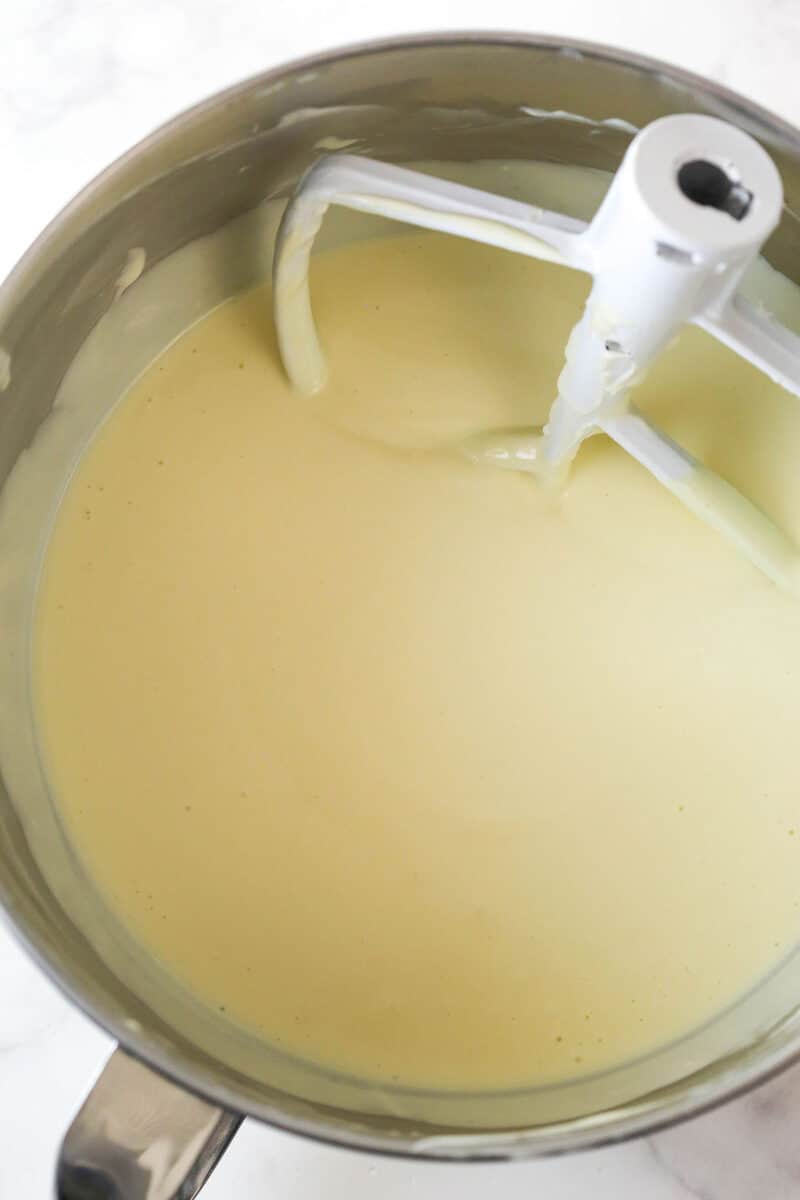
Add the sour cream and vanilla extract, followed by the eggs, one at a time.
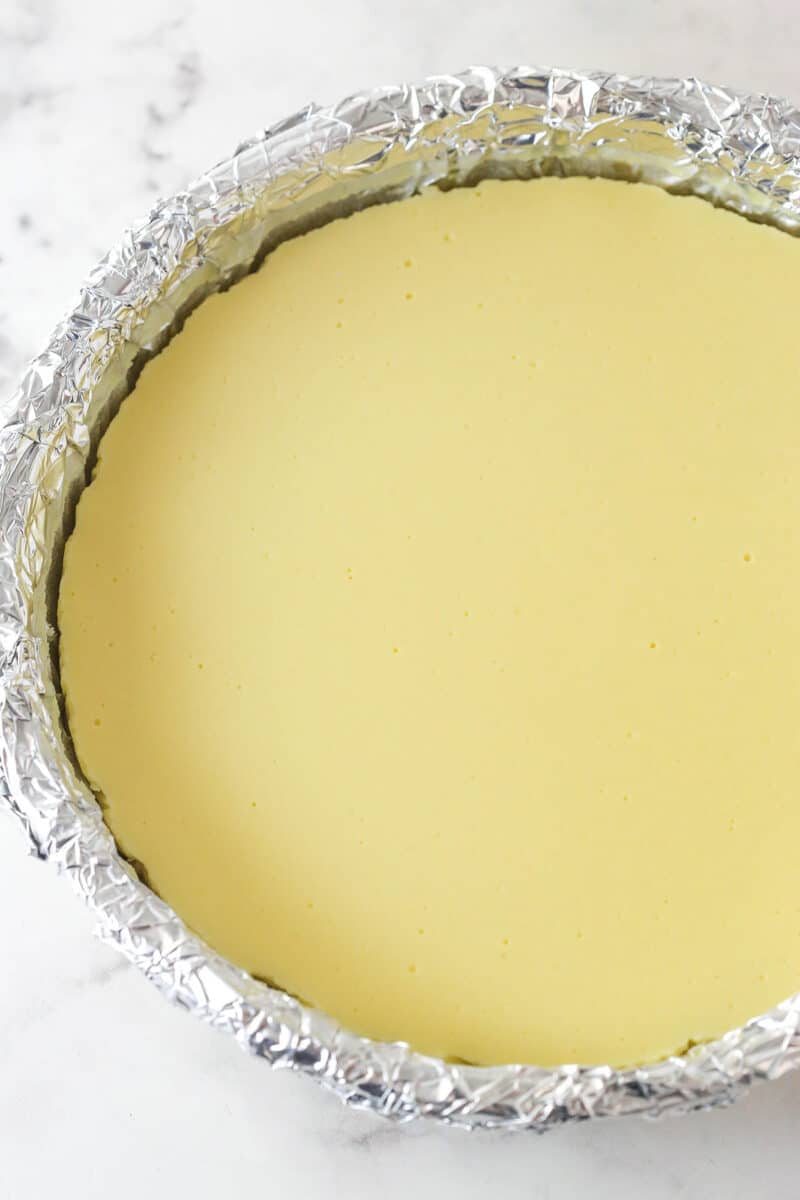
Pour cheesecake batter into the cake pan and bake for 55 minutes. Cool for 30 minutes with oven door closed, then 30 minutes with it partially open.
Make the cake layers
Preheat the oven to 350°F. Line the bottoms of two 9-inch cake pans with parchment paper and grease the sides. Combine the flour, baking powder and salt in a medium bowl. Combine the milk and strawberry puree in a measuring cup. Set both aside.
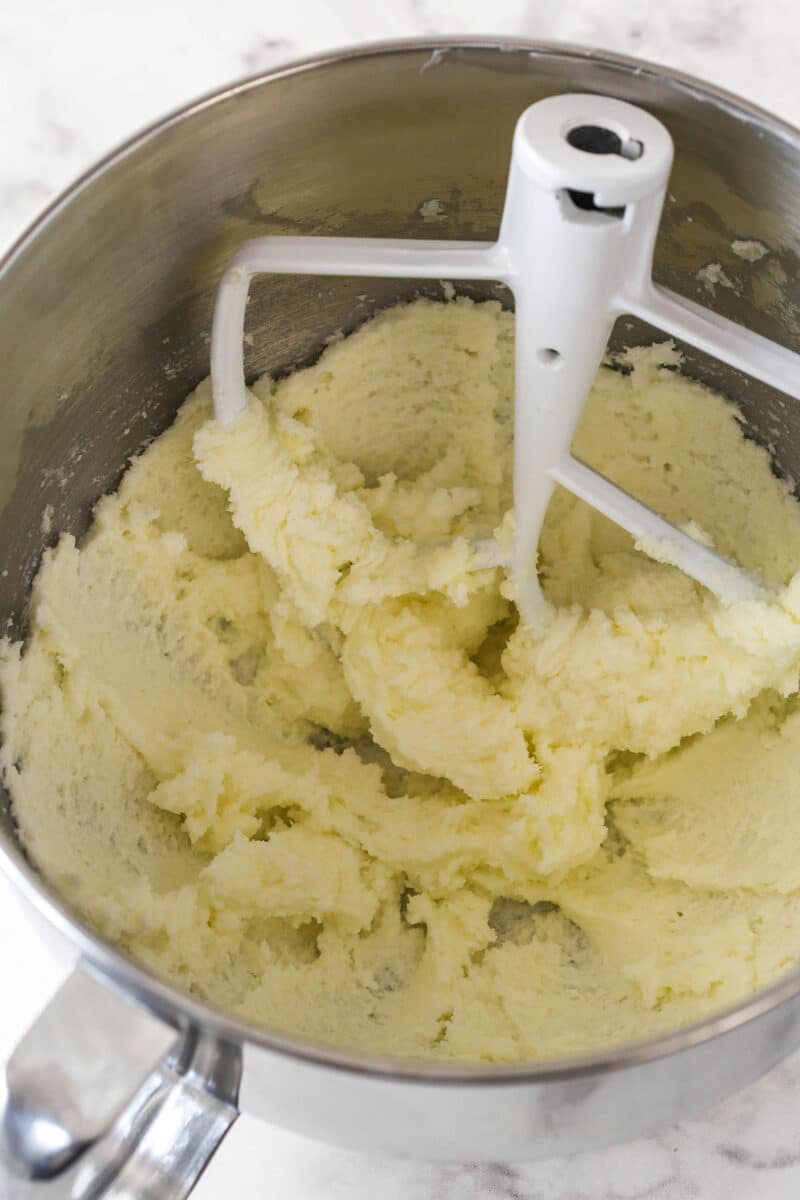
Cream together the butter and sugar on medium speed until light and fluffy, 2-3 minutes.
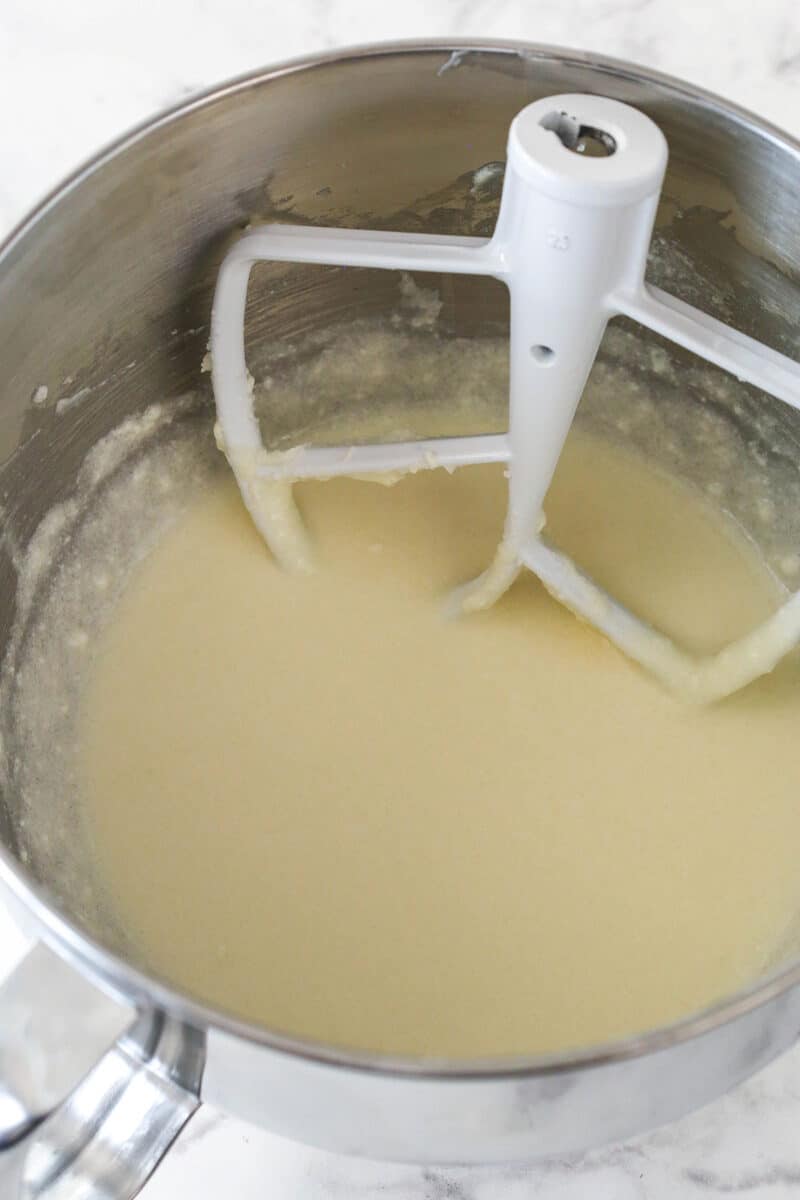
Add the sour cream and strawberry extract and mix until combined.
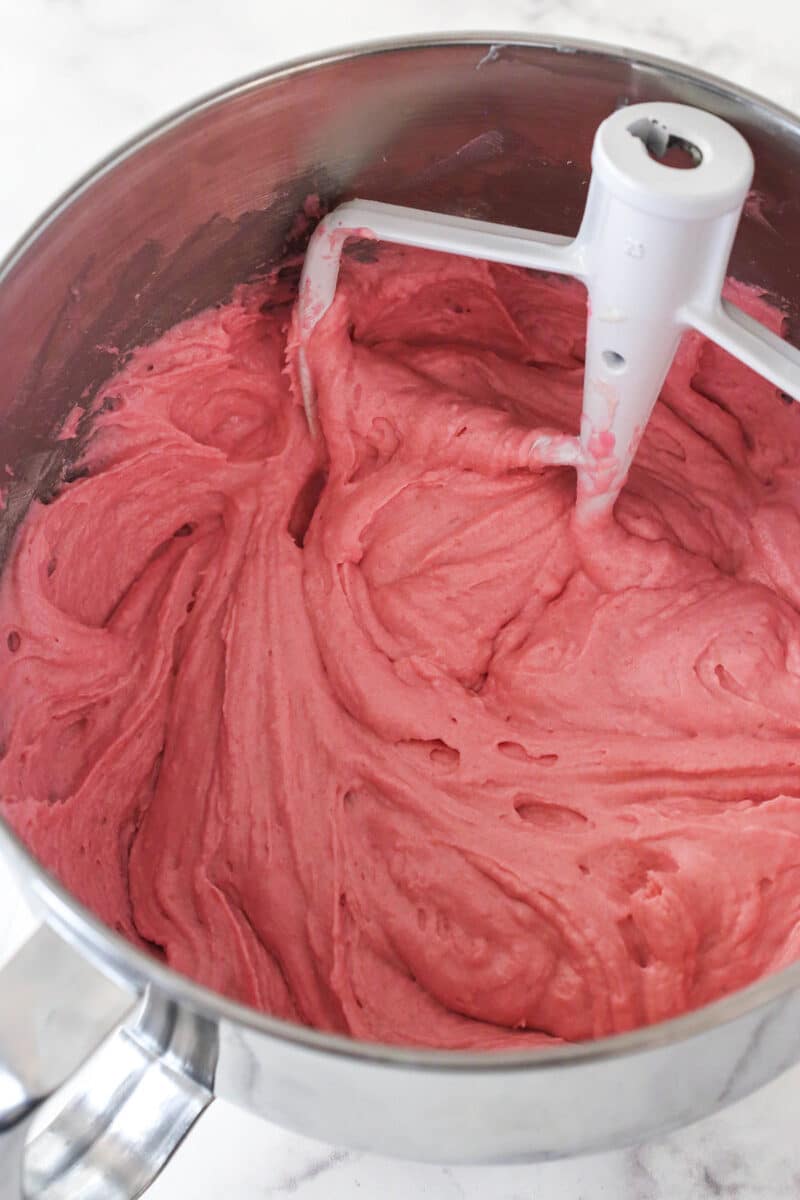
Mix half of the flour mixture, followed by the milk/puree mixture. Mix in the remaining flour mixture and stir in the food coloring.
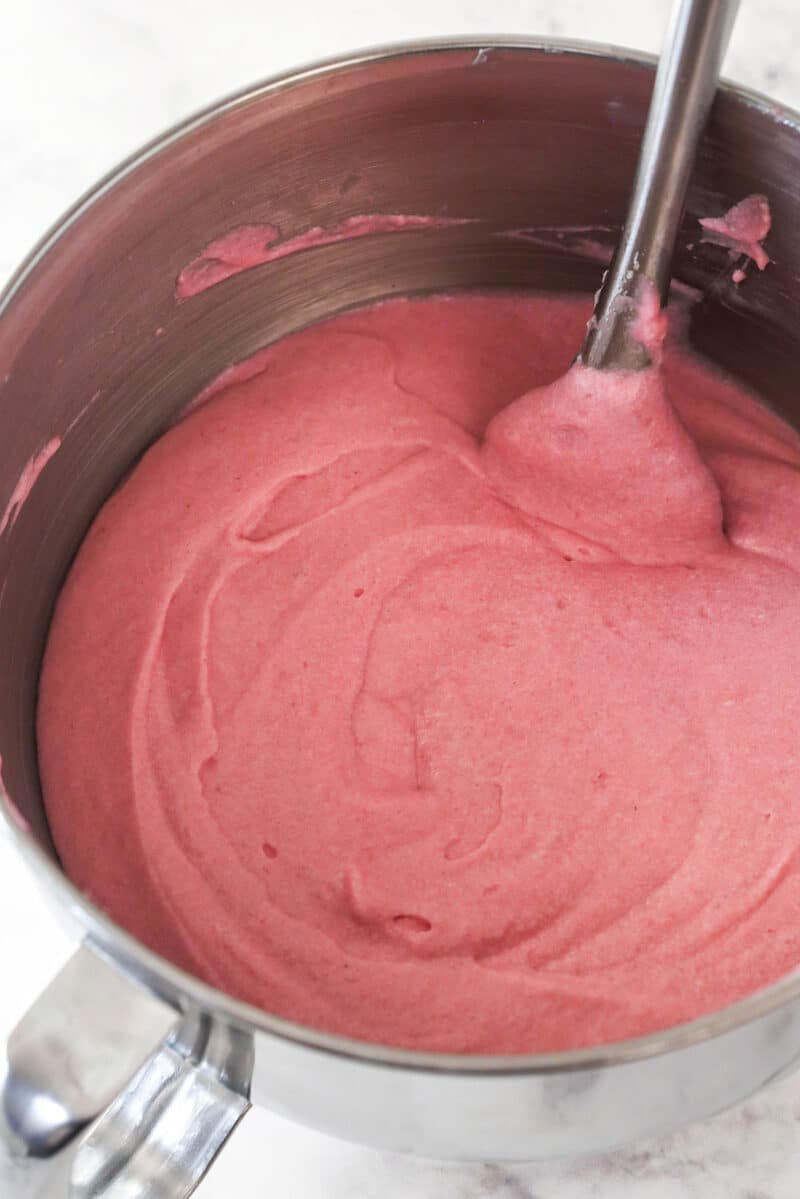
Whip the egg whites on high speed until stiff peaks form. Gently fold the egg whites into the batter in two parts.
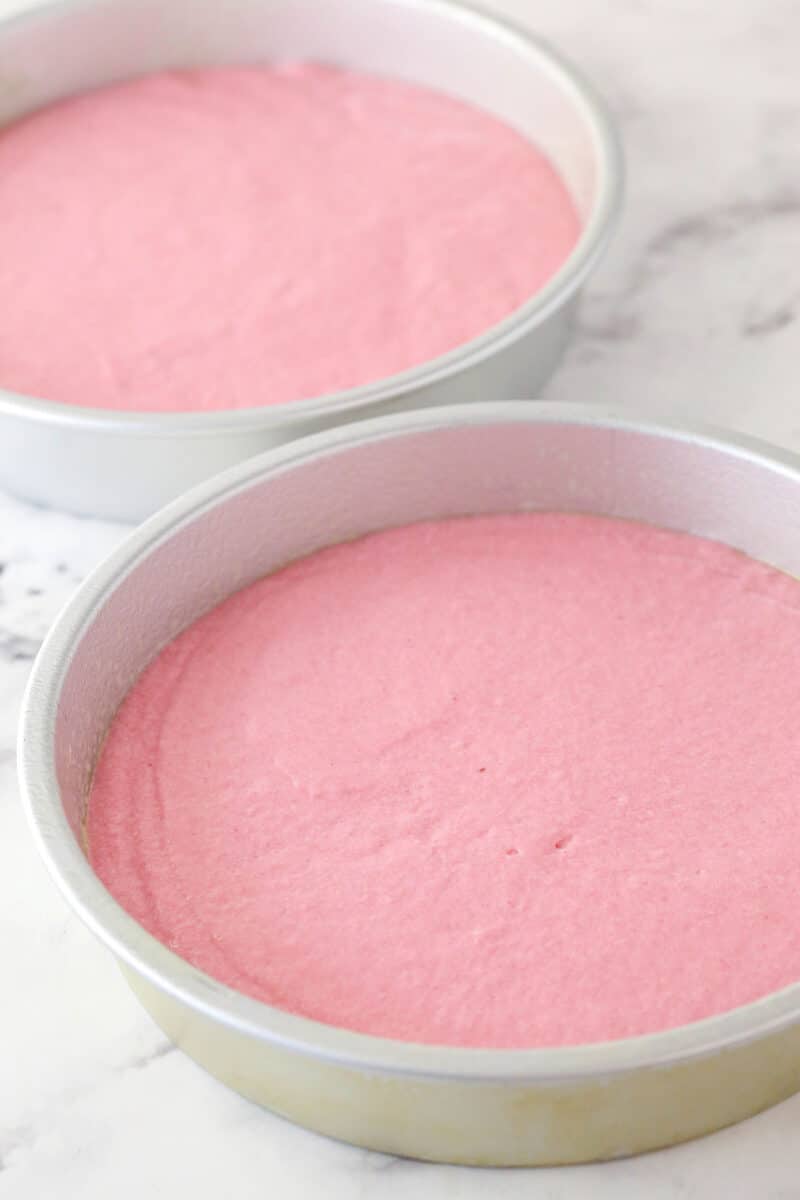
Divide the batter between the cake pans and bake for 27-30 minutes.
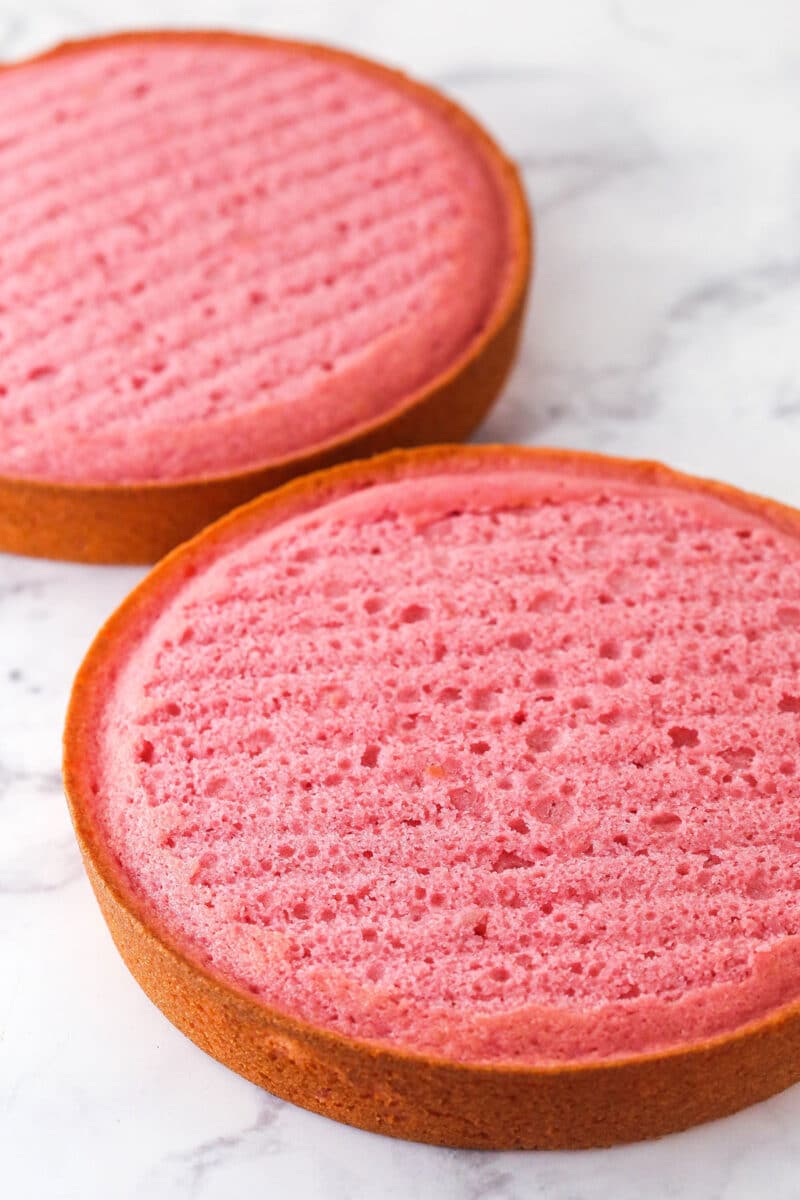
Cool the cakes in the pan for a few minutes before transferring them to wire racks to cool completely.
Make frosting and assemble
To make the frosting, add the cream cheese to a large mixer bowl and beat until smooth, then set aside.
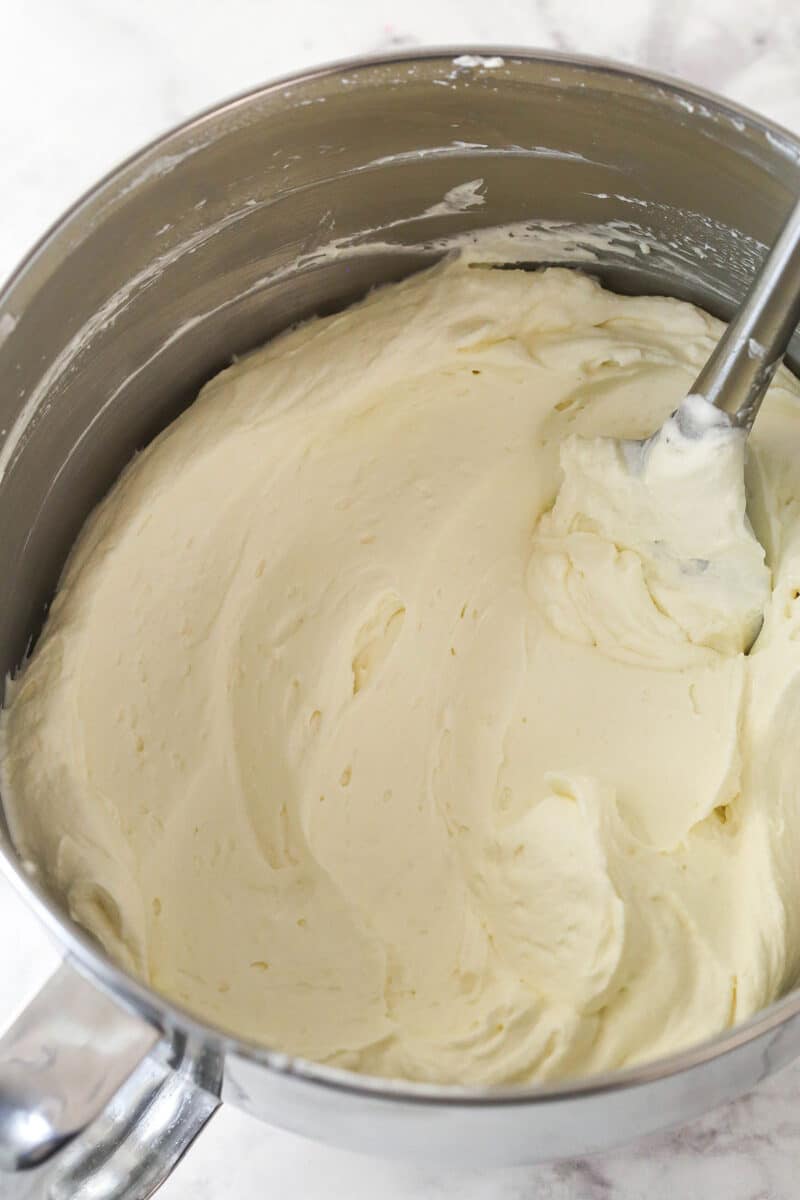
Add the heavy cream, powdered sugar and vanilla extract to mixer bowl and whip until it begins to thicken. Add the cream cheese and whip until stiff peaks form.
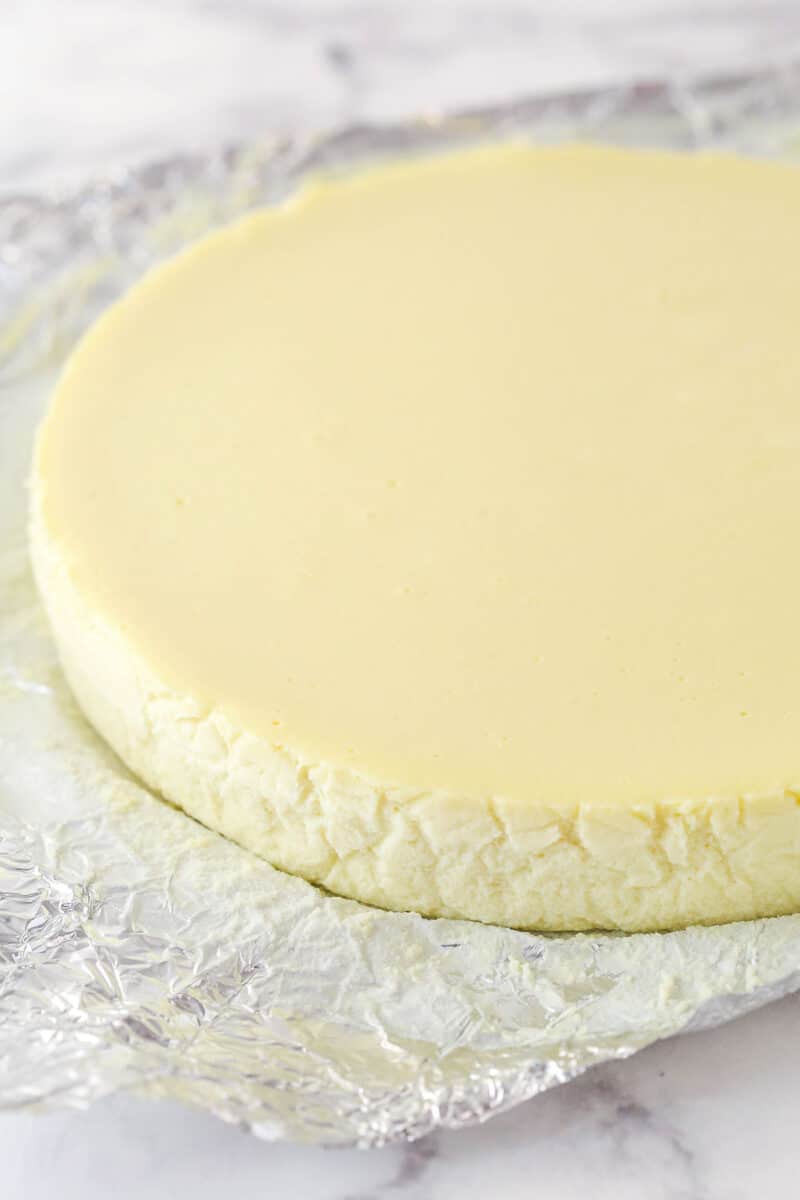
Use the aluminum foil to lift the cheesecake out of the cake pan and remove the foil.
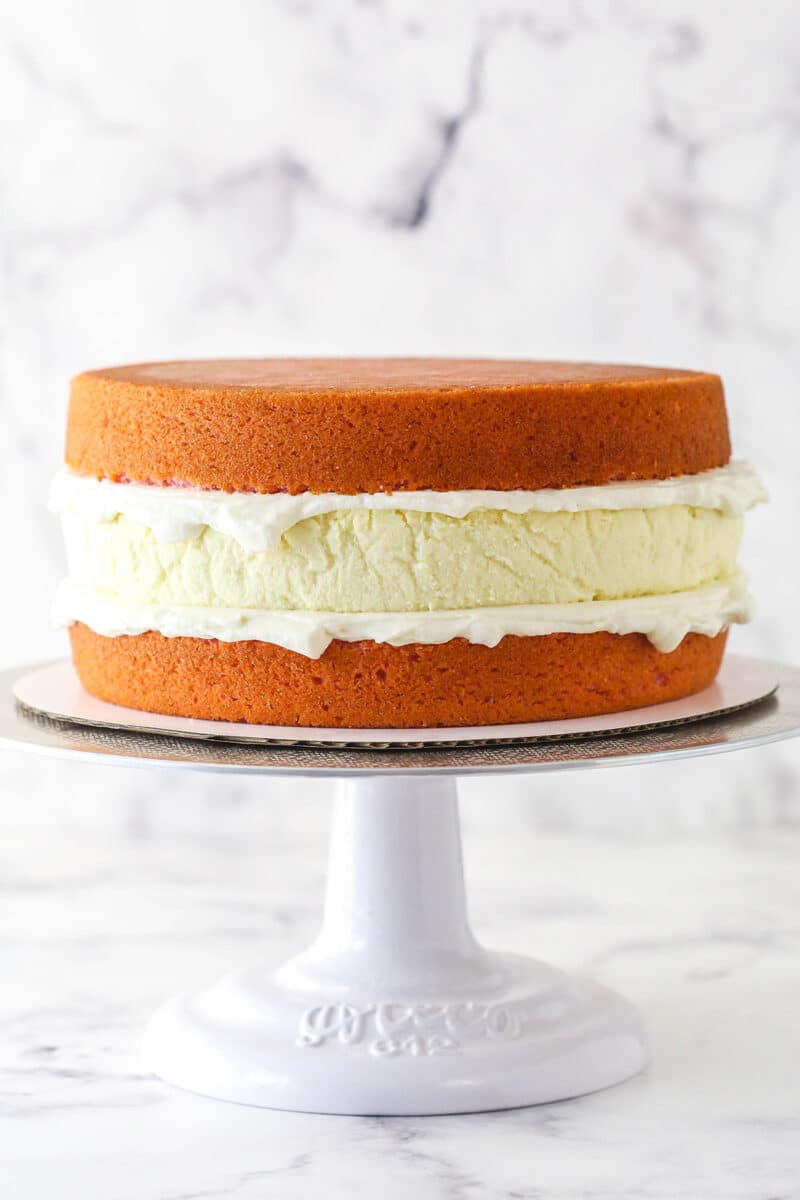
Place the first layer of cake on a serving plate. Spread one cup of frosting on top, then add the cheesecake layer. Add another cup of frosting, then the final cake layer on top.
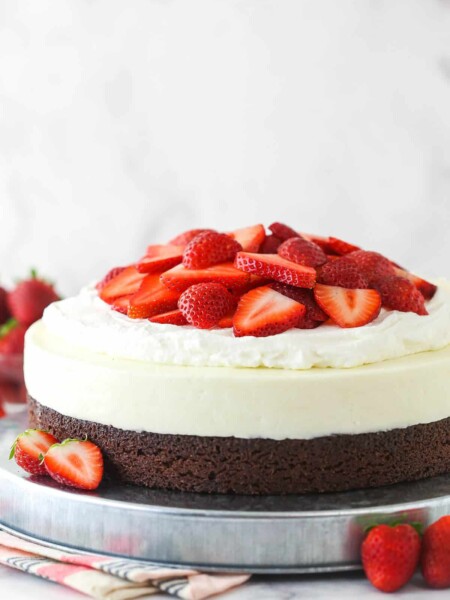
Frost the outside of the cake, then pipe swirls of the whipped frosting around the top edge of the cake. I also placed sliced strawberries around the bottom edge of the cake, strawberry halves on top of the cake and piped a small shell border around the bottom edge of the cake. Feel free to get creative and make it your own!

Tips For The Best Cheesecake Cake
- Don’t skip the water bath. It might seem like a hassle, but it really is necessary for even cooking. Without it, your cheesecake will fall in the middle, over-brown and likely crack.
- Measure your flour carefully. Too much (or too little) flour WILL negatively impact the texture of your cake layers. So, use a food scale to ensure you’re getting the proper amount. Don’t have one? Use the spoon and level method.
- Don’t skimp on creaming time. It’s important to cream together the butter and sugar for the cake until the mixture has significantly lightened in color and become fluffy. This process incorporates air into the batter, ensuring lighter, fluffier results.
- Don’t over-mix. When combining the wet and dry ingredients for the cake layers, mix only until everything is incorporated. Over-mixing can cause the gluten in the flour to overdevelop, resulting in over-dense cake layers.
- Fold gently. When folding the egg whites into the cake batter, do so gently so as to maintain as much volume as possible.
- Cool/Chill all layers before assembling. While this cheesecake cake is not hard to assemble, it does require some time. The cheesecake needs 4 hours or so to firm up, and the cake layers also need to cool completely.
Make Sure The Layers are the Same Size
The key to making the cheesecake for a cheesecake cake is to bake the cheesecake in the same pan you’ll use for the cakes. Not all 9-inch pans are the same size, so line your cake pan with aluminum foil and press it tightly against the sides. Bake the cheesecake in that pan, let it cool, and use the foil to lift it out of the cake pan. Use the same size pan for the cake layers.
Variation Ideas
There are so many yummy possibilities for cheesecake cakes. Feel free to swap out the cake, cheesecake, and/or frosting flavors. Here are some ideas for you:
- Cake layer swap. Borrow the cake layers from my Carrot Cake, Vanilla Cake, Chocolate Cake, Funfetti Cake, or Lemon Cake (but divide the batter between two nine in pans), and use them instead of the strawberry cake.
- Cheesecake change-up. Whether it’s the filling from my Chocolate Cheesecake, this Lemon Blueberry Cheesecake, my Peanut Butter Cheesecake, Funfetti Cheesecake or my elegant Champagne Cheesecake, swapping the vanilla cheesecake layer out for something different is fine by me. I just typically reduce the eggs to three.
- Consider a different frosting. If you’d like to use a different frosting, you can. You could try chocolate whipped cream or mascarpone whipped cream. My strawberry buttercream and vanilla buttercream would also be good. Just keep in mind that buttercream will be firmer than whipped creams when refrigerated.

How to Store
- Refrigerator. Seal any leftovers in an airtight container. If you don’t have one, you can wrap the cake in a double layer of plastic wrap (use toothpicks to prop the plastic away from the decorations) or arrange slices in a single layer in an airtight container. This cake will keep in the fridge for up to 4 days.
- Freezer. Flash freeze the cake for about an hour, and then wrap it in a double layer of plastic wrap (you could do this with slices too). I’d recommend not freezing it with fresh strawberries on the outside. Otherwise, arrange slices in a single layer in an airtight container. This dessert will keep in the freezer for up to 3 months. Let it thaw in the fridge before serving.
Can I Make This Ahead of Time?
Totally! You can make the cheesecake and cake layers a day in advance. Let the cheesecake set and the cake layers cool, then store the cheesecake in the fridge and the cake layers at room temperature. When you’re ready to put it together, whip up the frosting and assemble the cake.
Watch How To Make It
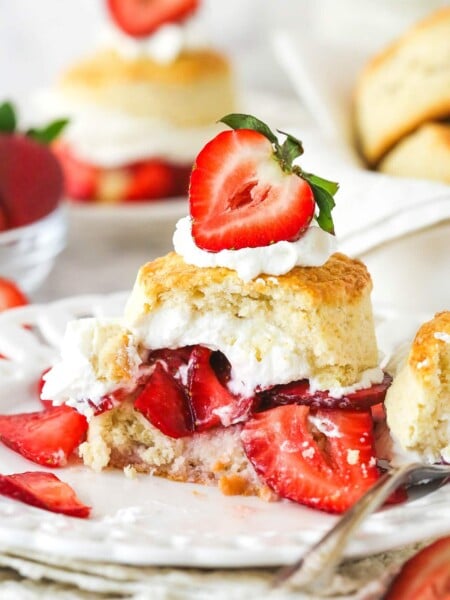
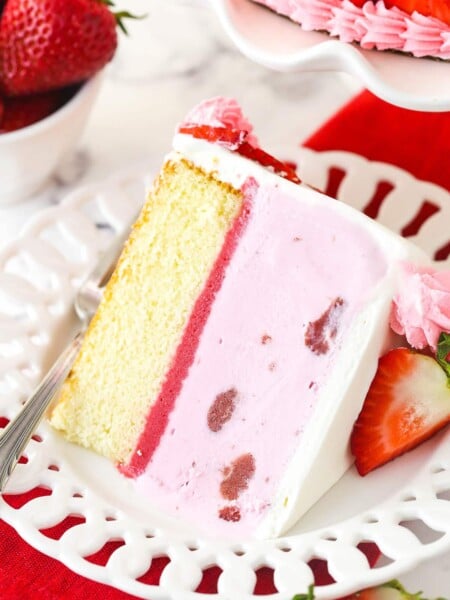
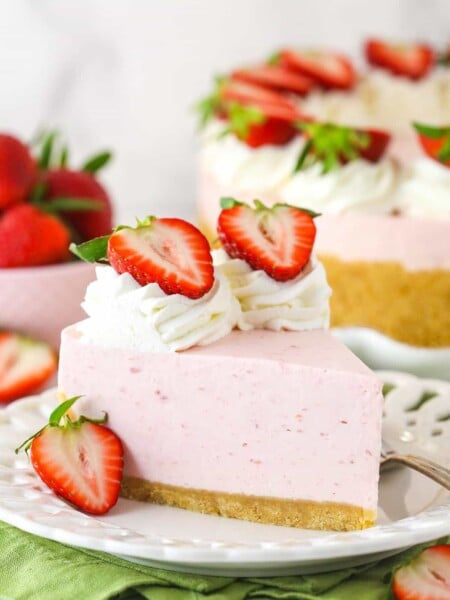
More Strawberry Dessert Ideas
Strawberries and Cream Cheesecake Cake
save this recipe
Enter your email & we’ll send it to your inbox. Plus get new recipes from us every week!
Ingredients
Vanilla Cheesecake
- 24 ounces (678g) cream cheese (room temperature)
- 1 cup (207g) sugar
- 3 tablespoons (24g) all purpose flour
- 1 cup (230g) sour cream
- 1 tablespoon vanilla extract
- 3 large eggs (room temperature)
Strawberry Cake Layers
- 2 ½ cups (325g) all-purpose flour
- 4 teaspoons (18g) baking powder
- ½ teaspoon salt
- ¾ cup (168g) unsalted butter (room temperature)
- 1 ½ cups (310g) sugar
- ¾ cup (173g) sour cream
- 2 tablespoons strawberry extract
- ½ cup (120ml) milk
- ½ cup (120ml) strawberry puree*
- 7 –8 drops pink food color
- 6 large egg whites (room temperature)
Cream Cheese Whipped Cream Frosting
- 16 ounces (452g) cream cheese (room temperature)
- 3 cups (720ml) heavy whipping cream (cold)
- 1 ¼ cups (144g) powdered sugar
- 1 tablespoon vanilla extract
- 6-10 strawberries (sliced)
- 3 strawberries (cut in half)
Instructions
Make the cheesecake layer
- Preheat oven to 300°F (148°C). Line the entire inside of a 9-inch (23cm) cake pan with aluminum foil. Press it into the pan to get it as flat as you can. You’ll use the aluminum foil to lift the cheesecake out of the pan when it’s baked and cooled.
- In a large mixer bowl, mix the cream cheese, sugar and flour together until well combined. Use low speed to keep less air from getting into the batter, which can cause cracks. Scrape down the sides of the bowl.
- Add the sour cream and vanilla extract and mix on low speed until well combined.
- Add the eggs one at a time, mixing slowly and scraping the sides of the bowl after each addition.
- Pour the cheesecake batter into the lined cake pan.
- Place the cake pan inside another larger pan. I use a larger cake pan, but you can use a roasting pan or any other larger pan. Fill the outside pan with enough warm water to go about halfway up the sides of the cake pan.
- Bake for 55 minutes. The center should be set, but still jiggly (See how to tell if your cheesecake is done baking).
- Turn off the oven and leave the cheesecake in the oven with the door closed for 30 minutes. Do not open the door or you’ll release the heat.
- Crack oven door and leave the cheesecake in the oven for another 30 minutes. This cooling process helps the cheesecake cool slowly to prevent cracks.
- Remove cheesecake from oven and chill until firm, 5-6 hours.
Make the cake layers
- Preheat the oven to 350°F (176°C). Line the bottoms of two 9-inch (23cm) cake pans with parchment paper and grease the sides.
- Combine the flour, baking powder and salt in a medium bowl. Combine the milk and strawberry puree in a measuring cup. Set both aside.
- In a large mixer bowl, cream the butter and sugar together on medium speed until light in color and fluffy, about 2-3 minutes.
- Add the sour cream and strawberry extract and mix until combined.
- Add half of the flour mixture to the batter and mix until combined. Add the milk/puree mixture to the batter and mix until combined. Add the remaining flour mixture and mix until well combined. Scrape down the sides of the bowl as needed to ensure everything is being combined, then stir in the food coloring. Set aside.
- Add the white eggs to another large mixing bowl and whip on high speed with the whisk attachment until stiff peaks form.
- Add the egg whites to the cake batter in two batches, gently folding until combined.
- Divide the batter evenly between the prepared cake pans. Bake for 27-30 minutes, or until a toothpick inserted in the middle comes out with a few crumbs.
- Remove the cakes from the oven and allow to cool for 2-3 minutes, then remove from pans to a cooling rack to finish cooling.
Make frosting and assemble
- To make the frosting, add the cream cheese to a large mixer bowl and beat until smooth, then set aside.
- Add the heavy whipping cream, powdered sugar and vanilla extract to another bowl and whip until it just begins to thicken.
- Add the cream cheese to the cream and whip on low speed until the cream cheese is incorporated, then increase speed to medium and whip until stiff peaks form. It will happen fairly quickly. Set aside.
- Use a large serrated knife to remove the domes from the top of the cakes. Place the first layer of cake on a serving plate or a cardboard cake round. Spread about 1 cup of frosting evenly on top of the cake layer.
- Use the aluminum foil to lift the cheesecake out of the cake pan, remove the foil and place the cheesecake on top of the cake.
- Spread another cup of frosting evenly on top of the cheesecake, then add the second layer of cake on top. If the sides of the cake don’t line up, use a serrated knife to trim off the excess cake or cheesecake.
- Frost the outside of the cake, then pipe swirls of the whipped frosting around the top edge of the cake. I used the Ateco 844 icing tip.
- Place sliced strawberries around the bottom edge of the cake. Place strawberry halves on top of the cake around the inside of the swirls. Pipe a small shell border around the bottom edge of the cake.
- Store the cake (in an airtight container, if possible) in the refrigerator until ready to serve. Cake is best if eaten within 3-4 days.
Notes
The nutrition facts provided are calculated using a third-party tool and are estimates only. Actual nutritional content may vary based on the ingredients and brands you use, as well as portion sizes. For accurate results, please consult a registered dietitian or nutritionist.
Categories:
Cakes and Cupcakes, Easter, Holidays, Recipes, Recipes with video, Sweets and Treats, Valentine's Day,


Love the strawberry and cream cheesecake recipe.
Made it for my husband’s birthday. It was a big success with the hole family.
So glad to hear that!
That looks amazing! I have a rasberry cheesecake cooling in the fridge tonight. I have always wanted to try the cheesecake cake and this recipe looks perfect! The video makes it look easy but Michael Jordan made slam dunking look easy also. 👌 We will see.
How do I get the cheesecake out of the foil exactly? Maybe it’s just not completely cooked yet… but it feels like it’s gonna fall apart if I try to remove it. Is it not cooked all the way?
It should be pretty firm. If not, it may be a touch less baked than I bake it. It may still be fine, just a little softer. Maybe try popping it in the freezer for 20 minutes so that you’re able to handle it easily.
Such a yummy recipe! Just was wondering what you would recommend on how I should transport it? I have about an hour 1/2 drive to make with the cake and want to make sure it stays cool!
Maybe try freezing it before the drive? I’m glad you’re happy with it!
Can you use cake flour instead of all purpose flour?
You can, but the final texture will be a little different. I personally prefer all purpose, but feel free to try the cake flour.
Hi Lindsay, what a great recipe! Do you think I can swap strawberries for frozen raspberries 1:1 or would that need any adjustments?
I would think that’d be fine without adjustments, but having not tried it, it’s hard to say for sure.
Hi! Is there a chance you remember what was the height of the whole cake or each layer? I’m planning to use your recipie as one of the layer and need to count its height 🙂
Thanks!
Gosh, I’m not totally sure. Probably 4-5 inches.
This cake was So good. I followed the recipe and tips and they helped. But, you need to change the name to: Disappering Strawberries and Cheescake layer cake. Everyone had a second slice
Ha! I’m glad it was such a hit!
Your recipe does not say to beat the egg whites until frothy. Do you just add them right to the batter as is?
I did not do that in this cake, I just added them as is. That said, I’ve been wanting to update the recipe to do that. You can really do it either way. I do think the texture is a little better if you whip the whites and fold them in at the end.
Showstopper!
I made this for a dear friend’s birthday and it was a hit. The cake is beautiful and was absolutely delicious. I will be making it again in a couple of weeks.Thank you again Lindsay for another fabulous recipe!
Awesome! I’m so glad you enjoyed it!