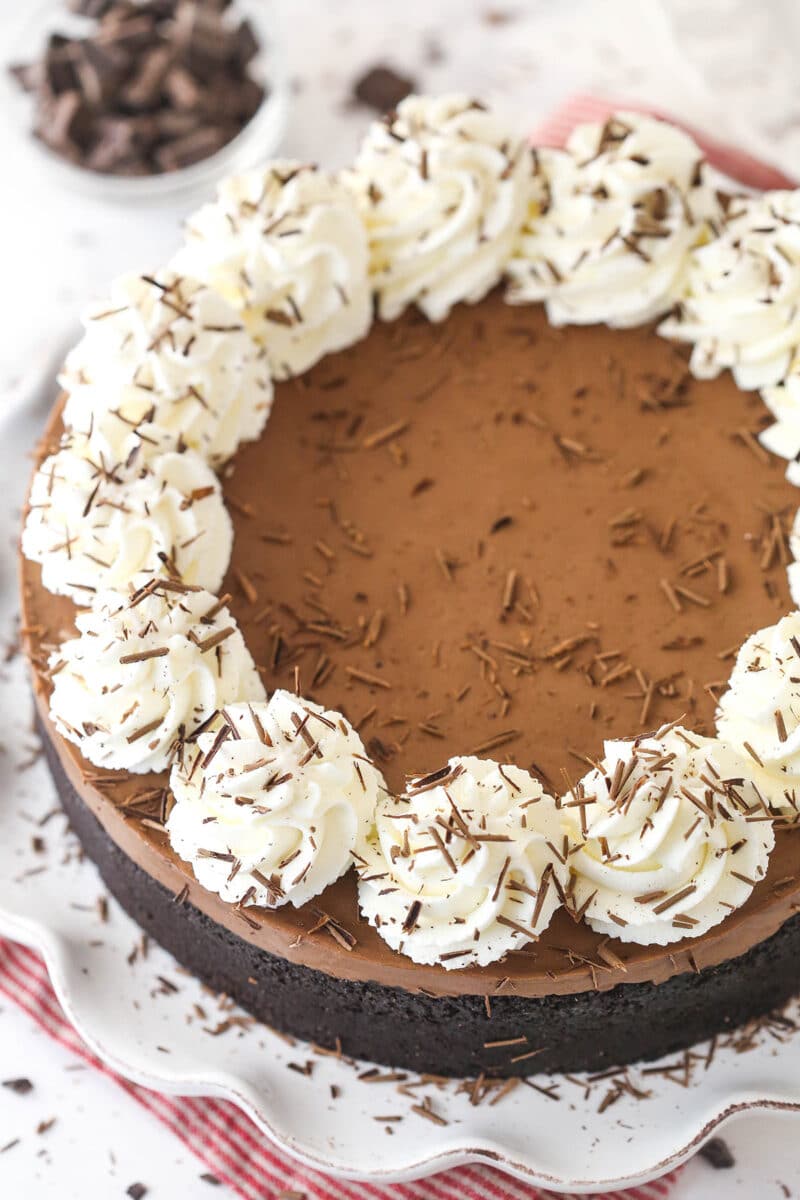
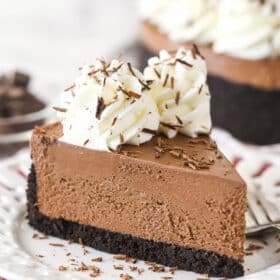
This No Bake Chocolate Cheesecake recipe is easy to make and requires no oven! It’s rich, creamy and full of chocolate flavor with melted chocolate, cocoa powder and a crunchy chocolate cookie crust! The perfect quick and easy dessert that’s sure to impress!

Why You’ll Love This No Bake Chocolate Cheesecake
While I love a good baked cheesecake, there are times when a no-bake cheesecake is exactly what you need, especially when a chocolate craving hits! This No-Bake Chocolate Cheesecake is so easy and quick to put together, you’ll be quenching that chocolate craving in no time. Here’s why I love it.
- Simple directions. No-bake cheesecakes typically don’t require a lot of ingredients or steps to put them together. And because it’s no-bake, there’s no water bath. This is a great choice for a beginning baker.
- Easy to make. The prep time to make the cheesecake is ridiculously fast. Just pop it in the fridge after putting all the ingredients together, and it will set on it’s own in about 5-6 hours. When I know I’m going to be busy or short on time, I like to make this in advance so that it’s ready when I need it.
- It’s so chocolatey! From the deep, rich chocolate Oreo crust to the luxurious filling, chocolate is the star of this show. My No-Bake Chocolate Cheesecake is a chocolate lovers dream come true! We’ll be using a combination of melted chocolate and cocoa powder to give it a really smooth chocolate flavor and thick texture.
- Amazing texture. It’s creamy and thick, despite not being baked. And there’s no need for gelatin or anything complicated. Melted chocolate helps with thickening the filling instead.
- Great to make ahead. Cheesecakes hold up really well in the fridge for 4-5 days, so it’s great for making ahead. They also freeze really well, so you can make this plenty in advance, if needed.

What You’ll Need
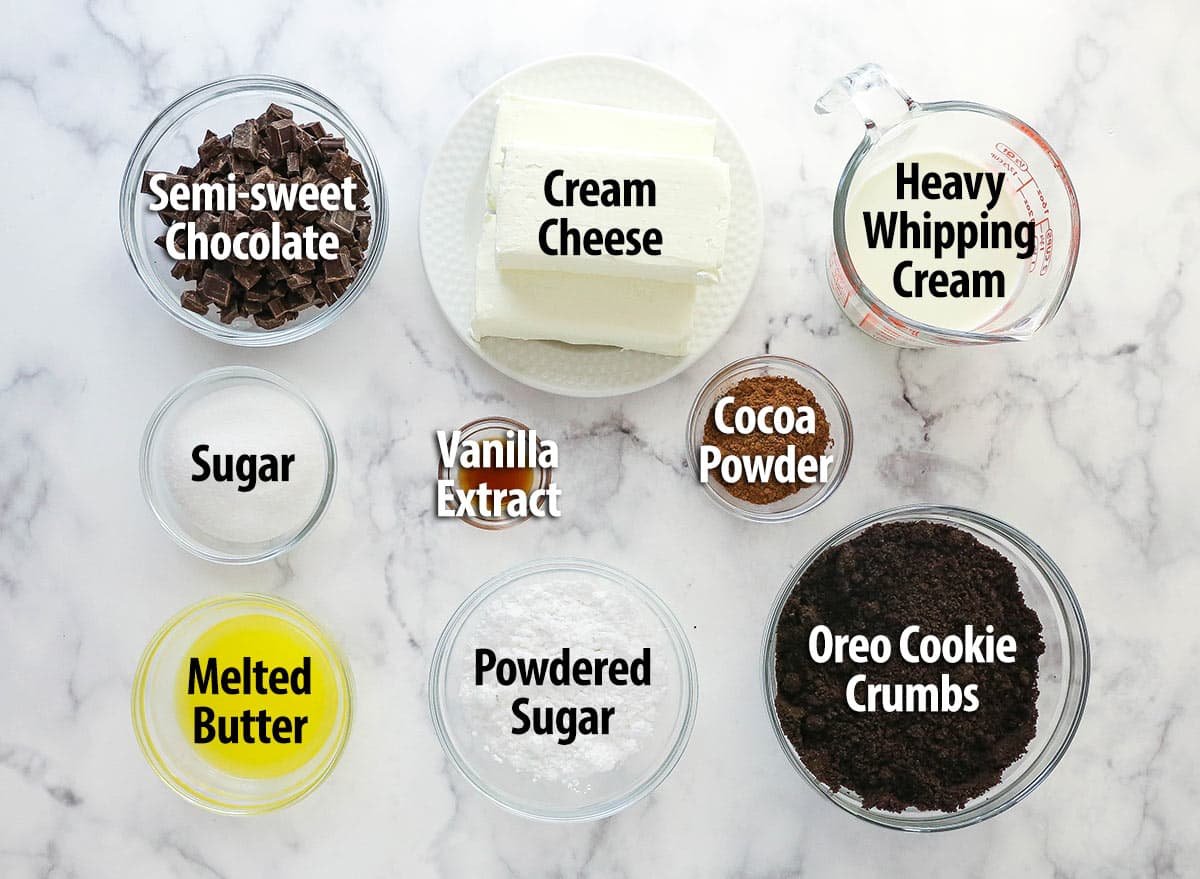
You won’t need much to make this chocolate cheesecake beauty. Check out my ingredient tips so that you can bake like a pro. Scroll down to the recipe card for the full ingredient list and amounts.
For The Oreo Crust
- Oreo cookie crumbs – Use the full cookie. No need to remove the filling.
- Butter – Use melted butter to bind the crust ingredients together. You can use salted or unsalted butter.
For The Chocolate Cheesecake Filling
- Cream cheese – This should be at room temperature so that it mixes well. Use brick-style cream cheese. The tub-style cream cheese is thinner and won’t firm up as well. The same goes for the fat content – use the full fat stuff. It’s worth it!
- Sugar – Use granulated sugar to help sweeten the cheesecake filling.
- Cocoa powder – Natural unsweetened cocoa powder amplifies the chocolate in the filling and gives the entire cheesecake a stronger chocolate flavor.
- Semi-sweet chocolate – The melted chocolate gives the cheesecake a really smooth chocolate flavor and thicker texture.
- Heavy whipping cream – Be sure that the heavy whipping cream is cold. Otherwise, it will not hold volume as well, and your cheesecake won’t firm up properly.
- Powdered sugar – Do not skimp on the powdered sugar. You need it to stabilize the whipped cream.
- Vanilla extract – For flavor.
What kind of chocolate to use in no bake chocolate cheesecake?
The type of chocolate you use in the cheesecake filling is important here. It does two things in this cheesecake. It gives it flavor and it helps to thicken it. As the melted chocolate cools and firms up, it helps firm up the cheesecake filling. Two things to keep in mind when choosing your chocolate:
- Use chocolate bars, not chips – While chocolate chips would be fine, chocolate bars are going to melt more smoothly and sometimes firm up a little better. They are also better quality for this particular job.
- Use a high chocolate percentage – Did you know that higher percentage chocolate is actually “thicker”, so to speak. The higher percentage refers to the amount of cocoa solids (or cocoa) added to the chocolate. the more that’s added to the chocolate, the more bitter is it. But a higher cocoa content means less room for fillers like sugar, vegetable oils, and other additives. So, when you melt a high percentage chocolate and add it to your cheesecake, it’ll be thicker than something like milk chocolate. This cheesecake ends up much thinner when made with lower percentages of chocolate, so stick with a semi-sweet chocolate or something around 60% and up. It may be a more bitter chocolate, but you’re added it to a cheesecake that will sweeten it up.

How to Make No Bake Chocolate Cheesecake
Putting this No Bake Chocolate Cheesecake together couldn’t be simpler. Check out the recipe card down below for full instructions.
To Make The Crust
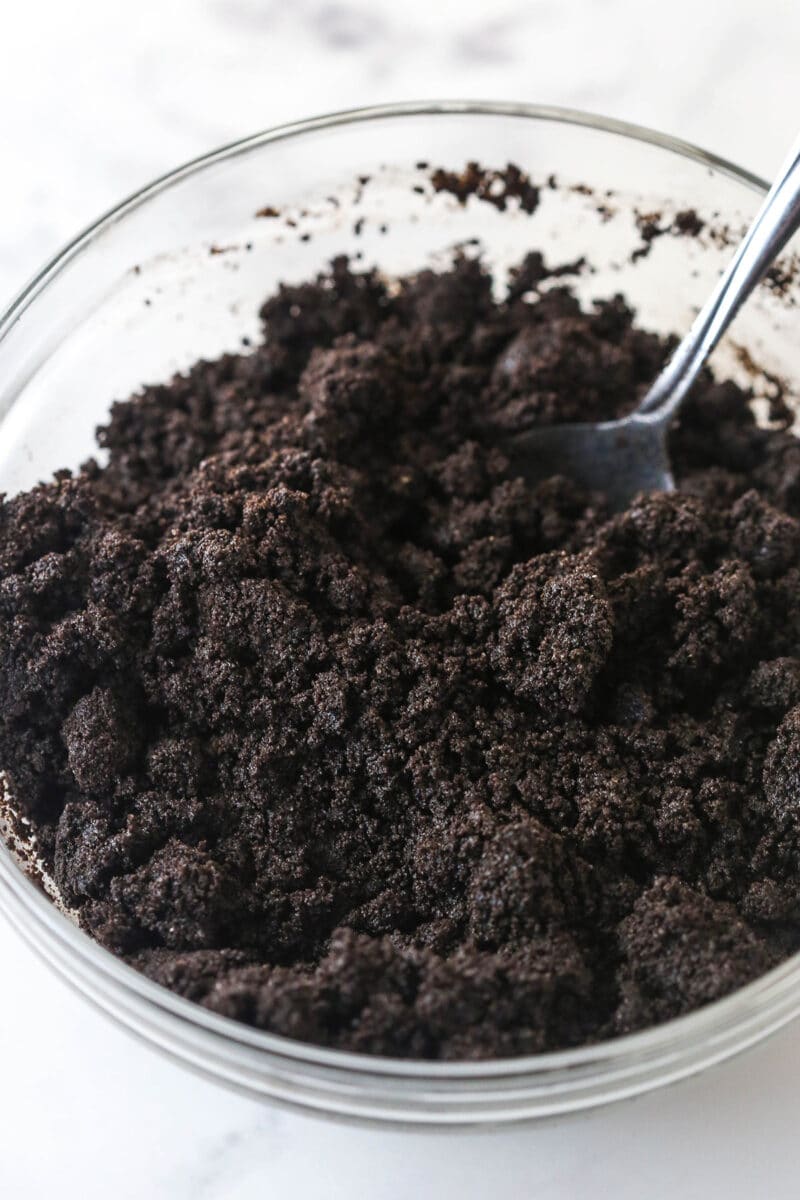
- Mix crumbs and butter. In a small bowl, combine the Oreo cookie crumbs and melted butter and mix well.
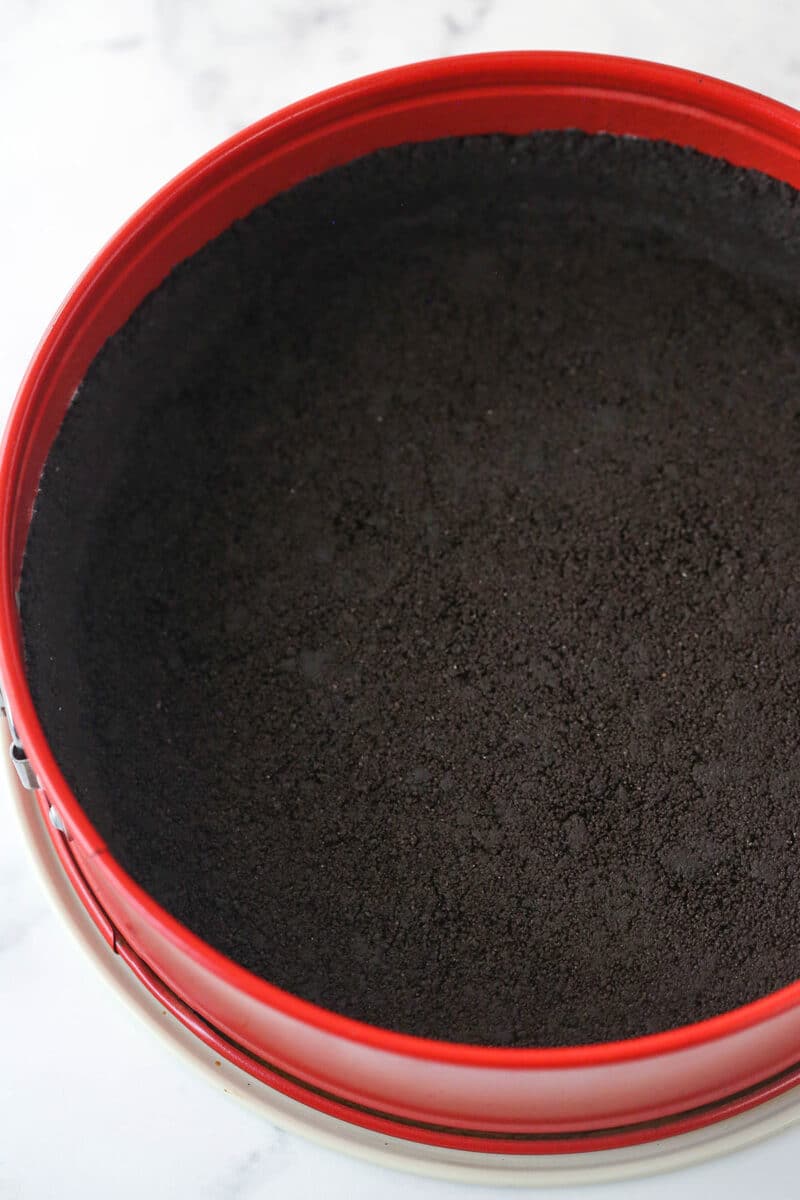
- Press into pan. Press the mixture into the bottom and up the sides of a 9-inch springform pan. Set in the fridge to chill.
To Make The Filling
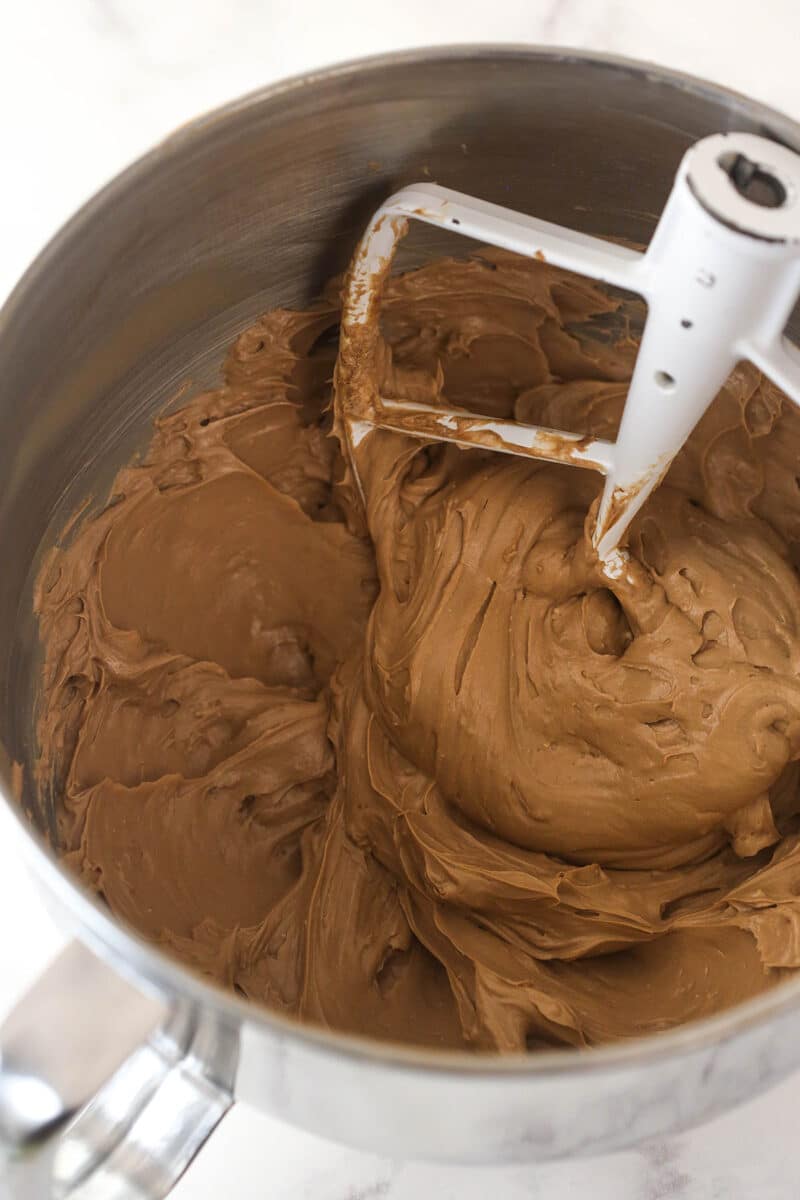
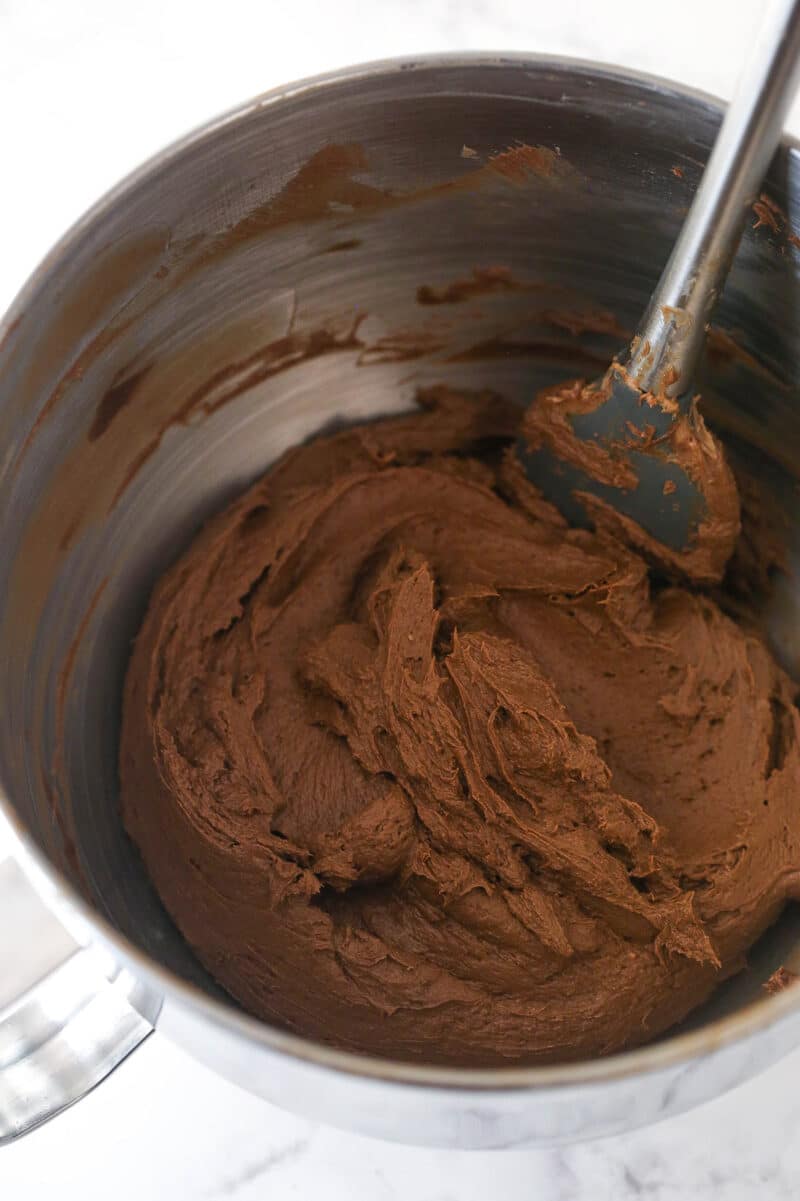
- Mix the cream cheese, sugar, and cocoa powder. In a large mixer bowl, beat the cream cheese, sugar and cocoa until it’s well combined and smooth.
- Stir in melted chocolate. Add the melted chocolate and mix until well combined and smooth.
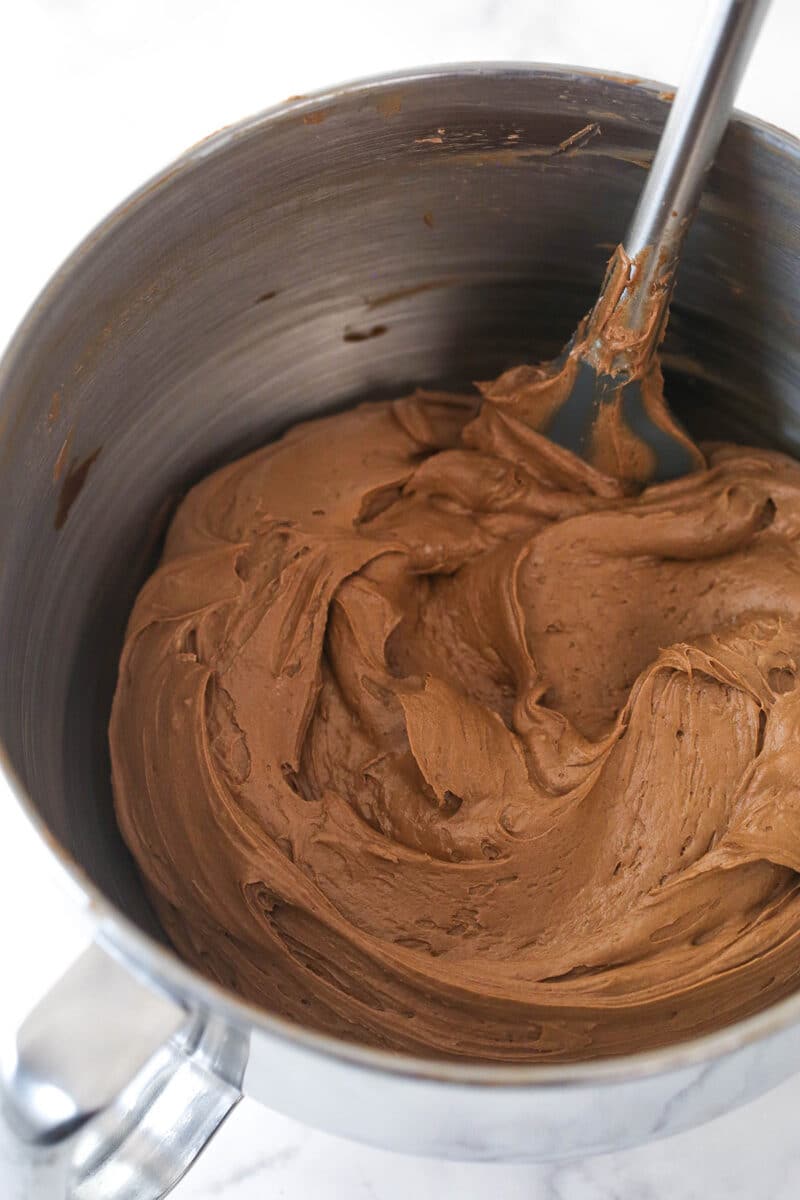
- Make whipped cream. In another large mixer bowl, add the heavy whipping cream, powdered sugar and vanilla extract. Whip on high speed until stiff peaks form.
- Fold in whipped cream. Carefully fold the whipped cream into the cream cheese mixture in two parts until well combined.
To Assemble The Cheesecake
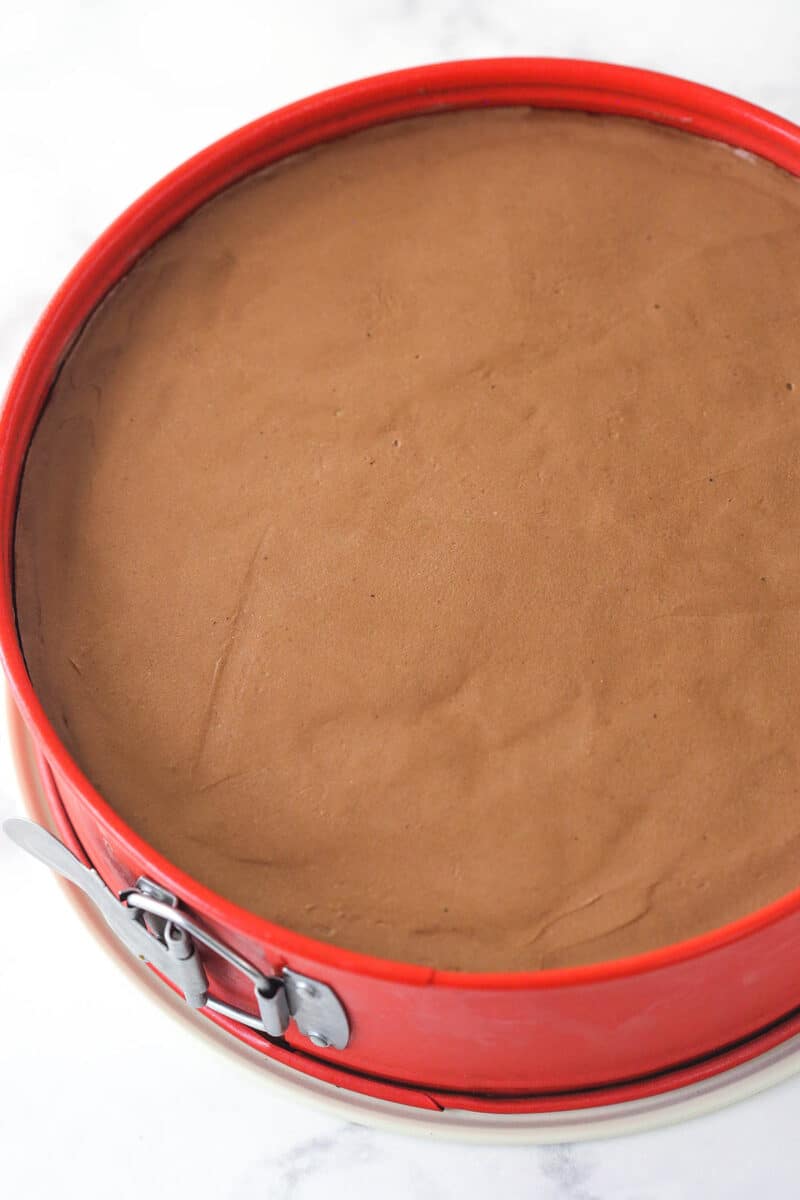
- Fill the crust. Add the filling to the crust and spread into an even layer.
- Place in fridge. Refrigerate cheesecake until firm, 5-6 hours or overnight.
- Remove from pan. To finish off the cheesecake, remove it from the springform pan and set on a plate or serving platter.
- Make whipped cream. Add the heavy whipping cream, powdered sugar and vanilla extract for the whipped cream topping to a large mixer bowl. Whip on high speed until stiff peaks form.
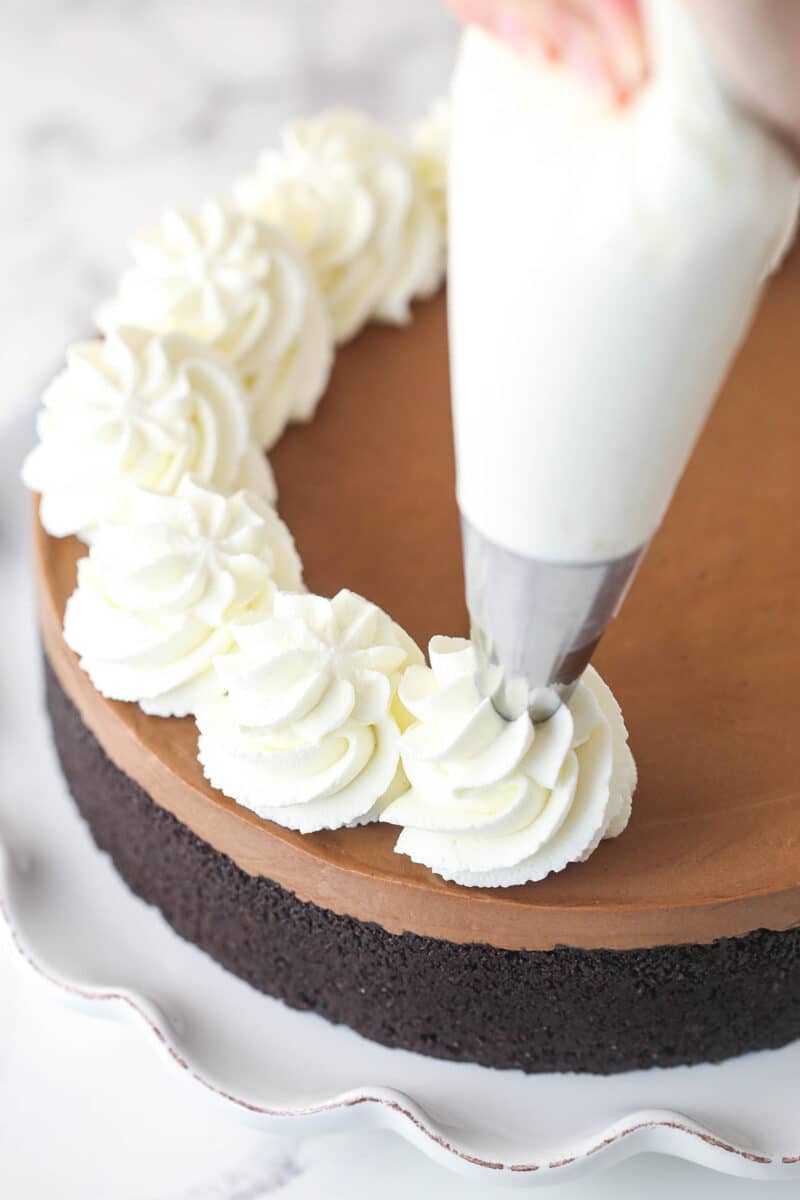
- Decorate. Pipe swirls of whipped cream around the edge of the cheesecake. Top the cheesecake off with your desired toppings, such as chocolate shavings.
Tips for Success
These simple suggestions will help guide you through the process of making this no-bake cheesecake recipe. Make sure to read them thoroughly for best results.
- Use a food processor. It’s best to grind up the Oreos in a food processor until you are left with fine crumbs. Big chunks can cause your crust to crumble when. you cut into it. Don’t remove the cookie filling. You’ll grind the whole cookie because the filling helps to bind the crust together, along with the butter.
- Use a springform pan. It makes removing the cheesecake from the pan so much easier. On that note, be sure to grease the pan and add a parchment circle in the bottom. Both help the cheesecake not stick to the pan.
- Full-fat cream cheese is a must. You’ll want to use a good quality, full-fat cream cheese. Low-fat cream cheese has a higher water content, so it won’t set as well. I highly recommend using bricks instead of cream cheese from a tub. The tub variety is thinner and will cause issues for your cheesecake when it’s time to set.
- Bring the cream cheese to room temperature. It’s easier to blend together the filling without lumps when the cream cheese is soft.
- Use both kinds of chocolate. A combination of melted chocolate and powdered cocoa will give the cheesecake a stronger overall flavor of chocolate.
- Whip to stiff peaks. To make sure your cheesecake filling has the thick texture we want, keep whipping until you have stiff peaks.
Variation Ideas
This cheesecake is amazing as it is, but you can certainly use this as a base for making various versions. Here are a few ideas to get you started with toppings and options.
- Add a drizzle or topping – Chocolate ganache would go great on top. You could drizzle it on or add a full layer on top. My Easy Caramel Sauce would also be great. You could even switch up up with my Bourbon Caramel Sauce. And Raspberry Sauce and Strawberry Sauce would also add a nice touch of fruit.
- Whipped cream – This cheesecake already uses my homemade whipped cream, but you could also use cream cheese whipped cream, strawberry whipped cream or Baileys whipped cream.
- Mix-ins – Add some chopped Oreos and make a chocolate version of my No Bake Oreo Cheesecake. You could even add some chopped Reese’s, like in my No Bake Reese’s Peanut Butter Cheesecake, or add any type of chopped candy or cookie.

How to Store No Bake Cheesecake
- Refrigerator. If you find yourself with leftovers, seal the cheesecake in an airtight cake carrier or wrap it in a double layer of plastic wrap. If you use plastic wrap, I suggest using toothpicks to prop it away from the topping. You could also arrange slices in a single layer in an airtight container and store it that way. This cheesecake will keep in the fridge for up to 5 days.
- Freezer. Pop the cheesecake in the freezer for a couple of hours to firm up before wrapping it in a double layer of plastic wrap. I suggest freezing it before adding the toppings. Sliced it? Arrange the slices in a single layer in a freezer-safe airtight container. You can store the cheesecake in the freezer for up to 3 months. Allow it to thaw in the fridge before adding toppings and serving.
More No Bake Cheesecake Recipes
When you need chocolate, nothing else will do! Here are a few more chocolate lovers recipes to try.
- No Bake Nutella Cheesecake
- No Bake Reese’s Cheesecake
- No Bake Bailey’s Chocolate Cheesecake
- Best No Bake Cheesecake
- No Bake Strawberry Cheesecake
- No Bake Oreo Cheesecake
- No Bake Lemon Cheesecake
- No Bake Blueberry Cheesecake
Watch How to Make It
Easy No Bake Chocolate Cheesecake
- Prep Time: 45 minutes
- Chill Time: 5 hours
- Total Time: 5 hours 45 minutes
- Yield: 12–14 slices 1x
- Category: Dessert
- Method: No Bake
- Cuisine: American
Description
This No Bake Chocolate Cheesecake recipe is easy to make and requires no oven! It’s rich, creamy and full of chocolate flavor with melted chocolate, cocoa powder and a crunchy chocolate cookie crust! The perfect quick and easy dessert that’s sure to impress!
Ingredients
Oreo Crust
- 2 3/4 cups (369g) Oreo cookie crumbs (about 31 oreos)
- 5 tbsp (70g) butter (salted or unsalted), melted
Chocolate Cheesecake Filling
- 24 oz (678g) cream cheese, room temperature
- 1/2 cup (104g) sugar
- 3 tbsp (21g) natural unsweetened cocoa powder
- 8 oz semi-sweet chocolate, melted
- 1 1/4 cups (300ml) heavy whipping cream, cold
- 3/4 cup (86g) powdered sugar
- 1 tsp vanilla extract
Whipped Cream Topping
- 1 cup (240ml) heavy whipping cream, cold
- 1/2 cup (58g) powdered sugar
- 1 tsp vanilla extract
- Desired toppings, such as chocolate shavings, fresh fruit, mini chocolate chips, sprinkles, etc.
Instructions
For the crust
- Line a 9-inch (23cm) springform pan with parchment paper in the bottom and grease the sides.
- Combine the crust ingredients in a small bowl. Press the mixture into the bottom and up the sides of the springform pan.
- Place the crust in the fridge while you make the filling.
For the filling
- In a large mixer bowl, beat the cream cheese, sugar and cocoa powder together until well combined and smooth.
- Add the melted chocolate and mix until well combined and smooth. Set aside.
- In another large mixer bowl, add the heavy whipping cream, powdered sugar and vanilla extract and whip on high speed until stiff peaks form.
- Gently fold the whipped cream into the cream cheese mixture in two parts until well combined..
- Add the filling to the crust and spread into an even layer. Refrigerate cheesecake until firm, 5-6 hours or overnight.
For the whipped cream topping
- Add the heavy whipping cream, powdered sugar and vanilla extract to a large mixer bowl and whip on high speed until stiff peaks form.
- Remove your cheesecake from the springform pan and set it on a plate or serving platter, then pipe the whipped cream around the rim of the cheesecake. I used Ateco tip 844.
- Top the cheesecake off with your desired toppings, such chocolate shavings, mini chocolate chips, sprinkles, etc.
- Store the cheesecake in the fridge until ready to serve. Cheesecake is best if eaten within 4-5 days.
Notes
Chocolate. Be sure to use semi-sweet chocolate or something with a 60% or higher cocoa amount. Using less will give you a cheesecake that isn’t as firm.
Refrigerator storage. If you find yourself with leftovers, seal the cheesecake in an airtight cake carrier or wrap it in a double layer of plastic wrap. If you use plastic wrap, I suggest using toothpicks to prop it away from the topping. You could also arrange slices in a single layer in an airtight container and store it that way. This cheesecake will keep in the fridge for up to 5 days.
Freezing. Pop the cheesecake in the freezer for a couple of hours to firm up before wrapping it in a double layer of plastic wrap. I suggest freezing it before adding the toppings. Sliced it? Arrange the slices in a single layer in a freezer-safe airtight container. You can store the cheesecake in the freezer for up to 3 months. Allow it to thaw in the fridge before adding toppings and serving.
Nutrition
- Serving Size: 1 Slice
- Calories: 490
- Sugar: 36 g
- Sodium: 283.6 mg
- Fat: 33.3 g
- Carbohydrates: 44.2 g
- Protein: 7.2 g
- Cholesterol: 80.4 mg
Categories:
Cheesecakes, Holidays, No Bake Desserts, Recipes, Recipes with video, Sweets and Treats, Valentine's Day,


Made for my 12th birthday! Thank you so much for the amazing recipe! It was delicious!
I’m so glad to hear it! Happy Birthday!
I made chocolate cheesecake for my grandson turning 16. He will love it. Put fresh raspberries on top of cream and grated chocolate.
OMGOODNESS!!!!! I Made this for my daughter’s 40th birthday and it was a HIT!!! Everyone wanted the recipe 😁👍. Thank you Lindsey for such a Yummy cheesecake recipe 🤤
Very very tasty!
Finally a new recipe to enter my list of favorites, thank you! =)
I’m so glad to hear that!