This Reese’s Peanut Butter Chocolate Icebox Cake is a peanut butter and chocolate lover’s dream. Plus, it’s no bake and so easy to make. It’s basically the perfect dessert. 🙂
Reese’s Peanut Butter Chocolate Icebox Cake
So this past weekend was full of a relative amount of relaxation. Probably the most I’ve relaxed since last summer. I even went shopping! Boy it’s been a long time.
The only problem with shopping is…well…trying things on. Not my favorite part. There are some days when you feel great in everything and want to buy anything you put on. Then there are days where it feels like everything looks terrible and you don’t feel good in anything.
Unfortunately it was one of those weekends where I didn’t feel so great. I think I’m going to blame it on the clothes. The selection just doesn’t seem so hot – like ever. That’s actually why I did Stitch Fix for so long. I got so tired of the things you find/don’t find in stores. I stopped Stitch Fix over the winter and I’m thinking I might have to start it back up.
These are real problems people. 😉
That and when I can find the time to make this icebox cake again. It definitely needs to happen again.
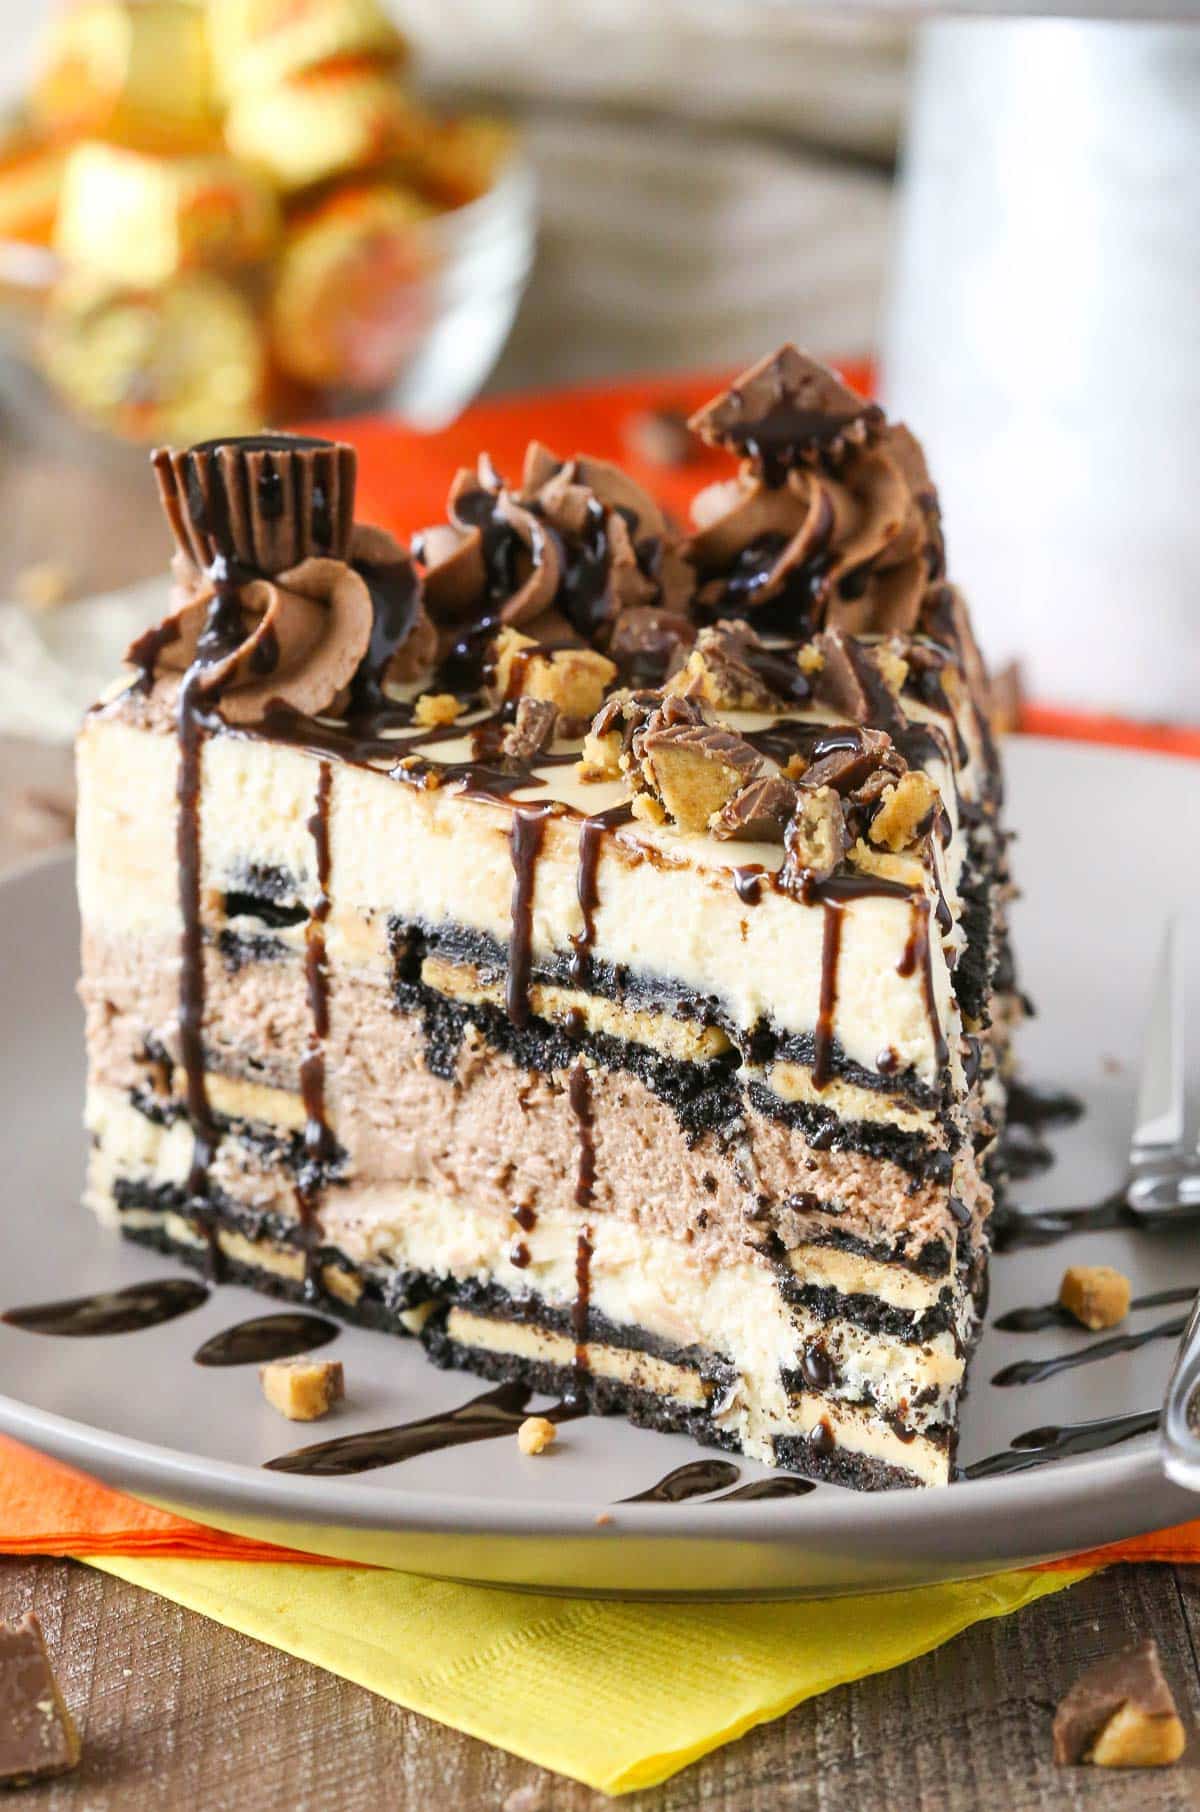
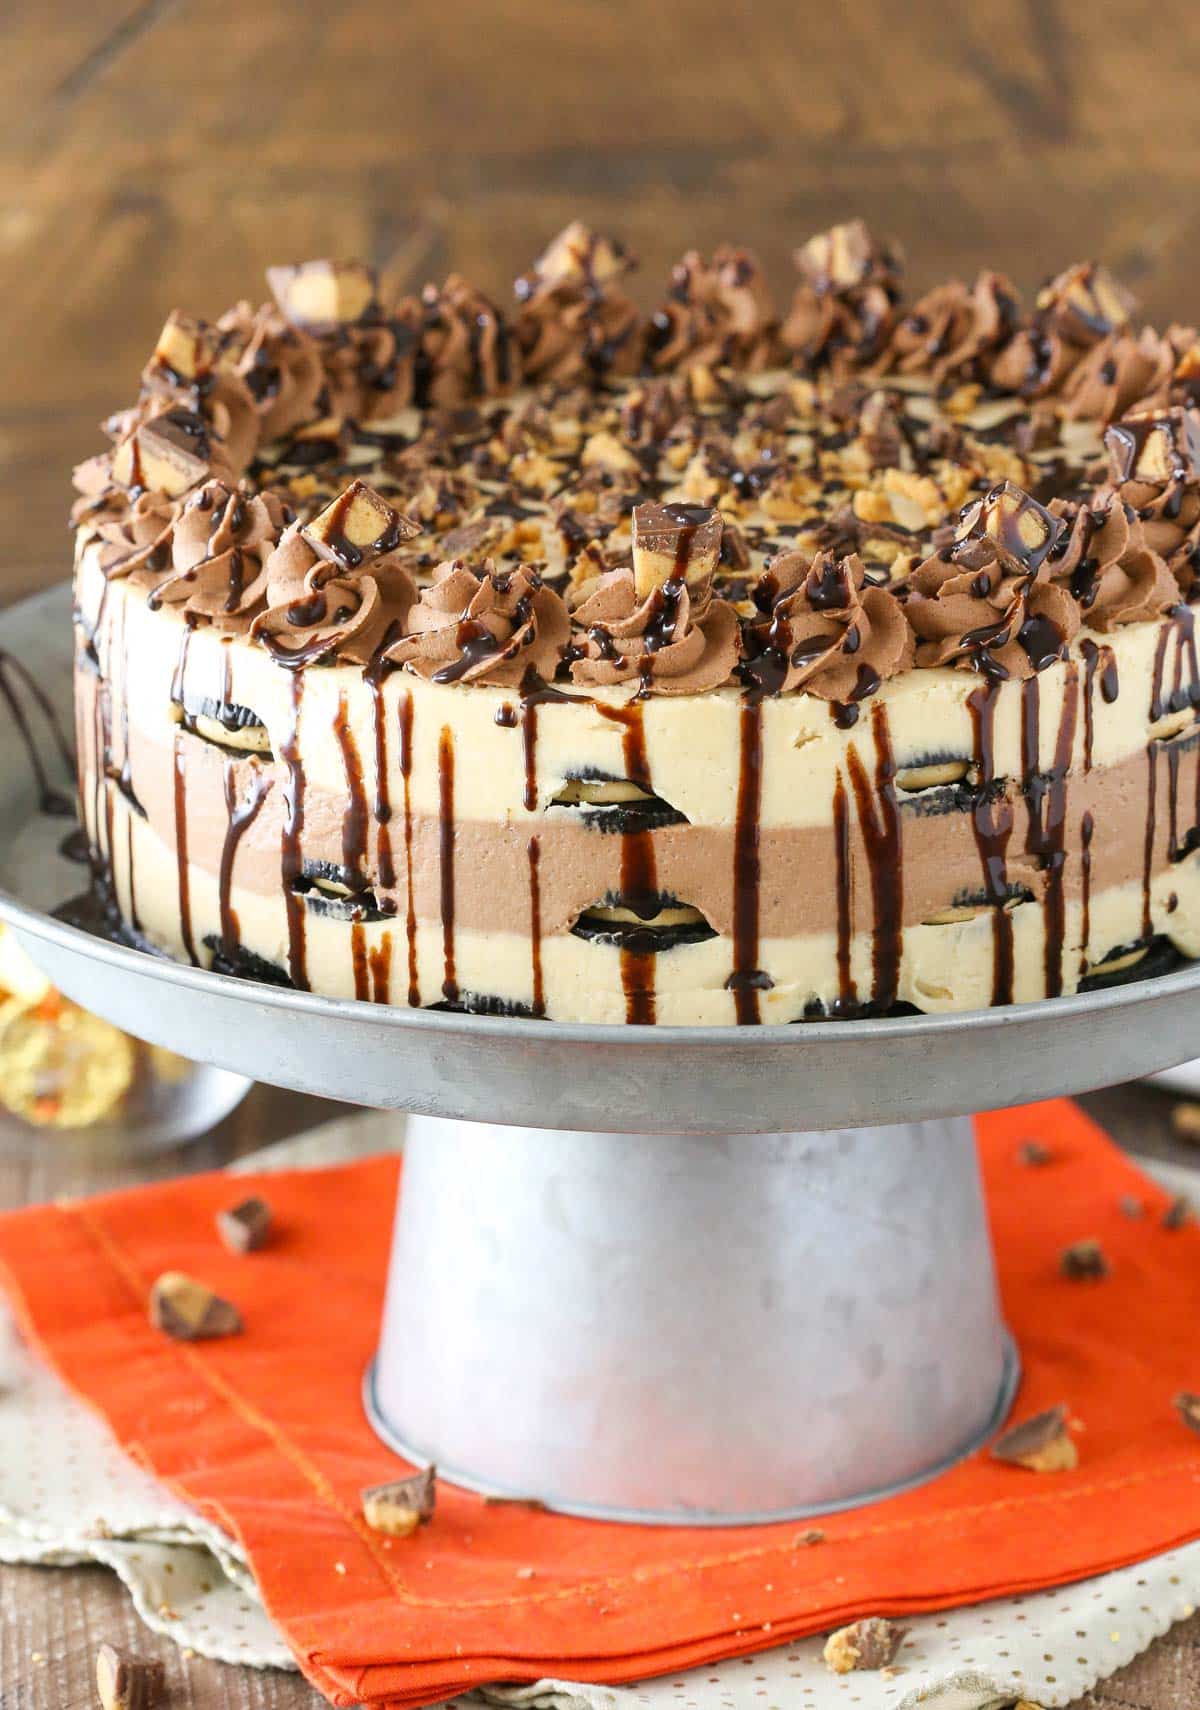
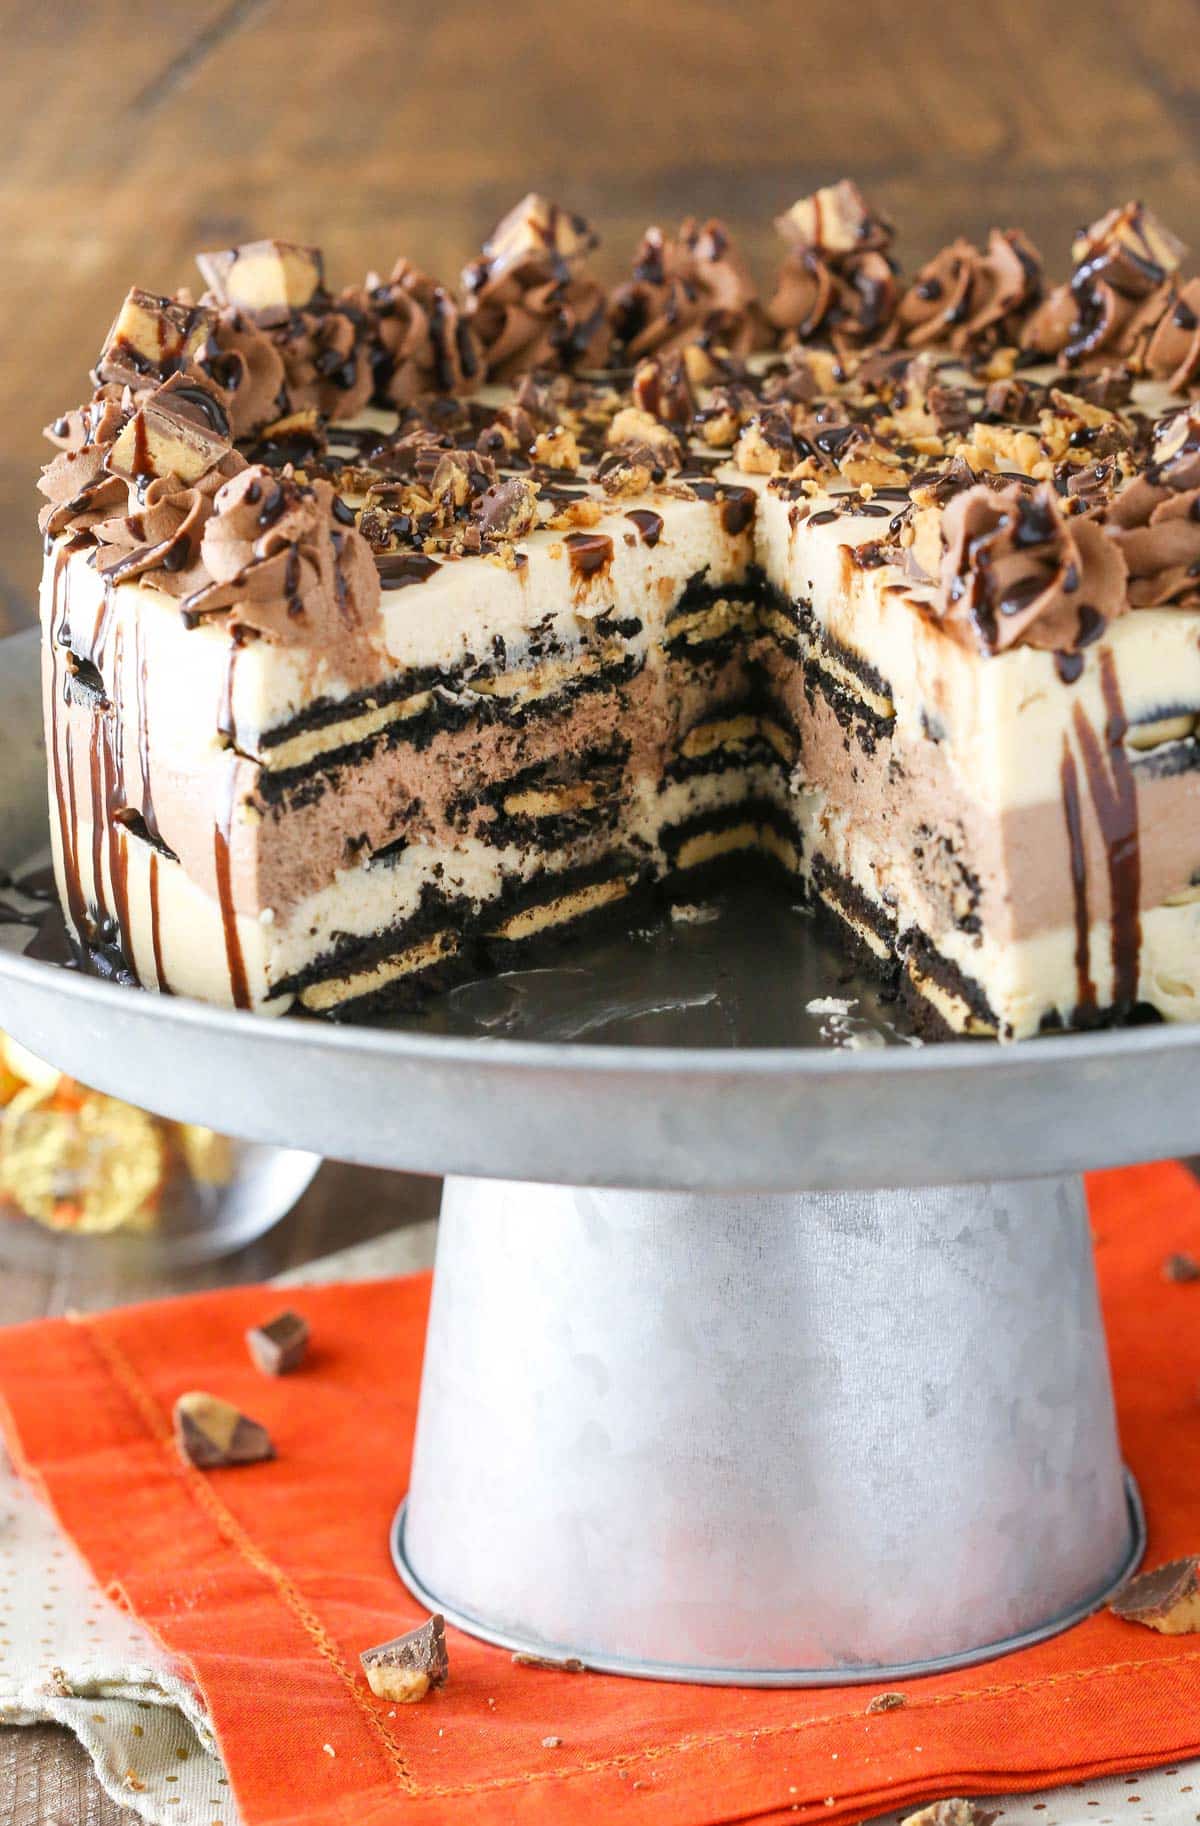
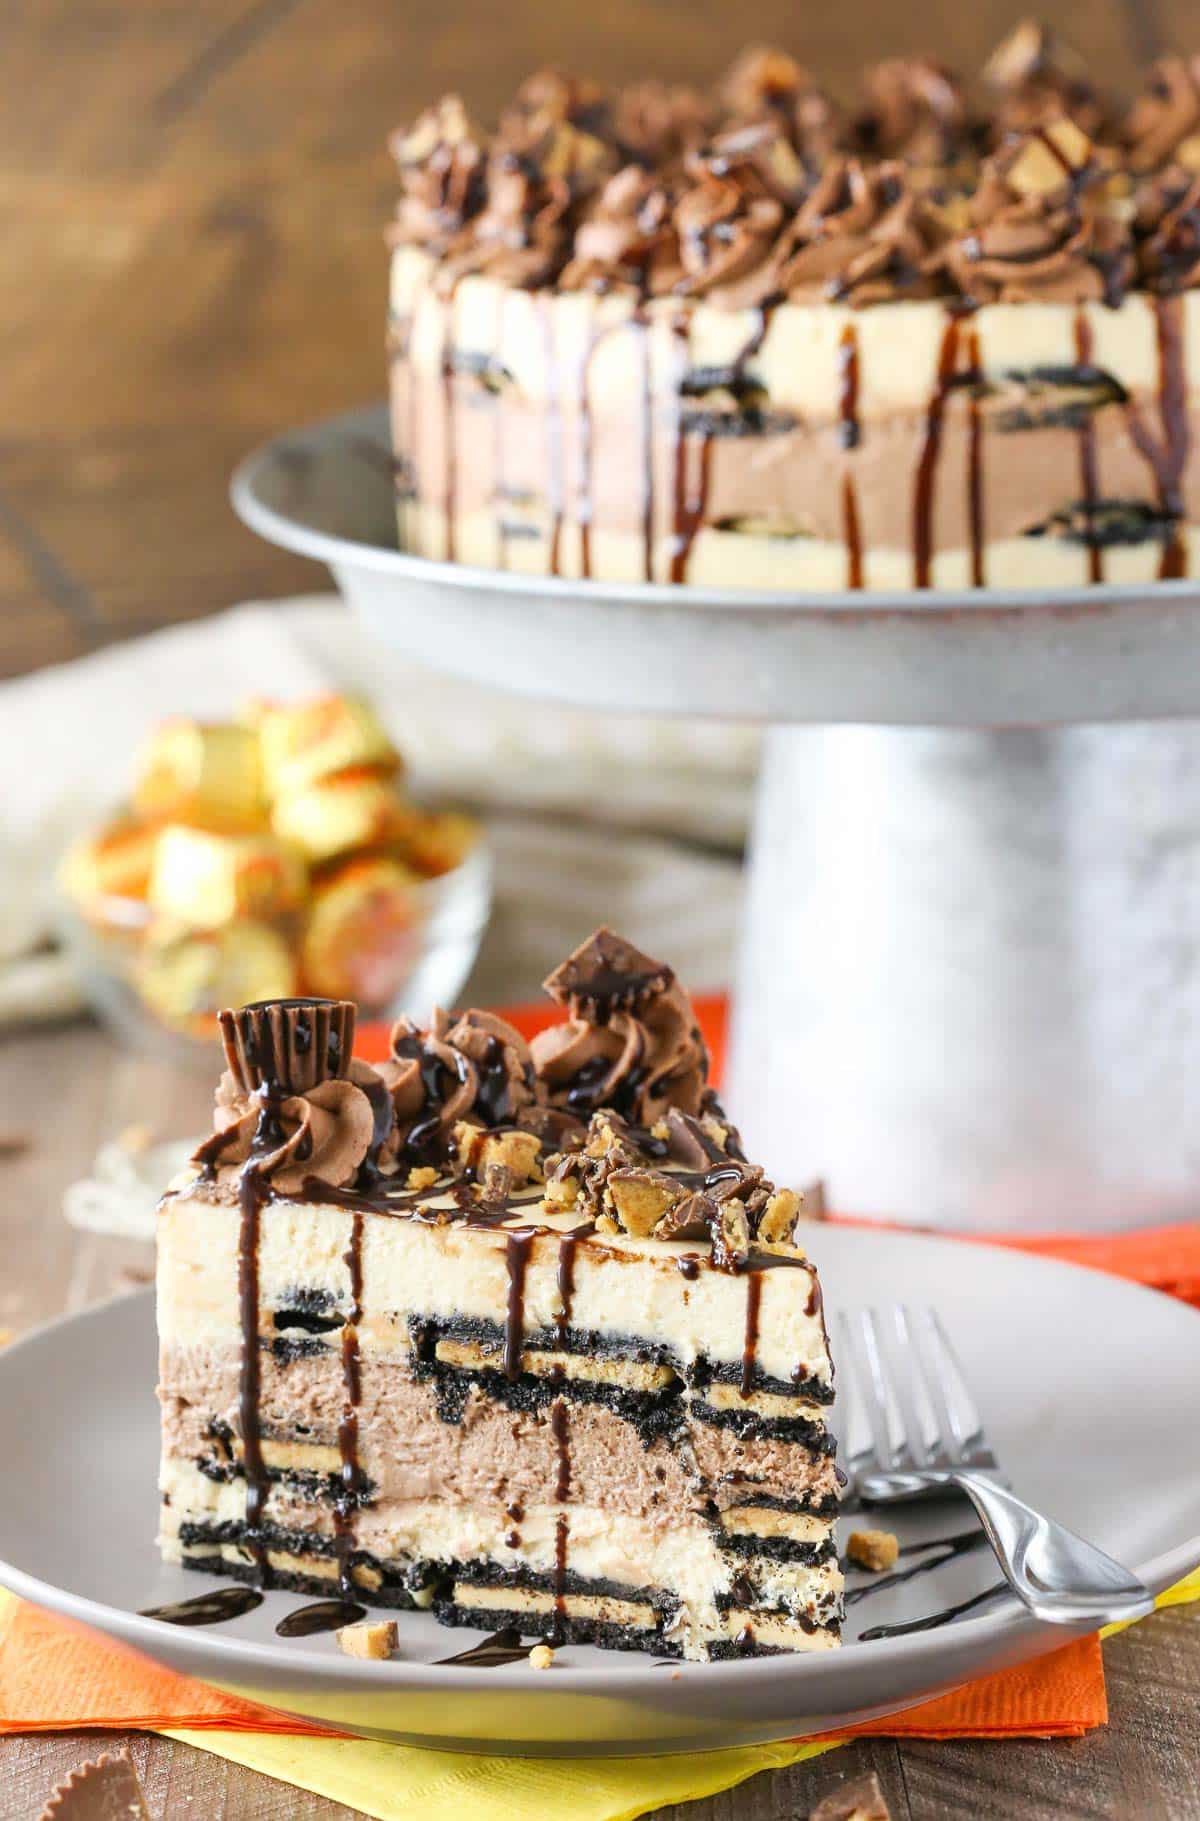
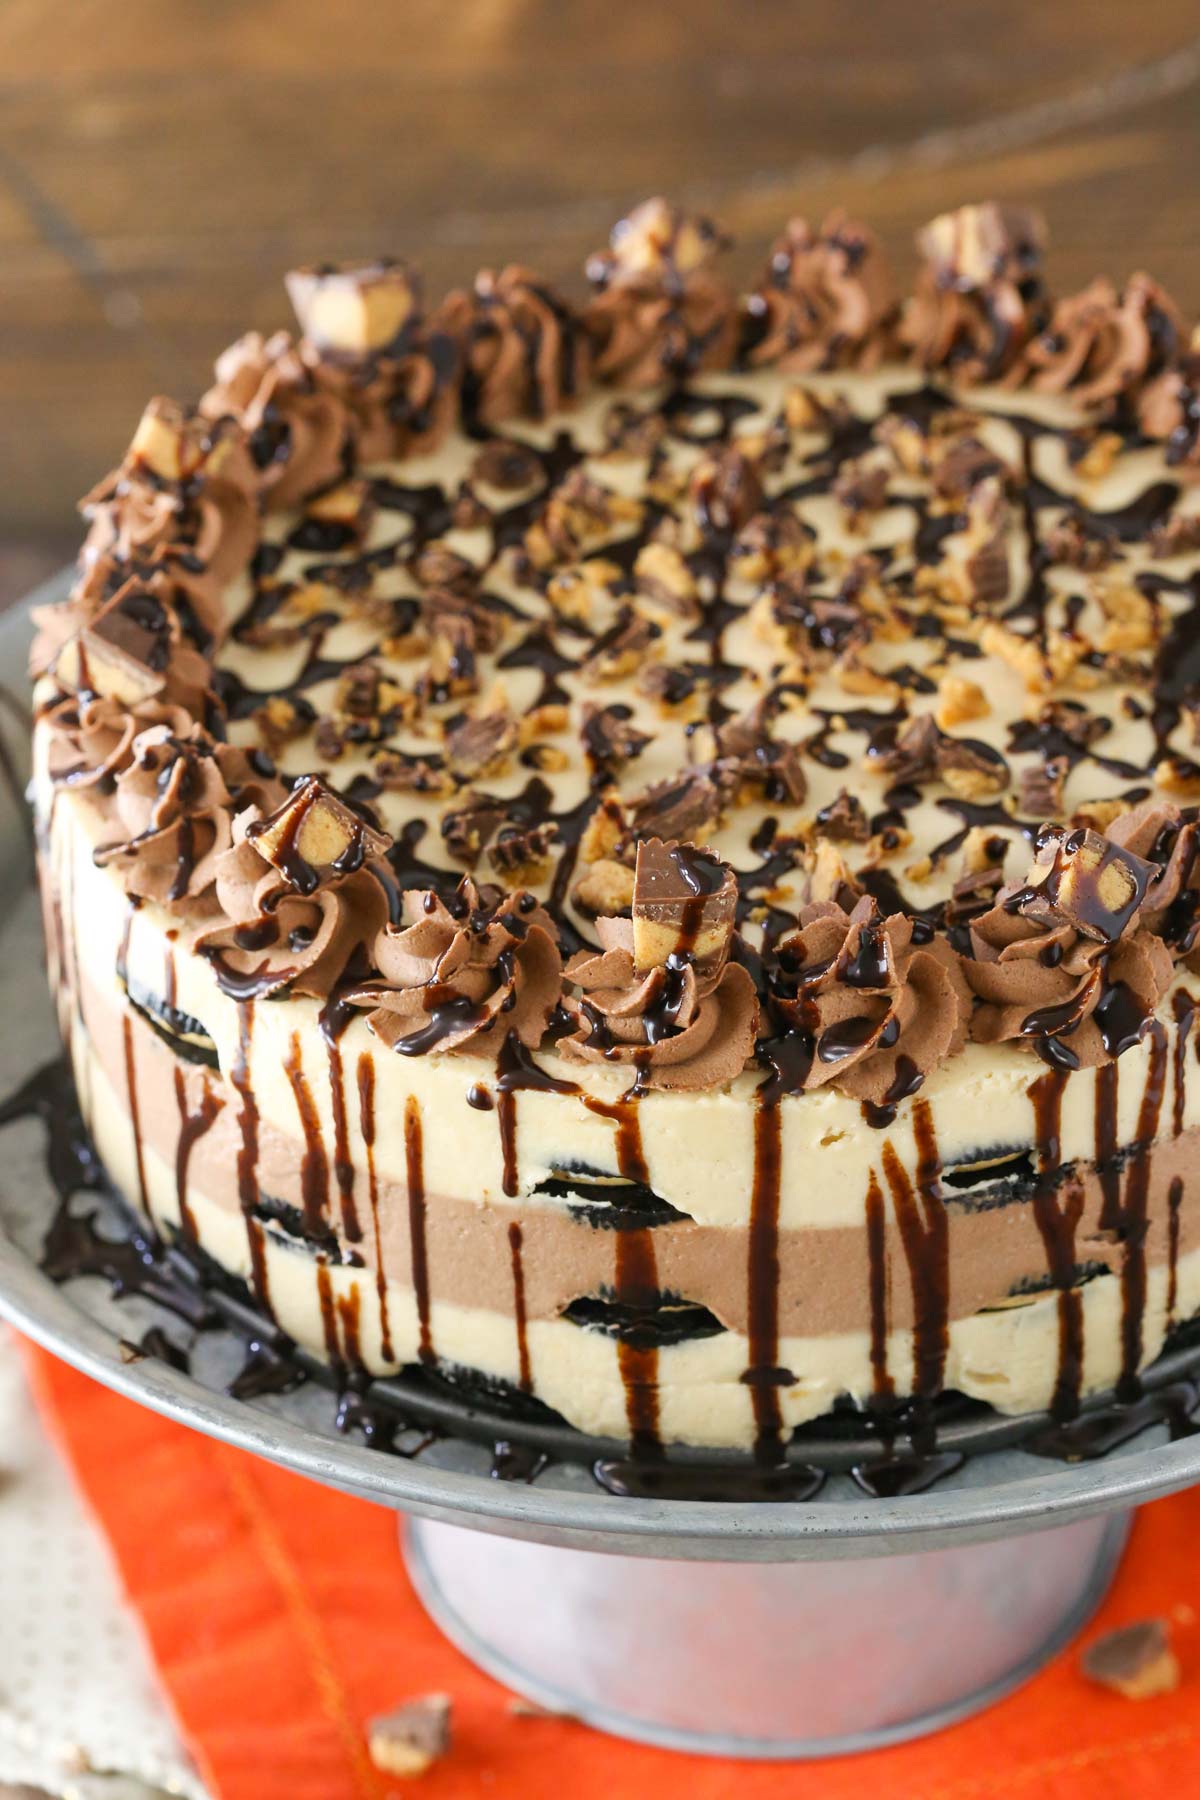
You guys this cake really is to die for. The flavors are perfect – they are just enough. Plenty of peanut butter and chocolate flavor, but not over powering. And I’m all about things that not only taste good, but look good and I love the alternating layers. The chocolate in the middle is just pretty.
How to Make This Icebox Cake
Plus, easy. I am so all about easy sometimes. This icebox cake would be great for a gathering or a potluck. The flavors aren’t the lightest, but the mousse it quite light. You really feel like you’re getting a solid dessert, but it’s not heavy.
The mousse layers are made by combining cream cheese and sugar with a little milk, then adding whipped cream which gives it that light-ness. Divide the batter up into parts and flavor one with peanut butter and one with chocolate. So easy, right?
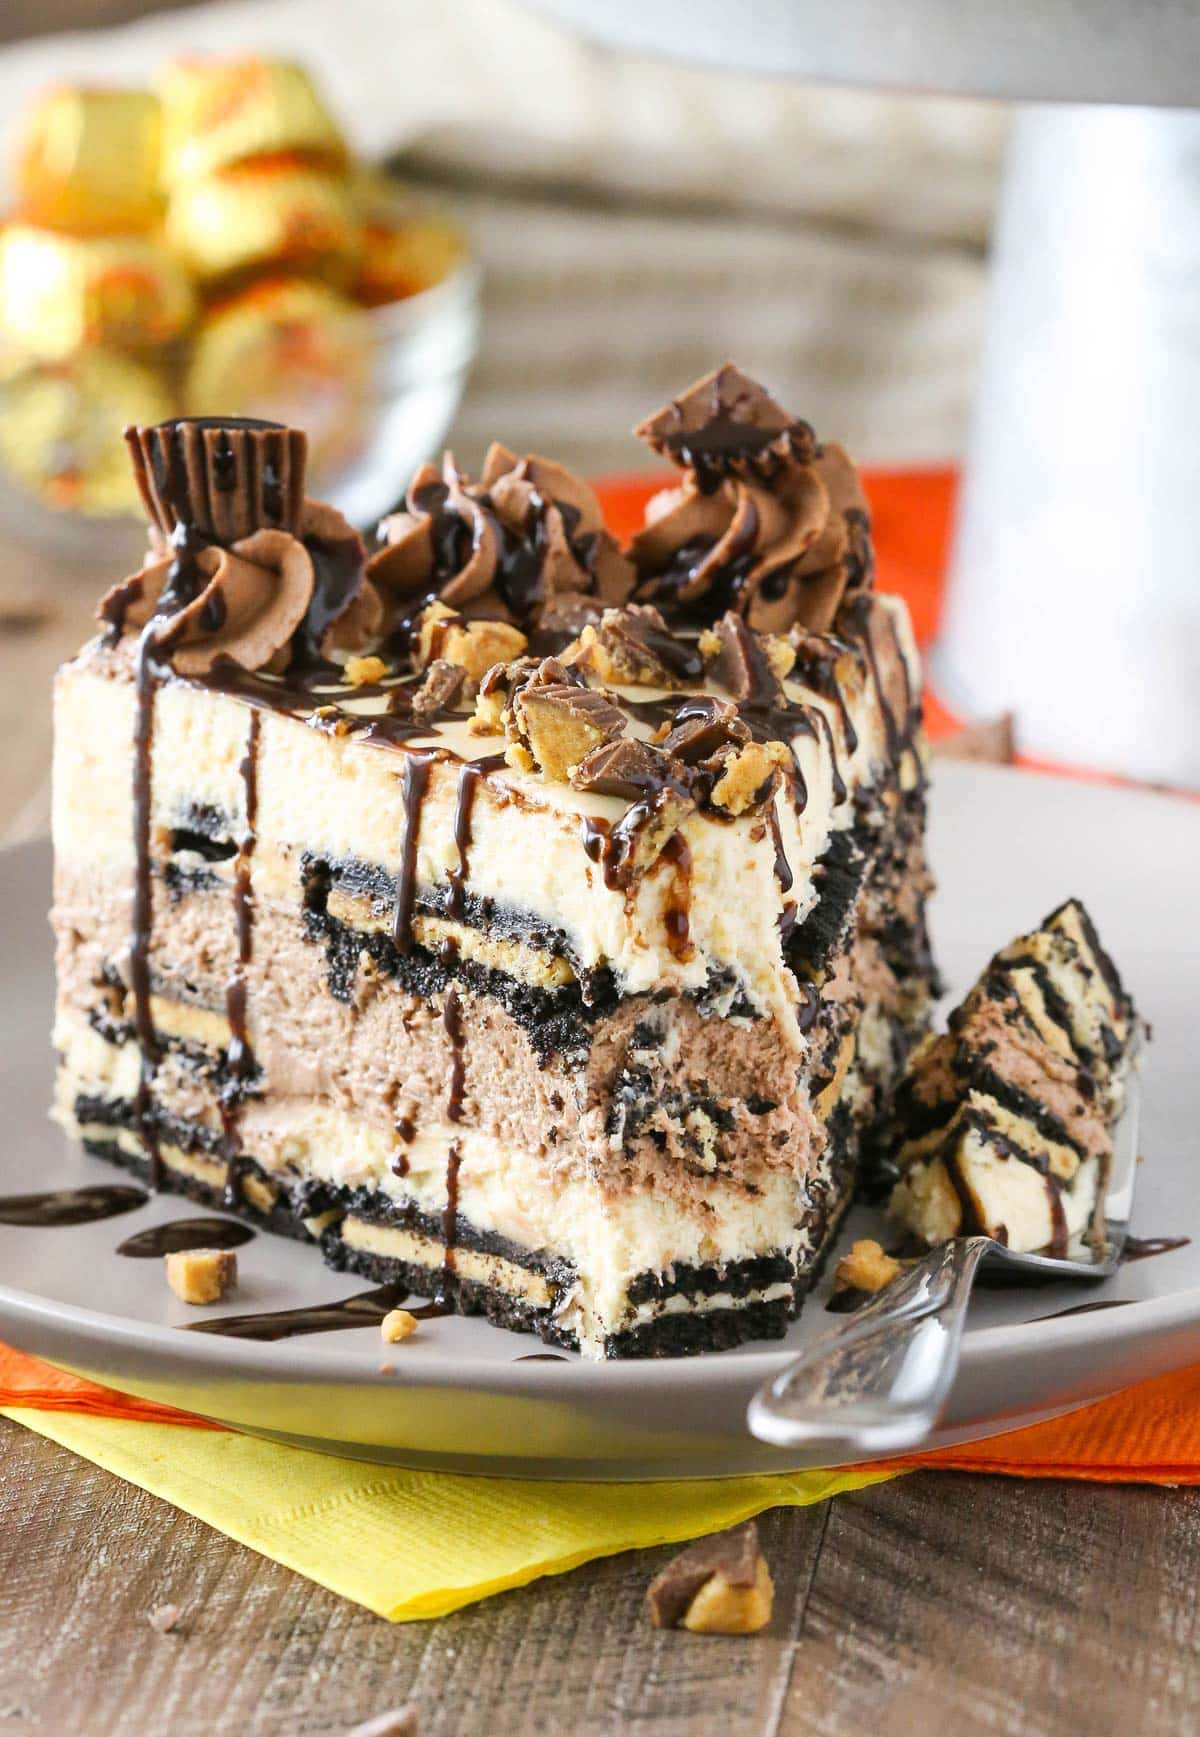
It’s layered with Oreos, which may be one of the best cookies ever. Then topped with Reese’s? I mean really. If there was an achilles heel for peanut butter and chocolate lovers, this would be it. The hardest part is waiting for it to firm up in the fridge so you can dig in.

You might also like:
- Peanut Butter Chocolate Buckeye Cupcakes
- Peanut Butter Chocolate Chip Macaroons
- Peanut Butter Chocolate Mousse Cake
- No Bake Reese’s Peanut Butter Cheesecake
- Reese’s Peanut Butter Chocolate Chip Cookie Cake
- Peanut Butter Truffle Chocolate Cake
Watch How To Make It

Reese’s Peanut Butter Chocolate Icebox Cake
save this recipe
Enter your email & we’ll send it to your inbox. Plus get new recipes from us every week!
Ingredients
Mousse Layers
- 12 ounces (339g) cream cheese (room temperature, I use Challenge Cream Cheese)
- ¾ cup (155g) sugar
- 2 tablespoons (30ml) milk
- 2 ½ cups (600ml) heavy whipping cream (cold)
- 1 teaspoon vanilla extract
- 1 ¼ cups (144g) powdered sugar
- ½ cup peanut butter
- 2 tablespoons natural unsweetened cocoa powder
Cookie Layers
- ½ cup (120ml) milk
- 2 boxes Peanut Butter Oreos (15.25 oz boxes)
Chocolate Whipped Cream
- ½ cup (120ml) heavy whipping cream (cold)
- 2 tablespoons (14g) powdered sugar
- 2 tbsp natural unsweetened cocoa powder
- Chocolate sauce
- 6-7 Mini Reese’s (chopped)
Instructions
Make the Mousse Layers
- Prepare a 9-inch springform pan by lining the sides with parchment paper or an acetate collar that sticks about an inch above the sides of the pan.
- In a larger mixer bowl, beat the cream cheese and sugar together until smooth.
- Add the milk and beat until smooth. Set cream cheese mixture aside.
- Make whipped cream by whipping the cream on high with a mixer until it begins to thicken. Add vanilla extract and powdered sugar and continue to whip on high until stiff peaks form.
- Carefully fold ⅓ of the whipped cream into the cream cheese mixture until combined. Add the remaining whipped cream and fold mixtures together until well combined.
- Divide the mousse into two bowls. You’ll want twice the amount in one bowl as the other. You should have about 2 ⅓ cups in one bowl and the rest in another.
- Add the peanut butter to the bowl with the larger amount of mousse and fold to combine. Set aside.
- Add the cocoa to the smaller amount and fold to combine. Set aside.
Assemble the Cake Layers
- Pour the milk into a small bowl. Begin dipping cookies in the milk and placing them in a single layer on the bottom of the pan.
- Top the dipped cookie layer with half of the peanut butter mousse and spread into an even layer.
- Add another layer of milk-dipped cookies on top of the peanut butter mixture.
- Top this cookie layer with the chocolate mousse and spread into an even layer.
- Continue dipping cookies in milk and layer them on top of the chocolate mixture in a single layer.
- Top the cookies with the remaining peanut butter mousse and spread into an even layer.
- Refrigerate cake until firm, 4-5 hours or overnight.
Finish the Cake
- Once firm, remove icebox cake from pan.
- Make chocolate whipped cream topping by whipping heavy cream on high until it begins to thicken. Add the powdered sugar and cocoa powder and continue to whip on high until stiff peaks form.
- Pipe the whipped cream around the top edge of the cake, then drizzle with chocolate sauce. Finish off cake with chopped Mini Reese’s, if desired.
- Refrigerate until ready to serve. Best if eaten within 3-4 days.
Video
Nutrition
The nutrition facts provided are calculated using a third-party tool and are estimates only. Actual nutritional content may vary based on the ingredients and brands you use, as well as portion sizes. For accurate results, please consult a registered dietitian or nutritionist.
Enjoy!


hi! I how long can this be at room temperature for after the fridge chill is done? I’d like to bring it to a party but I can’t put it in a fridge there
I probably wouldn’t leave it at room temperature for more than an hour or so.