

These classic thumbprint cookies are soft, chewy sugar cookies filled with a dollop of your favorite jam! This easy cookie recipe needs just 7 ingredients. They’re perfect for Christmas cookie trays and cookie exchanges.
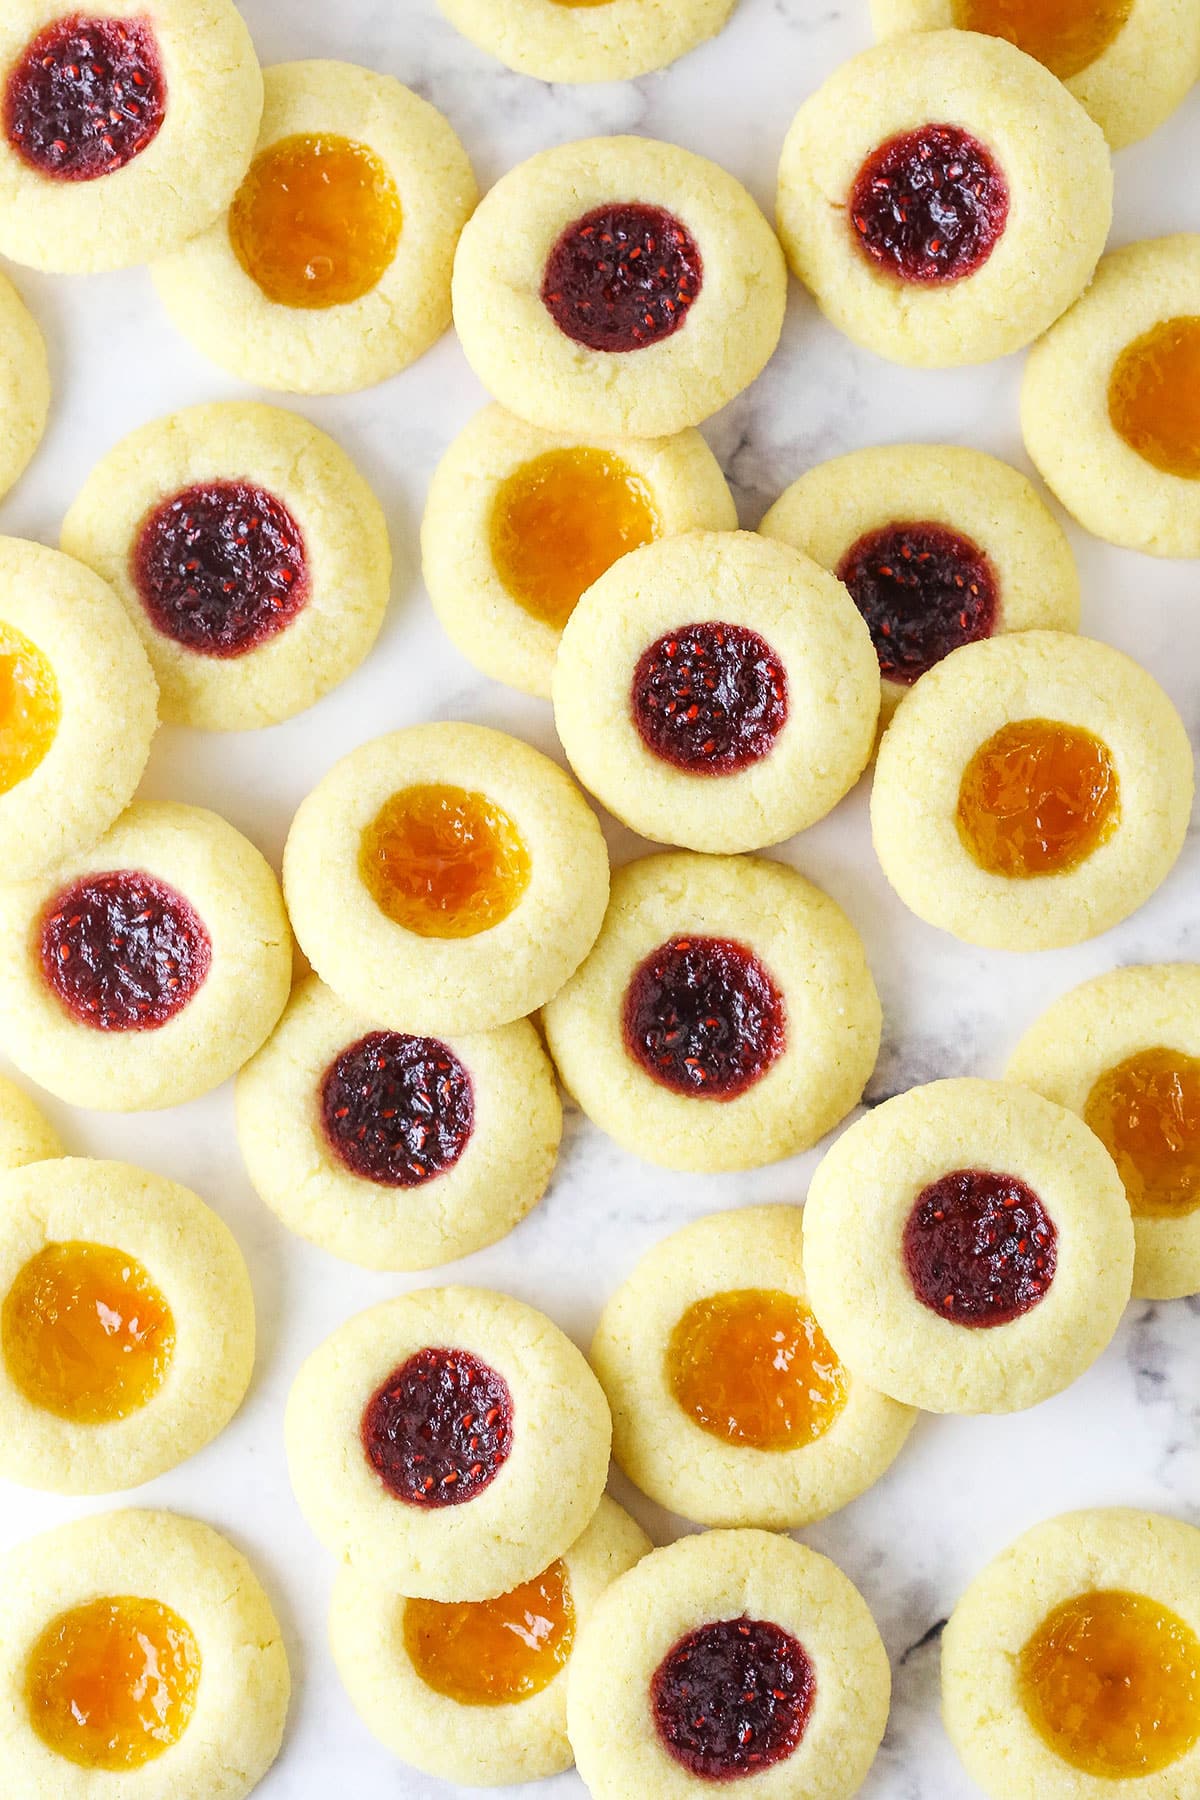
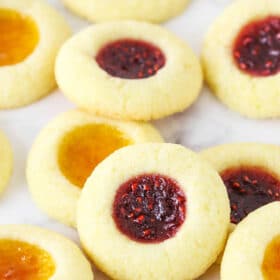
These jam-filled cookies look so pretty on a cookie platter, you won’t believe how easy they are to make! Thumbprint cookies, named after the “thumbprint” filled with jam in the middle, are classic Christmas cookies. My favorite jam thumbprint cookie recipe has a sweet, chewy sugar cookie dough that won’t overspread, filled with apricot jam and raspberry jam. You can fill your thumbprints with any jam you’d like, or another filling, like chocolate, caramel, or frosting.
Classic Jam Thumbprint Cookies
Thumbprint cookies always make an appearance on my Christmas cookie platters, and they’re perfect for gifting and exchanging. Here’s why you’ll make these cookies again and again:
- Simple ingredients. I rarely need to run to the grocery store when making these, since most of the ingredients are in the pantry already.
- Easy to make. Mix the cookie dough in one bowl, indent each cookie, fill, and bake! Thumbprint cookies are great for holiday baking, and it’s a fun activity to do with kids.
- Endless possibilities. Fill your thumbprint cookies with jam, or switch it up and make chocolate thumbprint cookies, turtle thumbprint cookies, or these festive peppermint thumbprint cookies. Once you have the dough, you can fill it however you’d like!
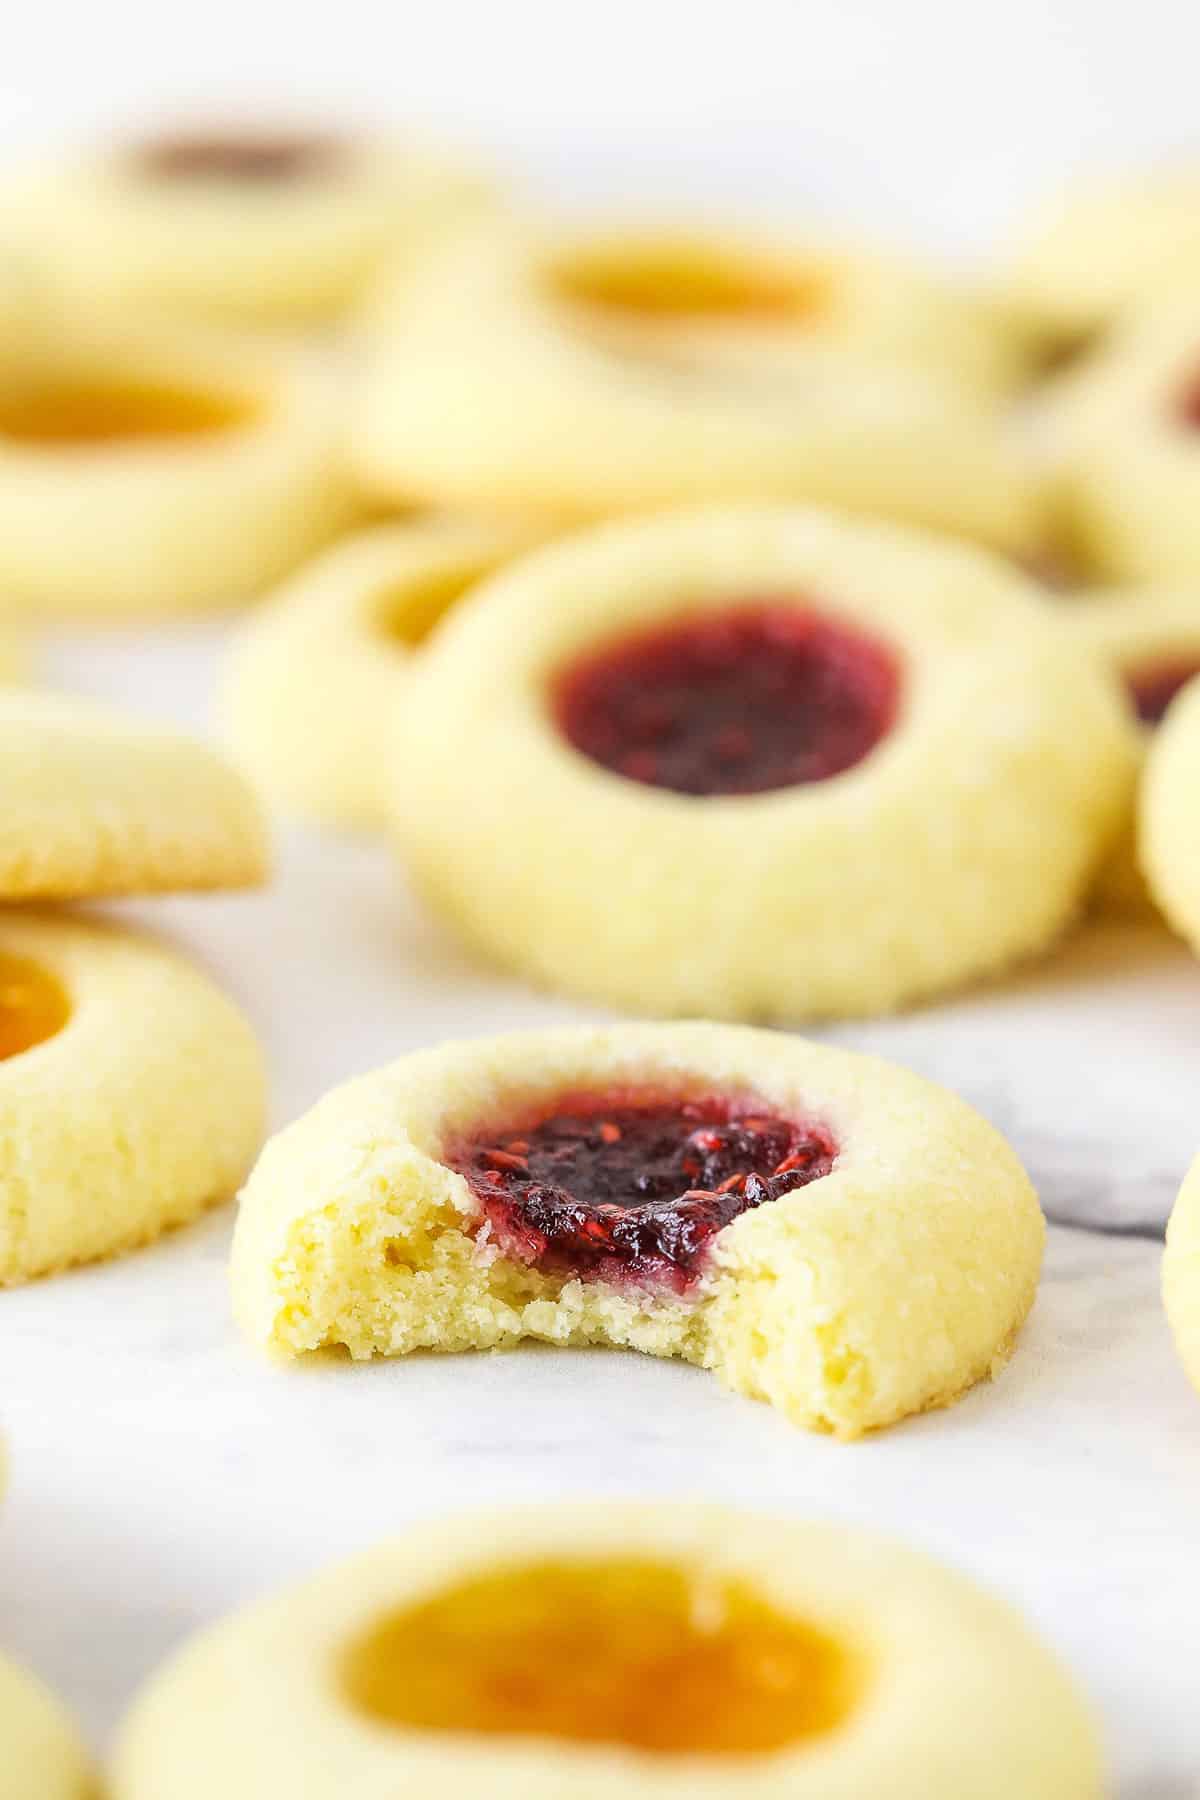
Ingredients Needed
These are the ingredients you’ll need to make these classic jam thumbprint cookies from scratch. Scroll to the printable recipe for the full measurements and step-by-step instructions.
- Unsalted Butter – Bring your butter to room temperature before starting on your dough. This way, it’s easier to mix. You can soften the butter quickly by microwaving it for 5-10 seconds.
- Sugar – Granulated sugar, or you can make a version of brown sugar cookies and use brown sugar instead.
- Egg Yolks – You won’t be needing any egg whites for this recipe. The yolks contribute to a chewier cookie.
- Vanilla Extract – Use pure vanilla, or an equal amount of vanilla paste.
- All-Purpose Flour – Make sure to measure the flour correctly, using a kitchen scale or the spoon and level method. Spoon the flour from the bag into the measuring cup, and level it off. This avoids overmeasuring, which can lead to dry, crumbly cookies.
- Jam – I use apricot and raspberry. You can use any type of jam or fruit preserve you’d like. Try strawberry, blackberry, grape jelly, or marmalade.
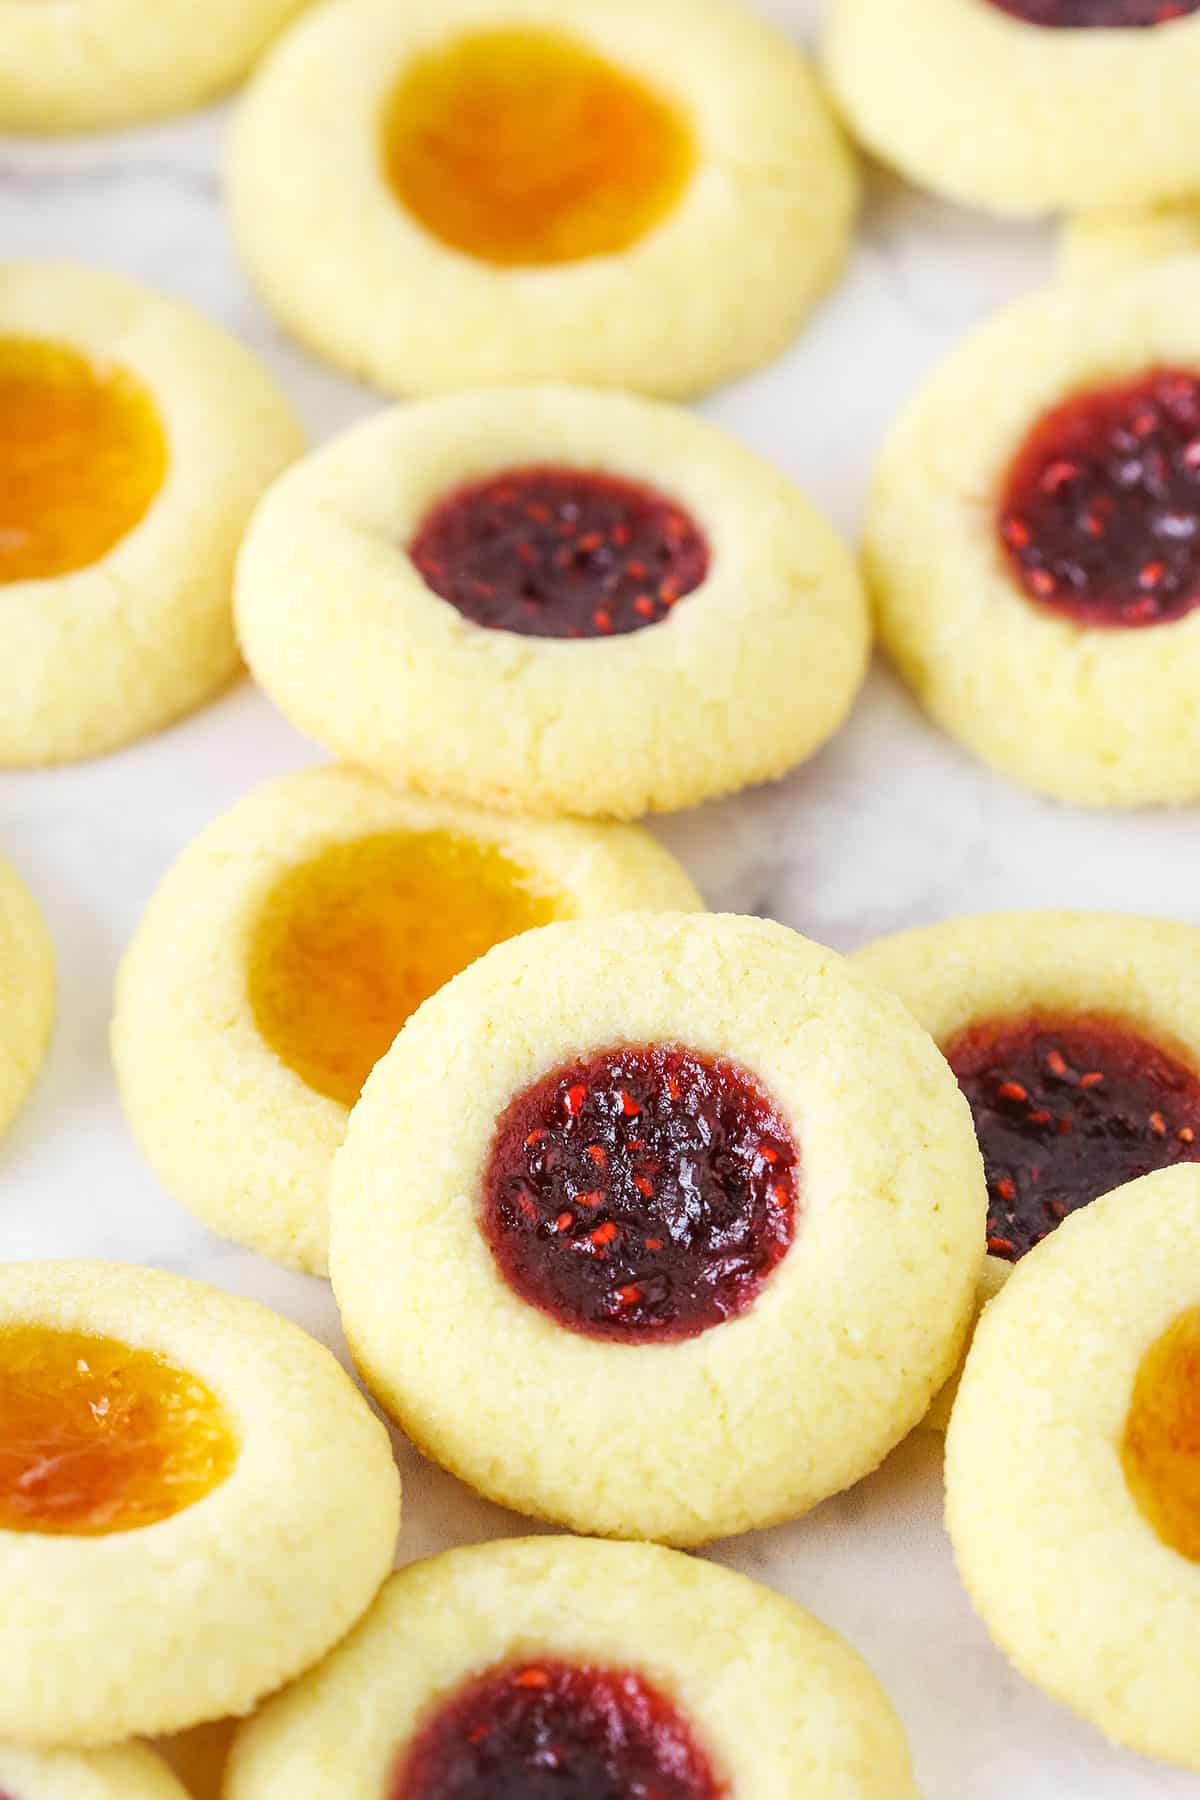
How to Make Thumbprint Cookies
Technically, you don’t have to use your thumb to make the well in the center of the cookie. I use the back of a measuring spoon!
- Prepare to bake. Preheat the oven to 350°F while you line the baking sheets with parchment paper or silicone baking mats.
- Combine the wet ingredients. Next, cream the butter and sugar together until they’re light in color and fluffy. Then, add the egg yolks one at a time, mixing well after adding each yolk. Add the vanilla extract and mix until well combined.
- Add the dry ingredients. Now, add the flour and salt and mix until the dough comes together. Do not over-mix.
- Form the cookies. Scoop the dough into balls about 1 ½ tablespoons in size, and gently roll them smooth. If you’d like, you can roll the cookie dough in granulated sugar for a crunchy coating. Set the dough balls on the baking sheet.
- Indent the cookies. Use the handle of a wooden spoon, your finger, or the bottom of a measuring spoon to gently press a well in the center of each cookie. Do this immediately after rolling the dough, as it helps to prevent the cookies from cracking.
- Fill the thumbprints. Next, fill the centers with jam. I used roughly ½ teaspoon per cookie.
- Bake. Bake the thumbprint cookies at 350ºF for 10-13 minutes or until the edges JUST begin to brown. Overbaking leads to dry cookies! Allow the cookies to rest on the baking sheet for 5-10 minutes, then move them to a wire rack to cool completely.
A Note on Different Fillings
When I fill these thumbprint cookies with jam, I do it before baking. However, fillings like chocolate or frosting, for example, must be added to the cookies after they’re baked. Otherwise, the filling will melt right out of the cookie! In this case, press the thumbprints before you bake them (as directed), and add the filling once the cookies have cooled.
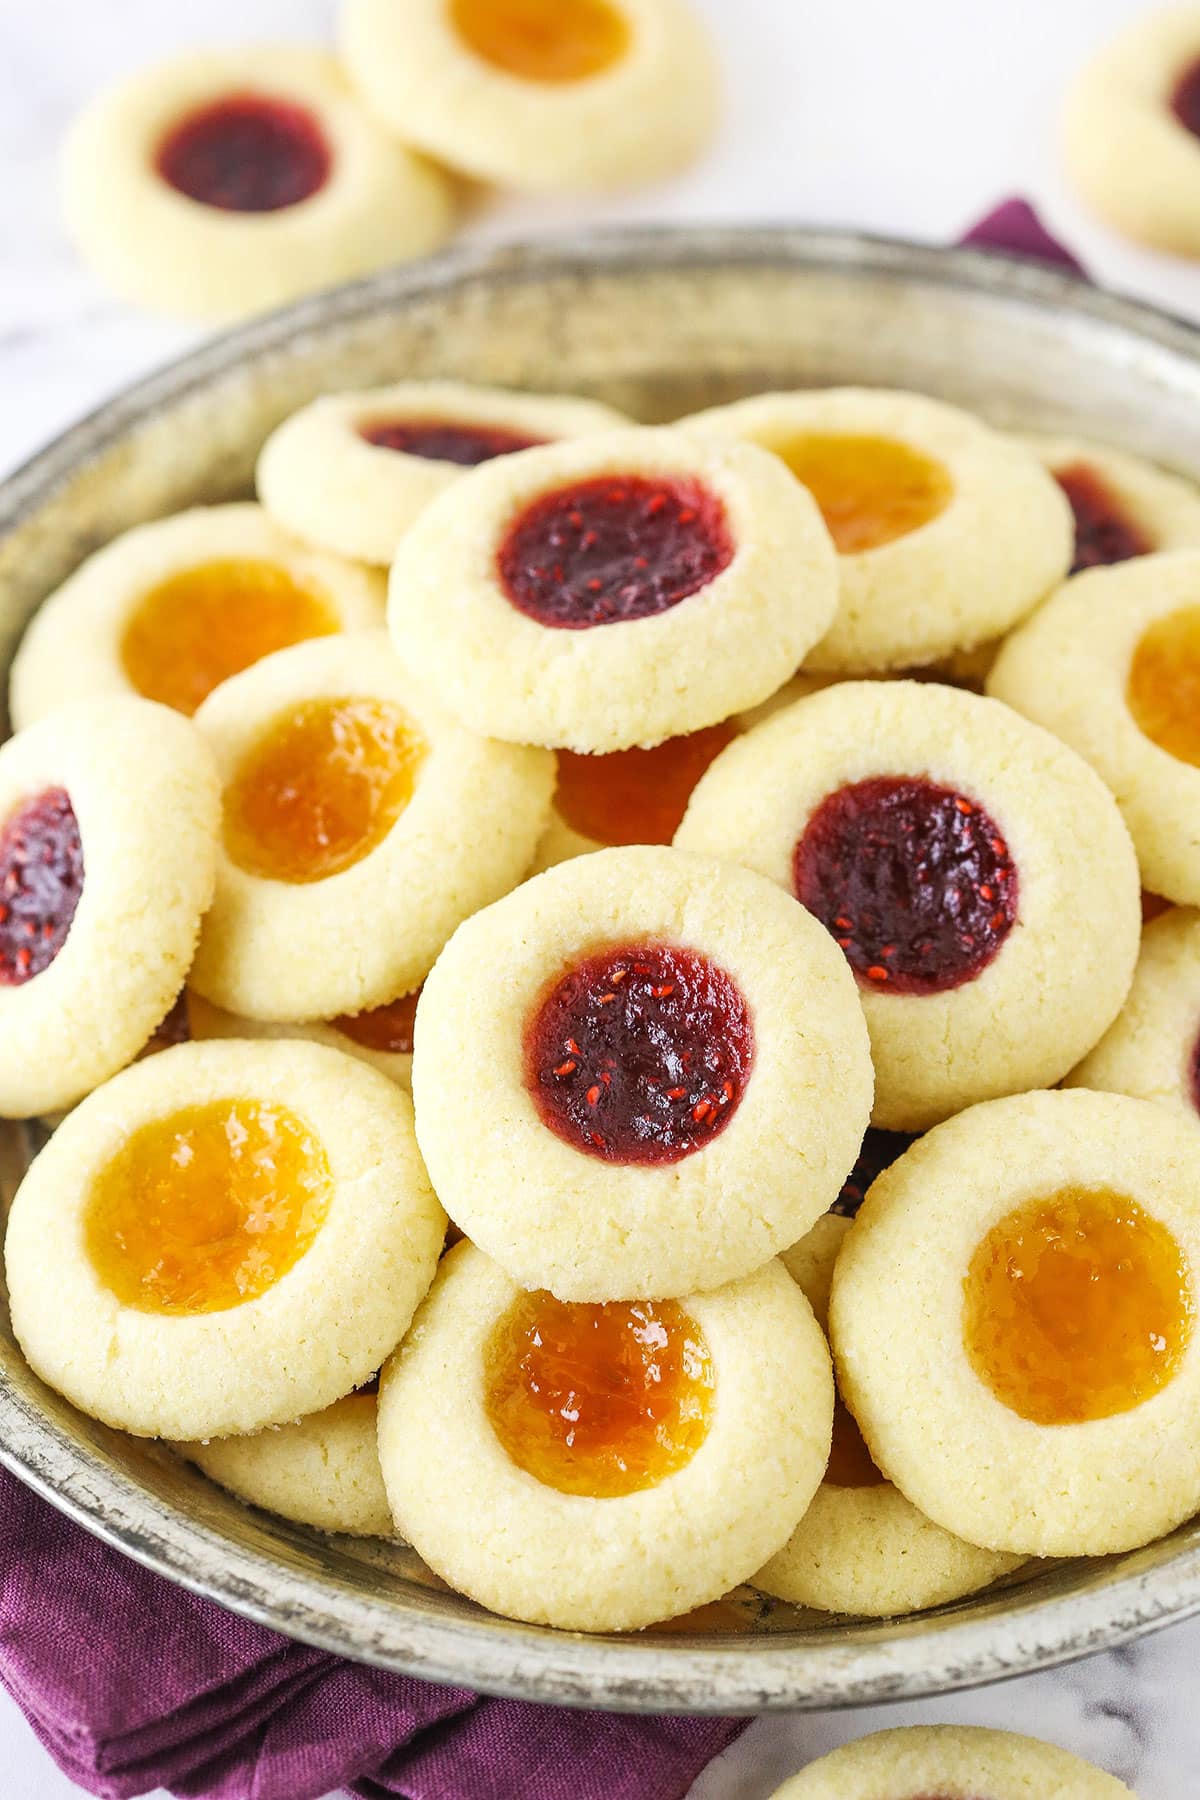
Tips for the Best Thumbprint Cookies
- Use a food scale. For the best results, I always recommend using a food scale to measure your dry ingredients. Flour especially. This cookie dough is already fairly thick to avoid spreading, so over-measuring the flour leads to dry, firm cookies.
- Press the cookies right after rolling. As soon as you form the cookie dough balls (and roll them in sugar, if you choose to do that step), press the centers down. As the cookie dough sits, the edges start to dry out, so waiting to press your cookies can lead to cracking.
- Use a medium-colored baking sheet. Try to use a medium-colored baking sheet for this recipe. Lighter colored baking sheets cause cookies to spread more, and darker baking sheets cause them to spread less and brown more on the bottom. A medium-colored sheet is just right!
- Avoid chilling the dough. There’s no need to refrigerate this cookie dough. You can if you’d like to, but I found that the cookies actually did more spreading after being refrigerated, so keep that in mind.
How to Store these Cookies
- Store the cookies airtight. I recommend keeping these jam thumbprint cookies in an airtight container or resealable bag. On the counter, they’ll last for about 3 days. If you store them in the fridge, they’ll stay good for up to a week.
- Freeze. If you want to store these thumbprint cookies long-term, you can keep them in the freezer for up to 3 months. Thaw the cookies at room temperature before serving.
More Easy Christmas Cookie Recipes
Jam Thumbprint Cookies
save this recipe
Enter your email & we’ll send it to your inbox. Plus get new recipes from us every week!
Ingredients
- 1 cup (224g) unsalted butter (room temperature)
- ½ cup (104g) sugar (plus 3-4 tablespoons for rolling)
- 2 large egg yolks
- 1 teaspoon vanilla extract
- 2 cups (260g) all-purpose flour
- ¼ teaspoon salt
- ½ cup jam (any flavor)
Instructions
- Preheat oven to 350°F (180°C). Line baking sheets with parchment paper or silicone baking mats. Set aside.
- Cream the butter and sugar together in a large mixer bowl on medium speed until light in color and fluffy. You should be able to see the change in color happen and know it’s ready.
- Add the egg yolks one at a time and mix until well combined after each.
- Add the vanilla extract and mix until well combined.
- Add the flour and salt and mix until the dough is just well combined. Do not over mix.
- Create 1 1/2 tablespoon sized balls of cookie dough. Gently roll into a ball, then roll in additional sugar (if using), then set the balls on the baking sheet.
- Use the end of a spatula, your thumb or the bottom of a measuring spoon to press the centers of the cookies down. Do this immediately after rolling them to help prevent the cookies from cracking.
- Fill the centers with jam. I used roughly 1/2 teaspoon per cookie.
- Bake cookies for 10-13 minutes or until the edges JUST begin to brown. You don’t want to overbake them and have dry cookies.
- Allow cookies to cool on the baking sheet for 5-10 minutes, then move to a cooling rack to finishing cooling.
Nutrition
The nutrition facts provided are calculated using a third-party tool and are estimates only. Actual nutritional content may vary based on the ingredients and brands you use, as well as portion sizes. For accurate results, please consult a registered dietitian or nutritionist.
Categories:
Christmas, Cookies, Fall and Holiday Favorites, Holidays, Recipes, Recipes with video, Sweets and Treats, Thanksgiving,












my favourite cookies! they are the best
So glad you enjoy them!
I love this recipe! The cookies took around 15 minutes to get brown around the edges and were a bit crumbly, but they turned out delicious. This is definitely a recipe i’m pinning!!!
So glad you enjoyed them!
These are so good! I made them with blueberry and multi berry jam!
So glad you enjoyed them!
I made these about 8 months ago and my coworkers went crazy over them! Especially the ones with rose jam! So buttery and perfect. I’m making them again today to bring to work tomorrow.
So glad they were a hit!
These cookies were so delicous! Buttery and just the right texture. My family LOVED them. My first batch was too big and they flattened and looked ugly. So, for the next batch I made I made a ball with 1 flat tablespoon and they came out much prettier.
So glad you enjoyed them!
I have a granddaughter who has a deadly peanut allergy. I’m looking for cookie recipes without nuts.
Am stuck inside… it’s 35 below zero today in Edmonton, Alberta so I thought I’d bake…am sure glad I tried these!
They were so easy to make & delicious! They turned out beautifully. I only made half the batch but regretted it as soon as I tried one. I used raspberry jam & next time I’ll try apricot.
So good!!! Nice treat on this cold cold cold December day…
So glad you enjoyed them!
Not sure how everyone is having such success with these. I tried it twice and the dough did not hold its shape at all. I first tried it as directed, then tried it again with forming the cookies and chilling them thoroughly before baking. Both times I got completely flat cookies. They tasted nice but are completely unusable (once they’re flat, they fall apart).
I just made them again myself a couple weeks ago without issue. The spread is a balance between “wet” ingredients (like butter and sugar) and dry ingredients (flour). If they are spreading too much, then you either didn’t add enough of the dry ingredients or you added too much of the wet ingredients. That, or you used incorrect ingredients or pressed them down too much prior to baking. There could be other reasons, but those would be difficult for me to assess from a distance.
My cookies came out great but the key is to start with cold butter and beat on medium high until butter is more softer. When you had the flour and salt beat on high until batter is not Bruno’s but a little softer. Good luck everyone. Just m as de them.
Great recipe! Reminds me of my mom’s cookies when we were kids! ❤️
So glad you enjoyed them!
This came out amazing !!!! Love the flavor melts in the mouth I added some spare gingerbread icing I had left over and added a drizzle
But I will say I left mine in for 10 min no brown left in for 2 more min nothing almost left them in they did brown a tad in the bottom but if I would have left them any longer I might have runied them lol thankfully I pulled them.
Ovens always vary. My current oven has a tendency to brown more than some of my previous ovens. If yours weren’t browning, the other thing to look for would be that the cookies are no longer glossy. I would try to get to know your oven and how cookies tend to look.
This was so fun to make! It was my first time, and I definitely used egg whites instead of the yolks…lol so that might’ve caused an issue. But I was wondering if you have any advice on the baking time, mine took a lot longer to cook but maybe it’s cause I used whites? Or wasn’t noticing the light browning?
Ad you enjoyed them! It can really depend. It may be the egg whites. Egg whites are more liquid than the yolks, so they may have needed longer to bake. But ovens can also very, so that could’ve been a factor too.
I made a batch last night and baked only several cookies to try out. I noticed my dough was really crumbly, and although I was able to form balls, when I imprinted them, the dough started to crack. I baked them anyway, and they taste GREAT, but I’m wondering how I can get my cookies as smooth as yours, without the cracks. I’m thinking I added too much flour. Is there a way I can save the rest of the dough from last night’s batch? Any advice or tips are much appreciated! Thanks again!
It sounds like the dough may have too much flour. You could try adding a teaspoon or so of milk. Just be sure to note what I mention in the recipe about adding the indent right after rolling them. If you let the dough ball sit for too long, the edges start to dry out and they can crack.
Are these basically butter cookies with the thumbprint aspect?
I’d have to look at my butter cookie recipe to see just how similar they are, but generally speaking a lot of these types of Christmas cookies are all quite similar as far as the base cookie recipe.
These are a great cookie chose for Christmas however to make them that much better I use the egg whites ( I dip the balls into the egg whites then roll it in crushed nuts) Everything else I follow. My family and friends love them.
I’m making my list of recipes for the holidays this year, and I’d like to make this, but my brother is type 1 diabetic so I was wondering what the serving size was? That’s the only nutrition fact left blank. He can eat anything, he just has to cover it with insulin but I need to know how many cookies per carbs so he can cover accordingly! I hope to hear back soon! (:
I’m not sure why it isn’t showing it, but it’s one cookie.
I made these cookies but substituted the sugar and jam to make the cookies sugar free. They came out great! The cookies were light and flaky and I used raspberry jam which made them taste great.
Can I use salted butter and omit the salt the recipe calls for?
Yes, you can.