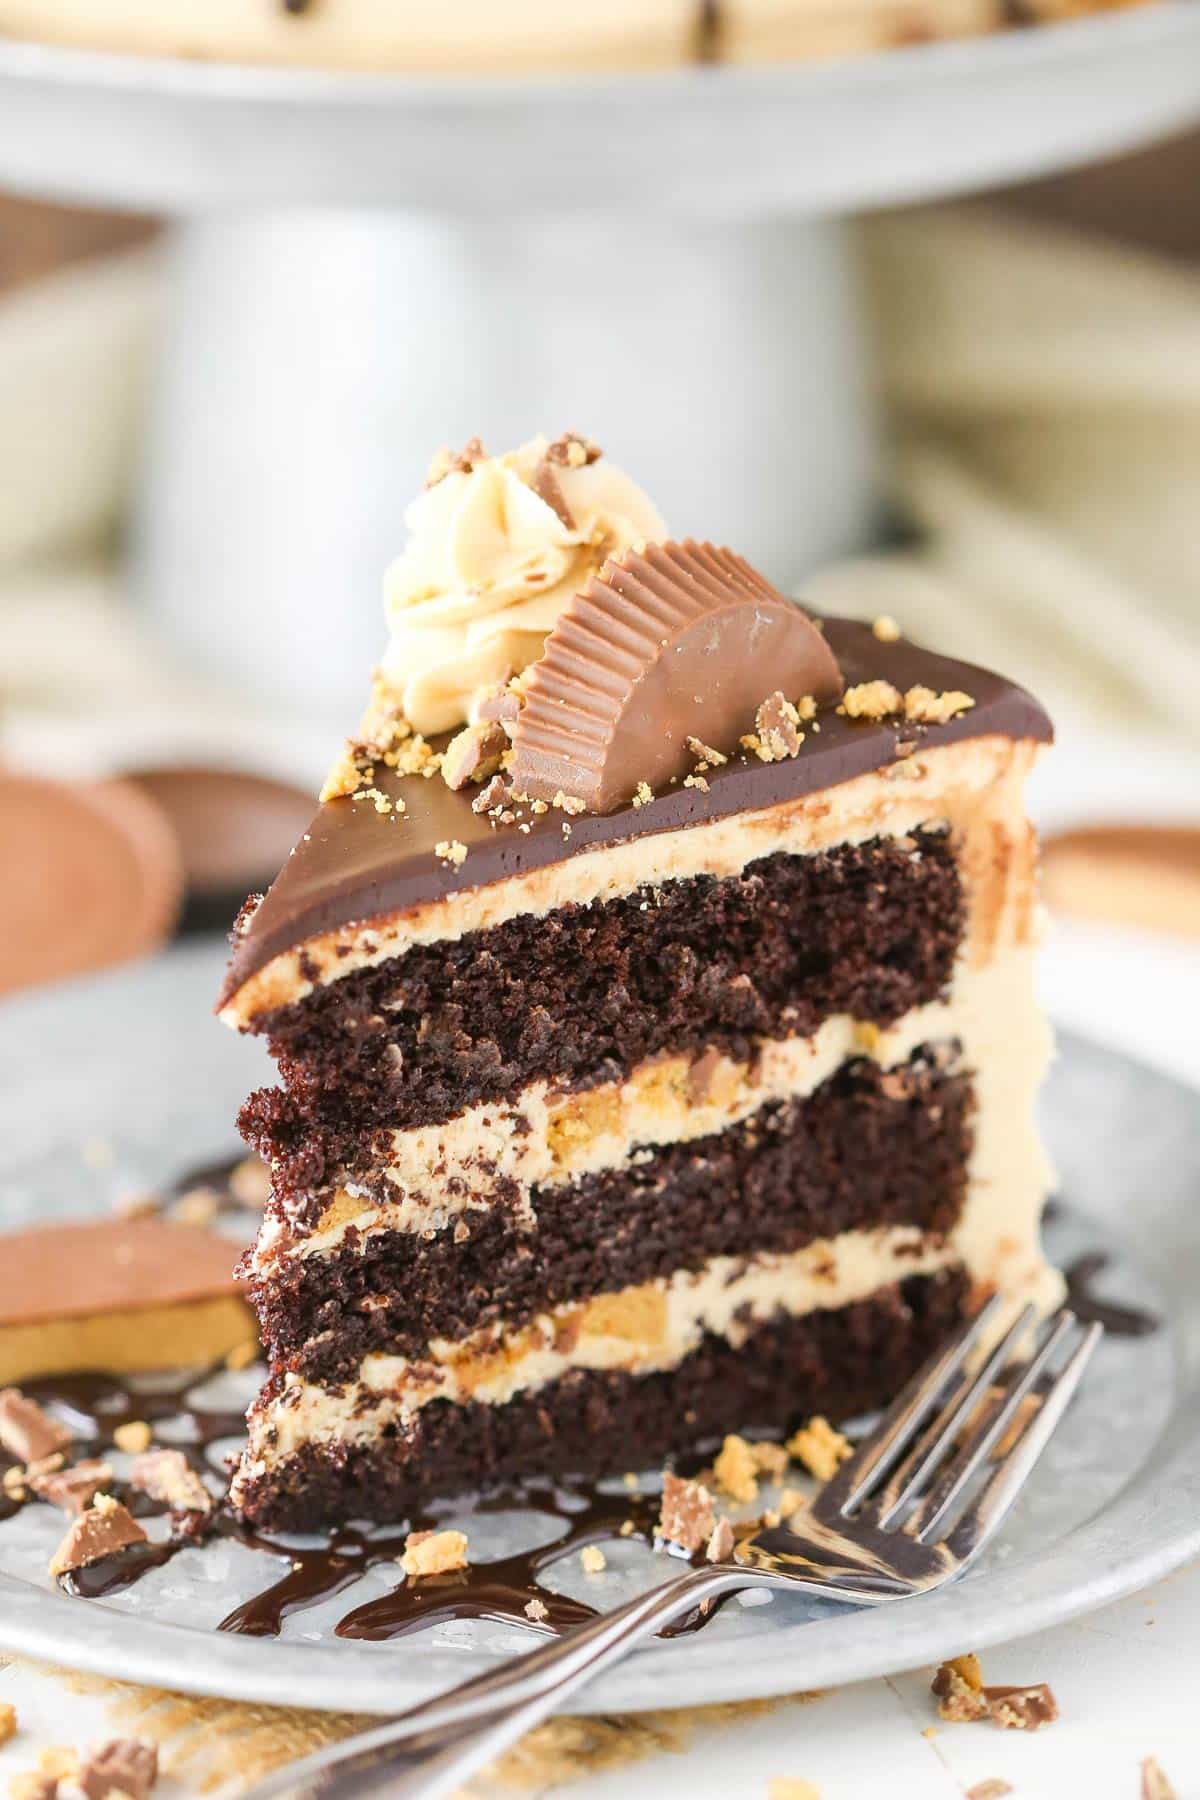
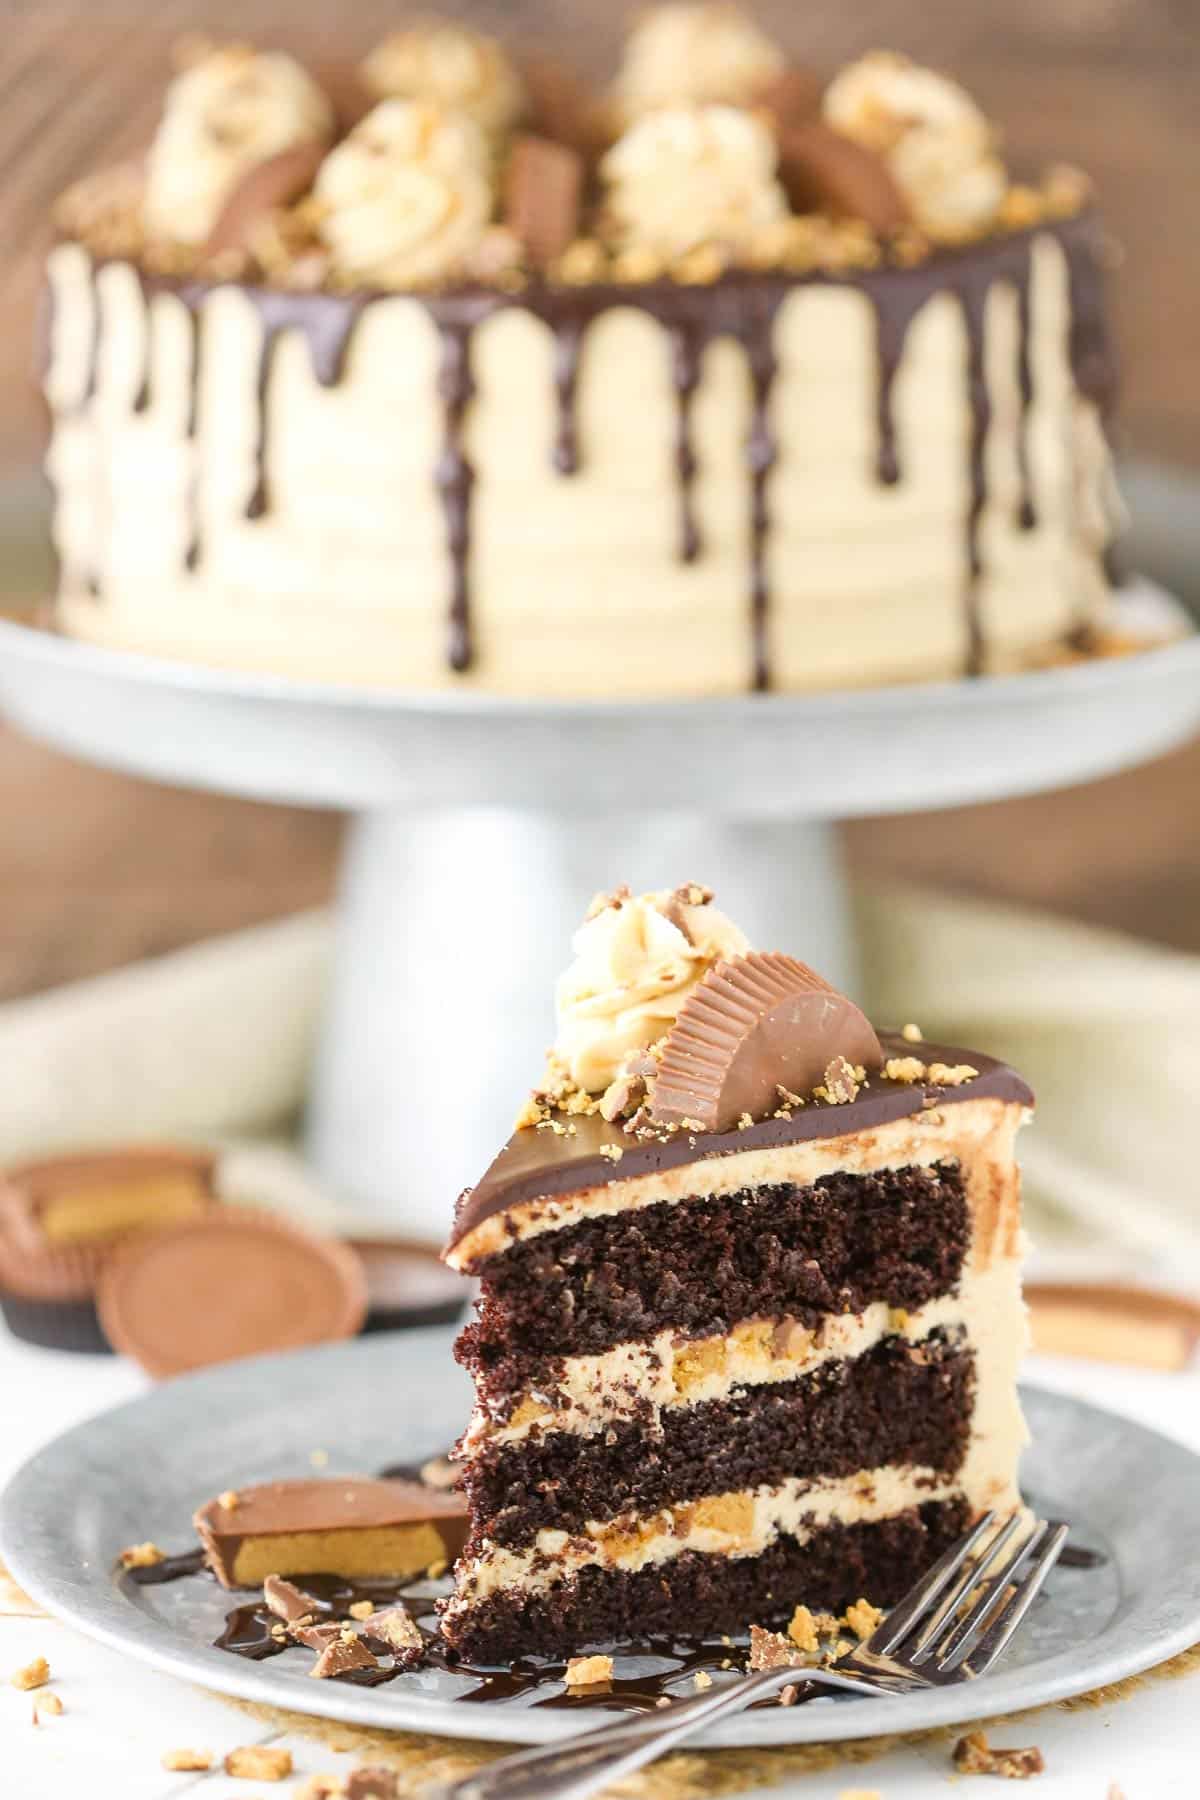
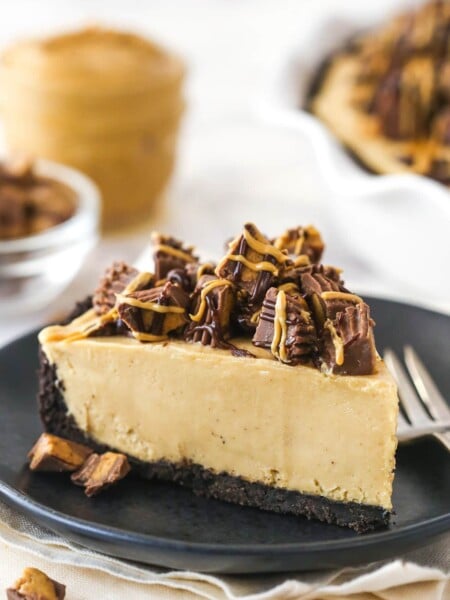
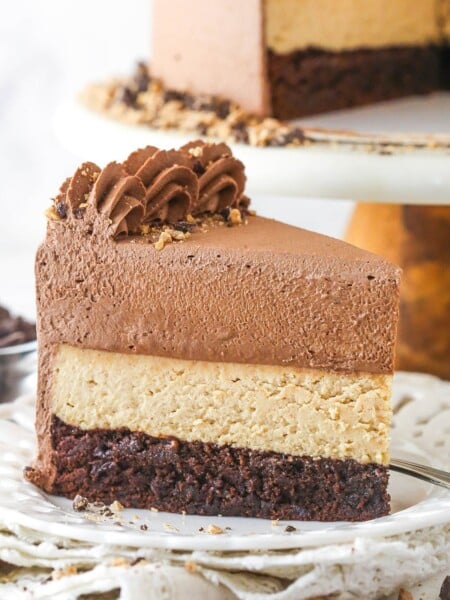
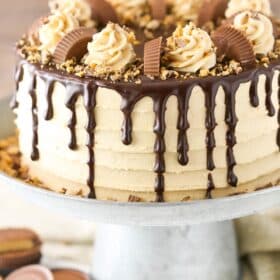
This Peanut Butter Chocolate Cake is made with layers of moist chocolate cake, peanut butter frosting, and chopped Reese’s peanut butter cups. It’s a chocolate peanut butter lover’s dream come true.

This peanut butter chocolate layer cake is a decadent dream. The layers are made from my popular Chocolate Sheet Cake recipe. It’s the moistest, fluffiest chocolate cake, plus it’s super easy to make. It goes perfectly with the creamy peanut butter frosting that divides the cake layers and and covers the cake. Not sold yet? I added chopped-up Reese’s peanut butter cups between each cake layer and topped the whole thing with a smooth, velvety chocolate ganache. It’s both beautiful and super tasty!
If you appreciate chocolate and peanut butter as much as I do, you are going to love this glorious layer cake. It’s quick and easy to make (so far as layer cakes go) and is just bursting with flavor. Grab a drop cloth and dive in.
Why You’ll Love This Reese’s Cake Recipe
This Reese’s cake recipe is every chocolate peanut butter lover’s dream. Here are just a few of the reasons you have to try it.
- Super moist. You’ll notice that the batter is very thin when you make it. All that liquid is what makes it so moist! It’s the perfect backbone for this scrumptious dessert.
- Wonderfully rich. Between the moist, fudgy chocolate cake, the Reese’s, and the buttercream frosting that’s absolutely bursting with peanut butter flavor, you are going to need a glass of cold milk to wash this one down. It’s so rich and delicious!
- Simple mixing method. The actual cake for this recipe is so easy to throw together. No fancy mixing methods. You basically just mix the dry ingredients, then the wet ingredients, and add them together with some hot water at the end.
- So many Reese’s. A chocolate peanut butter dessert isn’t complete without Reese’s, in my opinion. That’s why I loaded this cake with them. They’re chopped up and thrown in between the cake layers with the frosting and sprinkled all over the top.

What You’ll Need
Here’s what you’ll need to make this rich, decadent peanut butter chocolate cake. Scroll to the recipe card below for precise measurements.
Chocolate Cake
- All-purpose flour – Be sure to measure your flour accurately so it doesn’t turn out dry. I recommend a food scale, but the spoon and level method also works.
- Sugar
- Natural unsweetened cocoa powder – You could use Dutch-processed cocoa powder instead for a richer chocolate flavor, the cakes just may not rise as much.
- Baking soda and baking powder – The combination of the two gives the best rise and texture.
- Salt – It may seem odd to add salt to a sweet dessert, but it actually brings out the flavors already naturally present. Without it, the cake will seem bland.
- Milk – Whole or 2% milk work great.
- Vegetable oil – The oil is part of what makes this cake so moist – and stay that way for days!
- Vanilla extract
- Eggs – Be sure to use large eggs, not medium or extra large.
- Hot water – The hot water really helps the chocolate bloom into full force.
Peanut Butter Frosting
- Butter – You’ll need butter for the frosting and it should be at room temperature, so that it’s able to be mixed properly.
- Peanut butter – Select a smooth peanut butter and steer clear of the natural stuff. It separates and is, as a result, nearly impossible to mix into the frosting.
- Powdered sugar – It may seem like a lot of powdered sugar, but keep in mind that the butter is also more. It’s a large volume batch of buttercream. I tend to use a lot to frost my cakes. If you think you’ll use less, don’t just reduce the powdered sugar – reduce everything by a similar percent.
- Water or milk – Water is more stable at room temperature, but milk is creamier. Heavy cream can also be used, but you’d use a little more.
- Reese’s – I use full sized Reeses.
Chocolate Ganache and Topping
- Semi-sweet chocolate chips – For the right consistency for the ganache, you’ll want to stick with semi-sweet chocolate.
- Heavy whipping cream
- Reese’s
How to Make Peanut Butter Chocolate Cake
Ready to make the best chocolate & peanut butter cake ever? Here’s a quick overview of how to do it. Scroll to the recipe card below for more thorough instructions.
For the Chocolate Cake Layers
- Prep. Preheat oven to 350°F, line the bottom of three 8-inch cake pans with parchment paper, and spray the sides with non-stick baking spray.
- Combine the dry ingredients. Whisk together the flour, sugar, cocoa, baking soda, baking powder, and salt.
- Combine the wet ingredients. Whisk together the milk, vegetable oil, vanilla extract, and eggs.


- Put it all together. Mix together the wet and dry ingredients and slowly whisk in the hot water. The batter will be very thin.


- Bake. Divide the batter between the cake pans and bake for 22-25 minutes.
- Cool. Allow the cakes to cool in their pans for 2-3 minutes before transferring to a cooling rack.


Make the Frosting and Build the Cake
- Make the frosting. Mix together the butter and peanut butter. Mix in half of the powdered sugar followed by 3 tablespoons water or milk. Mix in the remaining powdered sugar followed by more milk or water (add just enough to reach the desired consistency).
- Flatten the cakes. Use a large serrated knife to remove the tops of the cake layers.
- Layer. Place a cake layer on a serving plate and spread 1 cup of frosting over the top followed by half of the chopped Reese’s and a little bit more frosting. Stack the next cake layer on top followed by another cup of frosting, the rest of the Reese’s, and another smidge of frosting. Add the final cake layer to the top.
- Frost. Smooth the frosting on the sides of the cake to create a thin crumb coat. Frost the outside of the cake using my tutorial on how to frost a smooth cake. Reference the video in the recipe card to learn how to make the cool striped pattern in the frosting.
Make the Ganache and Decorate
- Make the ganache. Microwave the heavy whipping cream until it just begins to boil. Pour it over the chocolate chips and let it sit for a couple of minutes. Whisk until smooth.
- Decorate. Drizzle ganache around the edges of the cake then smooth some over the top of the cake. Let the ganache firm for 10 minutes before topping it with the remaining frosting and decorating with Reese’s

Tips for Success
- Don’t over-mix. When mixing the wet and dry ingredients together, avoid over-mixing as this can cause the glutens in the flour to overdevelop, leaving you with a dense cake.
- Cool completely. Allow the cake layers to cool completely before assembling the dessert. If the cakes are too warm, the frosting will melt off of them, leaving you with a mess.
- Room temperature butter. If the butter in the frosting is too cold, it won’t incorporate well with the other ingredients in the frosting, resulting in a lumpy buttercream.
- Choose your peanut butter wisely. Go for a smooth, creamy, no-stir peanut butter. Chunky or natural peanut butter will not mix smoothly into the frosting.
- Make it pretty. Cake stacking and frosting is an art. Luckily, you have the tools to learn how to do it. Check out my posts on how to level a cake, how to stack a cake, and how to frost a smooth cake to turn out the prettiest dessert possible.
Frequently Asked Questions
Why is my frosting not sticking to my cake?
It’s likely because the frosting is too thick. This can happen really easily with peanut butter buttercream. Add additional milk or water until you have your buttercream at the right consistency. If you tap your finger against the buttercream in the bowl, it should stick to your finger a bit. If it doesn’t stick at all, it’s likely too thick.
Can I make this chocolate & peanut butter cake in advance?
Sure! Go ahead and make the cake layers, allow them to cool, and store them in an air-tight container or wrap them well in plastic wrap until you are ready to assemble the cake (up to 2 days). They will be fine at room temperature. When the time comes, make the frosting and the ganache and put everything together. If you’d like to make the frosting ahead of time as well, you can. Seal it in an airtight container and store it in the fridge for up to 1 week. Bring it back to room temperature before using, as it’ll be very firm when cold.

Proper Storage
- Room temperature. Because of the chocolate ganache, I’d refrigerate the cake. But if you choose not to use it (and just frost the cake with buttercream), the cake can sit at room temperature for up to two days before being refrigerated.
- Refrigerator. Seal the cake in an airtight container or wrap it in a double layer of plastic wrap. I suggest that you use toothpicks to prop the plastic away any decorations to avoid smudging them. Alternatively, slice the cake and arrange the slices in a single layer in an airtight container. In either case, you can store the cake in the refrigerator for up to 4-5 days.
- Freezer. Allow the cake to firm up in the freezer for a couple of hours before wrapping it in a double layer of plastic wrap. If you already sliced the cake, arrange the slices in a single layer in an airtight container. Store the cake in the freezer for up to 3 months.
- To serve. This cake is meant to be enjoyed at room temperature. Allow it to thaw in the fridge (if applicable) before letting it sit at room temperature for a couple of hours before serving.
Watch How It’s Made
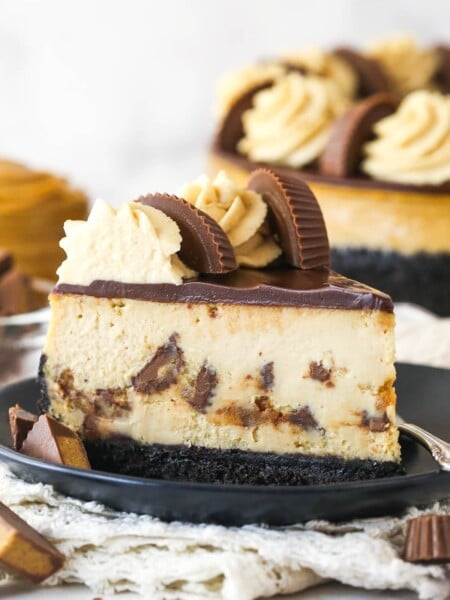
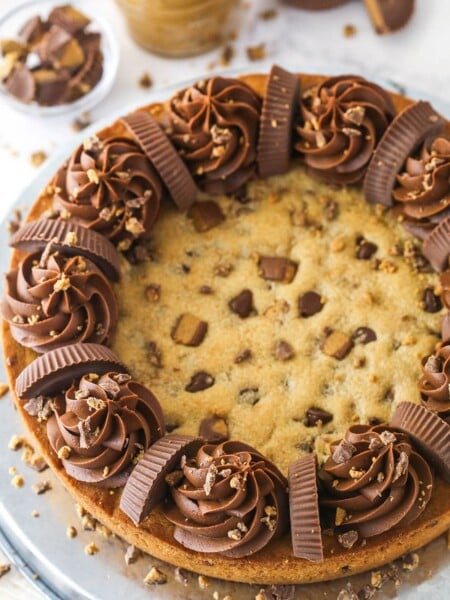
More Peanut Butter Desserts
Peanut Butter Chocolate Layer Cake
save this recipe
Enter your email & we’ll send it to your inbox. Plus get new recipes from us every week!
Ingredients
Chocolate Cake
- 1 3/4 cups (228g) all purpose flour
- 2 cups (414g) sugar
- 3/4 cup (85g) natural unsweetened cocoa powder
- 2 1/4 tsp baking soda
- 1/2 tsp baking powder
- 1 tsp salt
- 1 cup (240ml) milk
- 1/2 cup (120ml) vegetable oil
- 1 1/2 tsp vanilla extract
- 2 large eggs
- 1 cup (240ml) hot water
Peanut Butter Frosting
- 2 cups (448g) unsalted butter (room temperature)
- 1 1/4 cups (350g) peanut butter
- 9 cups (1035g) powdered sugar
- 6-7 tbsp (90-105ml) water (or milk)
- 6 Reese's peanut butter cups (chopped)
- 1 pinch salt
Chocolate Ganache and Topping
- 6 oz (1 cup) semi-sweet chocolate chips
- 1/2 cup (120ml) heavy whipping cream
- 4 Reese's peanut butter cups (cut in half)
- Crumbled Reese's peanut butter cups
Instructions
Make the Chocolate Cake Layers
- Preheat oven to 350°F (176°C) and prepare three 8-inch cake pans with non-stick baking spray and parchment paper in the bottom.
- Add the flour, sugar, cocoa, baking soda, baking powder and salt to a large mixer bowl and combine. Set aside.
- Add the milk, vegetable oil, vanilla extract and eggs to a medium sized bowl and combine.
- Add the wet ingredients to the dry ingredients and beat until well combined.
- Slowly add the hot water to the batter and mix on low speed until well combined. Scrape down the sides of the bowl as needed to make sure everything is well combined.
- Divide the batter evenly between the prepared cake pans and bake for 22-25 minutes, or until a toothpick comes out with a few moist crumbs.
- Remove cakes from oven and allow to cool for 2-3 minutes, then remove to a cooling rack to finish cooling.
Make the Frosting
- Combine the butter and peanut butter in a large mixer bowl and mix until well combined.
- Add about half of the powdered sugar and mix until smooth.
- Add 3 tablespoons of water or milk and mix until smooth.
- Add remaining powdered sugar and mix until smooth.
- Add remaining water or milk, and salt, and mix until smooth, keeping an eye on the consistency of the frosting so it doesn’t get too thin.
Assemble the Cake
- Use a large serrated knife to remove the tops of the cake layers so that they’re flat. See my tips on how to level a cake and stack a cake.
- Place the first cake layer on a serving plate or cardboard cake circle and top with about 1 cup of frosting. Smooth frosting into an even layer.
- Add about half of the chopped Reese’s on top of the frosting and press into the frosting. Spread a small amount of frosting on top of the Reese’s so that it’s sticky on top for the next cake layer.
- Add the next cake layer and top with about 1 cup of frosting. Smooth frosting into an even layer.
- Add remaining half of the chopped Reese’s on top of the frosting and press into the frosting. Spread a small amount of frosting on top of the Reese’s so that it’s sticky on top for the next cake layer.
- Add the final cake layer to the top of the cake.
- Smooth out the frosting on the sides of the cake, creating a thin crumb coat.
- Add about 1 cup of frosting to the top of the cake and smooth into an even layer.
- Frost the cake using my tutorial for a smooth cake. Stop just before using the paper towel, which won’t be necessary with the pattern on the sides of this cake.
- Use an offset spatula to create the stripes around the cake. For guidance, see the video above starting at about 1:40.
- Set the cake aside and make the chocolate ganache (see my tips for making chocolate ganache).
Make the Ganache and Decorate
- Put the chocolate chips in a heat proof bowl.
- Microwave the heavy whipping cream until it just begins to boil, then pour it over the chocolate chips. Allow it to sit for 2-3 minutes, then whisk until smooth.
- Use a squeeze bottle or a spoon to drizzle the chocolate around the edges of the cake, then fill in the top of the cake and smooth it with an offset spatula. See my tips for making a chocolate drip cake.
- Allow the ganache to firm a bit, about 10 minutes, then top with swirls of the remaining frosting. Use a piping bag fitted with a closed star tip. I used Ateco tip 844, but Wilton 2D or 1M would work as well. Then top with additional Reese’s chopped in half, and Reese’s crumbles.
- Refrigerate the cake until ready to serve. Serve at room temperature. Cake is best for 3-4 days.
Video
Nutrition
The nutrition facts provided are calculated using a third-party tool and are estimates only. Actual nutritional content may vary based on the ingredients and brands you use, as well as portion sizes. For accurate results, please consult a registered dietitian or nutritionist.


Which pan size did you use? 9 inch?
I used 8 inch pans.
I made this cake for my husband’s birthday tow weeks ago.
It’s in the oven now.. only question. .. I have a 10inch cake pan, & poured all of it in there. What would be the recommended cooking time?
I haven’t tired a 10 inch pan so I’m not really sure.
I made this for my friend’s birthday! It was a huge hit! I used 7 cups of powdered sugar, instead of the recommended 9 cups because I wanted a stronger peanut butter flavor. Thanks for sharing! I’ll be using your butterscotch cake recipe and your chocolate cake recipe for my daughter’s birthday coming up!
Wonderful! I’m so glad you are enjoying the recipes!
Made this cake for a Women’s Banquet at our church and got so many compliments! I’m 14 and got asked by so many people of it was from one of our local bakery’s! Super easy gorgeous delicious cake will definelty be trying more of your recipes!!!
Wonderful! I’m so glad everyone enjoyed!
WOW!! This is gorgeous!! I’ve been looking for a cake that looks good and tastes good, and this cake looks to be both! I definitively have to try this!
By the way, I think it’s great that you use scripture on your blog!
Thanks Ellie!
I have made this cake many times. It’s a definite crowd pleaser and my personal favorite cake of all time. I make cakes frequently…from wedding, to birthday, and beyond. This one takes the cake! ????
Awesome! So glad it’s a hit! Thanks Jamie!
Wow! This cake turned out fabulously. Tastes amazzzzzing! I’m not kidding one compliment I received was from a guy who said and I quote, “In 44 years of living this is the best cake I have ever had!” Not to mention how beyond gorgeous this was after decorating (simple steps but all together looked professionally done!) This cake will impress your guests and tastes incredible! Thank you thank you thank you!!!
That’s awesome! I’m so glad you enjoyed the cake!
Hi – Do you use a peanut butter with added sugar or a natural peanut butter without added sugar?
I use smooth and creamy JIF.
Hi, I wanted to make this cake for my hubby’s bday and I was wondering, we’re your pans exactly 8 inches ?and also,could I double the ingredients for the frosting ( just to have extra,just in case ). Thanks
They were 8 inch pans. You could double the frosting, but it does already make quite a bit.
First time ever making a cake not from a box. When you said parchment paper and spray which goes first?
I add the spray, then parchment paper. But either way should be fine.
Hi Lindsay,
I am looking forward to making this cake and wanted to know if I could add coffee instead of the hot water for a mocha taste to the cake?
Thanks!
You can add coffee, but it won’t really add a coffee flavor. It wouldn’t be strong enough. Most people add coffee to chocolate cakes to help enhance the chocolate flavor. You could try adding a few tablespoons of powdered espresso to the hot water and see if that would strong enough, but I’m not sure without trying it.
Hello, my grandson make this cake and it tastes really good. When he went to put the ganache the cake fell apart. Do you know what could have gone wrong? thanks.
Do you mean the ganache that goes on the top of the cake? I’m not sure how that’d make the cake crumble?
Hi Lindsay
I just found your recipe for Peanut butter chocolate layer cake. I want to make this for my hubby on Mon, I am not at all experienced with cake making, however your tutorial looks easy to follow and is causing me to drool just looking at your pictures. It is a beautiful looking cake. I am confused as to why I need 8 Reese’s cups cut in half though because your picture shows only 8 halfs (which would equal 4 whole peanut butter cups, 8 cut in half gives me 16 halfs)? Are you using the extra 8 half pieces and crumbling those up to put on top to finish the cake? I get that the 6 peanut butter cups are chopped up and half is put on the bottom layer and the remaining half goes on the second layer. So are the remaining halfs then chopped for on top? I don’t want to buy a bunch extra if I don’t need them, so if you can clarify I would appreciate it. Small detail, I know:) Thanks so much!
Yes, the remaining cups were crumbled on top. You can leave off if you would like to.
Hi there! So I have to make this for about 40 people. Any suggestions on how to go about doing that?! Maybe use a 12 inch pan? Should I double or triple the recipe?
It depends on how big of slices you plan on serving. A 12 inch should certainly be big enough. I’m not sure how much batter or baking time though. I haven’t ever made this cake that size. I’d guess you’ll need to triple it – or so.
This recipe is fantastic!! Back in July my son used this in a competition at our local county fair and won first place. Winning first place in that contest grants the winner a chance to make the cake for the PA state farm show (January 4 through 11 2020) At the farm show he competed against 76 other experienced bakers, and won first place!! He got a beautiful blue ribbon and a $500 prize. His picture was in several papers, on lots of local websites, and he even made the tv news.
He was the first male to win the contest, and the youngest, he is 16. He has been baking since he was 8, but the cake he made for the fair was the first multi layer cake he has ever made. He had a very limited amount of advice from me during the process. I couldn’t be more proud of him!! Thank you for such a great recipe. We will definitely use this one again in the future.
A flop. I used pan release on the pans which works on any other cake I ever made and I couldn’t get
the layers out the pans in one piece.
And I have made thousands of cakes in my life time. Look at that recipe for the frosting when did you
ever use a whole pound of butter and 2 pounds of powder sugar to frost one cake.
Something is definitely wrong with this recipe or should many things are definitely wrong.
Many people have made success with this cake, so it’s not the recipe. Did you line your cake pans with parchment paper? That’s a big help with making sure they don’t stick to the pan.
I made these tonight and used two 8″ X 1.5″ deep pans and it was really scary to watch them. I thought it was going to rise so much an spill. Didn’t happen. Domed a lot though but it was done in 25 minutes. I let the cakes stay in their pan in the oven for an extra 5. Then I used a clean towel to press the dome into the cake till it was leveled cos I want to make layer cakes and don’t want to have to cut off the dome. I hope that I’ll remain moist and fluffy when it is cut into. I intend to assemble the cake tomorrow.