This graham cracker crust recipe is easy to make and ready in as little as 15 minutes! Made from scratch with only four ingredients, it won’t fall apart and is perfect for baked pies, no bake pies and cheesecakes.

Graham cracker crusts are a classic. They’re used for so many pies and cheesecakes and it’s one of the easiest crusts to make and work with. It’s the base of so many of my popular cheesecake recipes, from my classic New York Style Cheesecake to Pistachio Cheesecake. I’ve always made my graham cracker crusts from scratch, so today I’m sharing everything I’ve learned over the years.
I like to have a decently thick crust on my pies and cheesecakes. Not so much that it takes over, but not so little that it doesn’t add the natural flair that it should. I typically use more crust in cheesecakes than pies, since they are taller and require more to cover the sides. Not to mention that, with their height, they can handle a littler thicker crust without taking over. So to make sure we have measurements correct and avoid confusion, I separated out the two crusts in the recipe below – one for pie and one for cheesecake.

Why This Graham Cracker Crust Recipe Is My Absolute Favorite
- Best cheesecake crust. Graham cracker crust is my go-to cheesecake crust. I use it in the majority of my recipes, whether it’s Coconut Cheesecake, Blueberry Cheesecake, or my Easy Cheesecake Recipe. The light, sweet flavor offers the perfect contrast to the tangy cheesecake filling.
- Only 4 ingredients. Graham crackers, butter, salt, and sugar – that’s it. I always keep graham cracker crumbs (or a box of graham crackers) on hand, so I never have to go to the store to whip this up. It really couldn’t be any easier!
- Bake (or not). This graham cracker pie crust works for any pie or cheesecake, whether it gets baked or not. I personally prefer to bake it most of the time, just because it helps prevent any crumbling, but it works great as a no bake pie crust too.

Key Ingredients
Here’s an overview of the 4 super simple ingredients needed to make this recipe. Be sure to scroll down to the recipe card for the exact measurements of each.
- Graham cracker crumbs – You can buy graham cracker crumbs or grind your own from graham crackers. I used to love the fact that I could buy the crumbs, but after years of going back and forth between the two options, I’ve decided that grinding your own from actual graham crackers actually tastes better and seems to lend a better crust. You can still go either way, but if I have the time, I make my own.
- Sugar – Both regular granulated sugar and brown sugar work in this graham cracker pie crust recipe. I most often use granulated, but when making something that seems like a good fit for brown sugar, like this Bananas Foster Cheesecake, I will use it.
- Butter – I like to use unsalted butter and add a pinch of salt myself, just because some brands of salted butter have more salt than I prefer.
- Salt – If using salted butter, skip adding any extra salt. But a pinch of unsalted butter does really make the overall flavor of the crust even better.
Make Your Own Graham Cracker Crumbs
Making your own graham cracker crumbs is super easy. It takes about 11 full sheets of graham crackers to make 1 1/2 cups of crumbs. Just put them into a food processor and grind them up!
If you don’t have a food processor, you can also use a ziploc bag and a rolling pin to crush them. Just be sure to crush them evenly and not leave any bigger pieces behind. A solid crust’s enemy is big chunks that can cause crumbling.
How To Make Graham Cracker Crust
This is one of the easiest homemade cheesecake crusts (or pie crusts) ever. Here’s an overview of how to make it – be sure to check out the recipe card below for the full printable instructions.
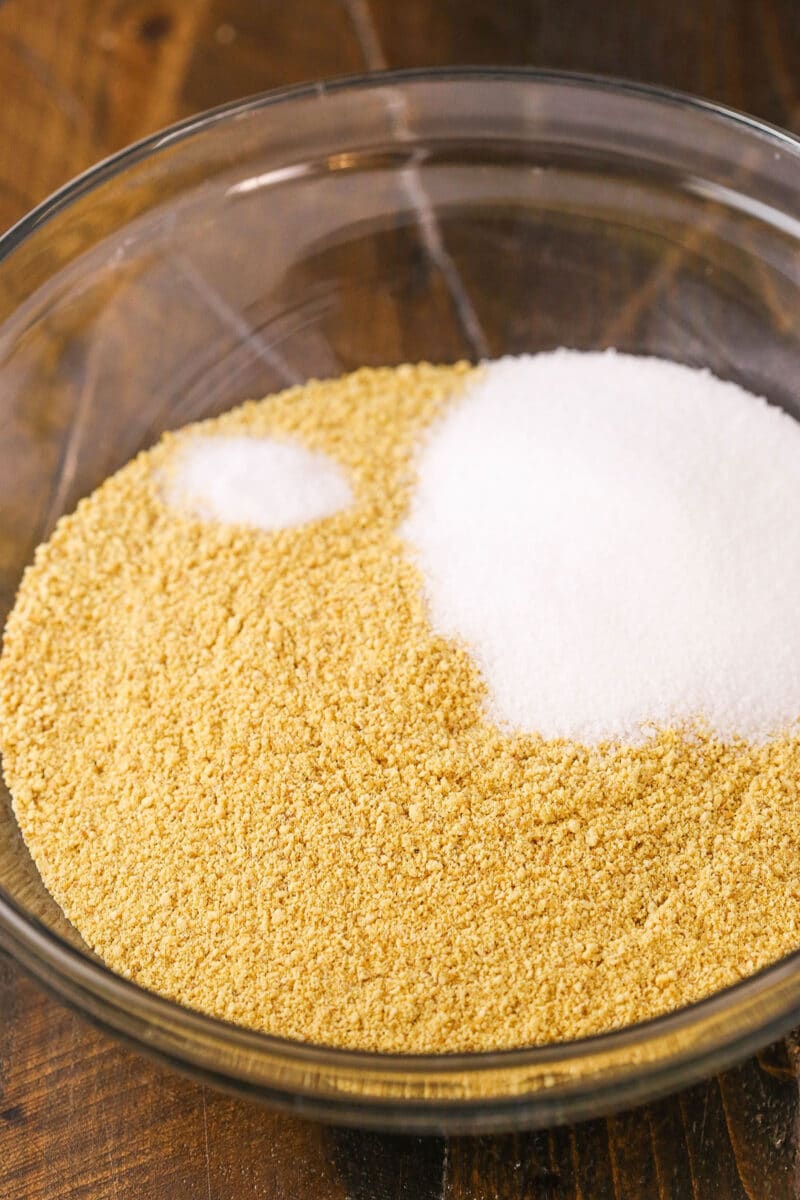
Add the graham cracker crumbs, salt, and sugar to a bowl and stir to combine.
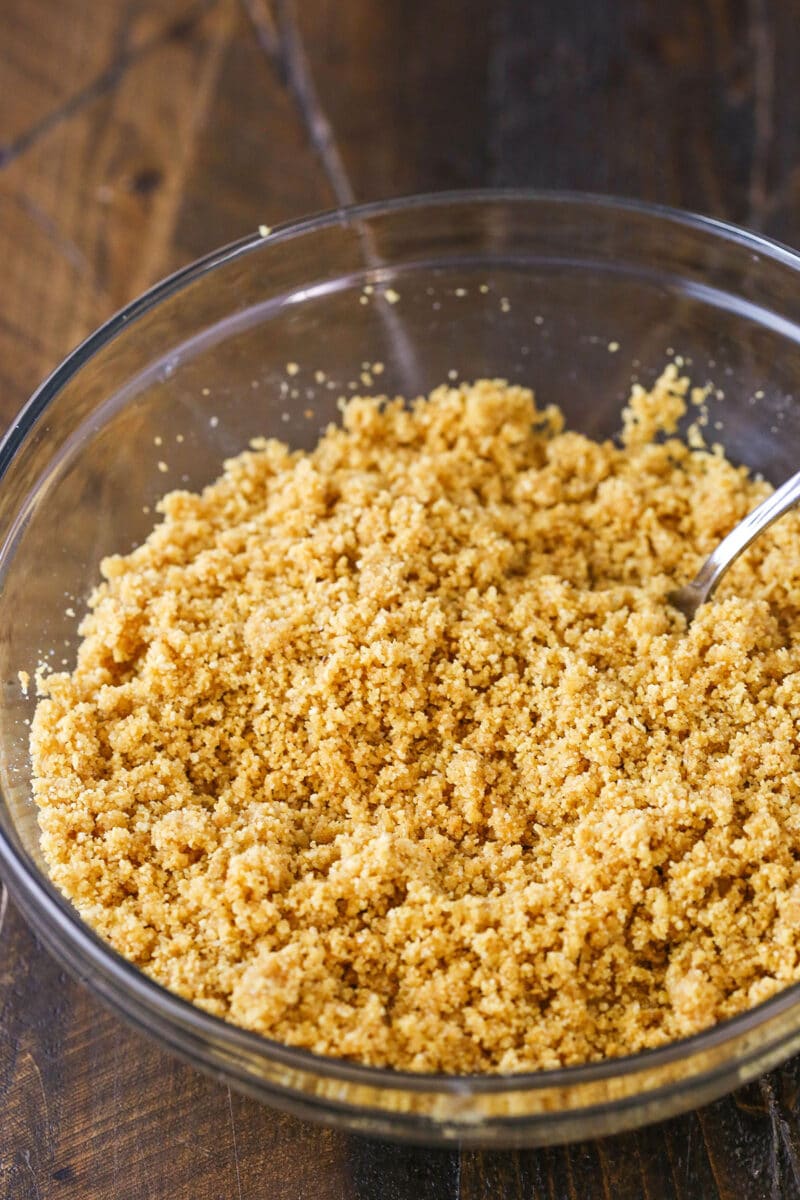
Add the melted butter. Stir to combine, until the crumbs are evenly coated.
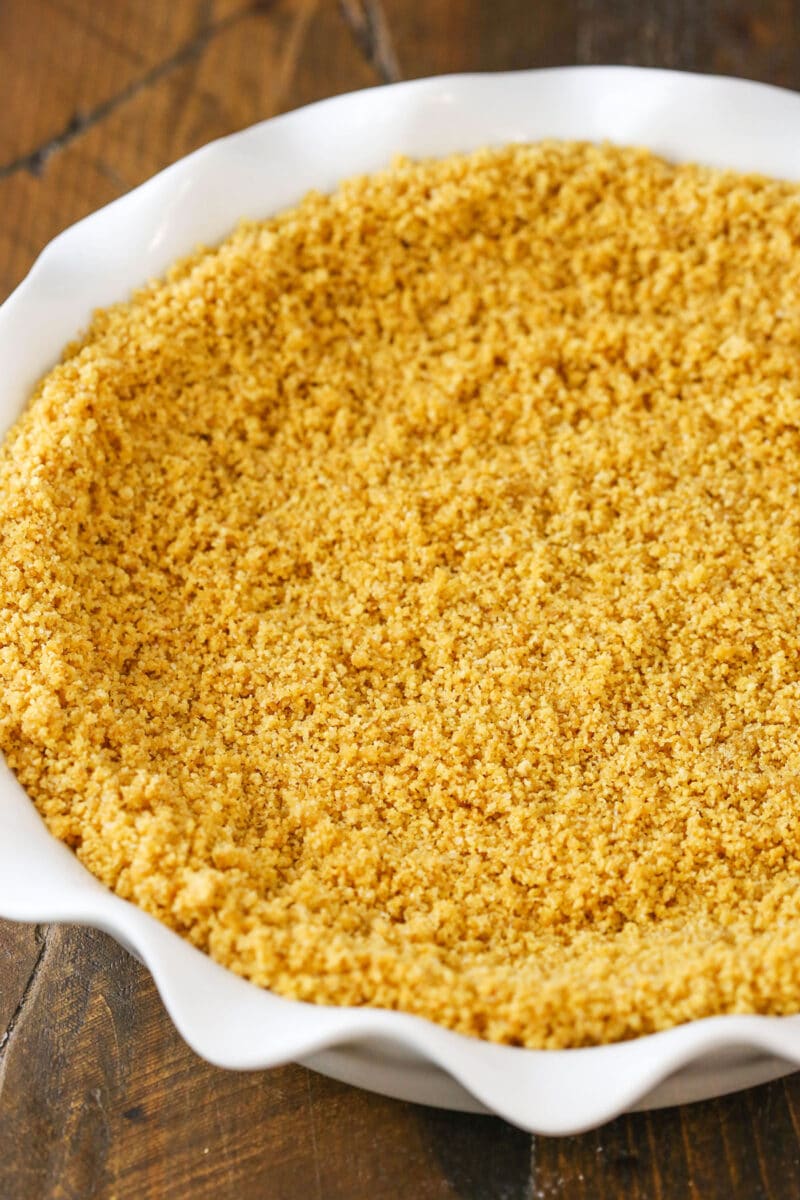
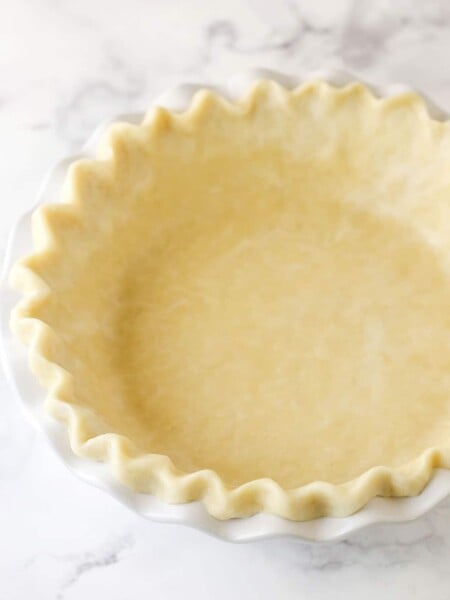
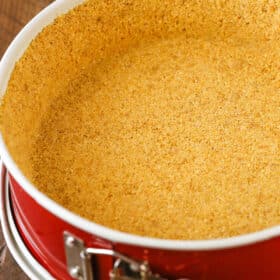
Transfer the mixture to a pie pan (or springform pan). Spread evenly across the bottom and the sides.
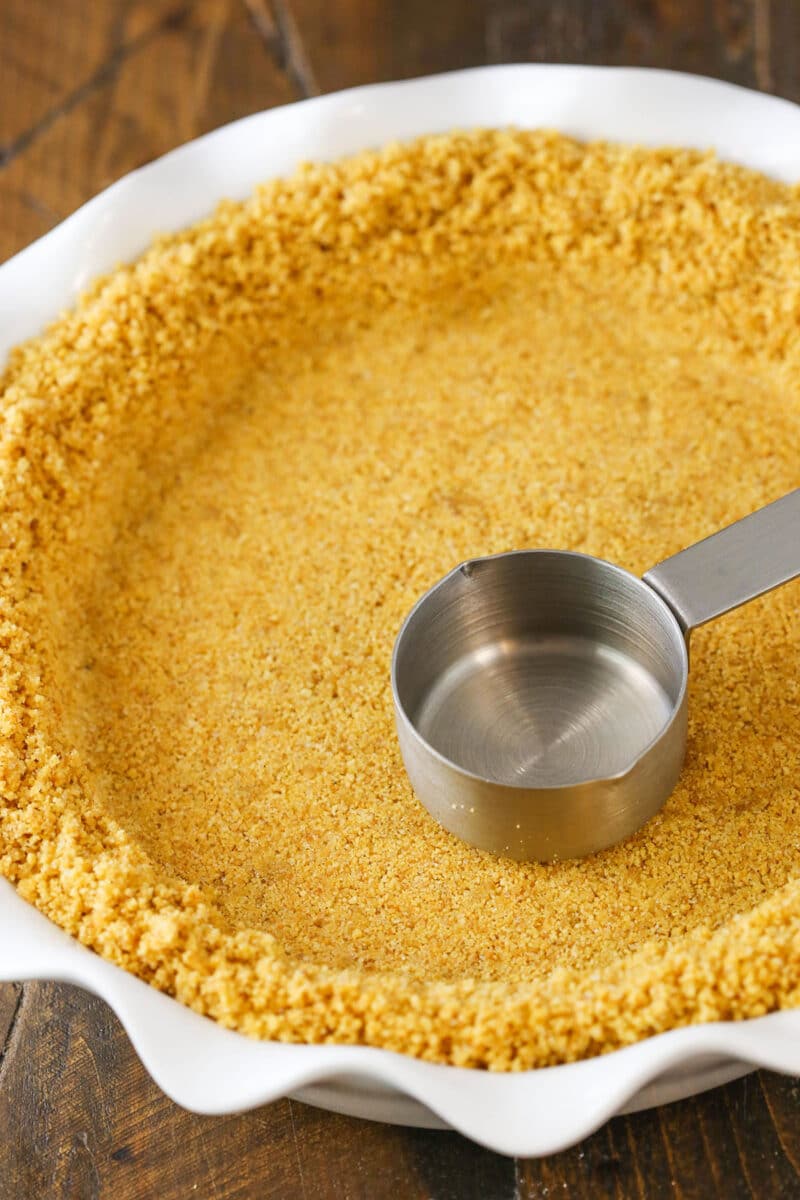
Use a measuring cup or glass to firmly press the crumbs into the bottom and up the sides of the pan.
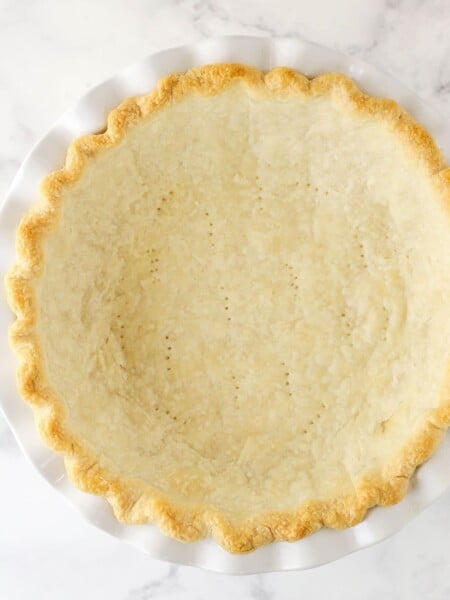
For a baked crust, bake at 325F for 8-10 minutes. For a no bake crust, refrigerate until you’re ready to add the filling and then keep it refrigerated until ready to serve. (It’s best to chill for 2-3 hours before trying to slice and serve.)
Do You Have To Bake A Graham Cracker Crust?
You don’t have to bake a graham cracker pie crust, but I always recommend it. It does a much better job of holding together and not getting crumbly.
Why is that? When you bake the crust, the sugar melts then cools and firms up again. If you just refrigerate it, the butter firms up and holds it together, but you don’t get the same double action as with the sugar and butter in the baked crust. This is one of the reasons I use a little more butter in the pie crust than the cheesecake crust – it allows for a no-bake crust to hold together better.
So bottom line is – you don’t have to bake a graham cracker crust, but I always recommend it for a crust that holds together best.
Easy Variation Ideas
Want to get creative? There are lots of ways to customize this graham cracker pie crust! Here are a few ideas that I love:
- Make it gluten free. For a gluten free crust, try gluten free graham crackers/crumbs.
- Make it mini. This cheesecake crust can also be used for mini cheesecakes. The process is the same, the mixture is just pressed into cupcake liners instead of a pie pan. For full directions, see these Mini Cheesecakes.
- Graham cracker alternatives. If you can’t find graham crackers where you live (they seem to be mostly popular in the US), try digestive biscuits or tennis biscuits. The flavor will be slightly different but the concept is the same. You may also need to adjust the amount of butter. Different types of cookies need more or less.
- Try flavored graham crackers. Any flavor of graham crackers works in this recipe. Try flavored ones like cinnamon or chocolate to switch it up! (I’m thinking of this Chocolate Cheesecake with a chocolate graham cracker crust)
- Add some cinnamon. For a little something extra, add a teaspoon of ground cinnamon to the graham cracker crumbs.

Tips for the Perfect Crust
It’s pretty hard to mess this recipe up but there are a few things to keep in mind to make it even better.
- Firmly pack the crumbs. The biggest mistake I see with this recipe is not pressing the crumbs into the pan firmly. If they’re not packed tightly, the crust will just fall apart when it’s sliced. I like to use a glass with sharp corners and straight sides or a measuring cup to firmly press them down and my fingers to help with the sides.
- No big chunks. You don’t want any big chunks of graham cracker in your crust. Those have a tendency to make the crust loose in spots and more likely to crumble when sliced and serve.
- Look for a coarse, damp sand texture. Once the butter is mixed in with the graham cracker crumbs, it should resemble coarse, damp sand – not super wet but with enough moisture that it easily packs together.
- A note on butter. I use a touch more butter in the pie crust recipe compared to the cheesecake crust. I find a little less butter is better with a cheesecake crust, so that it doesn’t drip out of the springform pan. Plus, cheesecakes tend to slice a little better since you remove the springform pan sides. Pie pans are tricky little beasts, so a little extra butter to hold things together is helpful – especially if it’s a no bake pie.
- Keep no bake crust cold. If you go the no bake route, keep in mind that the butter needs to stay cold to keep the crust together. So don’t let the dessert sit out before serving it! You don’t necessarily need to refrigerate the crust before adding the filling, but you should definitely refrigerate the no bake pie or cheesecake for at least 2-3 hours before serving.
Ways To Use Graham Cracker Crust
This recipe can be used in any dessert that calls for a graham cracker crust. Here are a few of my favorites:
- Cheesecake: As I mentioned before, this is my favorite cheesecake crust! I use it in everything from my Classic Vanilla Cheesecake to my popular Turtle Cheesecake. It’s even the base of my No Bake Cheesecake recipe.
- Pie: There are so many pies that pair perfectly with graham cracker pie crust. A few of my favorites include Banoffee Pie, Key Lime Pie, and Lemon Icebox Pie.
- Other Desserts: Don’t limit yourself to pies and cheesecake! This crust makes a great base for dessert bars, like these Magic Cookie Bars, and s’mores desserts, like S’mores Cupcakes.
Proper Storage
- Fridge. Cover the graham cracker crust with plastic and keep it in the fridge for up to 3 days before filling it.
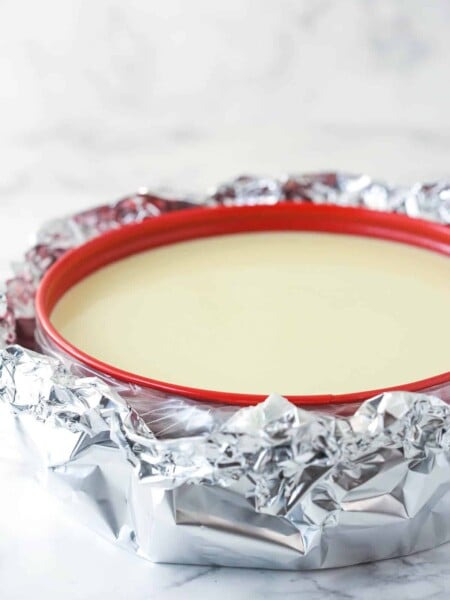
- Freezer. It can also be frozen for up to 3 months. If you plan to do this, it’s easiest to bake it in the pan you can freeze it in. Then you can just thaw on the counter, add the filling, and go!
More Pie & Cheesecake Essentials
Graham Cracker Crust Recipe
save this recipe
Enter your email & we’ll send it to your inbox. Plus get new recipes from us every week!
Ingredients
Pie Crust (baked or no bake)
- 1 ½ cups (201g) graham cracker crumbs (about 11 full sheet graham crackers)
- 3 tablespoons (39g) sugar
- ⅛ teaspoon salt
- ½ cup (112g) unsalted butter (melted)
Cheesecake Crust (baked or no bake)
- 2 ¼ cups (302g) graham cracker crumbs (about 17 full sheet graham crackers)
- 5 tablespoons (65g) sugar
- ⅛ teaspoon salt
- 10 tablespoons (140g) unsalted butter (melted)
Instructions
- Add the graham cracker crumbs, sugar, and salt to a large bowl and stir to combine.
- Add the melted butter and stir until well combined.
- Pour the mixture into the pie pan or cheesecake springform pan and spread the crumbs around so that they are evenly dispersed.
- Press the crumbs into the bottom and up the sides of the pan. Pack it firmly. Use a measuring cup or glass with sharp corners and straight edges to help and use your fingers for the sides of the pie pan.
- For a baked crust, bake at 325 degrees for 8-10 minutes. For a no bake crust, refrigerate until ready to add the filling, then keep refrigerated for 2-3 hours before serving. Keep refrigerated until ready to serve.
Notes
- Graham cracker crumbs – You can buy graham cracker crumbs or grind your own from graham crackers. I used to love the fact that I could buy the crumbs, but after years of going back and forth between the two options, I’ve decided that grinding your own from actual graham crackers actually tastes better and seems to lend a better crust. You can still go either way, but if I have the time, I make my own.
- Sugar: You can use granulated sugar or brown sugar.
- Pan size: The amount of crust listed for a pie is best for a 9 to 10 inch pie pan. The amount listed for a cheesecake is best for a 9 inch cheesecake.
- Refrigerate: Keep a no bake crust refrigerated until serving. The cold butter is what keeps the crust together, if it sits out and the butter softens, so will the crust.
- Nutrition facts: The nutrition facts shown are for the cheesecake crust.
Nutrition
The nutrition facts provided are calculated using a third-party tool and are estimates only. Actual nutritional content may vary based on the ingredients and brands you use, as well as portion sizes. For accurate results, please consult a registered dietitian or nutritionist.
Enjoy!
This post contains affiliate links.
Some recipes from friends:
French Silk Pie
Chocolate Peanut Butter Pie


Thank you for the recipe. I always eyeball my crust and sometimes it doesn’t turn out right. I also use an entire box of chocolate chip teddy grams instead of gram crackers and it actually measured out perfectly. I prebaked, which I have never done. I also pounded those suckers into a fine dust and used a mesh strainer to make sure all the pieces were very fine because I had problems with a crumbly crust in the past. So far so good!
The chocolate chip teddy grahams sound delicious!
Hi,
Love your website! I’m a first time cheesecake baker and wanted to know if the butter is melted before or after measuring?
Thank you
I have a favorite cheesecake recipe that does not have a crust. Would I be able to make your crust and make my recipe my old way? Also I do not have unsalted butter can I use regular butter.
Without knowing anything about the cheesecake recipe, I’d think it’d be fine. And salted butter would be fine.
Hi, how long can you keep the crust in the fridge?
It should be fine for a few days.
Instead of baking the crust separately, can I just bake it with the cheesecake for 60 minutes or does it need to set up first before the cheesecake bakes?
I personally like baking it first and think it’s less crumbly that way. But you could certainly try it.
Tried the graham cracker crust for a cheesecake at Xmas and it was perfect! However, I tried the recipe for a pie today and found a problem. The pie crust recipe calls for 1 1/2 cups (201g) of cracker crumbs, or about 11 full sheets. It took 15 sheets of Nabisco graham crackers to equal 202g. This made well more than the 1 1/2 cups of crumbs. The resulting amount was too much for a 9″ pie plate so I had to toss quite a bit away. Also, it didn’t quite hold together as well as the cheesecake recipe.
This is the BEST graham cracker crust, I have been using it for years and you explain it very well, the one in the stores is ok but when you make it from scratch you will not want to buy from the store again. I make Double-Layer Pumpkin Pies with this crust, if you give it a try you may never go back to cooking regular pumpkin pies again.
I’m so glad to hear you’ve enjoyed the recipe! Thanks Debbie!
This is not only the very best recipe for Graham cracker crust, but it’s the best explanation of all the “whys” and “whats” as to the mechanics of the ingredients.
Before I found and read this post all the way through I was having trouble with my graham cracker crust crumbling on me which was very annoying to me. I so much appreciate you explaining that large pieces of graham cracker that weren’t broken down into tiny crumbs were the reason for my pie crust falling apart!! Now my graham cracker crust are perfect thanks to you. Thank you so much again for taking the time to explain all of this to us!
Awesome! I am so glad to hear that it was helpful!
in the recipe it says to add the Graham crackers, sugar, salt and butter into a bowl until well combined. but in the next step it says to add the melted butter. the recipe only calls for melted butter. I’m a little confused
Thanks for pointing that out! I have updated the instructions.
why is there only one rating and one person commenting
Will this burn if I am using it for a yogurt based “cheesecake” that will be baked for 60 minutes at 350?
No it should be fine.
Best ever and I’ve tried many over the years. Thanks
So glad to hear that!
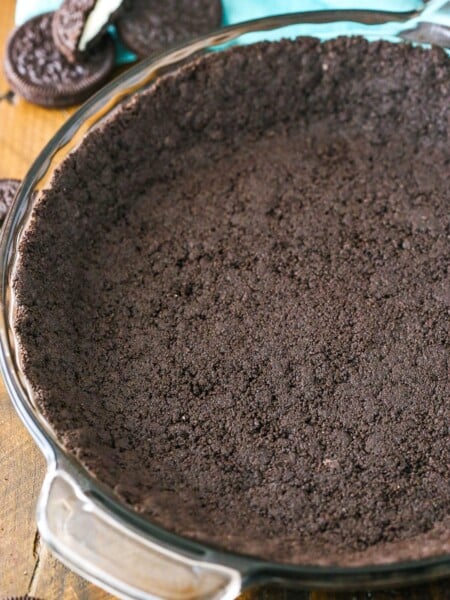
You need to do the same post for OREO crusts. Use cup measurements not the number of OREO cookies used.
Yes, I actually have it on the calendar. 🙂 I make them a little bit differently and will include both cups and number of Oreos.
Just wanted to wish you and your beautiful family a happy
and healthy new year and tell you that your emails and recipes
bring me joy! Thank you.
Aww, thank you! Happy New Year to you as well! I’m so glad you enjoy the recipes and blog!
This crust looks scrumptious. Have you ever made a gluten free graham cracker crust?
I haven’t, but I just added a link to some gluten free graham cracker options in the “tips” section above the recipe. I hope that helps!
Thank you ????
I cannot find Graham Crackers here in South Africa. What can I substitute it with? Or can you supply the recipe for Graham Crackers so I can make my own?
I’d use digestive biscuits or tennis biscuits. 🙂
I’m interested in trying this, but question…if I pair this with a recipe for a cheesecake that I have to bake, do I still bake the crust separately in advance? Concerned about baking it twice.
I always prebake my cheesecake crusts without a problem. It’ll be fine.