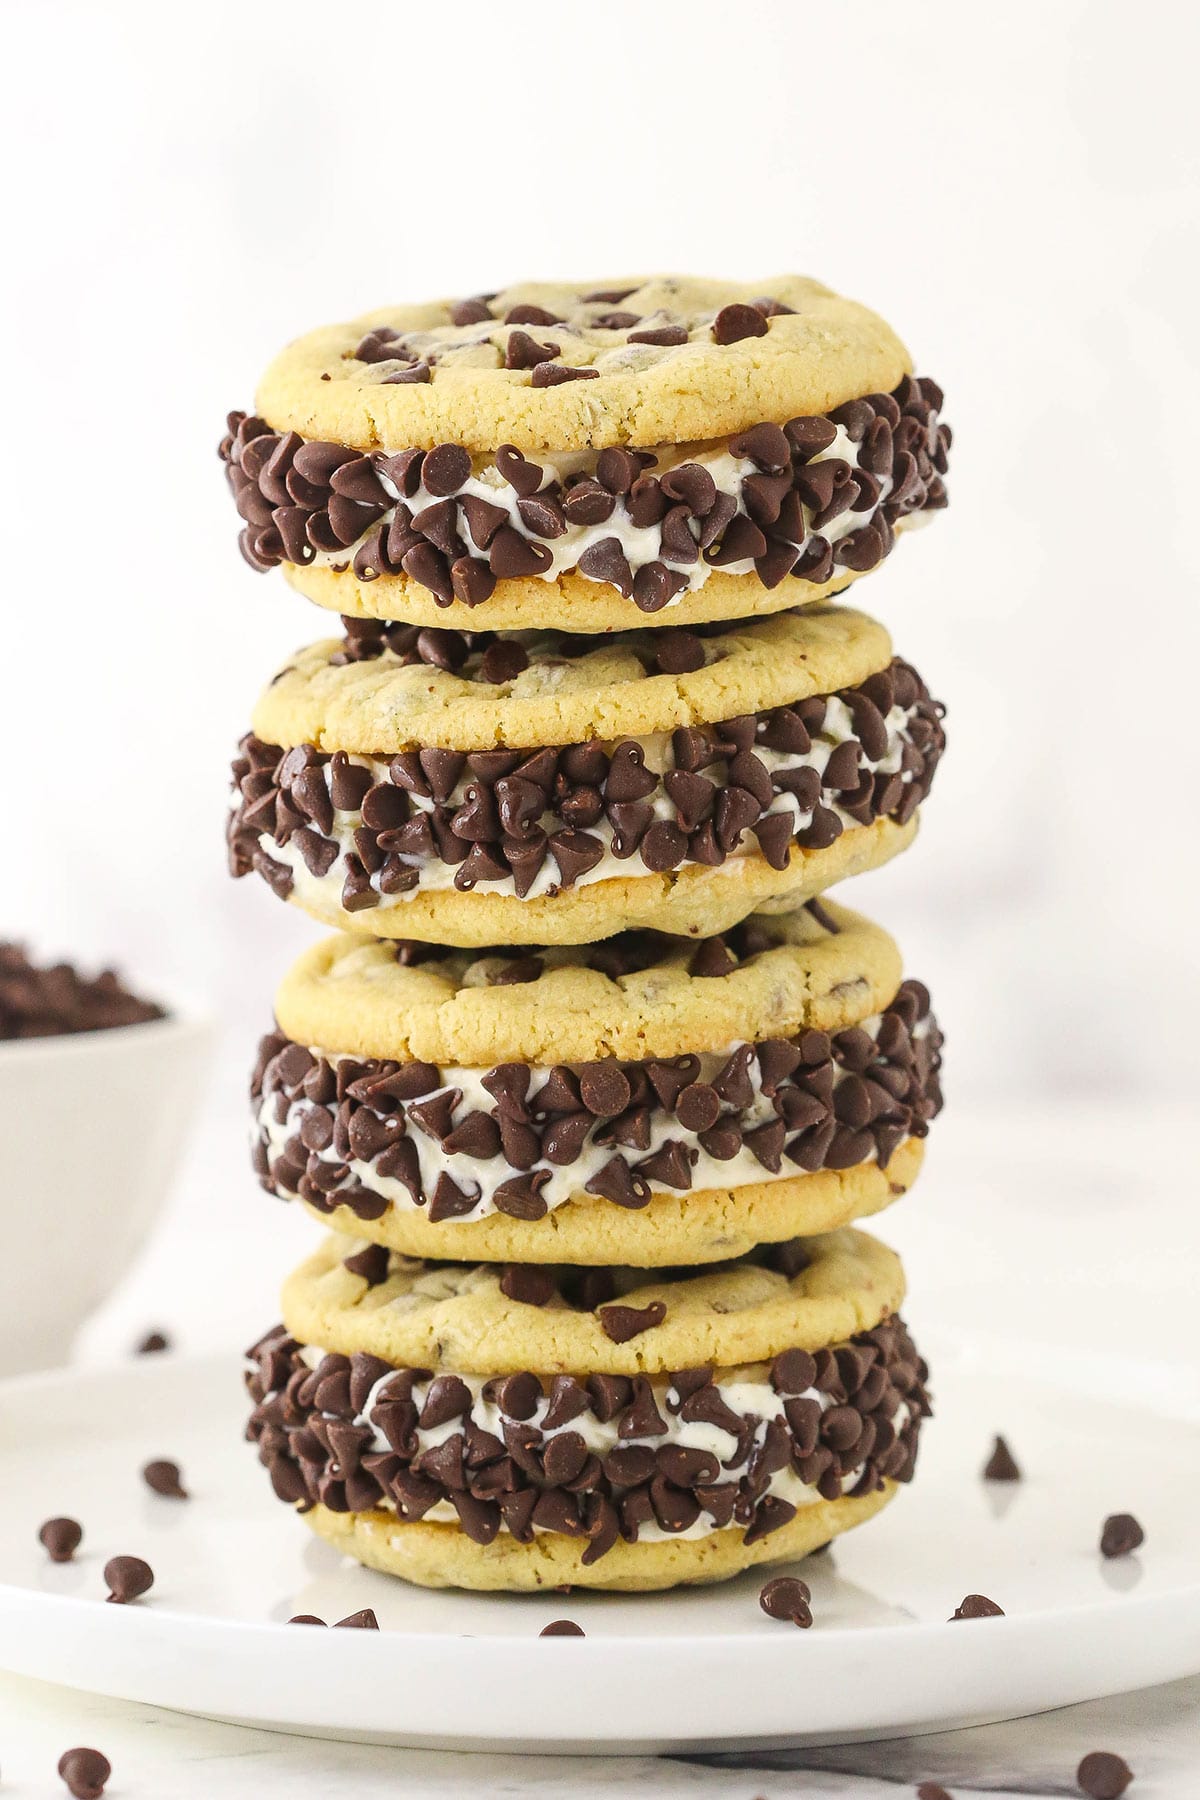
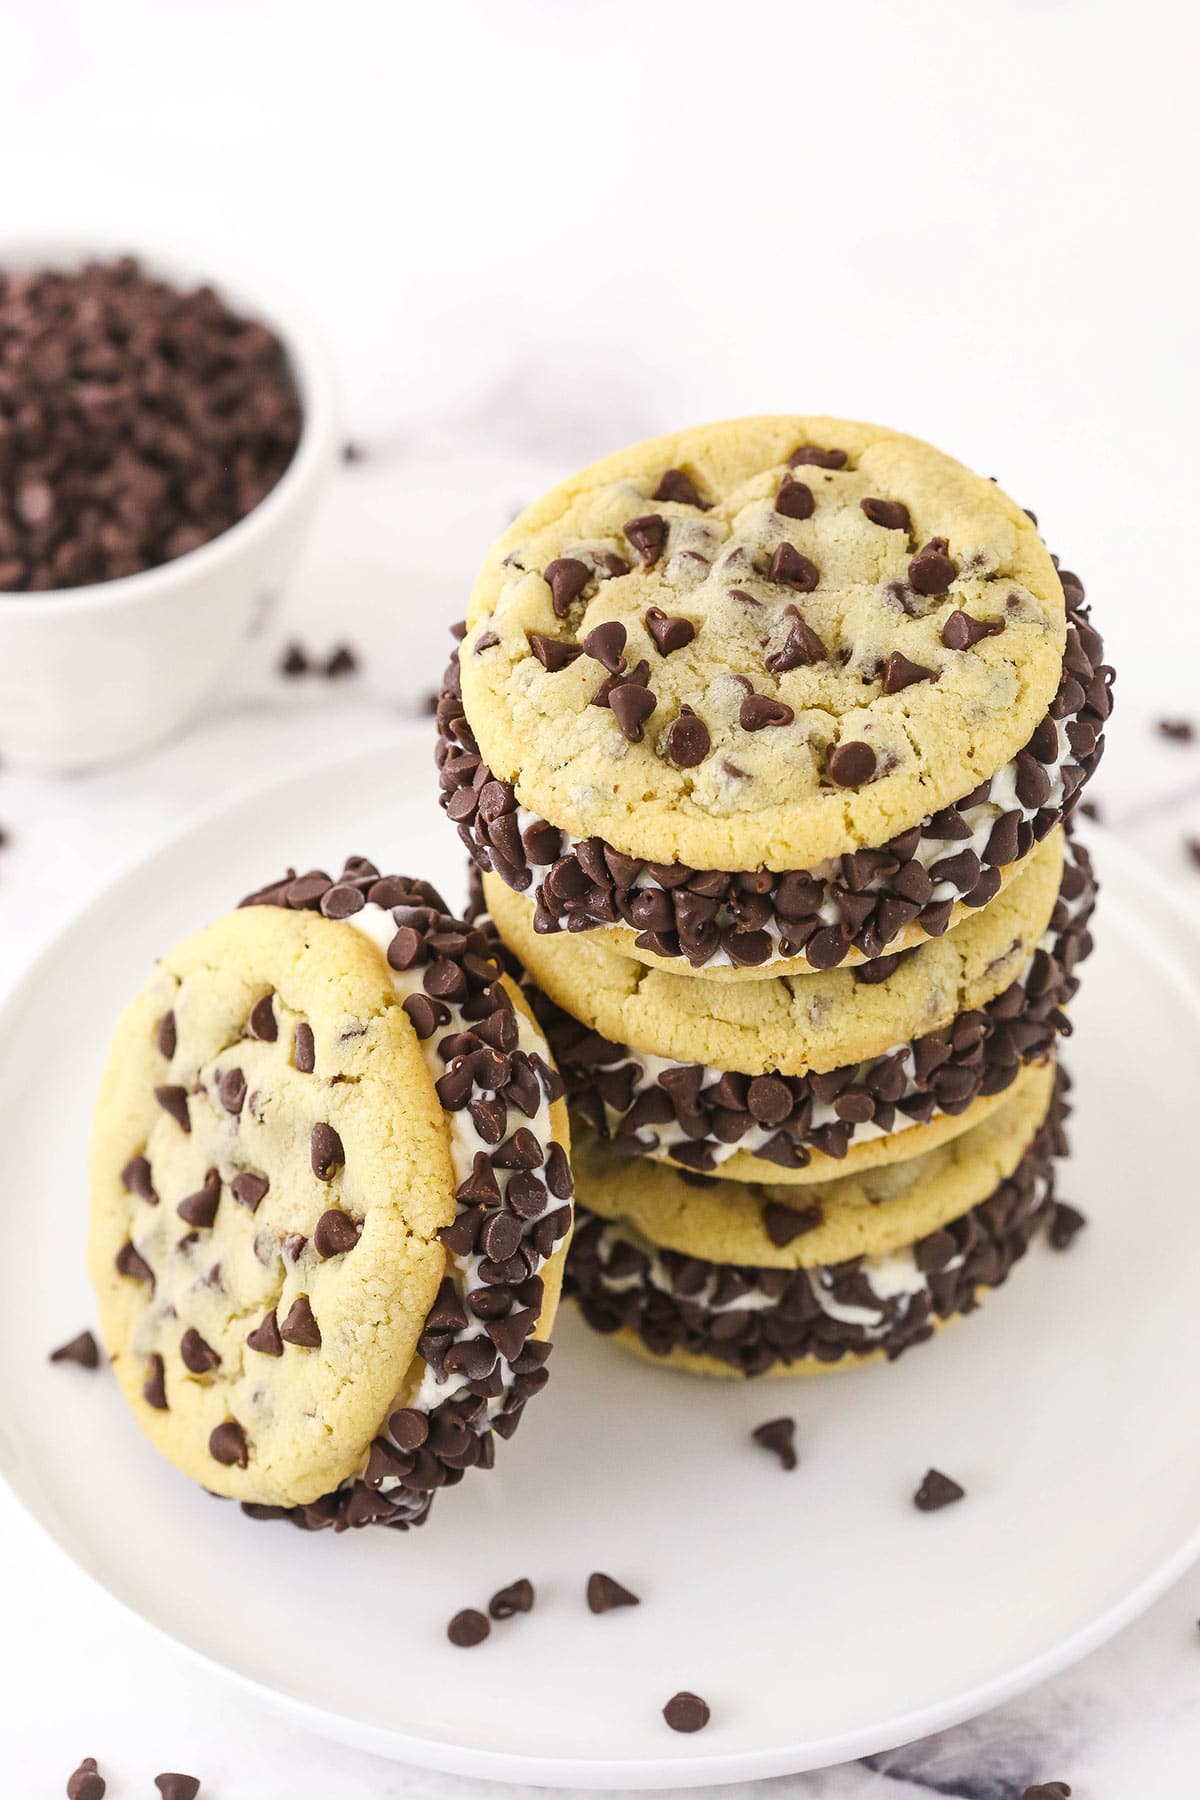
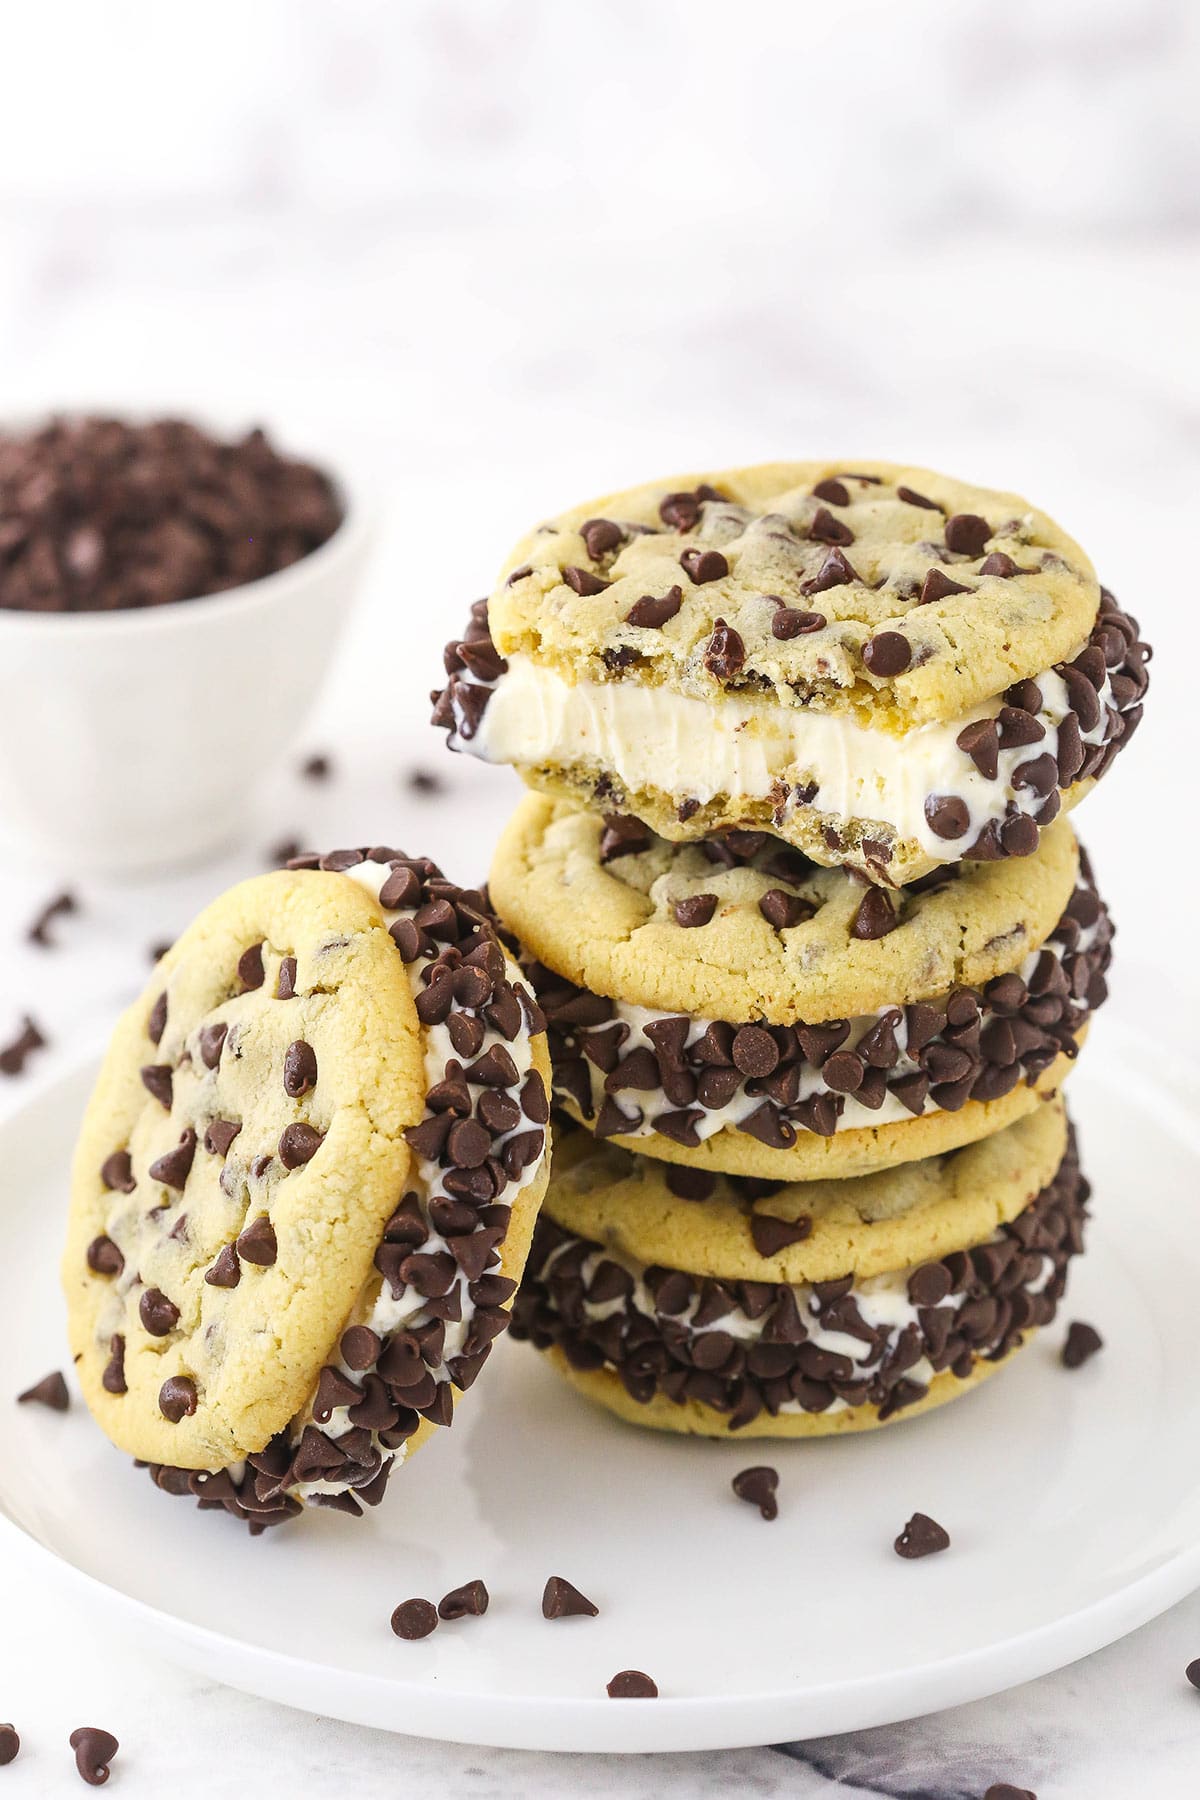
Homemade Chocolate Chip Cookie Ice Cream Sandwiches couldn’t possibly be more satisfying! Cold and creamy vanilla ice cream is sandwiched between two wonderful chocolatey cookies.
Easy Homemade Chipwiches
Do you remember the Chipwich? I used to look forward to those iconic chocolate chip cookie ice cream sandwiches every summer! They were always first to get snagged from the ice cream truck. Even though the original Nestle Chipwich is no longer produced, this highly-regarded dessert is still very much alive and well.
Nowadays, I would never buy an individual cream sandwich anyway – I can make a whole batch of better ones myself! With this easy recipe, you can too. I’ll be sharing all my tips and tricks for how to finesse them.
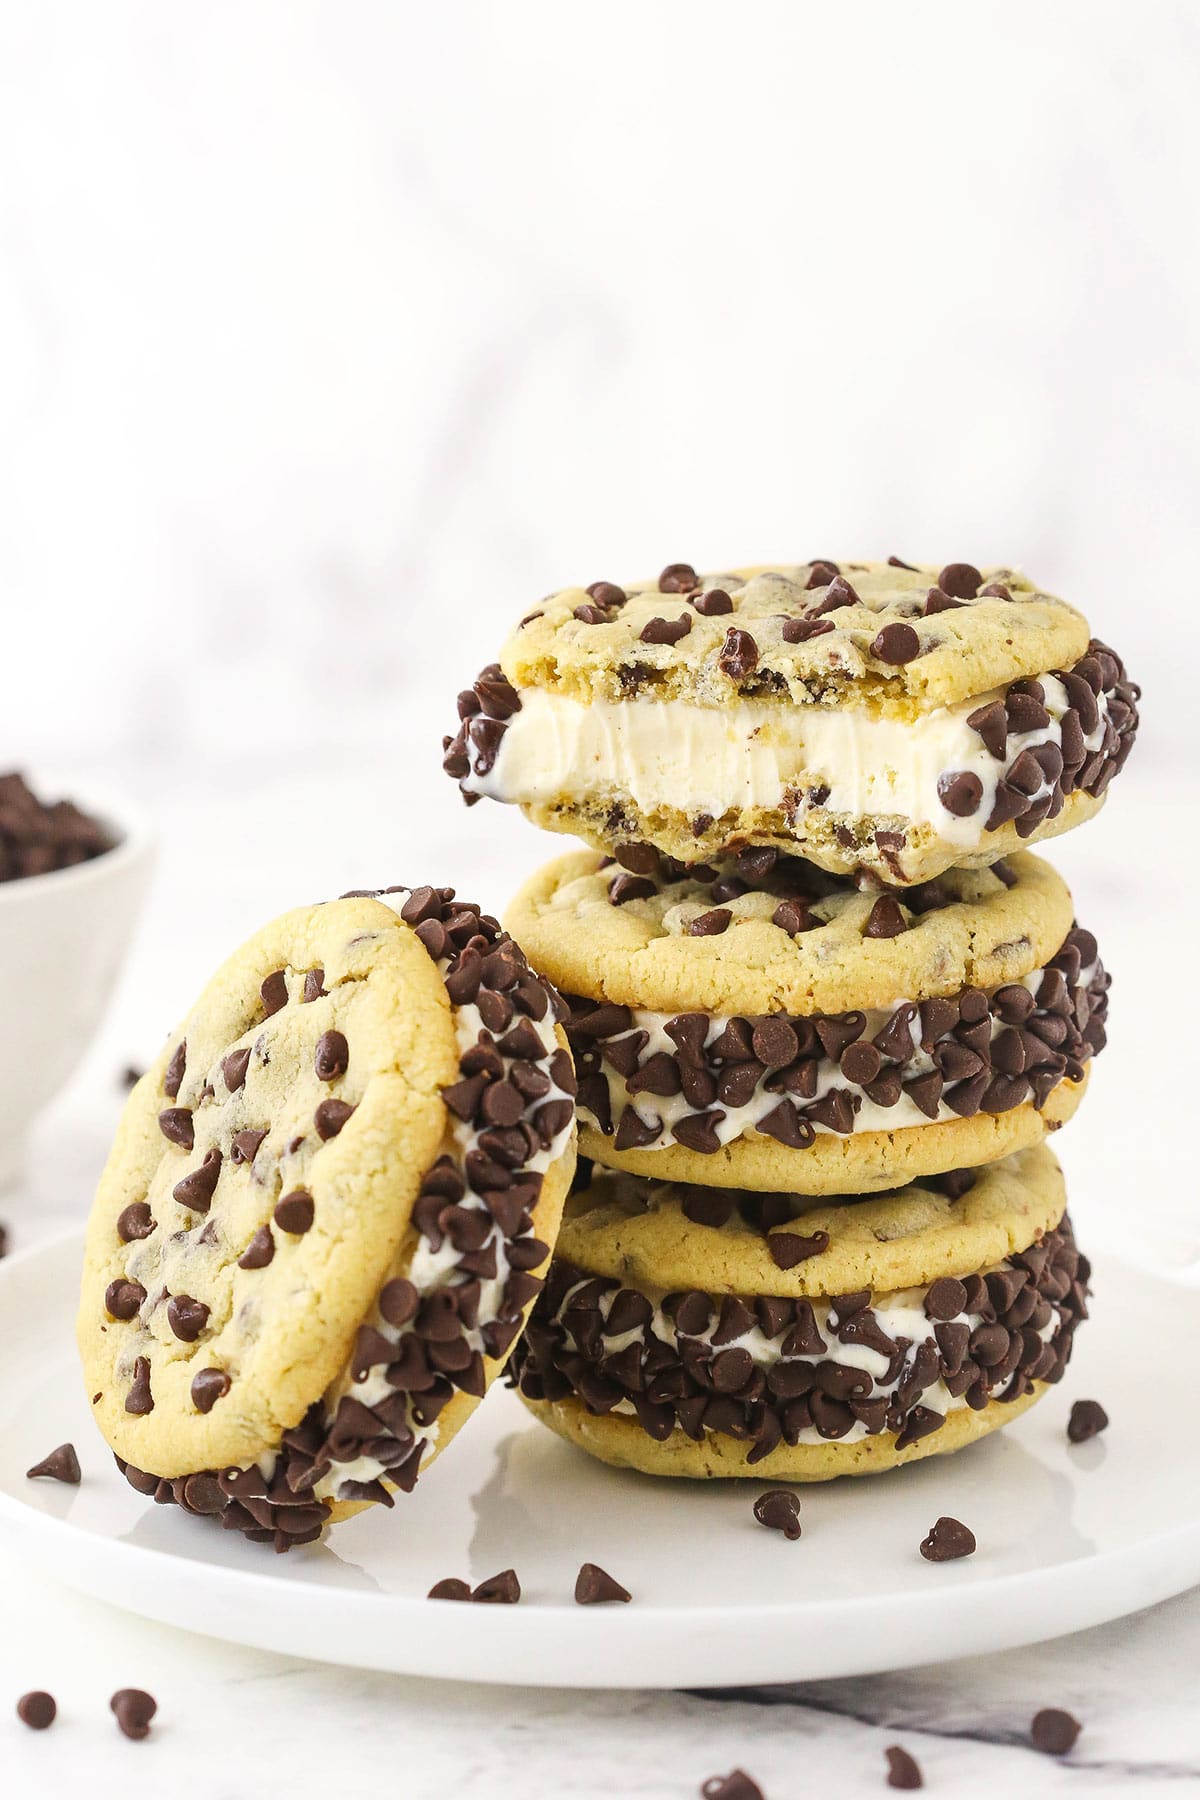
The combination of the chocolate chip cookies and the rich, creamy ice cream is unlike anything else. Once you pick up your chipwich, it won’t touch the plate again. It’s an express trip to the tummy!
What You’ll Need
I developed these chocolate chip cookies specifically for this dessert – they get firm in the freezer, but after sitting for a few minutes are perfect. No one wants an ice cream sandwich that’s uncomfortable to bite!
Scroll down to the recipe card to see the quantities for each ingredient.
- All-Purpose Flour: Use a food scale or make sure you spoon it into your measuring cup little by little instead of scooping it up directly. This prevents it from getting packed in.
- Baking Soda
- Baking Powder
- Salt: If you only have salted butter on hand, you can omit this. Otherwise, don’t leave it out.
- Unsalted Butter: Brought to room temperature.
- Granulated Sugar
- Light Brown Sugar: Unlike the flour, this should be packed into your measuring cup.
- Egg Yolks: Discard those whites! The yolks are mostly fat, but the whites have a high water content, which would cause these cookies to over-spread.
- Vanilla Extract
- Mini Chocolate Chips: You’ll need some for the cookie batter and some to coat the edges of the ice cream between the cookies.
- Vanilla Ice Cream: Use store bought or your favorite homemade recipe.
How to Make Chocolate Chip Cookie Ice Cream Sandwiches
These do take a while to make, but that’s to be expected with any frozen dessert. You can split the process between multiple days if you’d like. Most of it is hands-off, so I promise it’s not much of a commitment.
Make the Chocolate Chip Cookies
Heat Oven: Preheat the oven to 350°F. Line two baking sheets with parchment paper or silicone baking mats. Set the prepared pans aside.
Combine Dry Ingredients: Combine the flour, baking soda, baking powder and salt in a medium-sized bowl and set the mixture aside.
Cream Butter & Sugars: Place the butter and sugars into a large mixer bowl. Beat the mixture on medium speed until it’s light in color and fluffy. You should be able to see the change in color happen and know it’s ready.
Add Egg Yolks & Vanilla: Add the egg yolks and vanilla extract and mix until well combined.
Add Dry Ingredient Mixture: Add the dry ingredients and mix just until the dough is well combined. It will be thick and shouldn’t be too sticky. Do not over-mix it.
Fold In Chocolate Chips: Once the batter is just well combined, add the mini chocolate chips and use a rubber spatula to fold it all together.
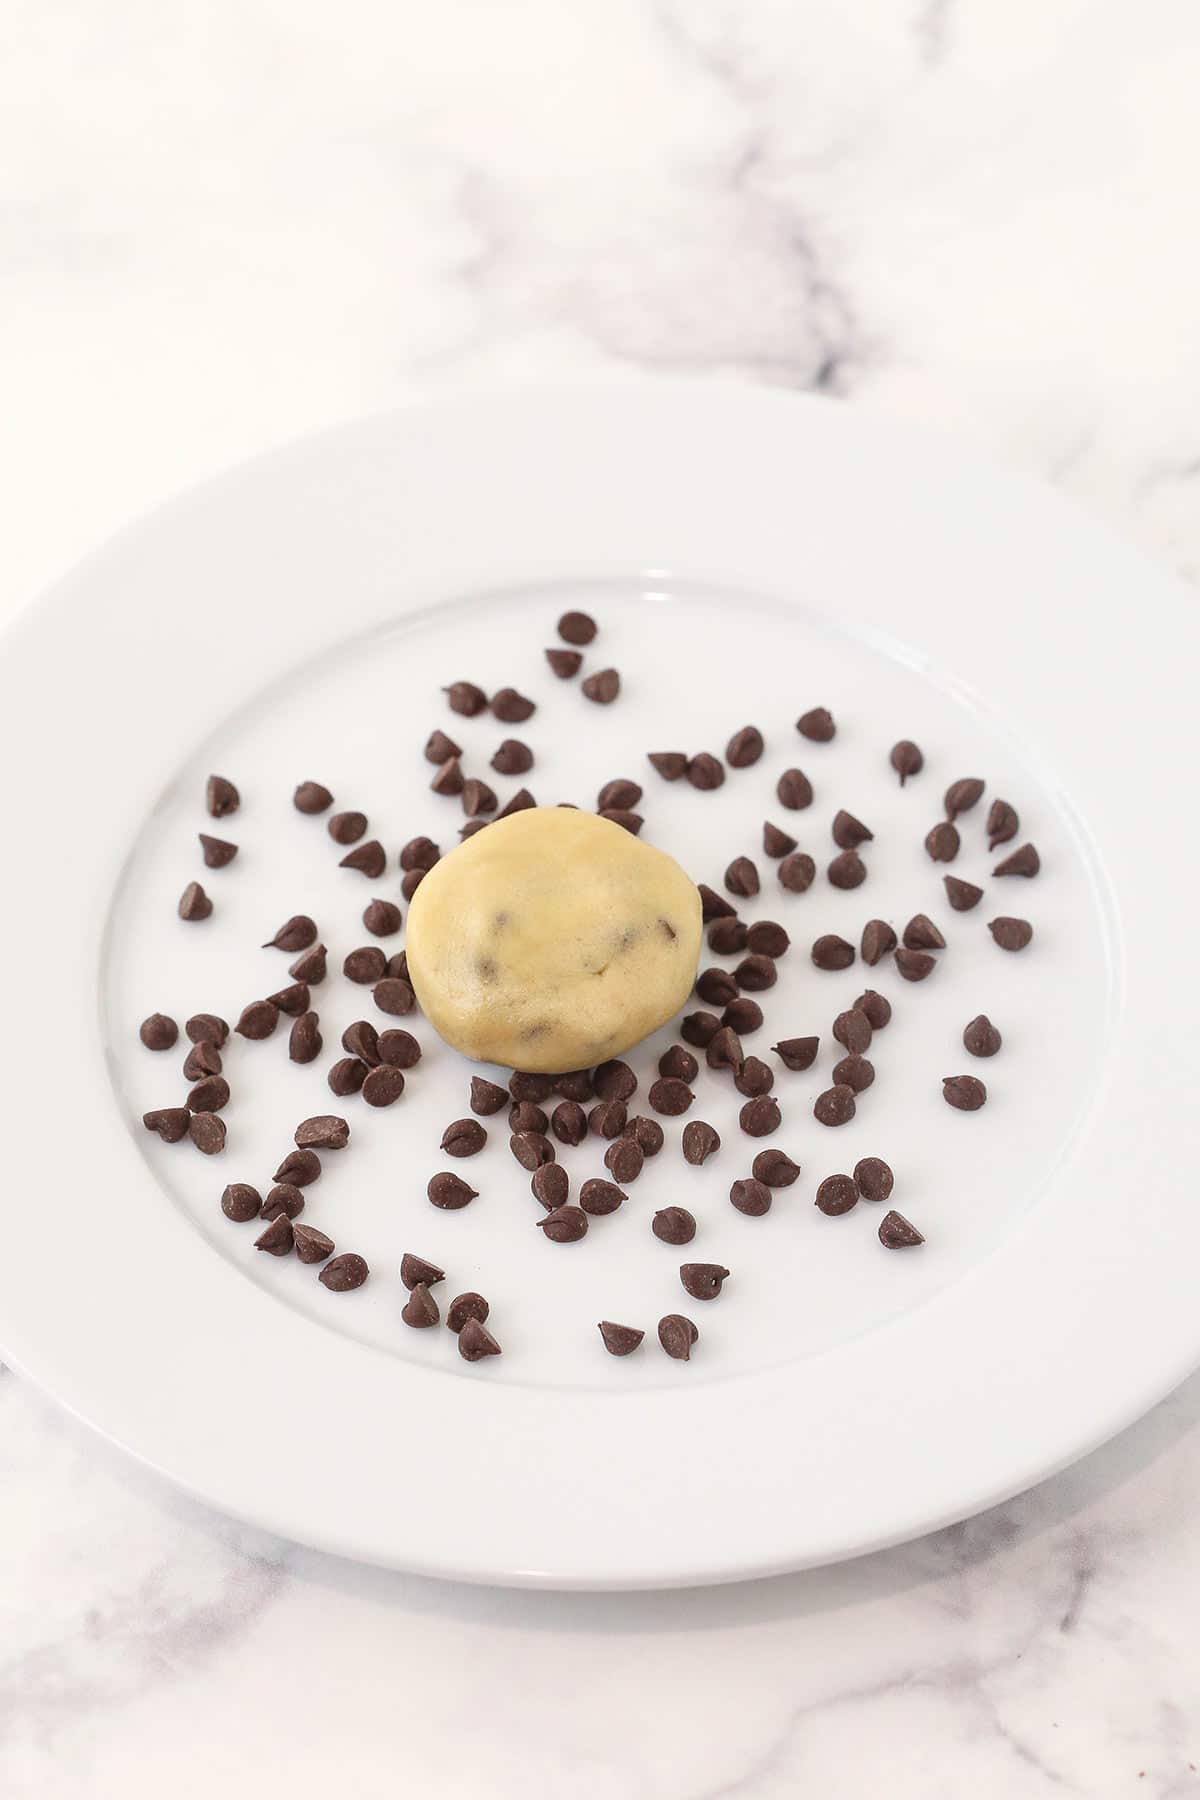
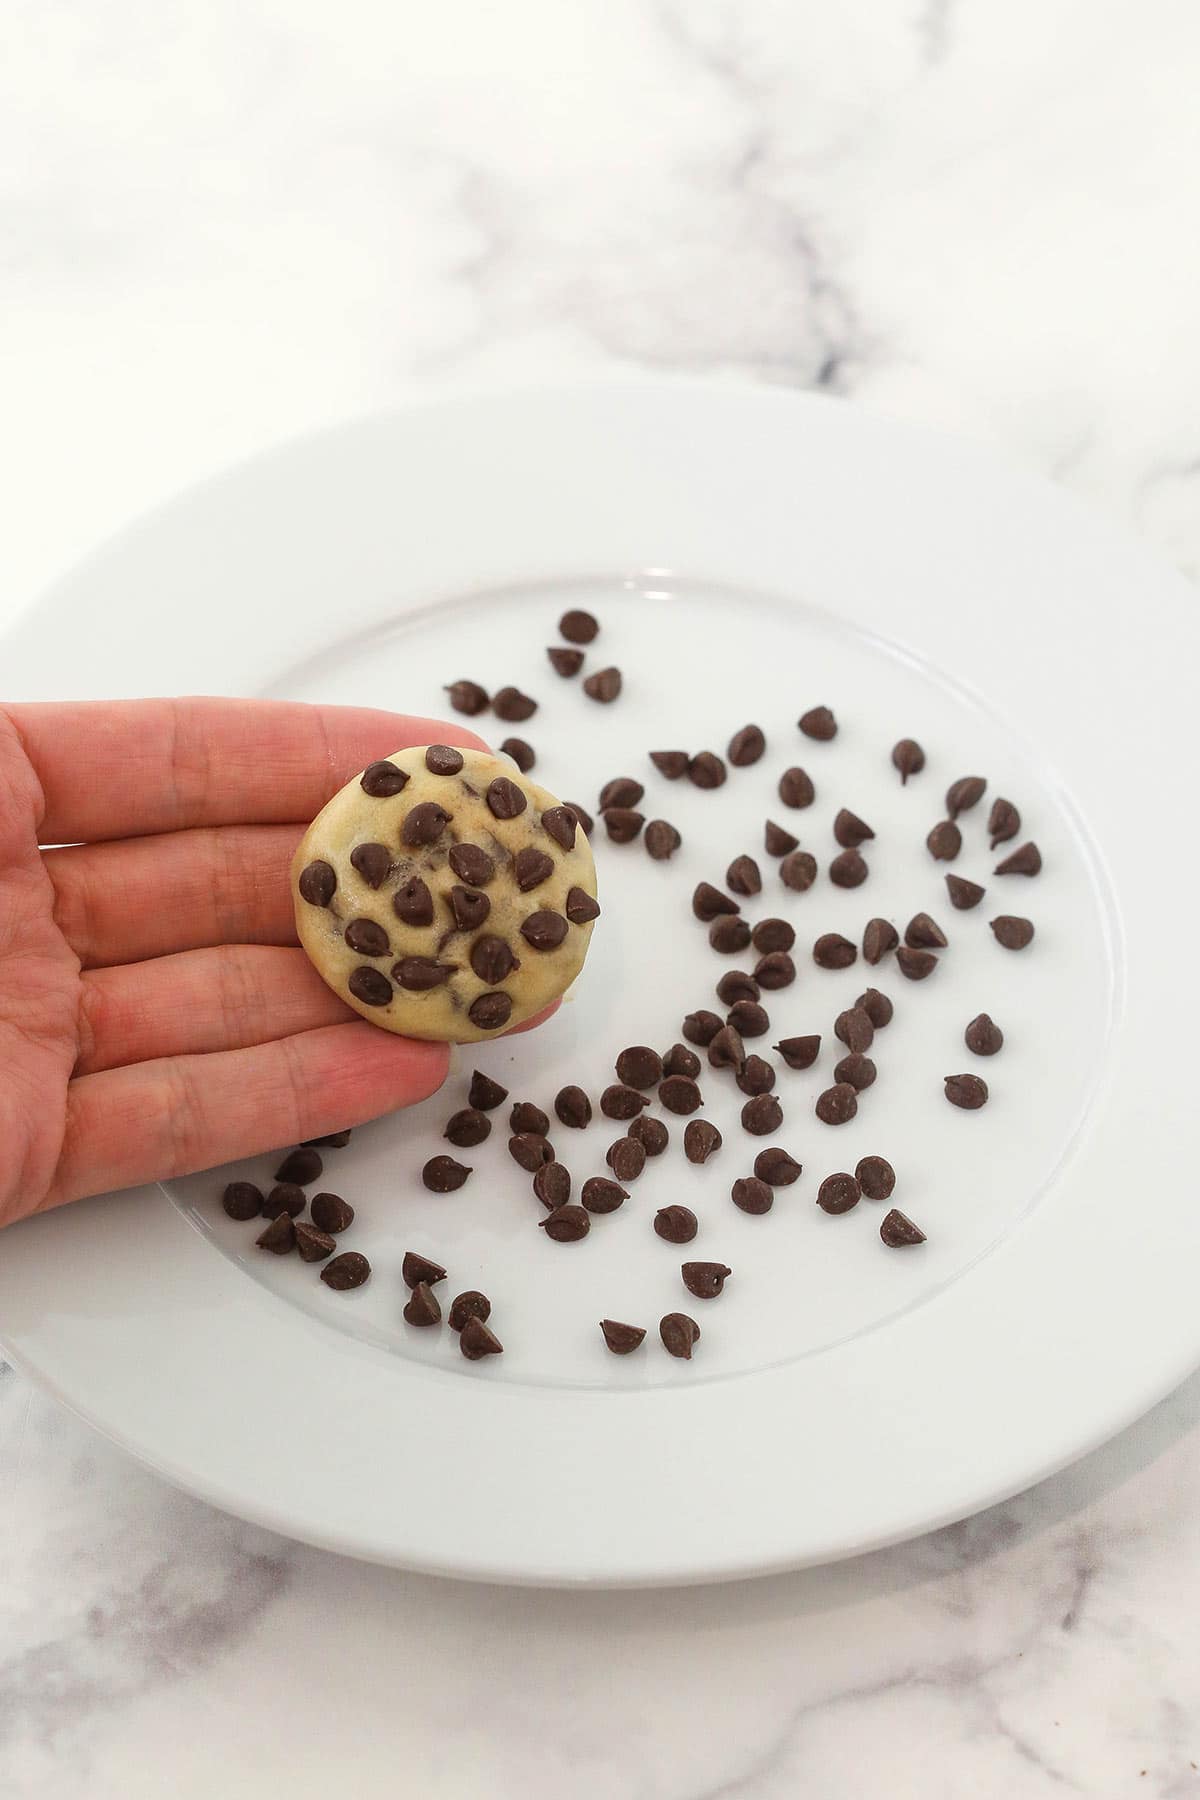
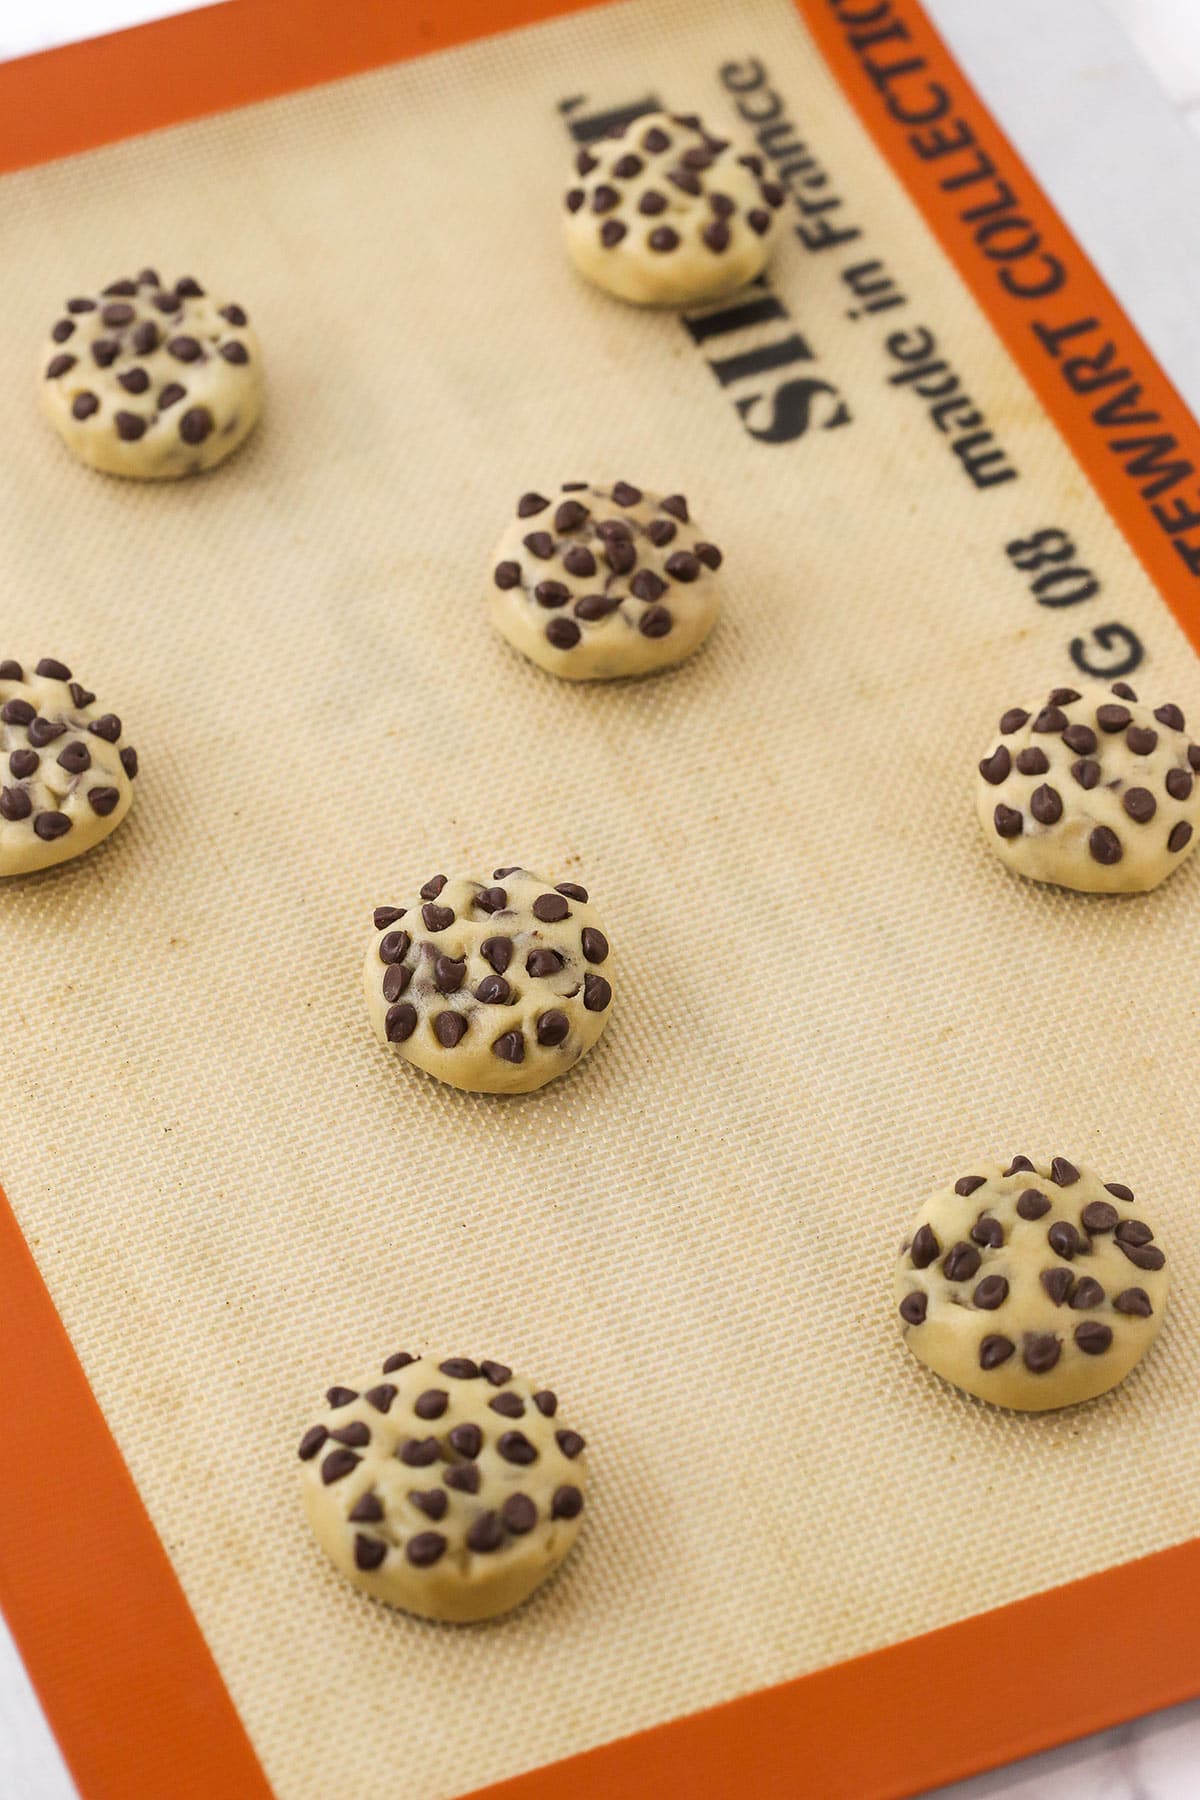
Form Cookies: Scoop out 1 1/2 tablespoon sized balls of cookie dough. Gently roll the scoops into a neat ball, then press down and flatten out the cookies a bit. Press some additional mini chocolate chips into the top of the cookie dough, then place each ball onto the prepared cookie sheets.
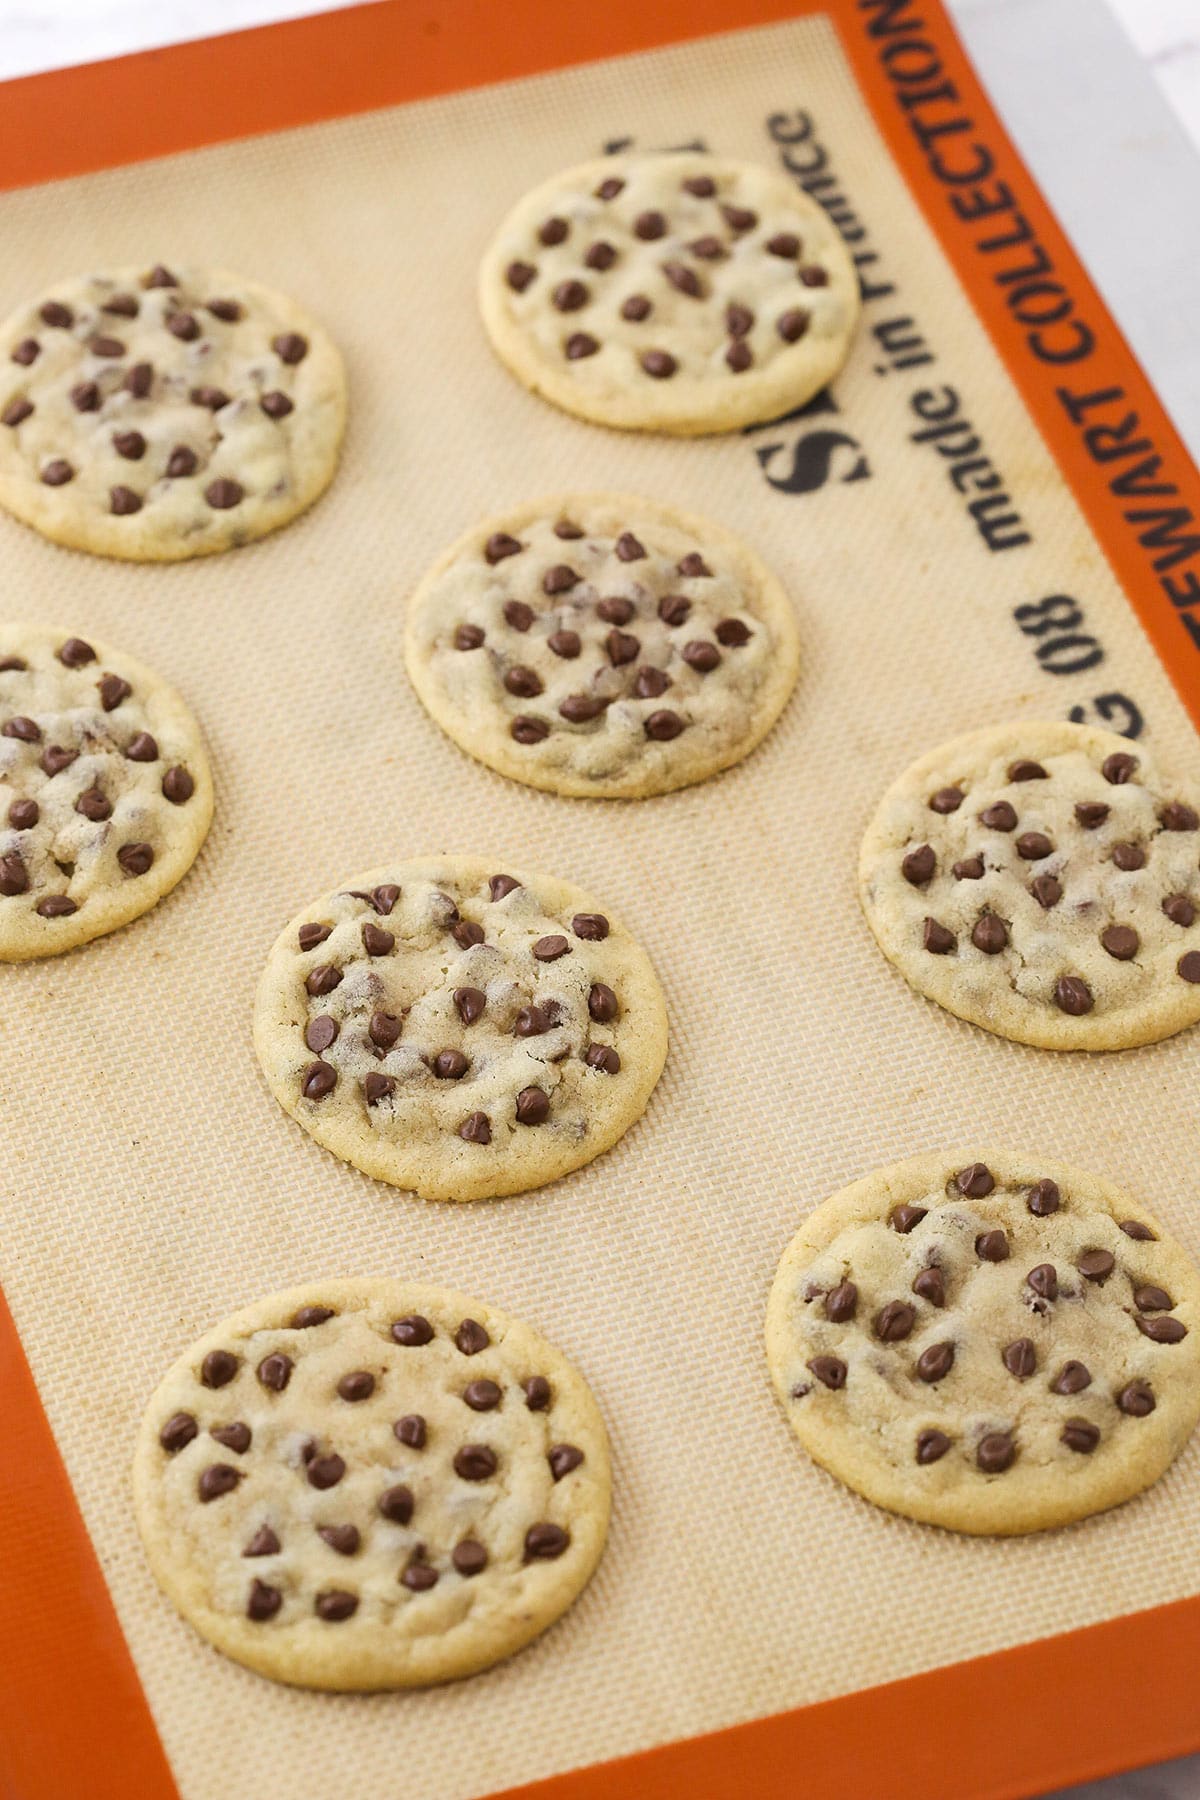
Bake: Bake your cookies for 7-10 minutes. The cookies will spread and the centers will look soft, but should look done. Remove them from the oven just before the edges begin to turn golden. Don’t over-bake them. The cookies may look a little puffy when you take them out of the oven, but they’ll fall a bit as they cool. They should be relatively thin.
Let Cool: Allow the cookies to cool on the baking sheets for 4-5 minutes before transferring them to a wire rack lined with parchment paper. If the cookies aren’t nicely round, use a spoon to push the edges in and re-shape them. Let them cool completely.
Freeze: Once the cookies have fully cooled, place them into the freezer for about 20-30 minutes.
Assemble the Ice Cream Sandwiches
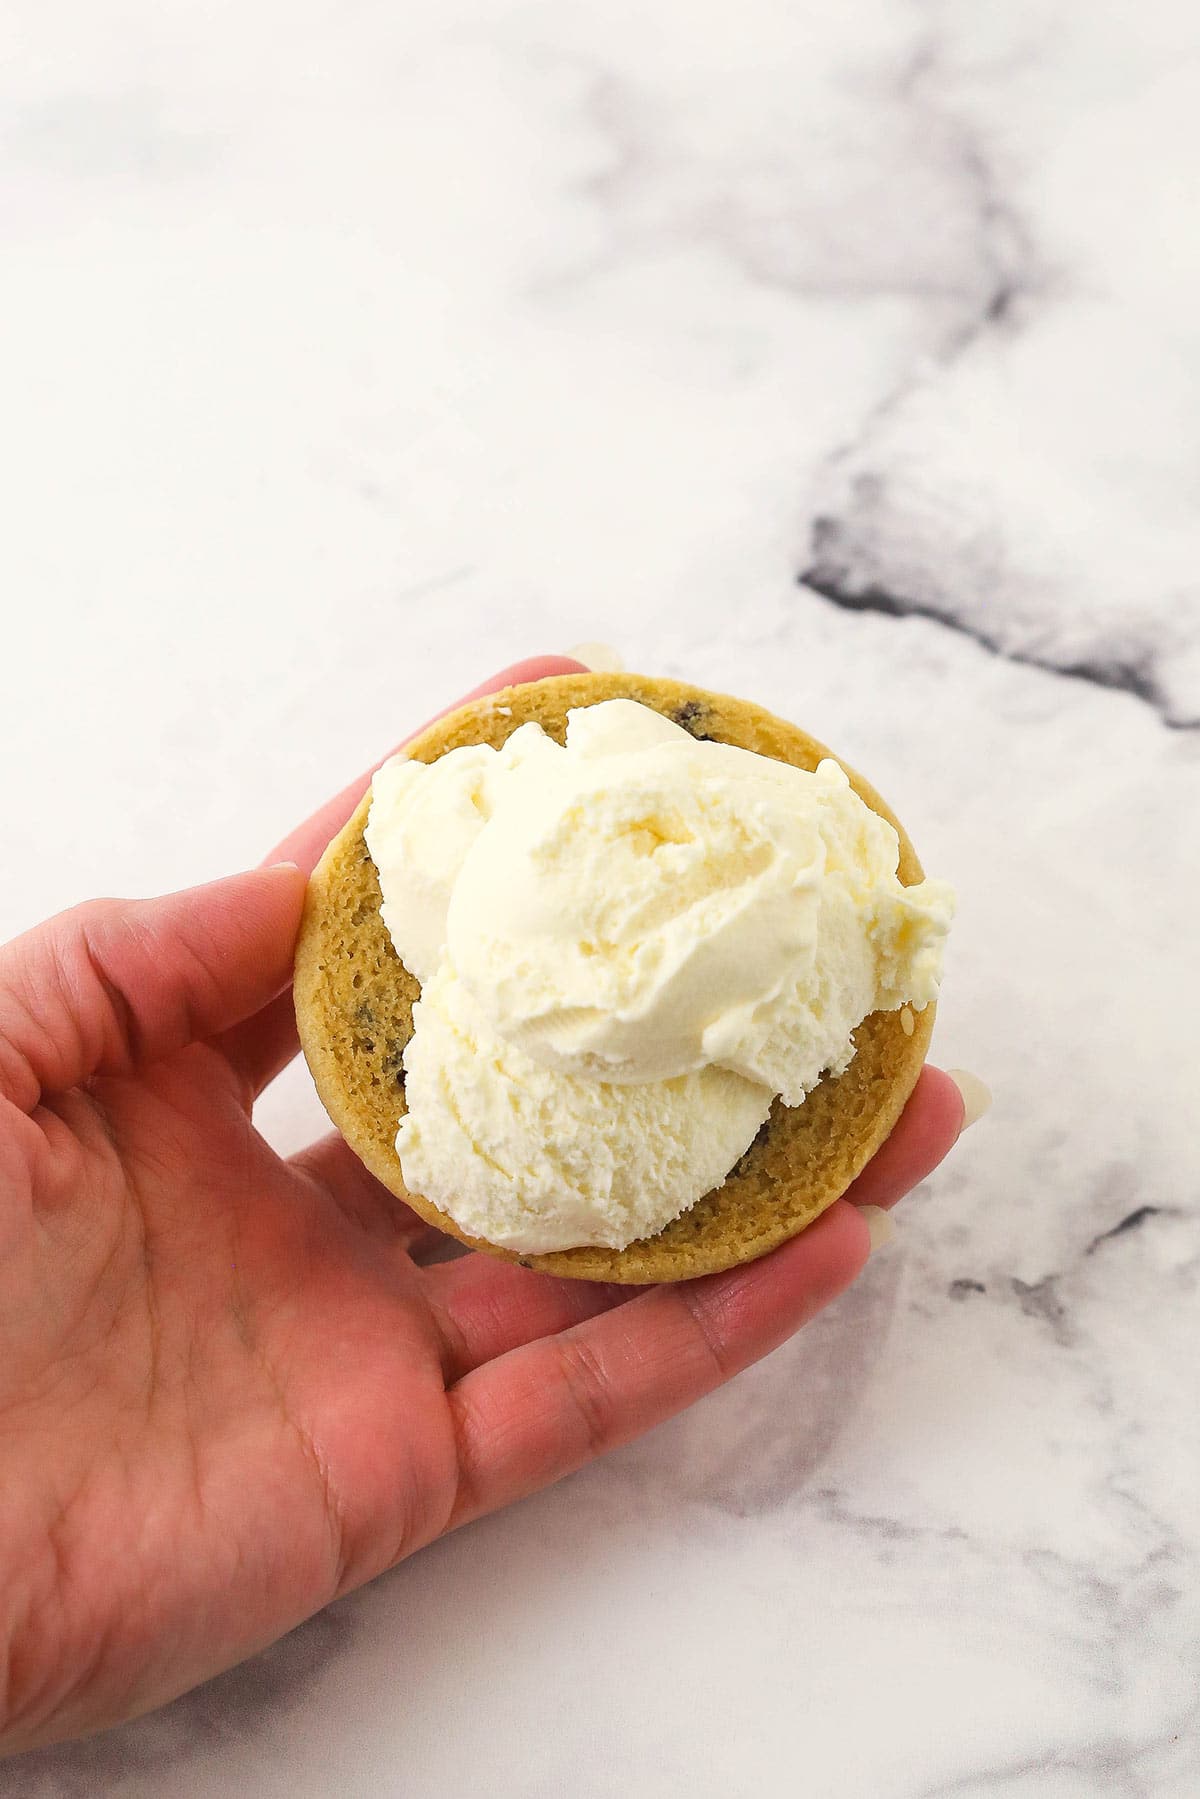
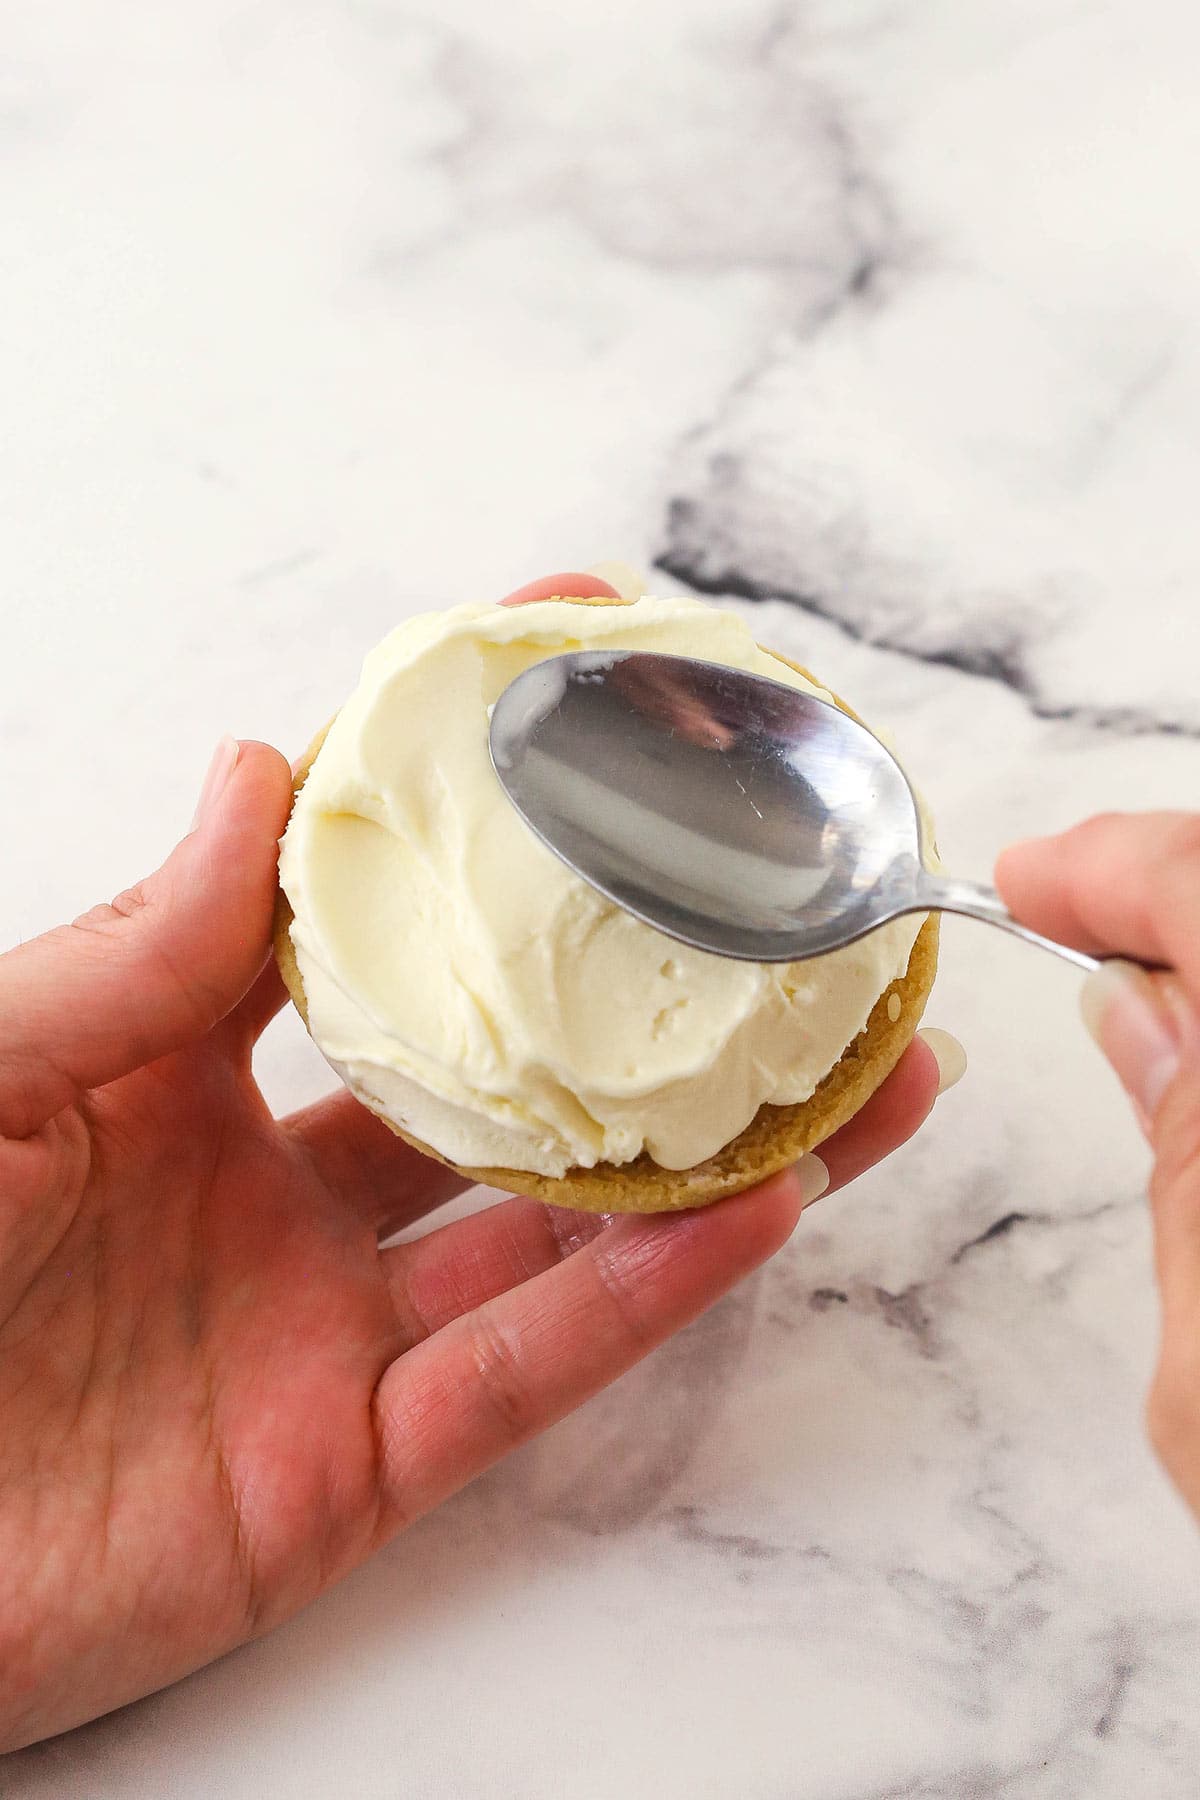
Sandwich Ice Cream Between Cookies: Grab a cookie and add about 1/4 cup (4 tablespoons) of ice cream on top. Spread the ice cream out evenly. I used the back of a spoon to spread it around. I find it easiest to work with the ice cream when it’s right out of the freezer and still firm. The more it melts, the more it melts out from between the cookies when you return them to the freezer. Work quickly. Top the ice cream with a second cookie and place the cookie sandwich back into the freezer.
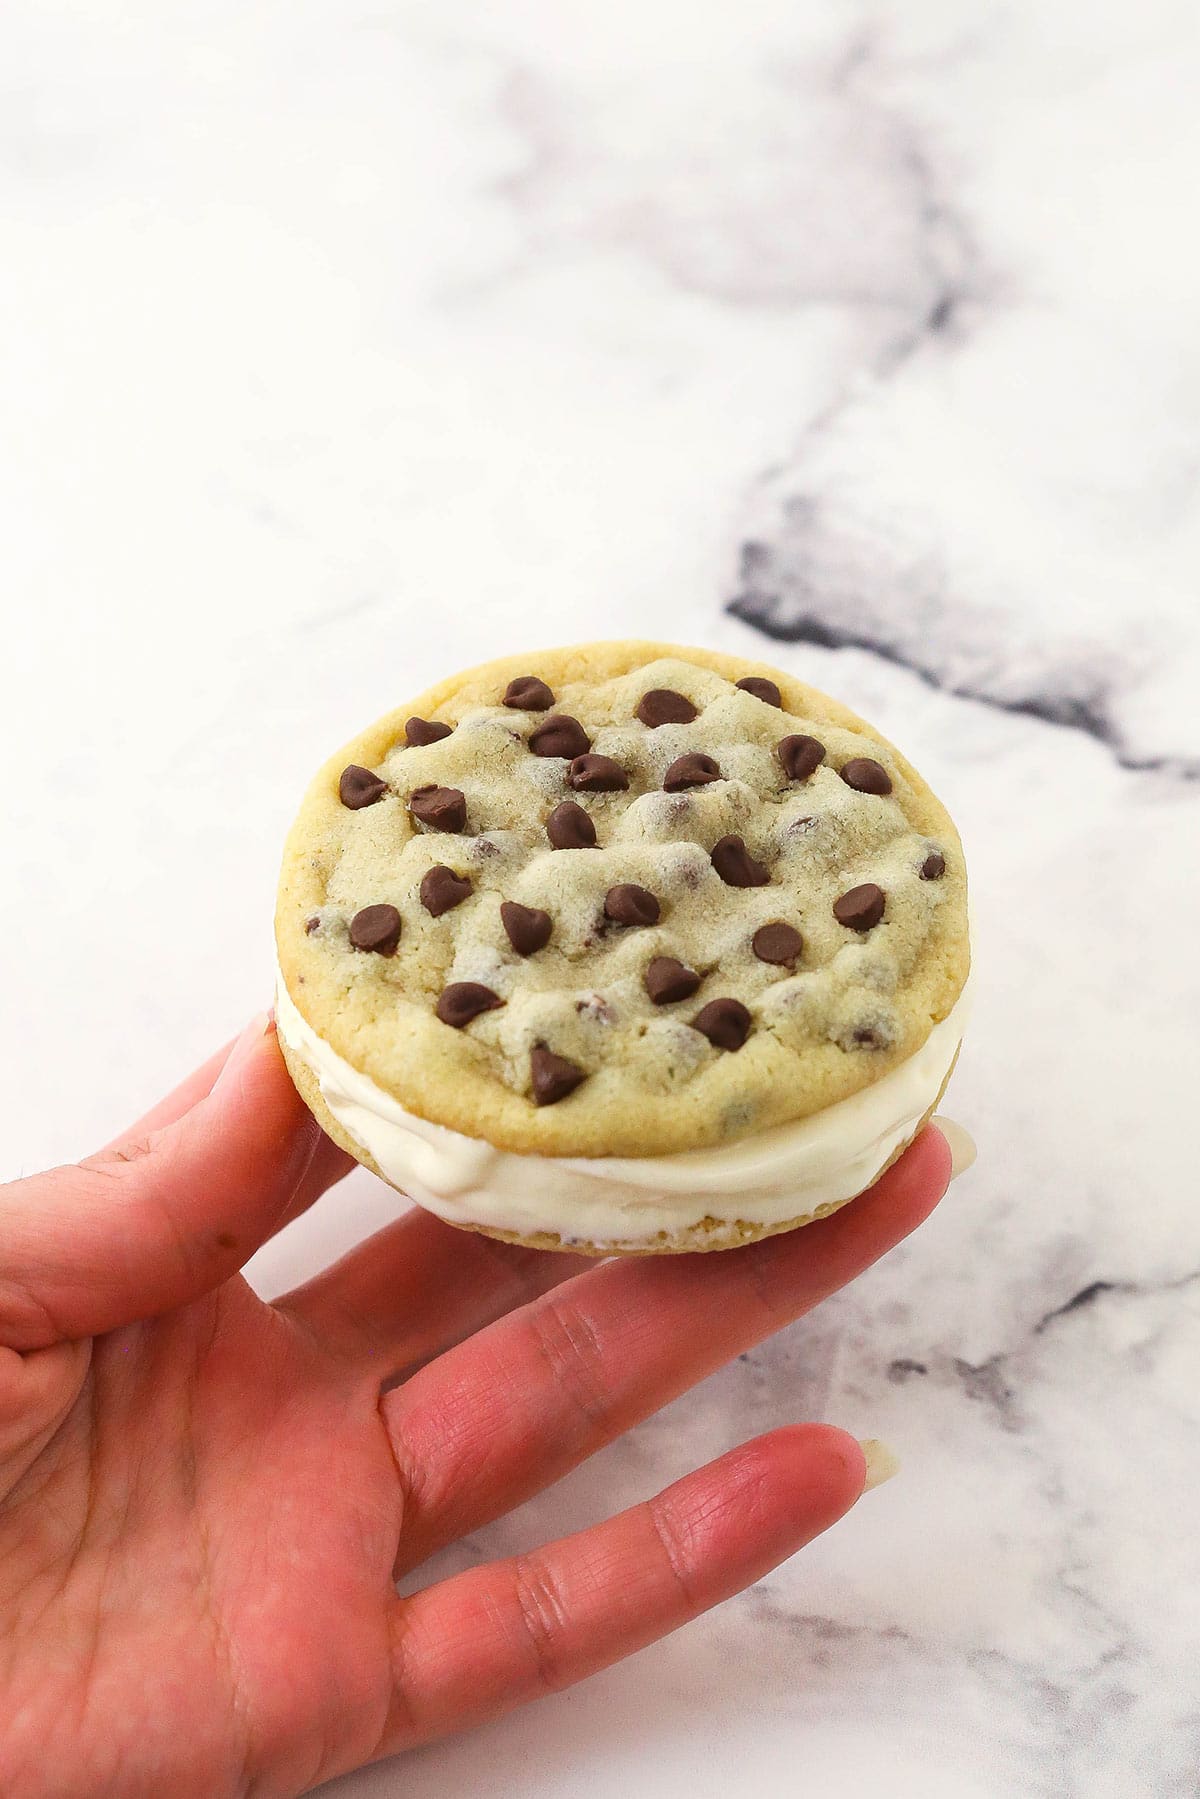
Freeze Chipwiches: Continue to work with the cookies and ice cream until you’ve made all of the ice cream sandwiches. Allow them to freeze for 2-3 hours so that the ice cream is fully frozen.
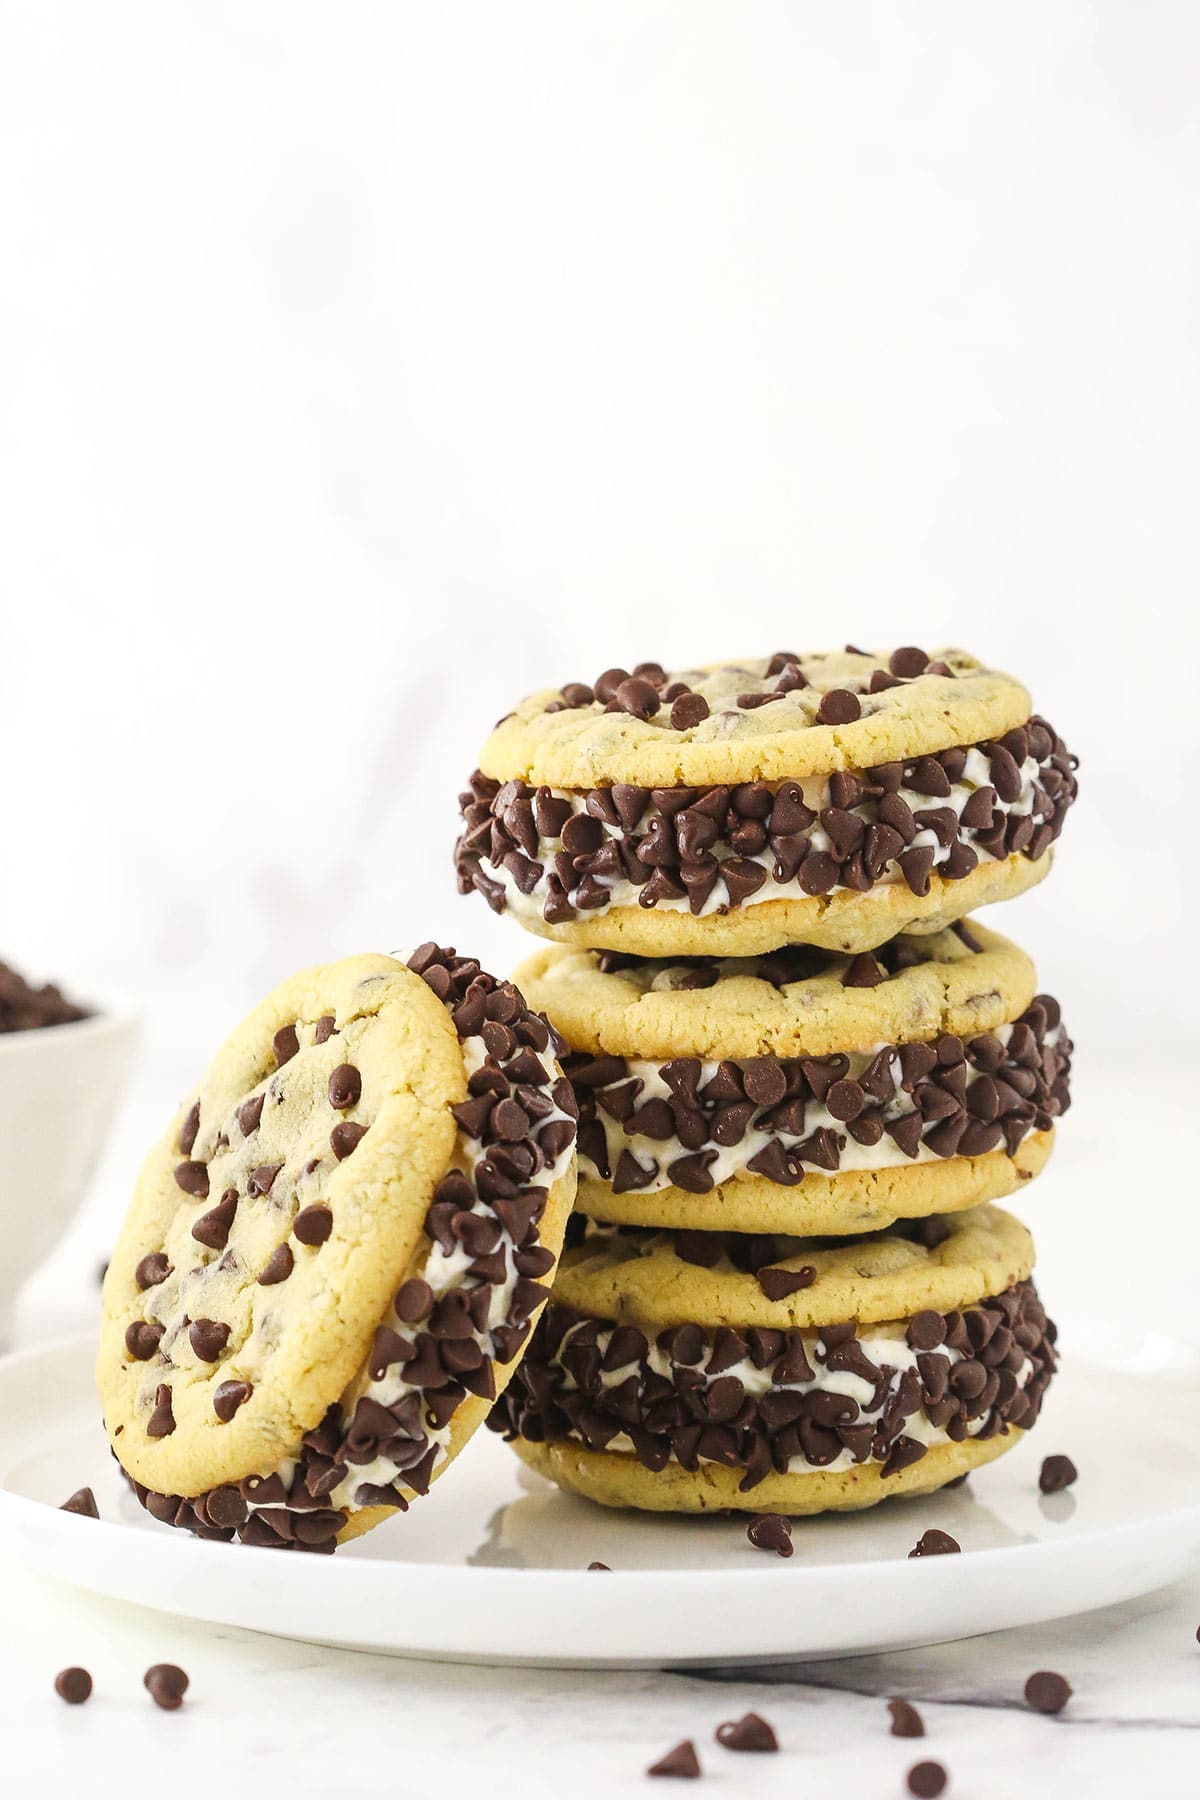
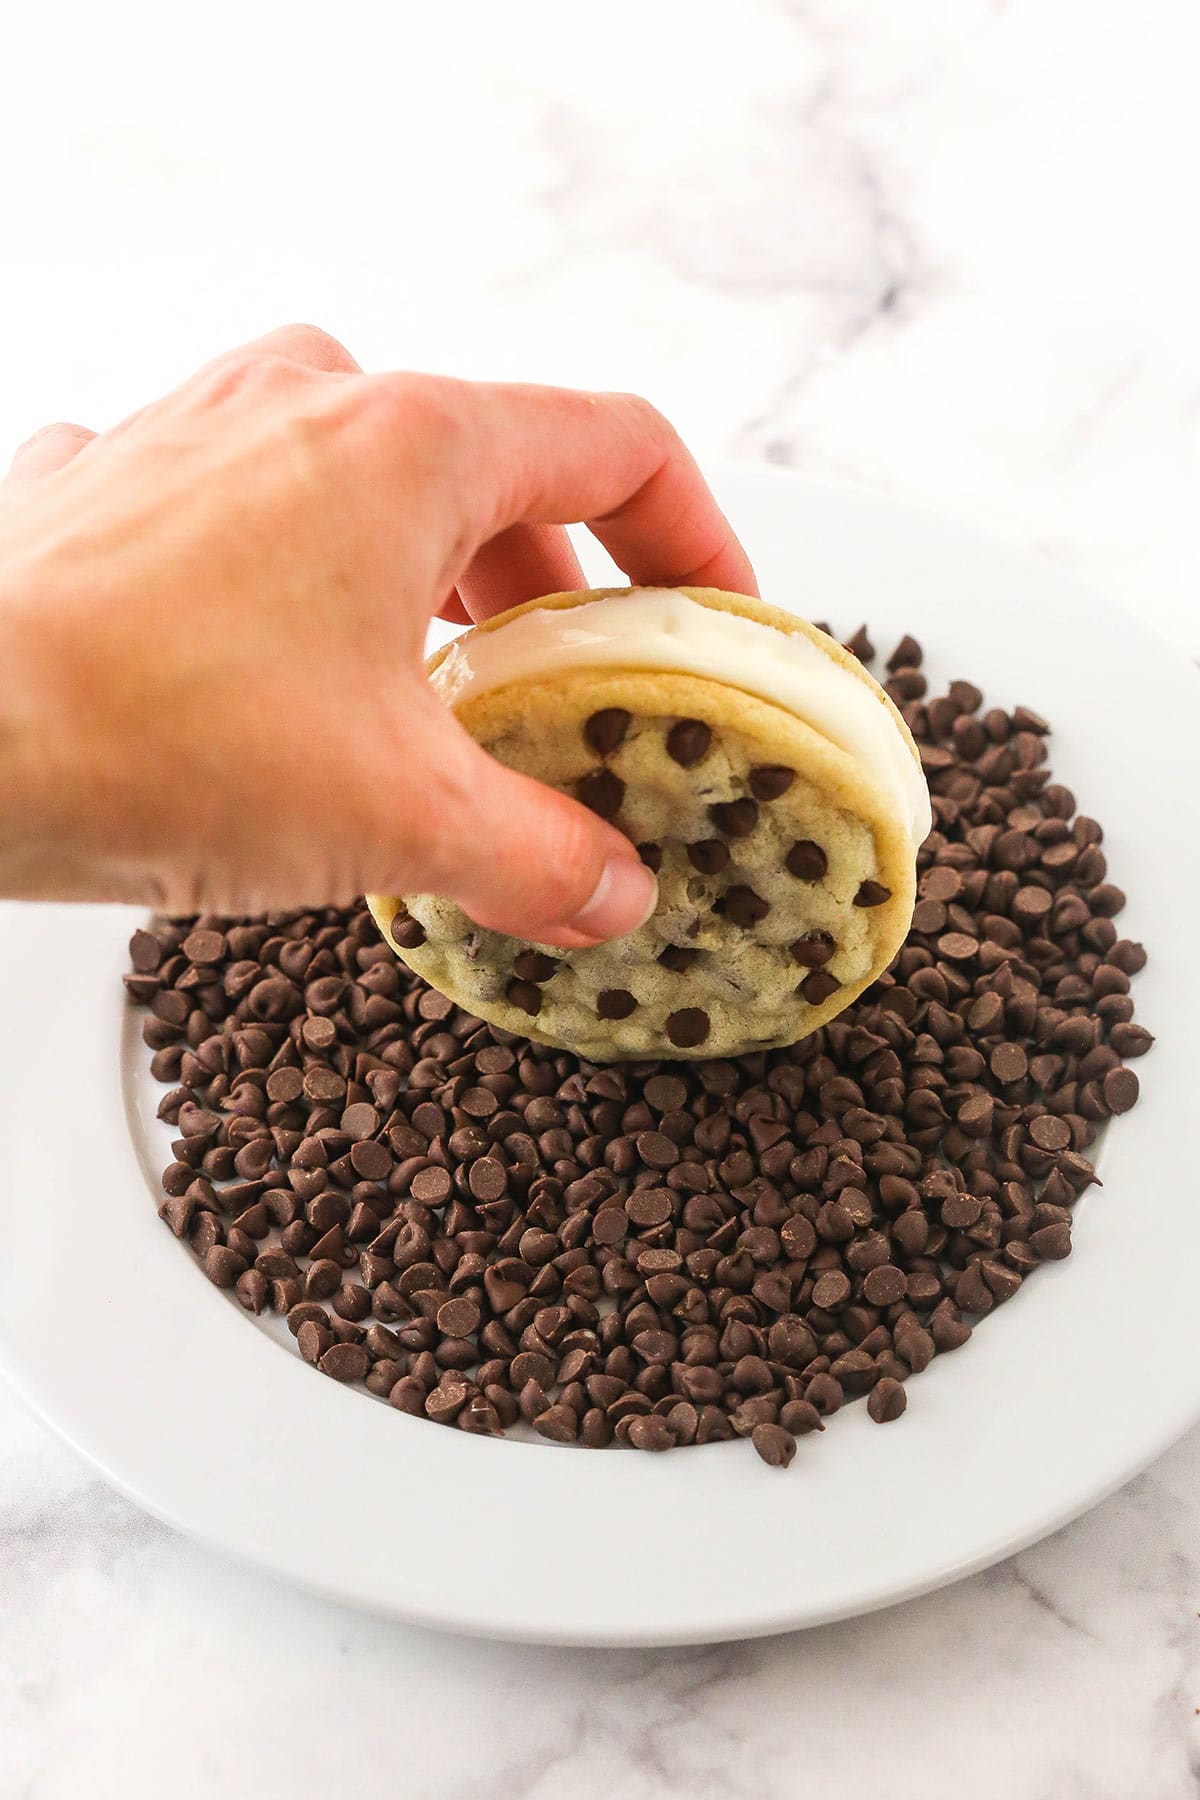
Dip Into Additional Chocolate Chips: Dip the sides of the ice cream sandwiches into the additional mini chocolate chips to coat the edge of the ice cream. I like to spread the chips out onto a plate and roll the ice cream through them.
Enjoy! Put the finished cookie sandwiches back into the freezer until you’re ready to serve them.
Tips for Success
Let’s go over some easy ways to make sure these cookie sandwiches turn out perfect.
- Shoot For Soft, Not-Too-Thick Cookies: Since these are ice cream sandwiches, it’s important to remember that the cookies will harden in the freezer. If you make your cookies too thick, you won’t be able to bite into the chipwiches very easily. I like to bake them so they’re soft and chewy – not crunchy – for the same reason.
- Control the Spread: Every oven is unique, so even if you measure all your cookie dough ingredients properly, there can still be some variation in the results. Since we want these to have the right thickness, I recommend baking just two cookies first. See how they spread. If they don’t spread enough, add a teaspoon or so of milk to the dough (or just press them down a little more before baking to help the spread). If they spread too much, add a tablespoon or so of flour, depending on how much they spread.
- Don’t Forget to Freeze the Cookies: The cookies need to be frozen for at least 20 minutes before the chipwiches can be assembled. Otherwise, they’ll break as you’re trying to build them.
Preventing Ice Cream Sandwiches From Getting Hard
The key here is a good cookie. They are going to get firm, but a soft cookie with soften just enough after sitting out of the freezer for a few minutes to be enjoyable. I let mine sit for about 5 minutes. And no, the ice cream shouldn’t melt in that amount of time, as long as it’s not sitting right in the heat.
Variation Ideas
There are plenty of ways to put a spin on these classic ice cream sandwiches. Get inventive with them!
- Roll Them In Something Other Than Chocolate Chips: From chopped nuts to sprinkles, you can coat the sides of your ice cream sandwiches with anything you’re craving. If you choose not to roll them in anything, that’s fine too.
- Use Another Kind of Ice Cream: Feel free to make these chipwiches your favorite flavor of ice cream in place of the vanilla. I think they’d be incredible with moose tracks or cookie dough!
- Change Up the Cookies: Any cookies that can be made thin while remaining soft and chewy will work for this dessert. You can’t go wrong with Snickerdoodles or Soft Chocolate Cookies (without the frosting)!
Storing Ice Cream Sandwiches
I recommend enjoying your chocolate chip cookie ice cream sandwiches within one to two weeks. Either wrap each chipwich in plastic wrap or store them in a freezer-safe container with parchment paper separating them.
Print
Chocolate Chip Cookie Ice Cream Sandwiches
- Prep Time: 4 hours 30 minutes
- Cook Time: 20 minutes
- Total Time: 4 hours 50 minutes
- Yield: 9 1x
- Category: Dessert
- Method: Oven
- Cuisine: American
Description
Homemade Chocolate Chip Cookie Ice Cream Sandwiches couldn’t possibly be more satisfying! Cold and creamy vanilla ice cream is sandwiched between two wonderfully chewy, chocolatey cookies.
Ingredients
- 1 1/4 cups (163g) all-purpose flour
- 1/2 tsp baking soda
- 1/4 tsp baking powder
- 1/4 tsp salt
- 1/2 cup (112g) unsalted butter, room temperature
- 6 tbsp (78g) granulated sugar
- 1/4 cup (56g) packed light brown sugar
- 2 large egg yolks
- 1/2 tsp vanilla extract
- 1 1/2 cups (306g) mini chocolate chips, divided
- Half gallon vanilla ice cream
Instructions
Make the Chocolate Chip Cookies
- Preheat oven to 350°F (180°C). Line baking sheets with parchment paper or silicone baking mats. Set aside.
- Combine the flour, baking soda, baking powder and salt in a medium sized bowl and set aside.
- Cream the butter and sugars together in a large mixer bowl on medium speed until light in color and fluffy. You should be able to see the change in color happen and know it’s ready.
- Add the egg yolks and vanilla extract and mix until well combined.
- Add the dry ingredients and mix just until the dough is well combined. It will be thick and shouldn’t be too sticky. Do not over mix.
- Once it’s well combined, add 1/2 cup (102g) mini chocolate chips and use a rubber spatula to fold it all together.
- Create 1 1/2 tablespoon sized balls of cookie dough. Gently roll into a ball, then press down and flatten out the cookies a bit. Use an additional 1/4 cup (51g) of mini chocolate chips to press some additional chocolate chips into the top of the cookie dough balls, then place on cookie sheet.
- Bake cookies for 7-10 minutes. The cookies will spread and the centers will look soft, but should look done. Remove just before the edges begin to turn golden. Don’t overbake. The cookies may look a little puffy when you take them out of the oven but will fall a bit as they cool. They should be relatively thin.
- Remove from the oven and allow to cool on baking sheets for 4-5 minutes before transferring to a wire rack lined with parchment paper to cool completely. If the cookies aren’t nicely round, use a spoon to push the edges in and make the cookies round.
- When the cookies have cooled, place them in the freezer to firm up for about 20-30 minutes.
Assemble the Ice Cream Sandwiches
- Grab a cookie and add about 1/4 cup (4 tablespoons) of ice cream on top. Spread evenly. I used the back of a spoon to spread it around. I found it was easiest to work with the ice cream when it was still firm and right out of the freezer. The more it melts, the more it melts out from the between the cookies when you place them back in the freezer. Work quickly. Top the ice cream with a second cookie and place the cookie sandwich back into the freezer.
- Continue working with the cookies and ice cream until you’ve made all of the ice cream sandwiches.
- Allow them to freeze for 2-3 hours so that the ice cream is fully frozen, then dip the sides into the remaining 3/4 cup of mini chocolate chips. I spread the mini chocolate chips out onto a plate and rolled the ice cream through them.
- Put the finished cookie sandwiches back in the freezer until ready to serve.
Notes
You can store these in an airtight container with parchment paper separating them or wrap them individually in plastic wrap. They should be good for a week or so.
Nutrition
- Serving Size:
- Calories: 673
- Sugar: 57.3 g
- Sodium: 205.2 mg
- Fat: 39.4 g
- Carbohydrates: 75.2 g
- Protein: 8.9 g
- Cholesterol: 166.5 mg
More Must-Make Summer Desserts
Looking for a few more treats that’ll help you chill out this summer? Enjoy!


Would like to know if I could change this to a gluten free cookie recipe? What type of flour would you suggest to get the best results? I have my foster children on a gluten free and dairy free, soy free diet and trying to give them treats within this diet.
I’m not really familiar with many allergy substitutes and using something like a nut or oat flour can really mess with cookies. I might first try something like an all purpose gluten free flour.
Huge hit amongst friends!
I’m so glad they were a hit!
So interested to see this as we have been hoping to make these to have at my son’s wedding rehearsal dinner! Always on the lookout for clues to do it better!