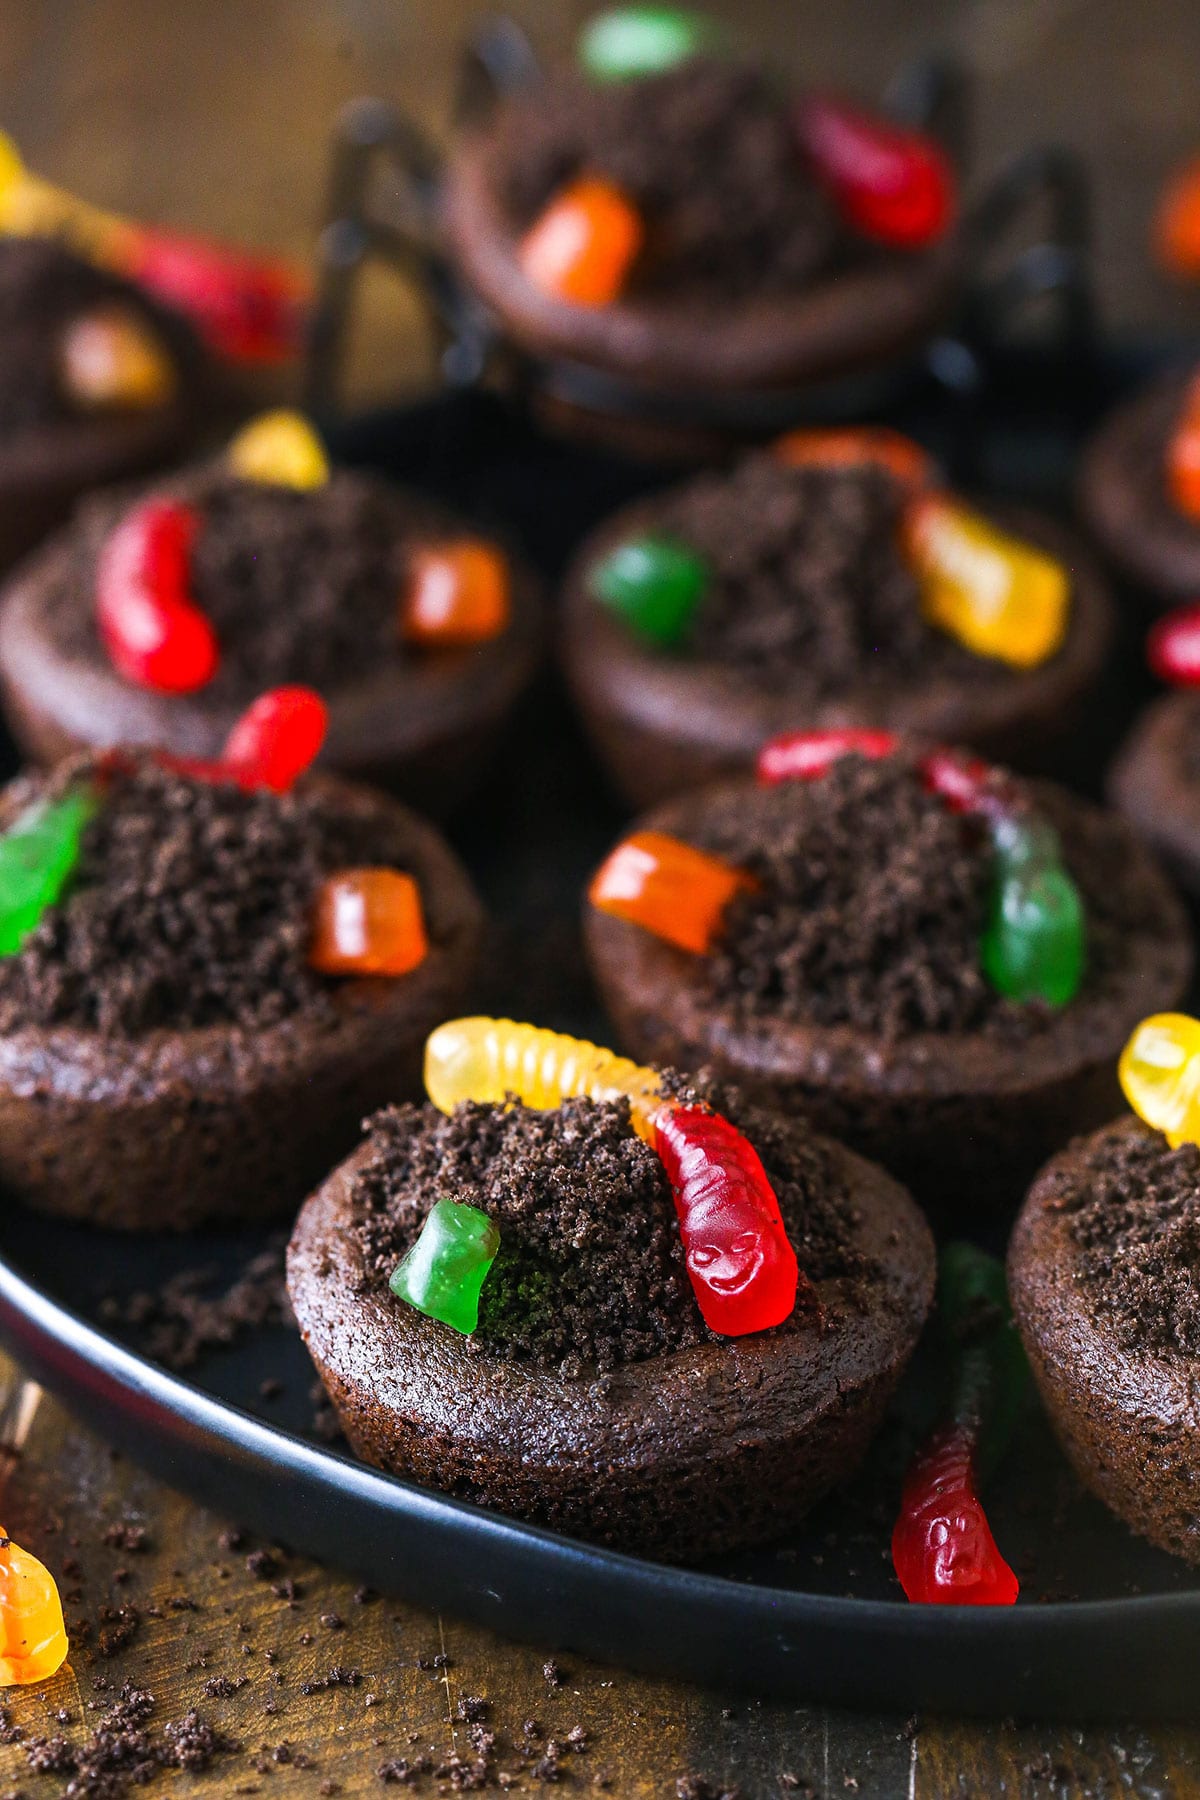
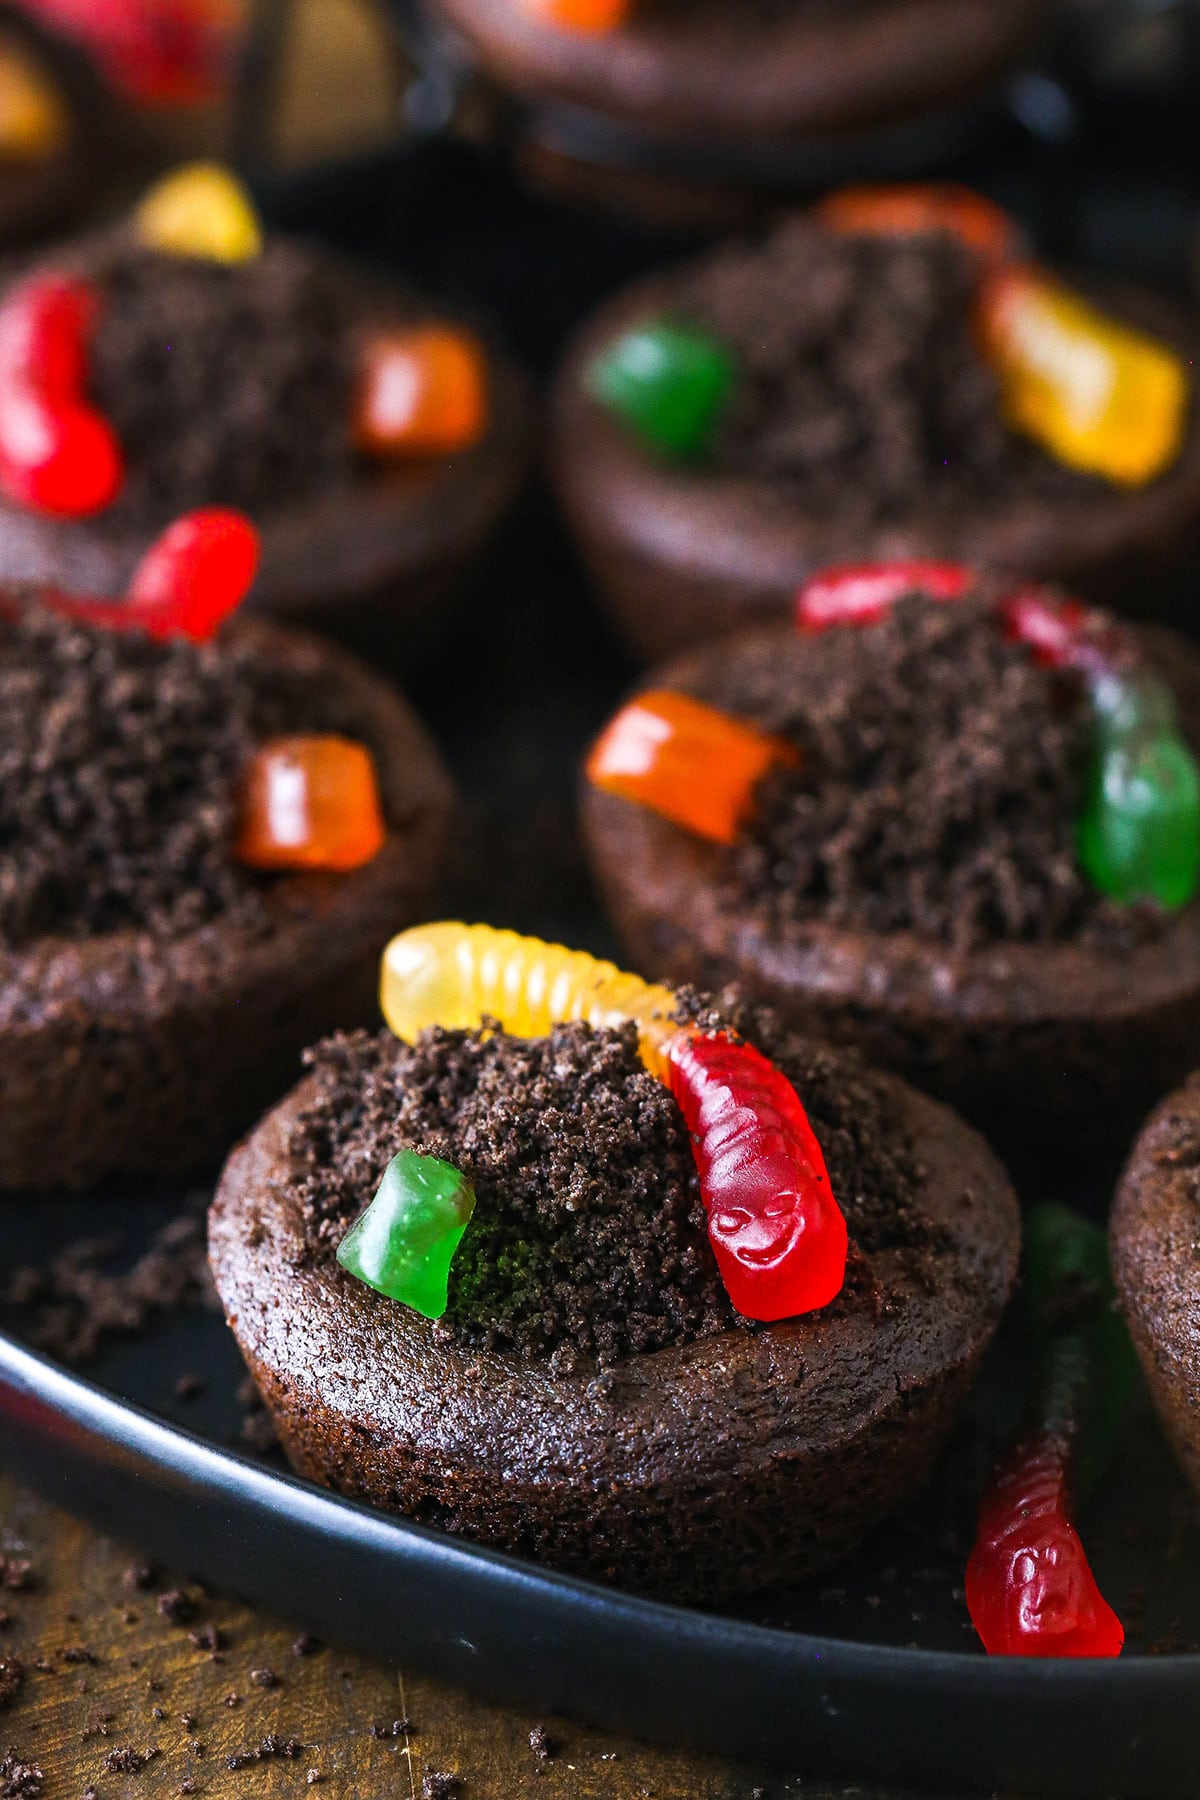
Chewy chocolate cookies, velvety chocolate buttercream, finely crushed Oreos and fruity gummy worms make these Dirt Cookie Cups a Halloween sensation! They’re super easy to make and fun to decorate.
Indulgent Dirt Cookie Cups
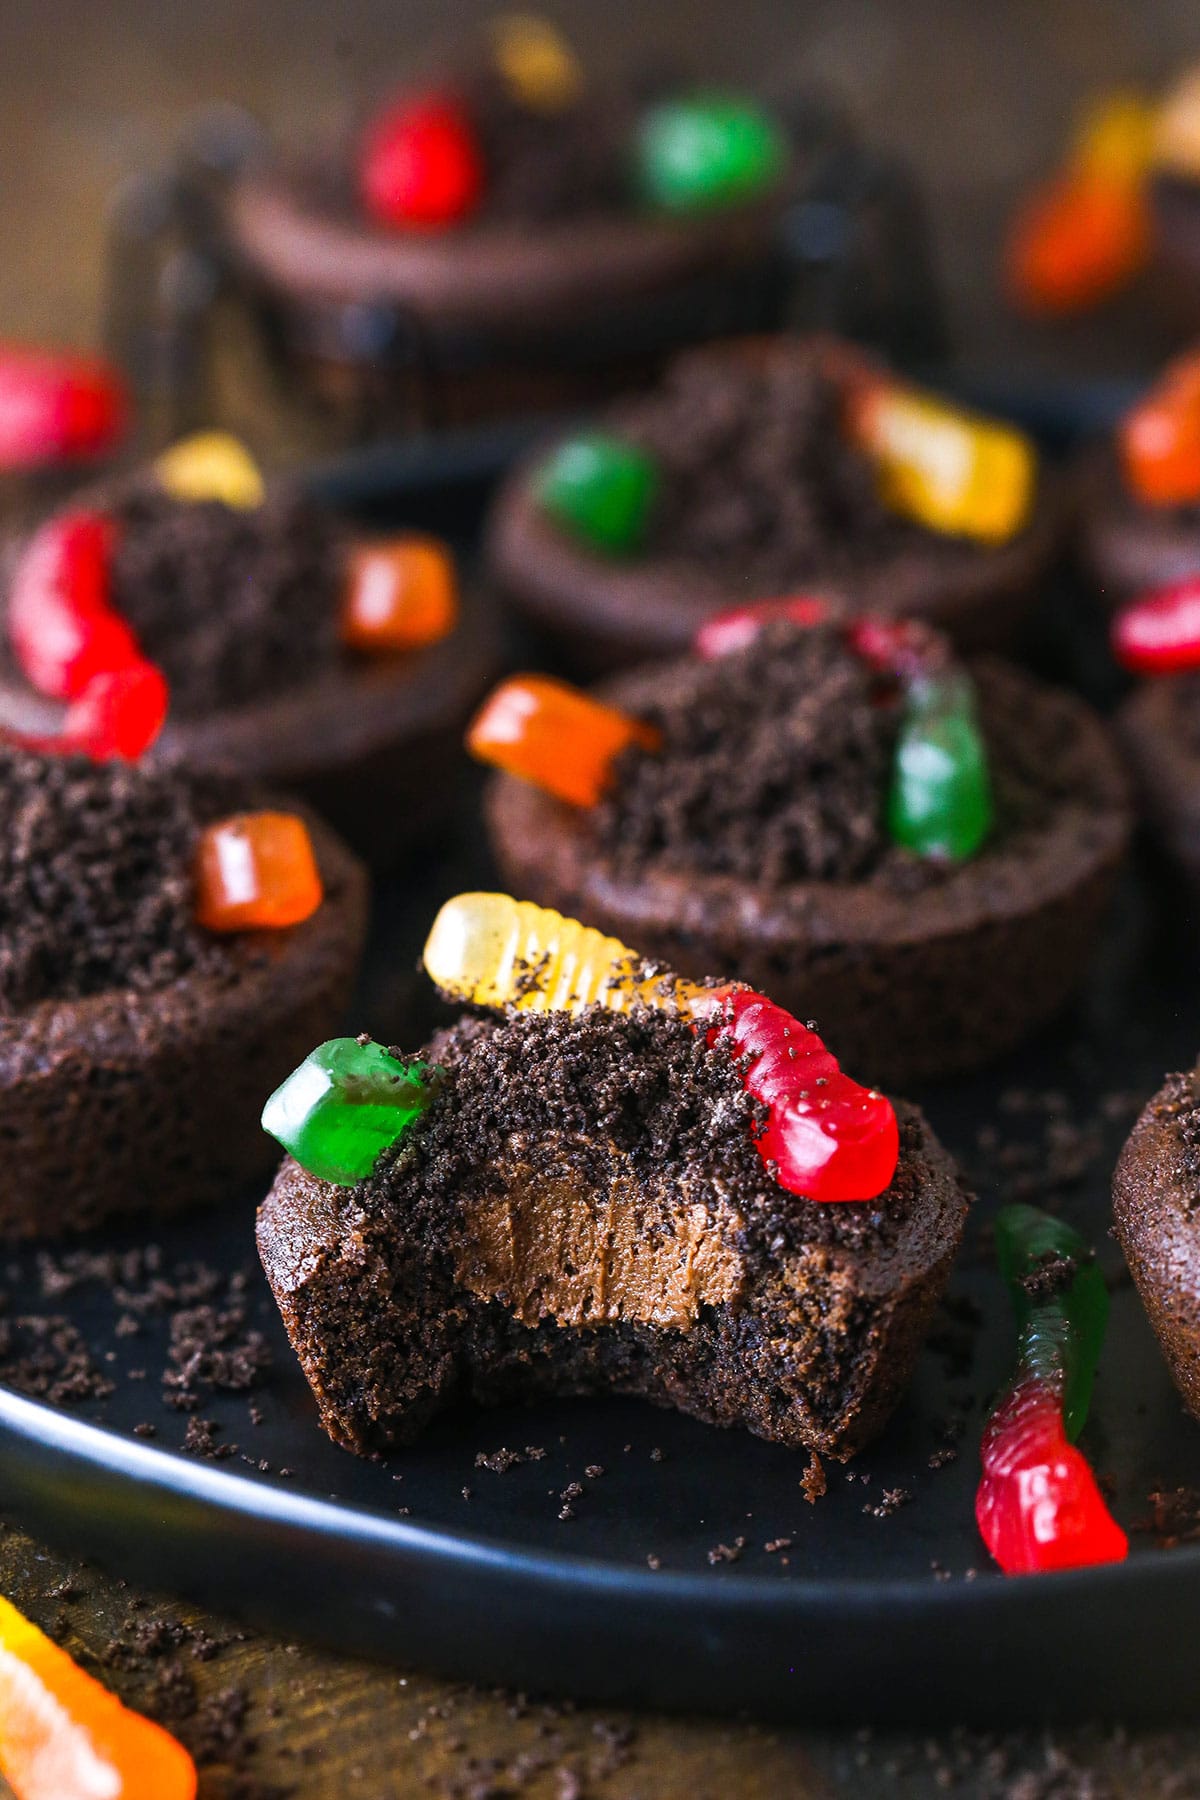
Dirt cups are a classic kid-favorite dessert that adults adore just as much as the little ones. This simple recipe takes dirt cups to a whole new level by transforming them into decadent cookie cups! The chocolate buttercream provides that pudding feel while the classic toppings tie it all together. The only difference is that the cup part is a delicious cookie!
I like to take the decor a step further, especially if I’m making these for Halloween. One fun way to do that is by making little tombstone decorations with Milano cookies! You can even write “RIP” on them with buttercream. Our twin boys are in preschool for the first time this year, and I seriously cannot wait to make these for their Halloween party. And they can’t either!
Why Are They Called Dirt Cups?
The iconic dessert that inspired this recipe might not have the most appetizing name, but that’s just part of the fun! Made with chocolate pudding, Oreo cookie crumbs and gummy worms, the treat’s name refers to the dirt-like appearance of the cookie crumbs. Once you’ve tasted a dessert like this one, you’ll confidently declare you love eating dirt!
Recipe Ingredients
So, how do you go from basic dirt cups to extraordinary dirt cookie cups? It all begins with the ingredients listed below.
For the Chocolate Cookie Cups
- Unsalted Butter: Brought to room temperature.
- Sugar: For sweetness.
- Egg: To help bind everything together.
- Vanilla Extract: To enhance the chocolate flavor. Use a high-quality extract for the best results.
- All-Purpose Flour: I recommend using a scale to measure accurately.
- Cocoa Powder: Natural and unsweetened.
- Baking Soda: Not baking powder.
- Salt: For flavor.
- Cornstarch: For soft, thick cookies.
For the Chocolate Buttercream
- Unsalted Butter: Room temperature.
- Powdered Sugar: For sweetness and consistency.
- Cocoa Powder: Natural, unsweetened.
- Vanilla Extract
- Heavy Whipping Cream: Water works too.
- Salt: Just a pinch, to enhance the chocolate flavor.
For the Toppings
- Oreos: You’ll need 8 cookies.
- Gummy Worms: To make the dirt come to life!
How to Make Dirt Cookie Cups
This is one of those recipes that the kids can get involved in, no matter how young they are. Whether it’s mixing the batter, scooping out the cookie dough or piling on the toppings, there’s a role for everyone!
Make the Cookie Cups
- Prep for Baking: Spray your cupcake pan with non-stick cooking spray. Preheat the oven to 350°F.
- Combine Dry Ingredients: In a medium sized bowl, combine the flour, cocoa powder, baking soda, cornstarch and salt. Set aside.
- Cream Butter & Sugar: Cream the butter and sugar together for 3-4 minutes, until the mixture is light in color and fluffy in texture.
- Add Egg & Vanilla: Add the egg and vanilla extract and beat until well combined.
- Add Dry Ingredients: Add the dry ingredients to the wet ingredients and mix just until well combined. The dough will be a little sticky.
- Form Cups: Make balls of about 2 tablespoons of cookie dough. Press the cookie dough into the bottom and about 1/2 way up the sides of each cupcake cup, forming a cup shape.
- Bake: Bake the cookie cups for 10-12 minutes.
- Let Cool: Remove the cookies from the oven and allow them to cool for about 5 minutes. The centers will fall a bit while they’re cooling. Transfer the cookies to a cooling rack to finish cooling.
Make the Buttercream
- Beat Butter: Add the butter to a large mixer bowl and beat until it’s smooth and creamy.
- Start Adding Powdered Sugar: Add about half of the powdered sugar and mix until smooth and well combined.
- Add Cocoa Powder: Add the cocoa powder and mix until well combined and smooth.
- Add Vanilla & Cream: Add the vanilla extract and 2 tablespoons of water or cream. Mix until smooth and well combined.
- Finish Adding Powdered Sugar: Add the remaining powdered sugar and mix until smooth and well combined.
- Adjust Consistency & Add Salt: Add more water or cream until your desired consistency is reached, then add salt. Set the buttercream aside.
Assemble & Decorate
- Grind Oreos: Add the Oreos to a food processor (leave the filling inside) and grind them into crumbs. Set aside.
- Add a Gummy Worm: Place one gummy worm into each cookie cup.
- Add Buttercream: Fill the centers of the cookie cups with chocolate buttercream, leaving the head of the worm inside sticking out. I prefer using a piping bag so that it’s quick, easy and looks clean.
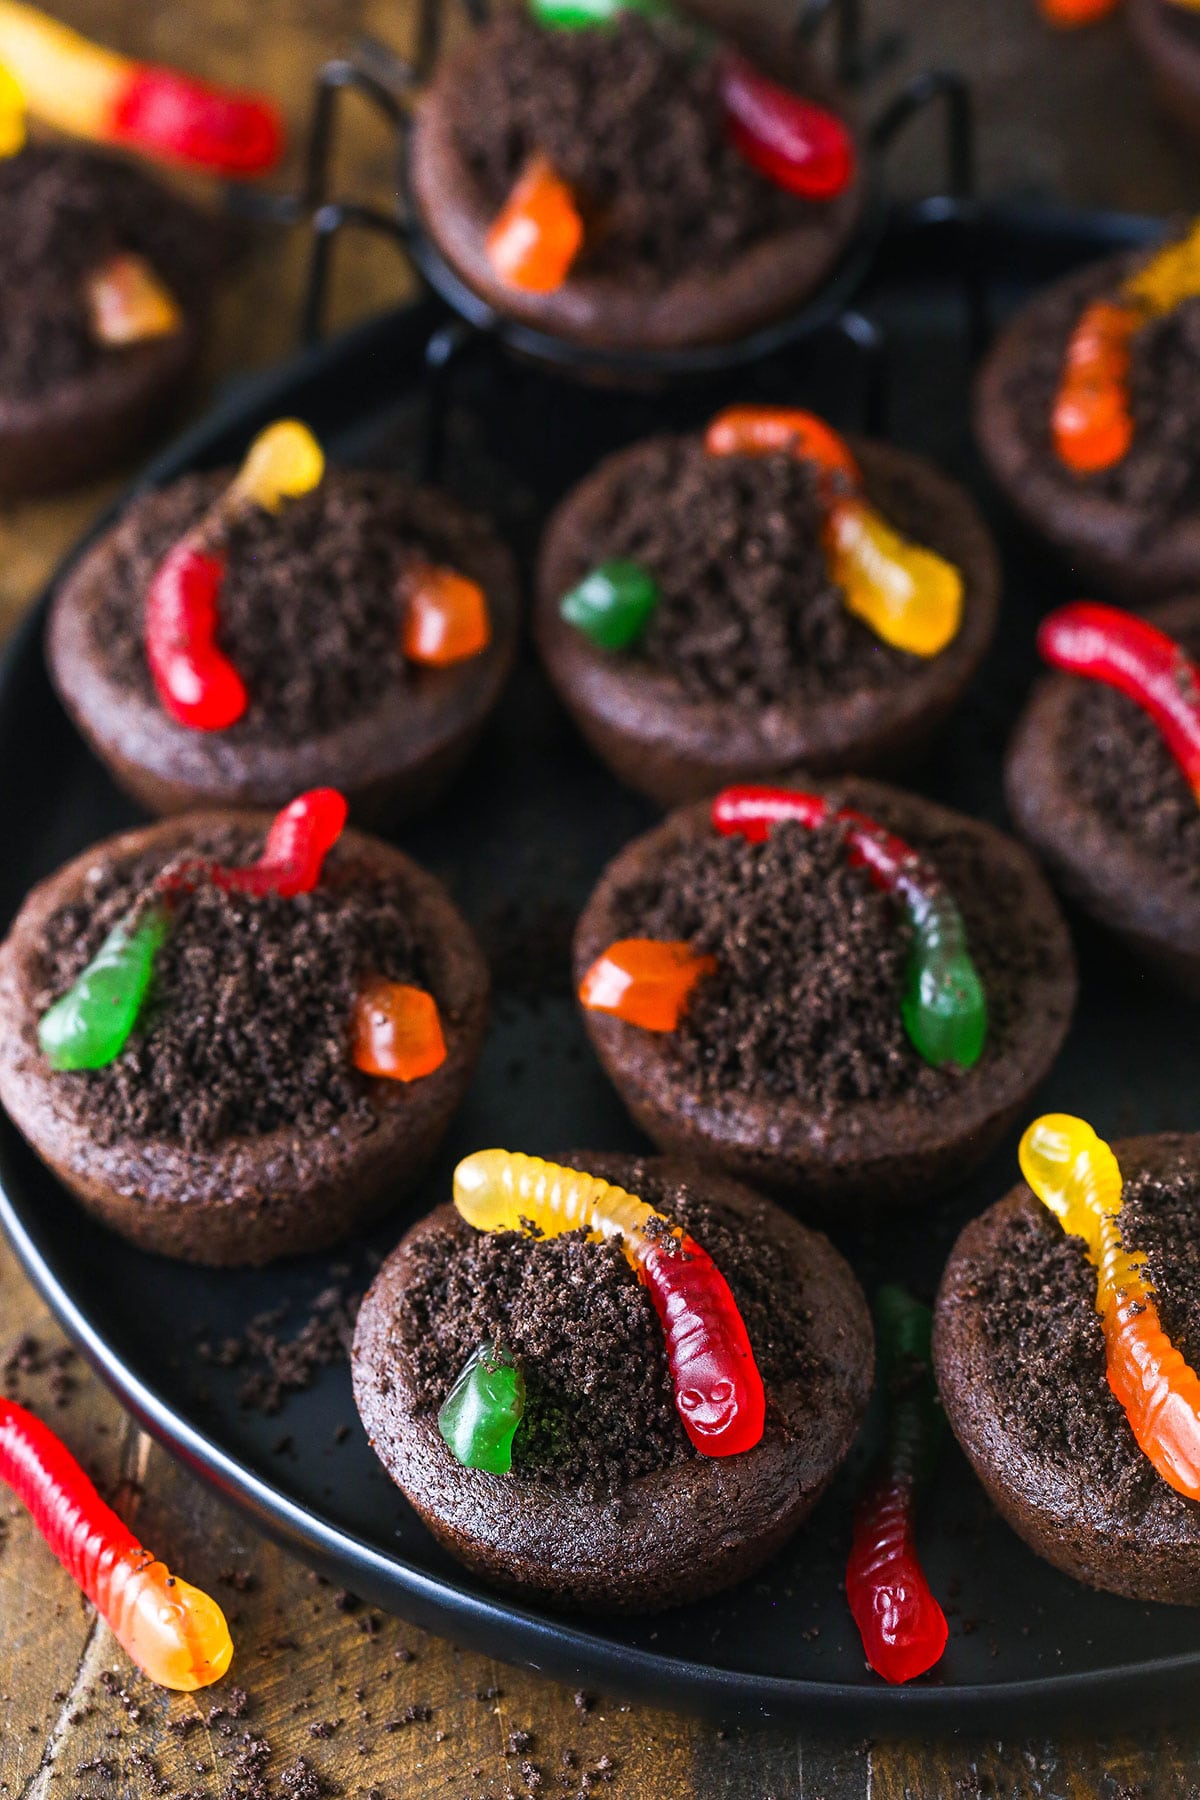
- Add Oreo Crumbs & Another Worm: Sprinkle some Oreo crumbs over the buttercream, covering it completely, then add another worm on top.
- Enjoy!
Tips for Success
There are a few points you should keep in mind when preparing this unique dessert. Here are all the tips you need to make it spectacular!
- Cream Butter & Sugar Well: When you’re creaming together the butter and sugar for the cookie cups, don’t stop until the mixture lightens in color and texture. This indicates that it’s fully creamed.
- Centers Not Sinking? If the centers of your cookies aren’t cupped enough to add the buttercream filling, use the underside of a measuring tablespoon to press the middles down a bit.
- Crush Oreos Manually: If you don’t have a food processor or want bigger Oreo chunks on top of your cookies, you can break them up in a sealed plastic bag. Simply crush them with a rolling pin through the bag until you’re happy with the size of the crumbs.
- Let Cookies Cool Completely: Do not add the buttercream filling until your cookies have cooled to room temperature. Even though it’s contained in the center of each cookie, it can still melt and get messy if the cookies are warm.
How to Store Dirt Cookie Cups
These cookie cups should be stored in an airtight container at room temperature. They are best if eaten within 2-3 days.
Can I Freeze These?
Yes! Though I recommend adding the gummy worms and Oreo crumbs after the cookies have thawed. To freeze them, wrap each cookie in a layer of plastic wrap and place them in a freezer-safe container.
Enjoy frozen cookies within 2 months of making them. Unwrap each one and thaw them out in the fridge before digging in.
Watch How To Make Them
Dirt Cookie Cups
- Prep Time: 1 hour
- Cook Time: 10 minutes
- Total Time: 1 hour 10 minutes
- Yield: 17 1x
- Category: Dessert
- Method: Oven
- Cuisine: American
Description
Chewy chocolate cookies, velvety chocolate buttercream, finely crushed Oreos and fruity gummy worms make these Dirt Cookie Cups a Halloween sensation! They’re super easy to make and fun to decorate.
Ingredients
For the Chocolate Cookie Cups
- 1 1/4 cups (163g) all purpose flour
- 1/2 cup (57g) natural unsweetened cocoa powder
- 1 tsp baking soda
- 2 tsp cornstarch
- 1/2 tsp salt
- 3/4 cup (168g) unsalted butter, room temperature
- 1 cup (207g) sugar
- 1 large egg
- 1 tsp vanilla extract
For the Chocolate Buttercream
- 1/2 cup (112g) unsalted butter, room temperature
- 1 3/4 cups (201g) powdered sugar
- 1/4 cup (29g) natural unsweetened cocoa powder
- 1/2 tsp vanilla extract
- 2–4 tbsp (30-60ml) heavy whipping cream (or water)
- 1/8 tsp salt
For the Toppings
- 8 Oreos
- 34 gummy worms
Instructions
- Spray cupcake pan with non-stick cooking spray. Preheat oven to 350 degrees.
- In a medium sized bowl, combine the flour, cocoa powder, baking soda, cornstarch and salt. Set aside.
- Cream butter and sugar together for 3-4 minutes, until light in color and fluffy in texture.
- Add the egg and vanilla and beat until well combined.
- Add the dry ingredients to the wet ingredients and mix just until well combined. Dough will be a little sticky.
- Make balls of about 2 tablespoons of cookie dough. Press cookie dough into the bottom and about 1/2 way up the sides of each cupcake cup, forming a cup shape.
- Bake for 10-12 minutes.
- Remove from oven and allow to cool for about 5 minutes. The centers should fall a bit while cooling, but if the centers aren’t cupped enough to add filling, use the underside of a measuring tablespoon to press the center down a bit.
- Remove to cooling rack to finish cooling.
- When the cookie cups are cool, make the buttercream. Add the butter to a large mixer bowl and beat until smooth and creamy.
- Add about half of the powdered sugar and mix until smooth and well combined.
- Add the cocoa powder and mix until well combined and smooth.
- Add the vanilla extract and 2 tablespoons of water or cream and mix until smooth and well combined.
- Add the remaining powdered sugar and mix until smooth and well combined.
- Add more water or cream until desired consistency is reached, then add salt. Set aside.
- Add the Oreos to a food processor (leave the filling in the Oreo) and grind into crumbs. Set aside.
- Place one gummy worm into each cookie cup.
- Fill the centers of the cookie cups with chocolate buttercream, leaving the head of the worm inside sticking out. I prefer using a piping bag so that it’s quick, easy and looks clean.
- Sprinkle Oreo crumbs over the buttercream, covering it completely, then add another worm on top.
- Store cookie cups in an airtight container. They are best eaten within 2-3 days.
Nutrition
- Serving Size:
- Calories: 327
- Sugar: 33.1 g
- Sodium: 176.7 mg
- Fat: 14.9 g
- Carbohydrates: 48.8 g
- Protein: 2.3 g
- Cholesterol: 47.8 mg
More Halloween Dessert Ideas
Want more fun, kid-friendly desserts for Halloween? No tricks here, just treats!
- Dirt Cake
- Easy Mummy Rice Krispie Treats
- Candy Corn Chocolate Chip Cookie Cake
- Spiderweb Chocolate Tart
Categories:
Cookies, Fall and Holiday Favorites, Halloween, Holidays, Recipes, Recipes with video, Sweets and Treats,


What about in a mini pan? or would they just be too small?
That seems kind of small but you could try it.
This looks yum will try it soon. Thank you!
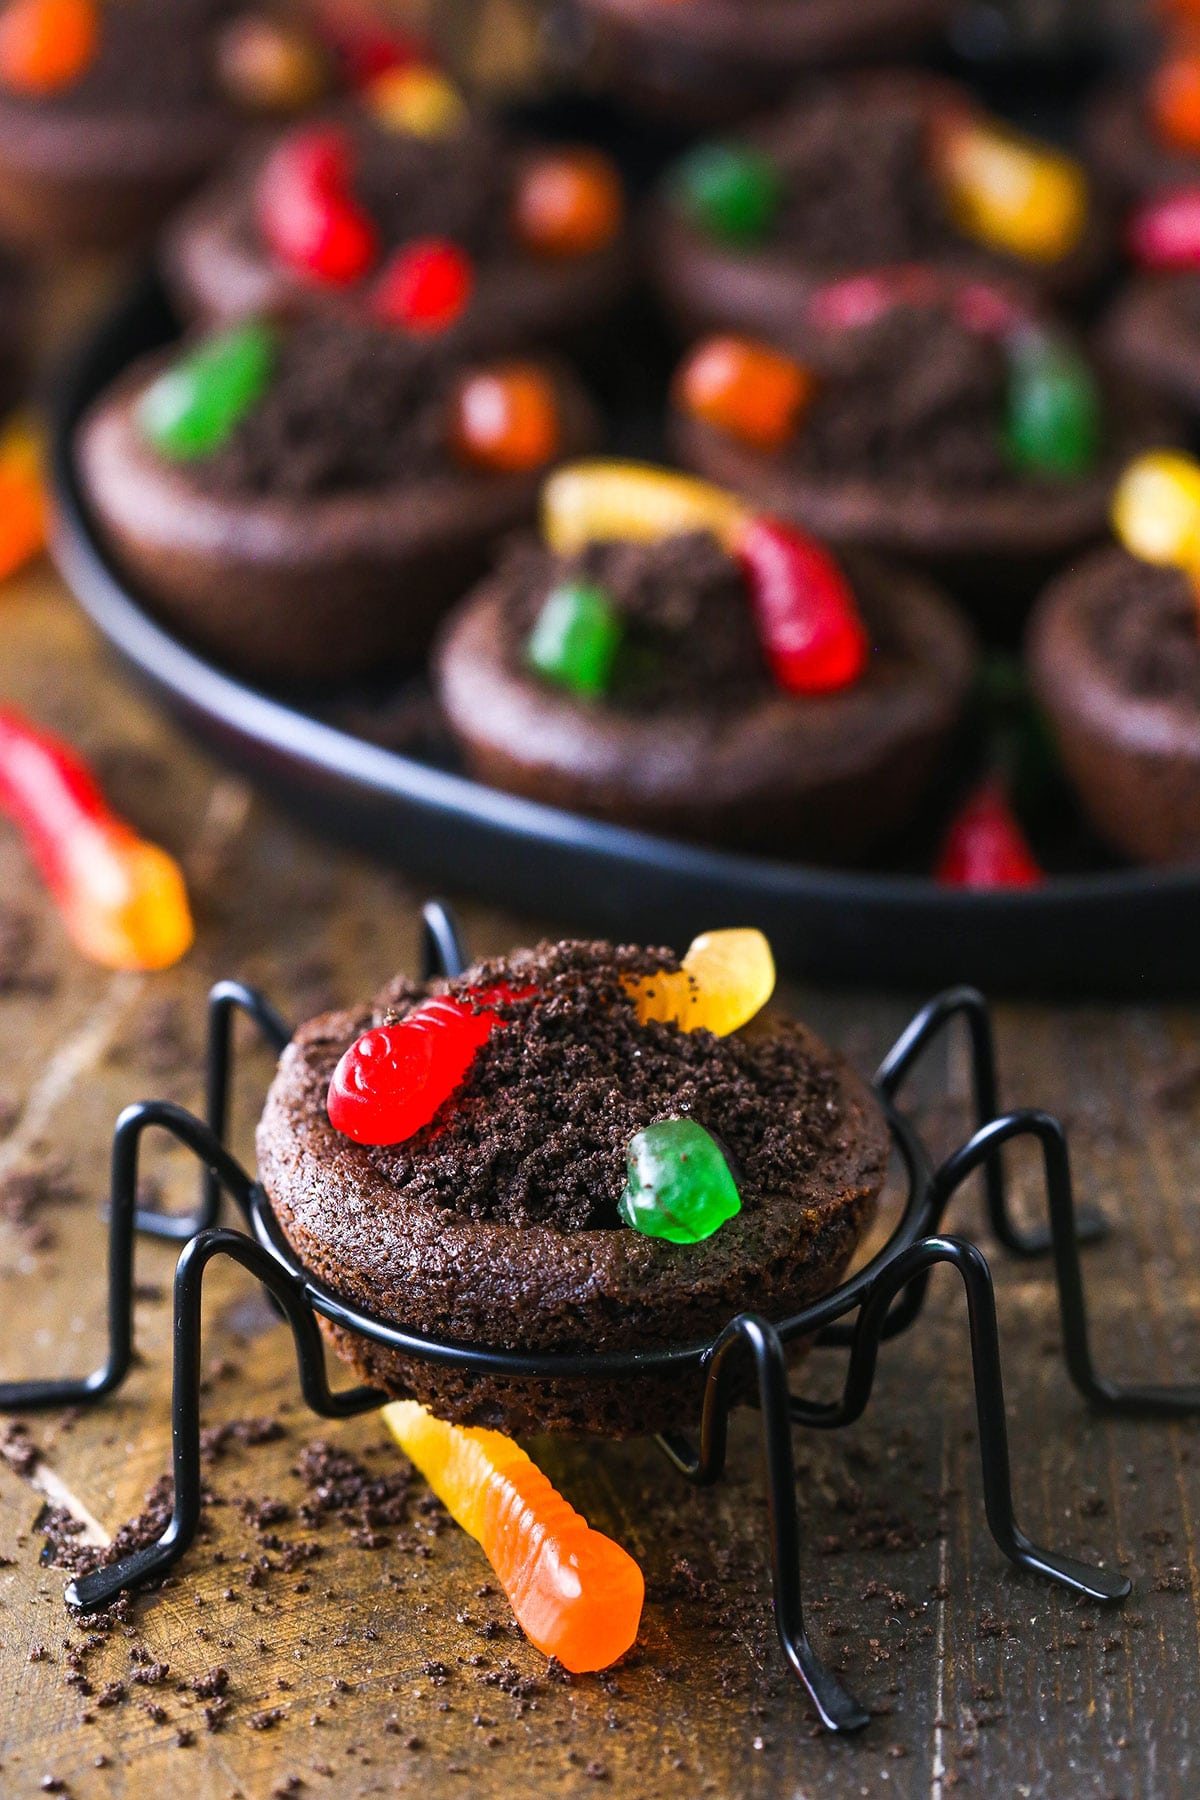
I have to know…where did you get that spider holder? SO cute!
Gosh, I think it was Michaels several years ago.