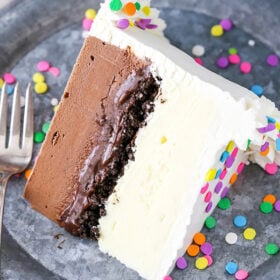
This Copycat DQ Ice Cream Cake layers chocolate and vanilla ice cream with that classic fudge and crunchy cookie center. And yes, it tastes just like the real thing. Best part? It’s surprisingly easy to make at home.
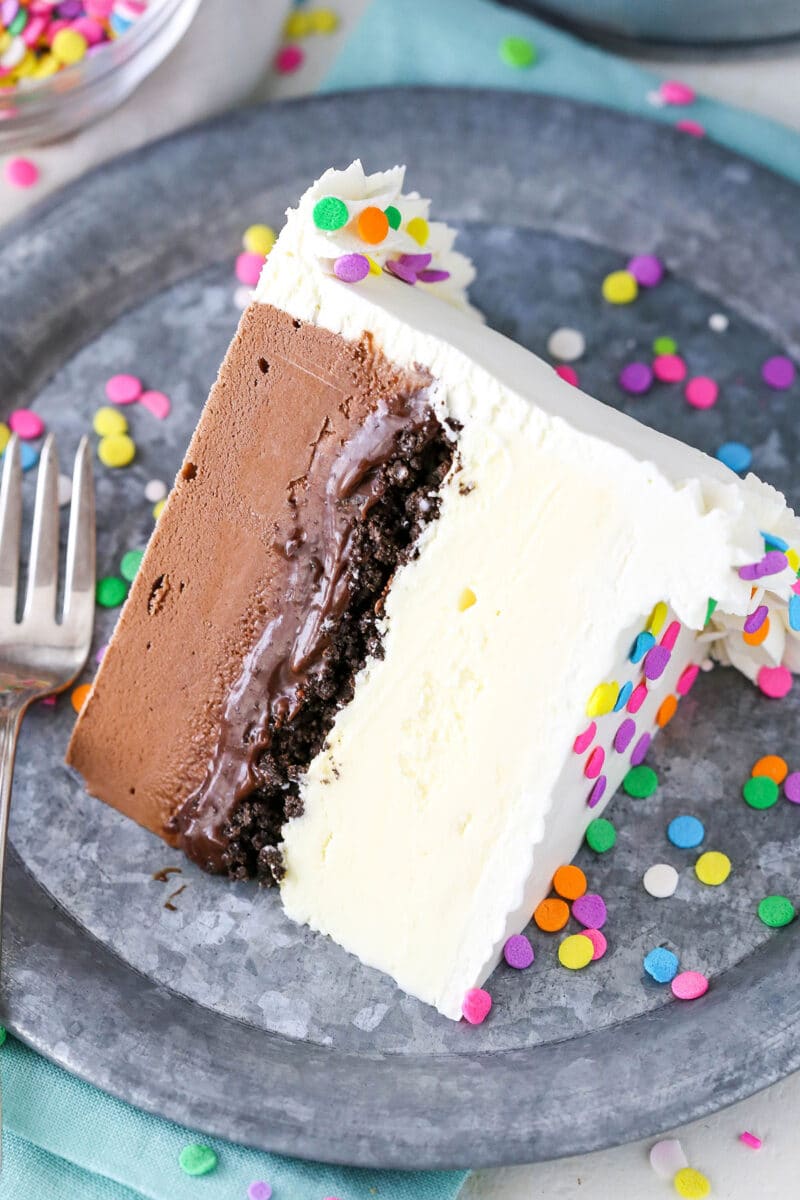
I’ve eaten a lot of cake over the years—cheesecakes, layer cakes, sheet cakes—and while I never picked the same one twice, there was one I always looked forward to: Dairy Queen’s. That thick, fudgey center with the chocolate crunchies? Absolute magic. I used to scoop that layer out and eat it straight. So when I started making my own ice cream cakes, recreating that iconic middle became the challenge. After a lot of testing (and more than a few spoonfuls), I finally cracked it—and this copycat recipe is the result.
Is It Hard to Make an Ice Cream Cake?
Nope! You don’t need an ice cream maker or fancy equipment. Just a springform pan, some store-bought ice cream, and a little time. The layers are simple to assemble, and you can make it ahead, which means zero stress on the day you serve it. It’s the kind of recipe that looks impressive but comes together with basic steps. That’s the best kind, right?
The rich fudge and crunchy cookie center is just like the classic DQ version (maybe even better), and honestly, it’s worth making the whole cake just for that.
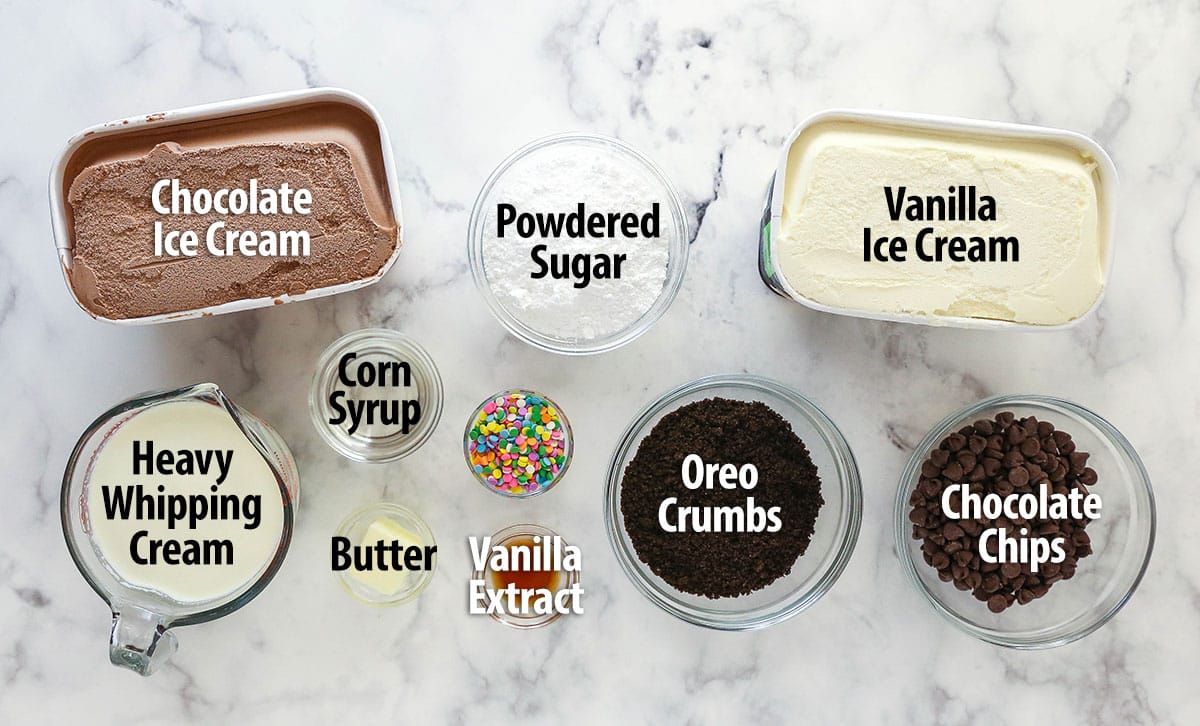
What You’ll Need
You won’t believe how simple these ingredients are. I bet you were expecting super fancy and overly complicated ones, right? Here’s a quick look at what you’ll need. Don’t forget to scroll down to the recipe card for a printable list.
- Oreo cookies – You’ll crush these (filling and all) to make that classic chocolate cookie crunch layer.
- Butter – Just a little melted butter helps bind the cookie crumbs together.
- Vanilla and chocolate ice cream – Grab your favorite store-bought brands. Let them soften slightly before layering.
- Semi-sweet chocolate chips, heavy cream, light corn syrup, and vanilla – These come together to make the rich, fudgy center layer that tastes just like the original.
- Cold heavy whipping cream, powdered sugar, and vanilla extract – For the fluffy homemade whipped cream topping.
- Sprinkles – Optional, but highly encouraged for that classic birthday cake look!
How to Make An Ice Cream Cake
Start with an 8×3-inch cake pan for a nice tall cake, or use a 9-inch pan or springform if you prefer. Line the inside with plastic wrap so it’s easy to lift out later.
Make the Oreo Layer
- Prep your tools: Preheat oven to 350 degrees. Line a cookie sheet with parchment paper or a silicone baking mat and set aside.
- Make Oreo mixture: Combine the Oreo crumbs and melted butter. Stir well then spread onto the prepared cookie sheet.
- Bake for 8-10 minutes: Cool. Break any big clumps into smaller ones. Set aside.
Now we are going to assemble the layers:
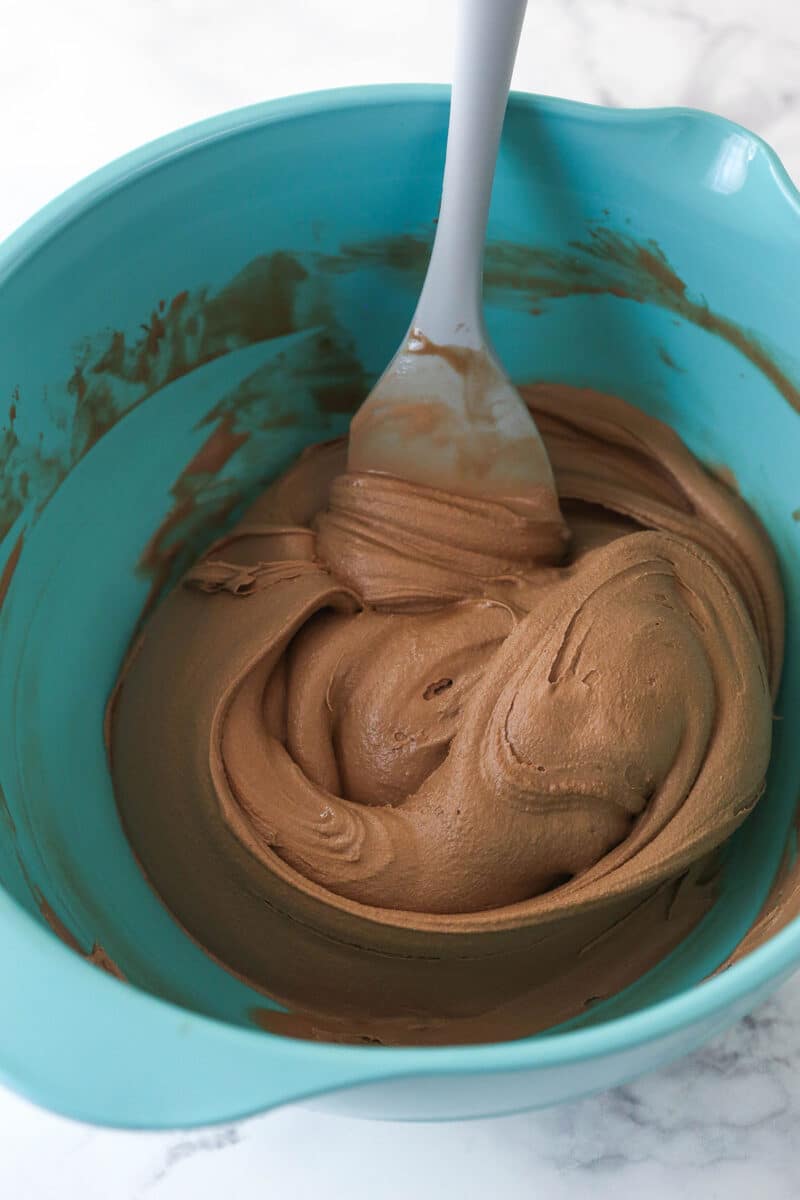
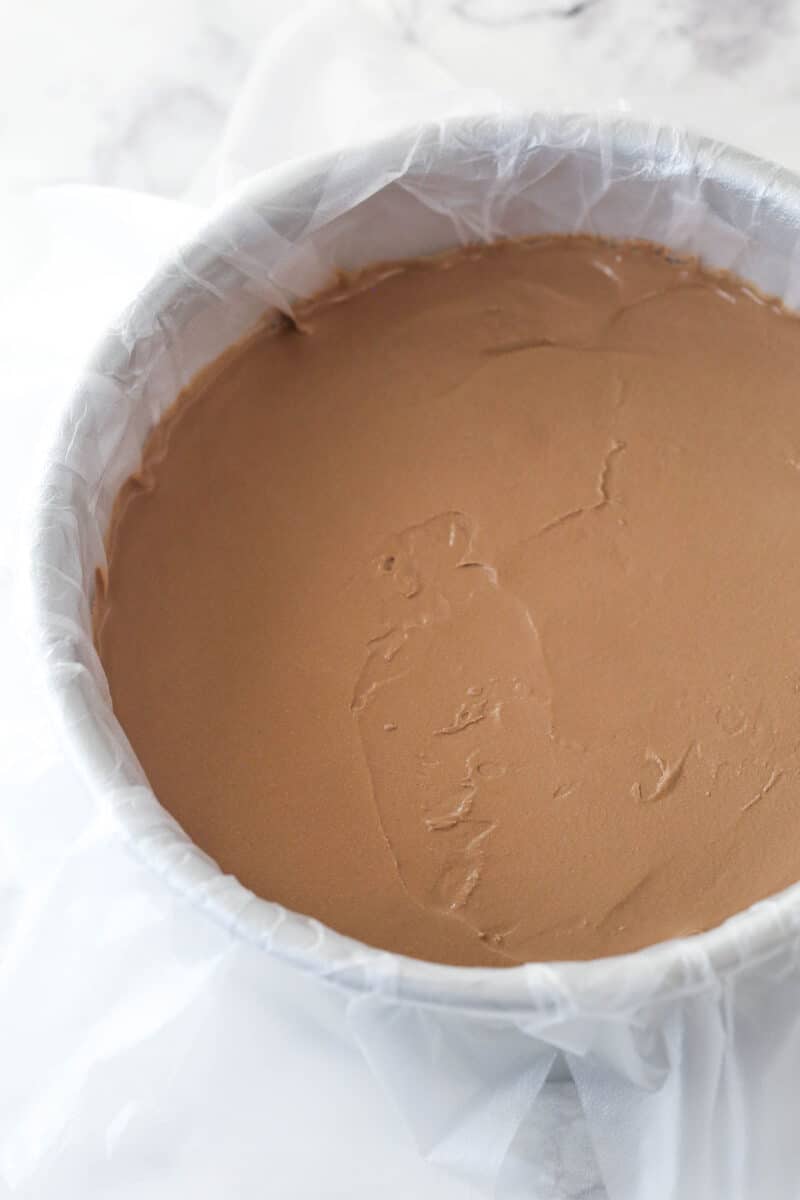
- Chocolate ice cream: About 20 minutes before you need it, set the chocolate ice cream out to soften. Stir it until smooth and creamy. Add to the prepared cake pan and spread into an even layer. Freeze for 30 minutes.
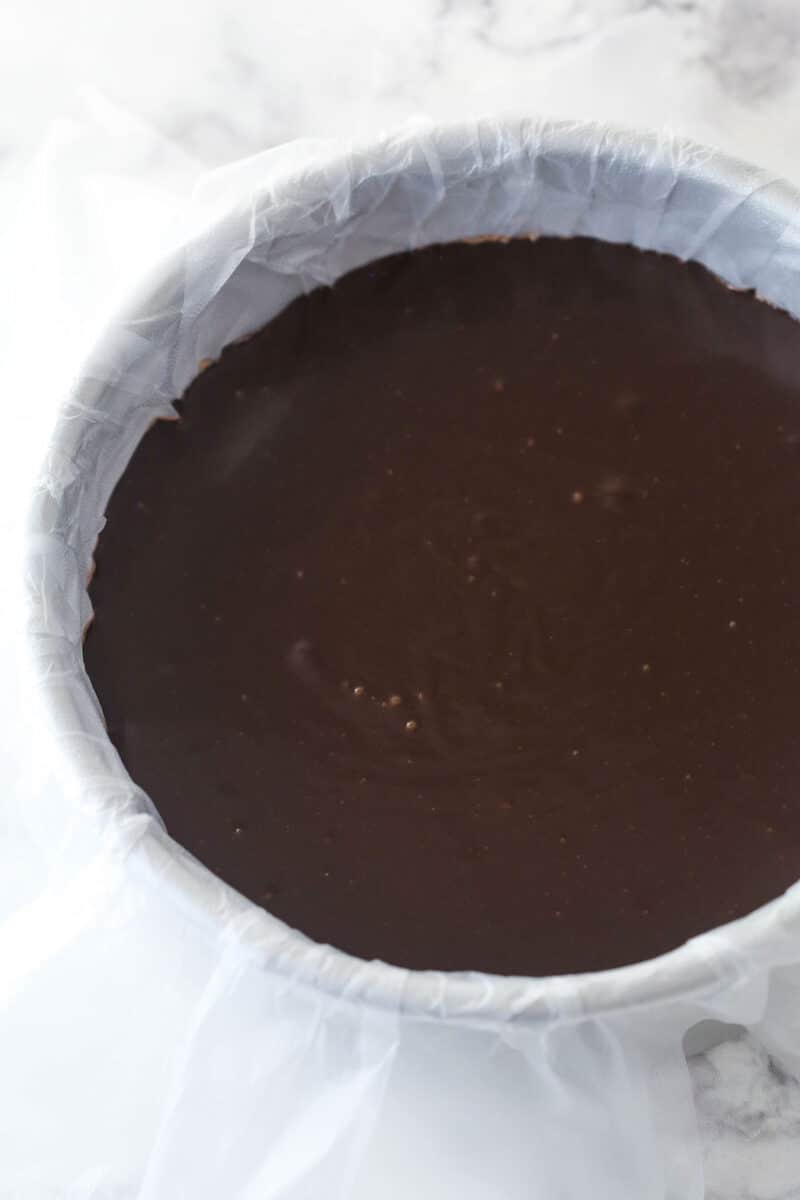
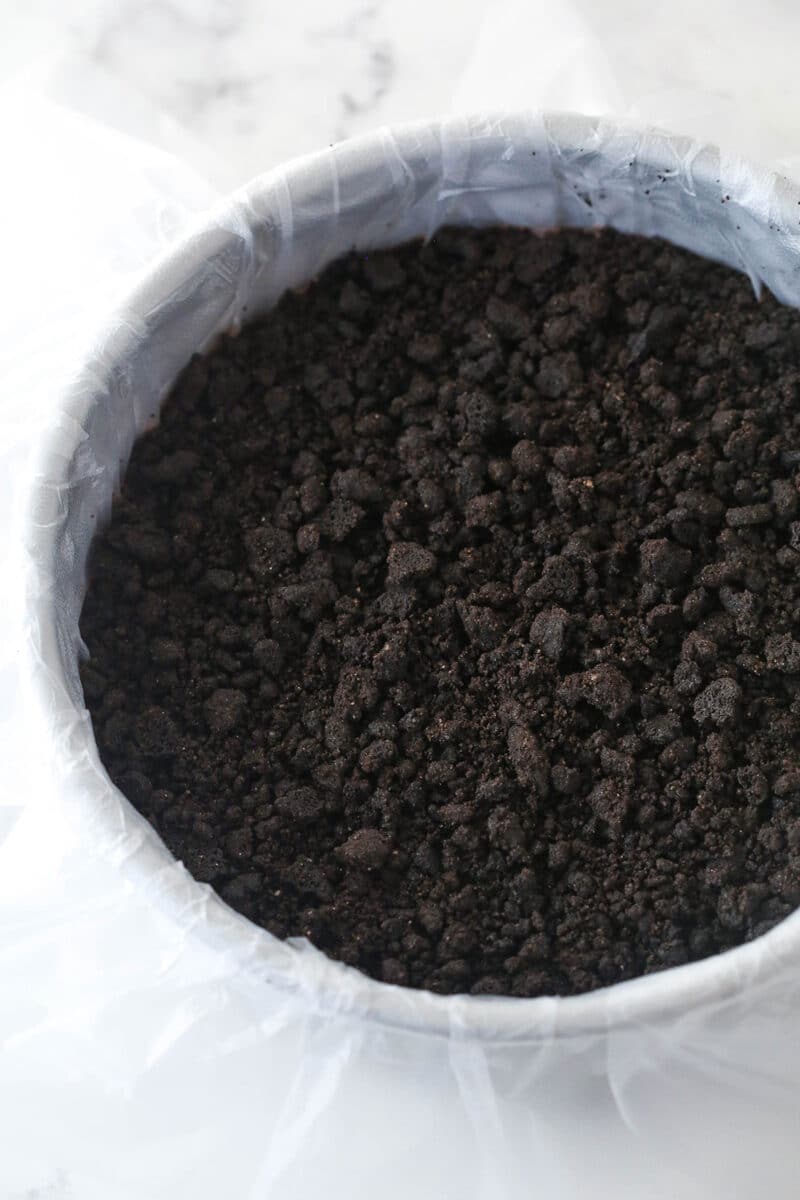
- Fudge layer: Make the fudge as directed in the recipe card below. Remove the cake pan with the chocolate ice cream from the freezer, then pour the chocolate fudge over the ice cream and spread into an even layer. Freeze for about 10 minutes.
- Oreo cookie layer: Add the cookie crumbles to the top of the fudge layer, then freeze for about 2 hours, until mostly firm.
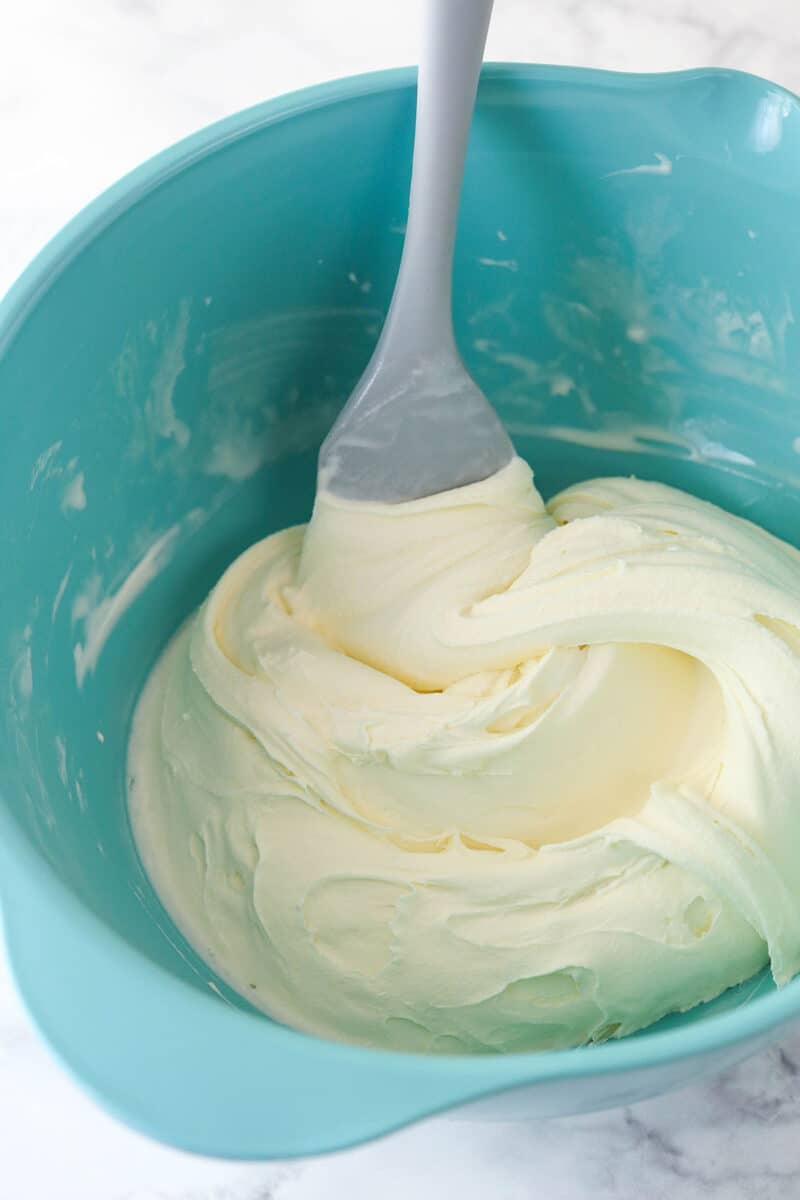

- Vanilla ice cream layer: About 20 minutes before you need it, set the vanilla ice cream out to soften. Once softened, stir it up until smooth and creamy. Add the vanilla ice cream to the top of the cake, then freeze until firm, 2-3 hours.
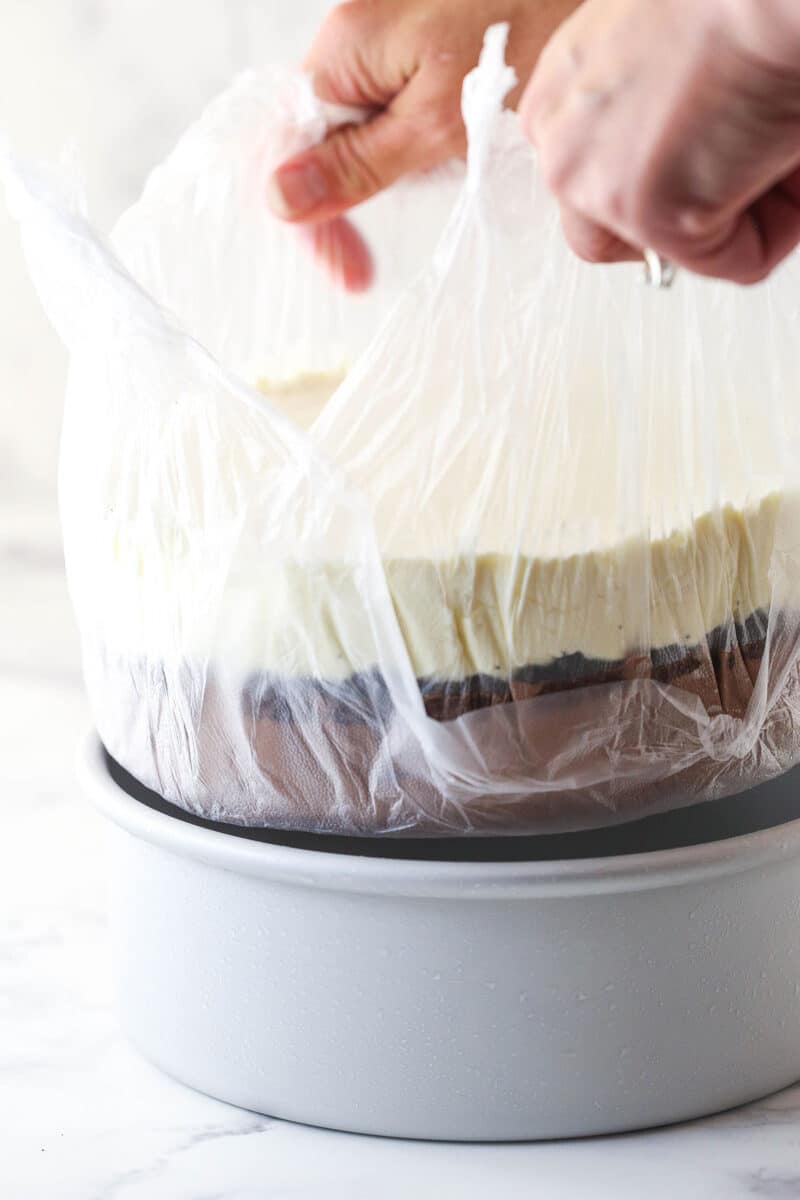
- Remove from cake pan: Use the clear wrap to lift the frozen cake out of the pan. Place it on a cardboard cake circle or a serving plate. Set it back in the freezer.
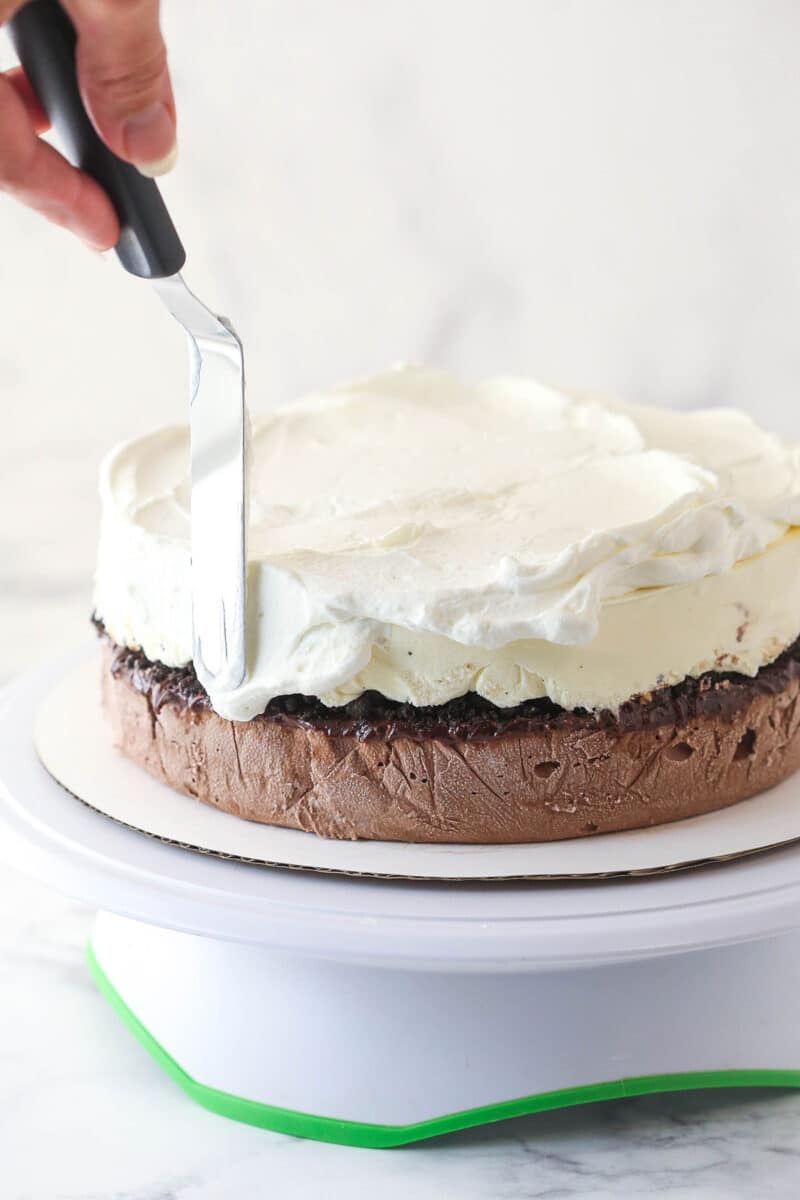
- Whipped cream layer: When it’s done, frost it with my homemade whipped cream. It uses some powdered sugar to keep it from wilting. It stays stable for days and days making it ideal for an ice cream cake.
- Add decorations and freeze until ready to serve: Decorate the ice cream cake as you like for your occasion and you’re ready to go!
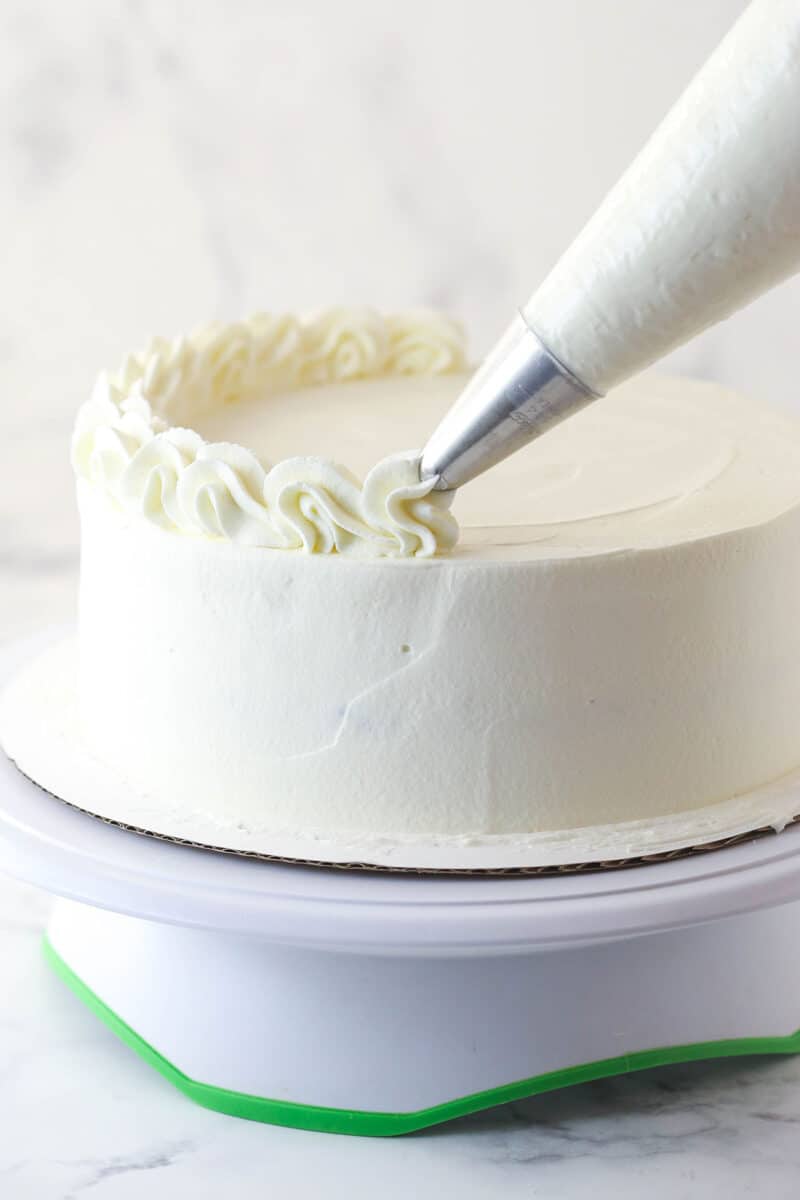
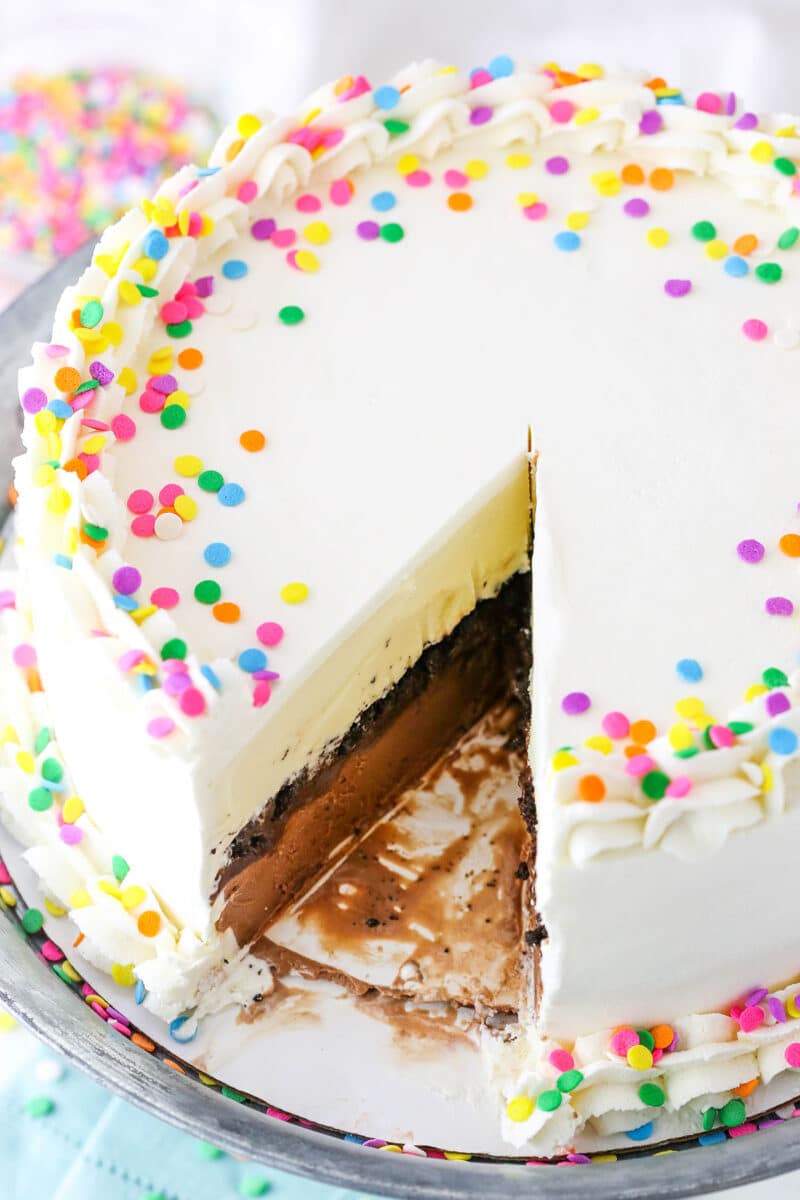
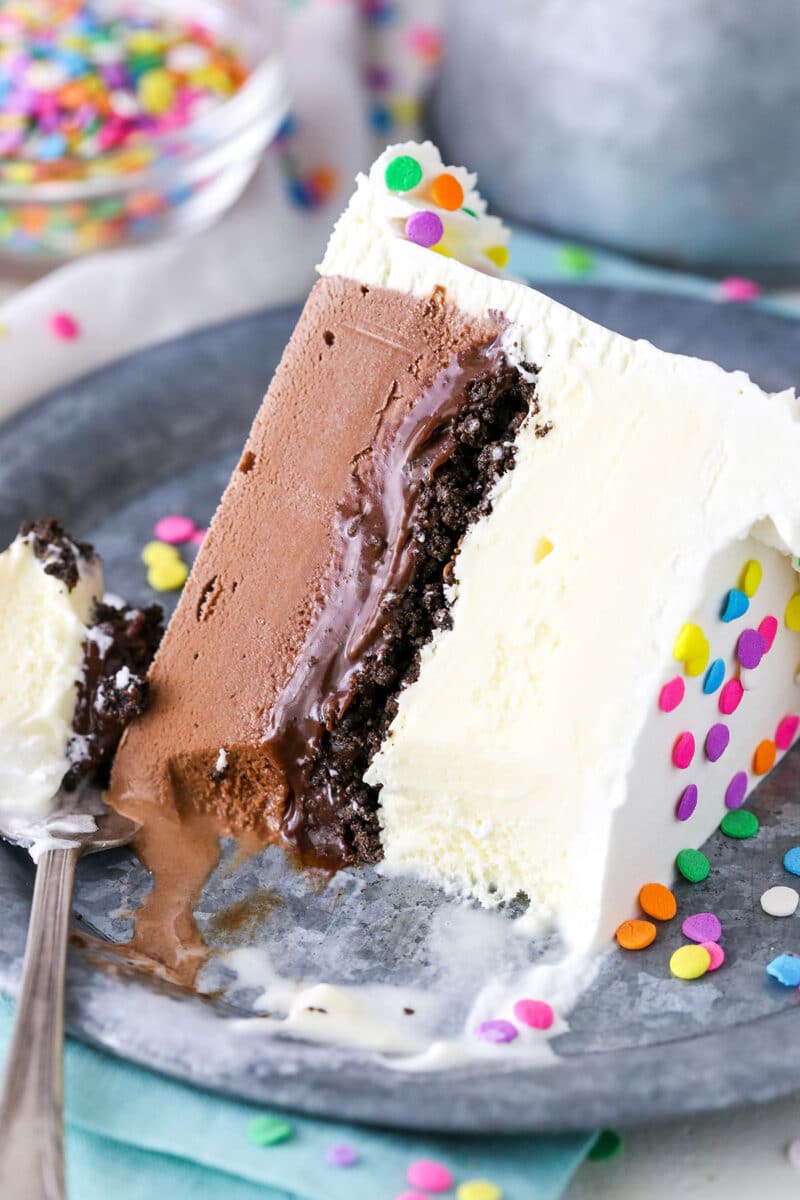
This is seriously the BEST Copycat Dairy Queen Ice Cream Cake! You will love it. And just like when I was a kid, you will want to eat the chocolate fudge and chocolate crunchy layer right out of the center.
How to Store
This is a great make-ahead dessert! You can build the whole cake in the pan, cover it, and freeze it for up to a week before serving. Just wait to frost and decorate until the day before (or day of) so it looks fresh. Once decorated, keep it in the freezer. If you have a cake box or cake carrier, that’s ideal—but if not, it’ll still be fine uncovered (in the freezer) for a couple of days.
Shop the post
Watch How To Make It
Copycat Dairy Queen Ice Cream Cake
- Prep Time: 5 hours 15 minutes
- Cook Time: 10 minutes
- Total Time: 5 hours 25 minutes
- Yield: 12–14 slices 1x
- Category: Dessert
- Method: Freezer
- Cuisine: American
Description
This Copycat Dairy Queen Ice Cream Cake has layers of chocolate and vanilla ice cream around the iconic layer of chocolate crunchies and chocolate fudge. It is so easy to make and tastes just like the real thing!
Ingredients
Chocolate Cookie Crunchies
- 3/4 cup (100g) Oreo crumbs (about 9 Oreos)
- 1 1/2 tbsp butter, melted
Ice Cream Layers
- 1.5 quart container vanilla ice cream
- 1.5 quart container chocolate ice cream
Chocolate Fudge
- 6 oz | 1 cup semi-sweet chocolate chips*
- 3 tbsp light corn syrup
- 1/2 tsp vanilla extract
- 1/2 cup (120ml) heavy whipping cream
Whipped Cream
- 2 cups (480ml) heavy whipping cream, cold
- 1 cup (115g) powdered sugar
- 1 1/2 tsp vanilla extract
- Sprinkles
Instructions
- Preheat oven to 350 degrees. Line a cookie sheet with parchment paper or a silicone baking mat and set aside.
- Combine the Oreo crumbs and melted butter and stir until well combined. Spread the crumbs evenly onto the prepared cookie sheet.
- Bake for 8-10 minutes, then allow to cool. Use your fingers to break any big clumps into smaller ones. Set aside.
- Line an 8×3 inch cake pan* with clear wrap that covers the bottom and goes above the sides of the cake pan. I used two pieces.
- About 20 minutes before you need it, set the chocolate ice cream out to soften. Once softened, stir it up until smooth and creamy. Add the softened chocolate ice cream to the prepared cake pan and spread into an even layer. Freeze for 30 minutes.
- To make the fudge layer, add the chocolate chips, corn syrup and vanilla extract to a medium sized bowl.
- Heat the heavy whipping cream just until it begins to boil, then pour it over the chocolate chips. Allow to sit for 2-3 minutes, then whisk until smooth.
- Remove the cake pan with the chocolate ice cream from the freezer, then pour the chocolate fudge over the ice cream and spread into an even layer. Freeze for about 10 minutes.
- Add the cookie crumbles to the top of the fudge layer, then freeze for about 2 hours, until mostly firm.
- About 20 minutes before you need it, set the vanilla ice cream out to soften. Once softened, stir it up until smooth and creamy. Add the vanilla ice cream to the top of the cake, then freeze until firm, 2-3 hours.
- Use the clear wrap to lift the frozen cake out of the pan, then place it on a cardboard cake circle or a serving plate. Set it back in the freezer.
- To make the whipped cream, add the heavy whipping cream, powdered sugar and vanilla extract to a large mixer bowl. Whip on high speed until stiff peaks form.
- Frost the cake with the whipped cream and decorate as desired. I used Ateco tip 844 for piping the borders.
- Freeze the cake until ready to serve. Cake is best when stored well covered and eaten within 4-5 days.
Notes
- I like using the 8×3 inch cake pan and having a taller cake, but if you don’t have one of those pans on hand and don’t want to purchase it, you could also use a 9 inch pan (including a springform pan). The cake just won’t be as tall.
- Semi-sweet chocolate must be used, not milk chocolate or another, for the fudge layer to set properly
Nutrition
- Serving Size: 1 slice
- Calories: 661
- Sugar: 50 g
- Sodium: 118.6 mg
- Fat: 46.3 g
- Carbohydrates: 55 g
- Protein: 8.4 g
- Cholesterol: 173.7 mg


This was my third time making this recipe and it has always been a hit. However, I learned a hard lesson this third go-round.. you CANNOT use milk chocolate for the fudge layer. I didn’t read this part close enough (and the two previous times I made this I just used store bought fudge) .. I made the fudge with milk chocolate and the first layer suddenly became soup. Pay close attention to this part and don’t be like me!! So interesting that the type of chocolate can make such a huge difference.
If I only want to make the fudge oreo layer does this need to remain frozen?
I’m not sure I know what you mean? What would use just those layers for? The cookie crumbles don’t need to be refrigerated on their own. The fudge layer does.
I just made this and definitely is time consuming! I used a 9×3 springform pan with only 2 containers of ice cream as the recipe calls for and is still quite high. My only issue was after I “frosted” the cake some of my piped edge slid over the edge when in the freezer. (Hopefully when it’s time to serve I’ll paste it back with leftover whipped topping and no one will notice! 😉) Thanks for sharing the recipe.
8×2 cake pan would that work or better to use a 9in
I don’t think that would be tall enough. 9 inch would be better.
This recipe is fantastic! We’ve been making it for years since it’s a family favorite. We finally tried an actual Dairy Queen cake last week and everyone agreed that this version is waaaaay better! I do add an Oreo crust to the bottom, but the the fudge/Oreo crumble center of this cake and the fresh whipped cream frosting really outdoes the original.
What can I use to substitute the corn syrup please? Ty!
You could try honey, but otherwise, there’s not a substitute.
Delicious- tastes just like the copied cake!
can you use a spring pan
That should be fine. It would likely be a 9 inch, so I think it will all fit and just not be as tall.
Yes a 9 inch spring form pan works great.
Turned out great. Better than the original!
So glad to hear that!
Thank you for this! A lot of people I know love ice cream cakes. I appreciate how easy this will be to make it.
Awesome! I hope you enjoy it!
Made this for my granddaughter’s birthday!!!
It was amazing everyone loved it!!
Thank you 😊
I’m so glad to hear that! 🙂
I made this and it was so easy and absolutely delicious! The only problem I had was I did not follow the directions about making the fudge in the beginning like the recipe said. 🥺 I poured it on before it thickened up so it kind of sunk through the ice cream but it was still amazing. I will be making it again the correct way for my granddaughter’s birthday because she was big fan. Thanks for this keeper!
Sorry about the fudge, but glad it was still a hit!
If I want a larger cake, could I use a 9×3″ round, and increase the ice cream to 2qt’s each?
I haven’t tried that size, but I imagine that would be fine.