

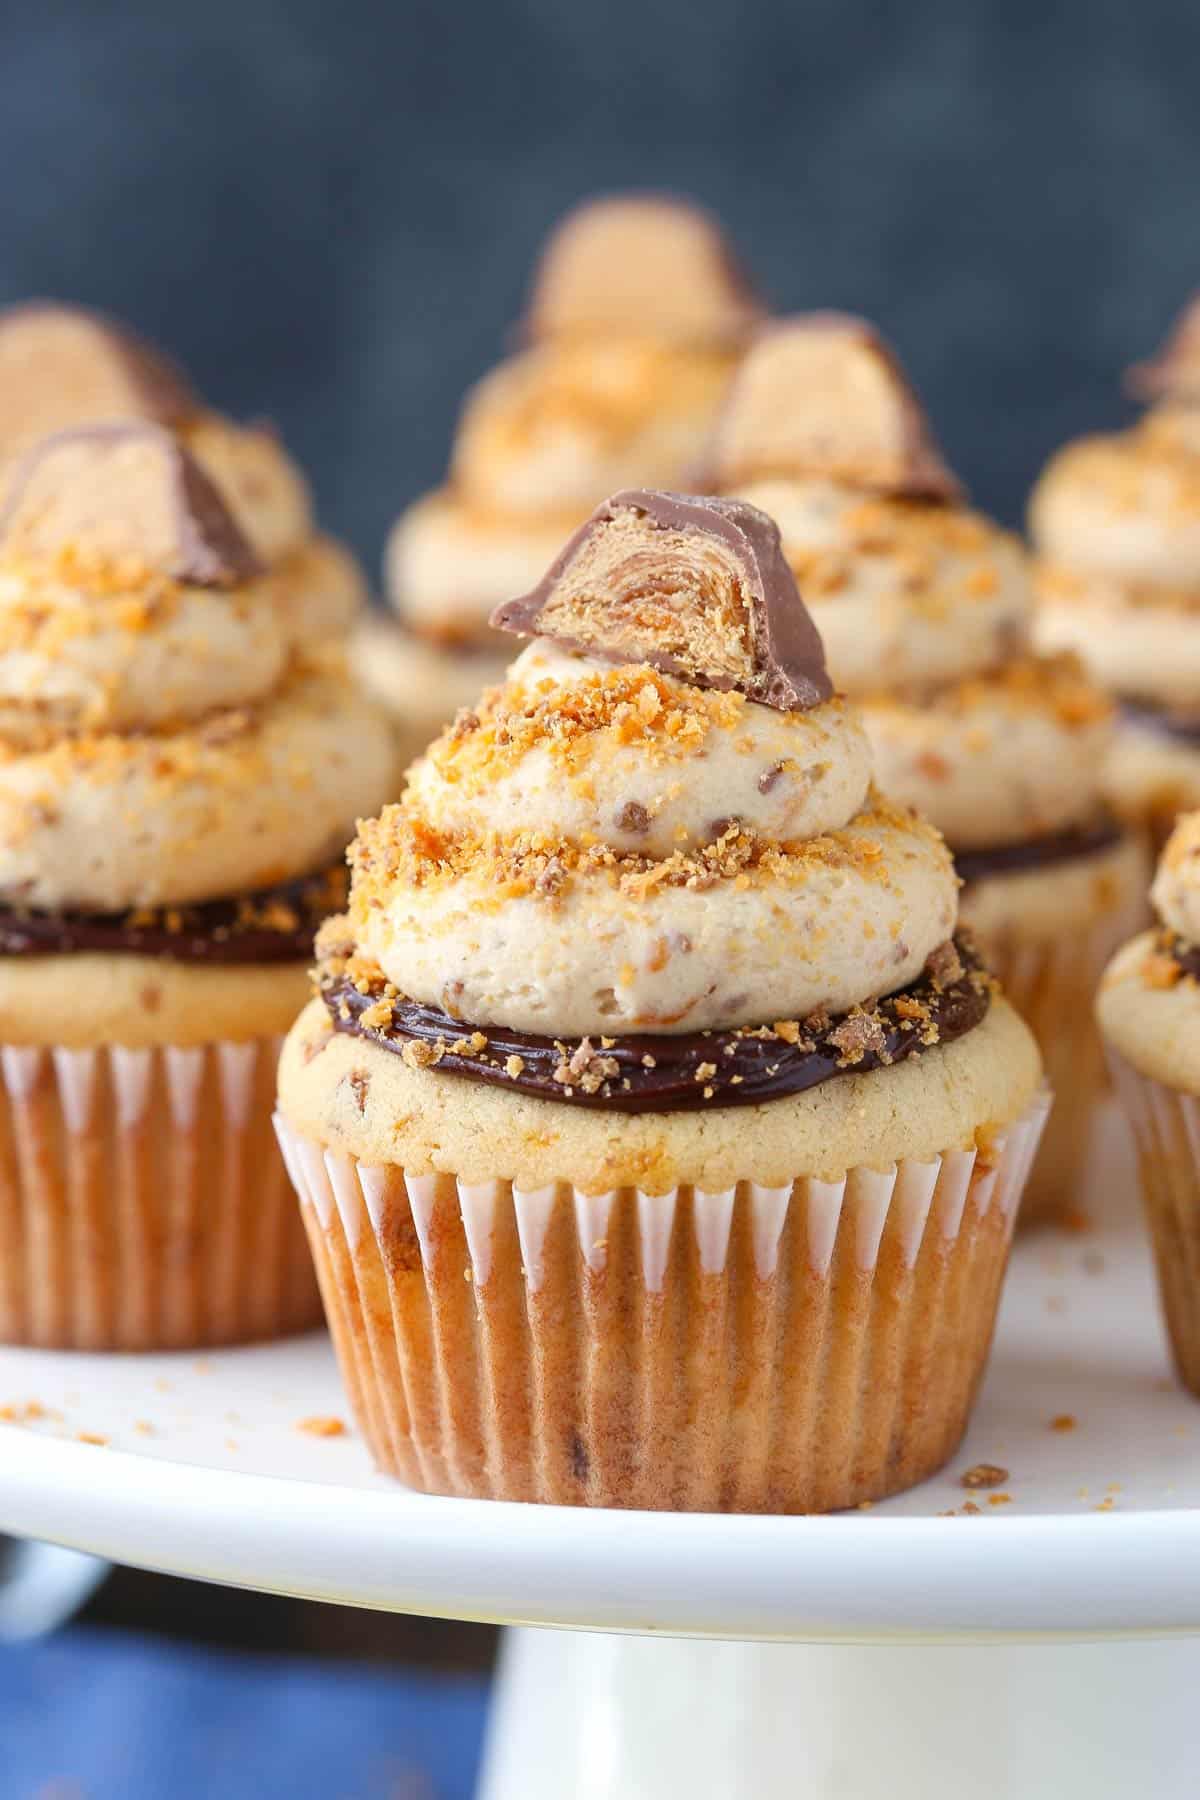
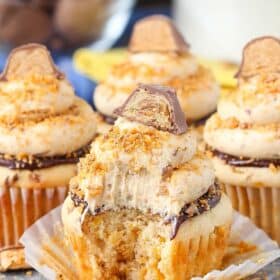
Every bite of these Butterfinger Cupcakes is loaded with crushed Butterfingers, from the moist peanut butter cupcake base to the peanut butter frosting piped high on top. A bit of chocolate ganache and more crushed Butterfingers turn these into a decadent dessert made for Butterfinger lovers!
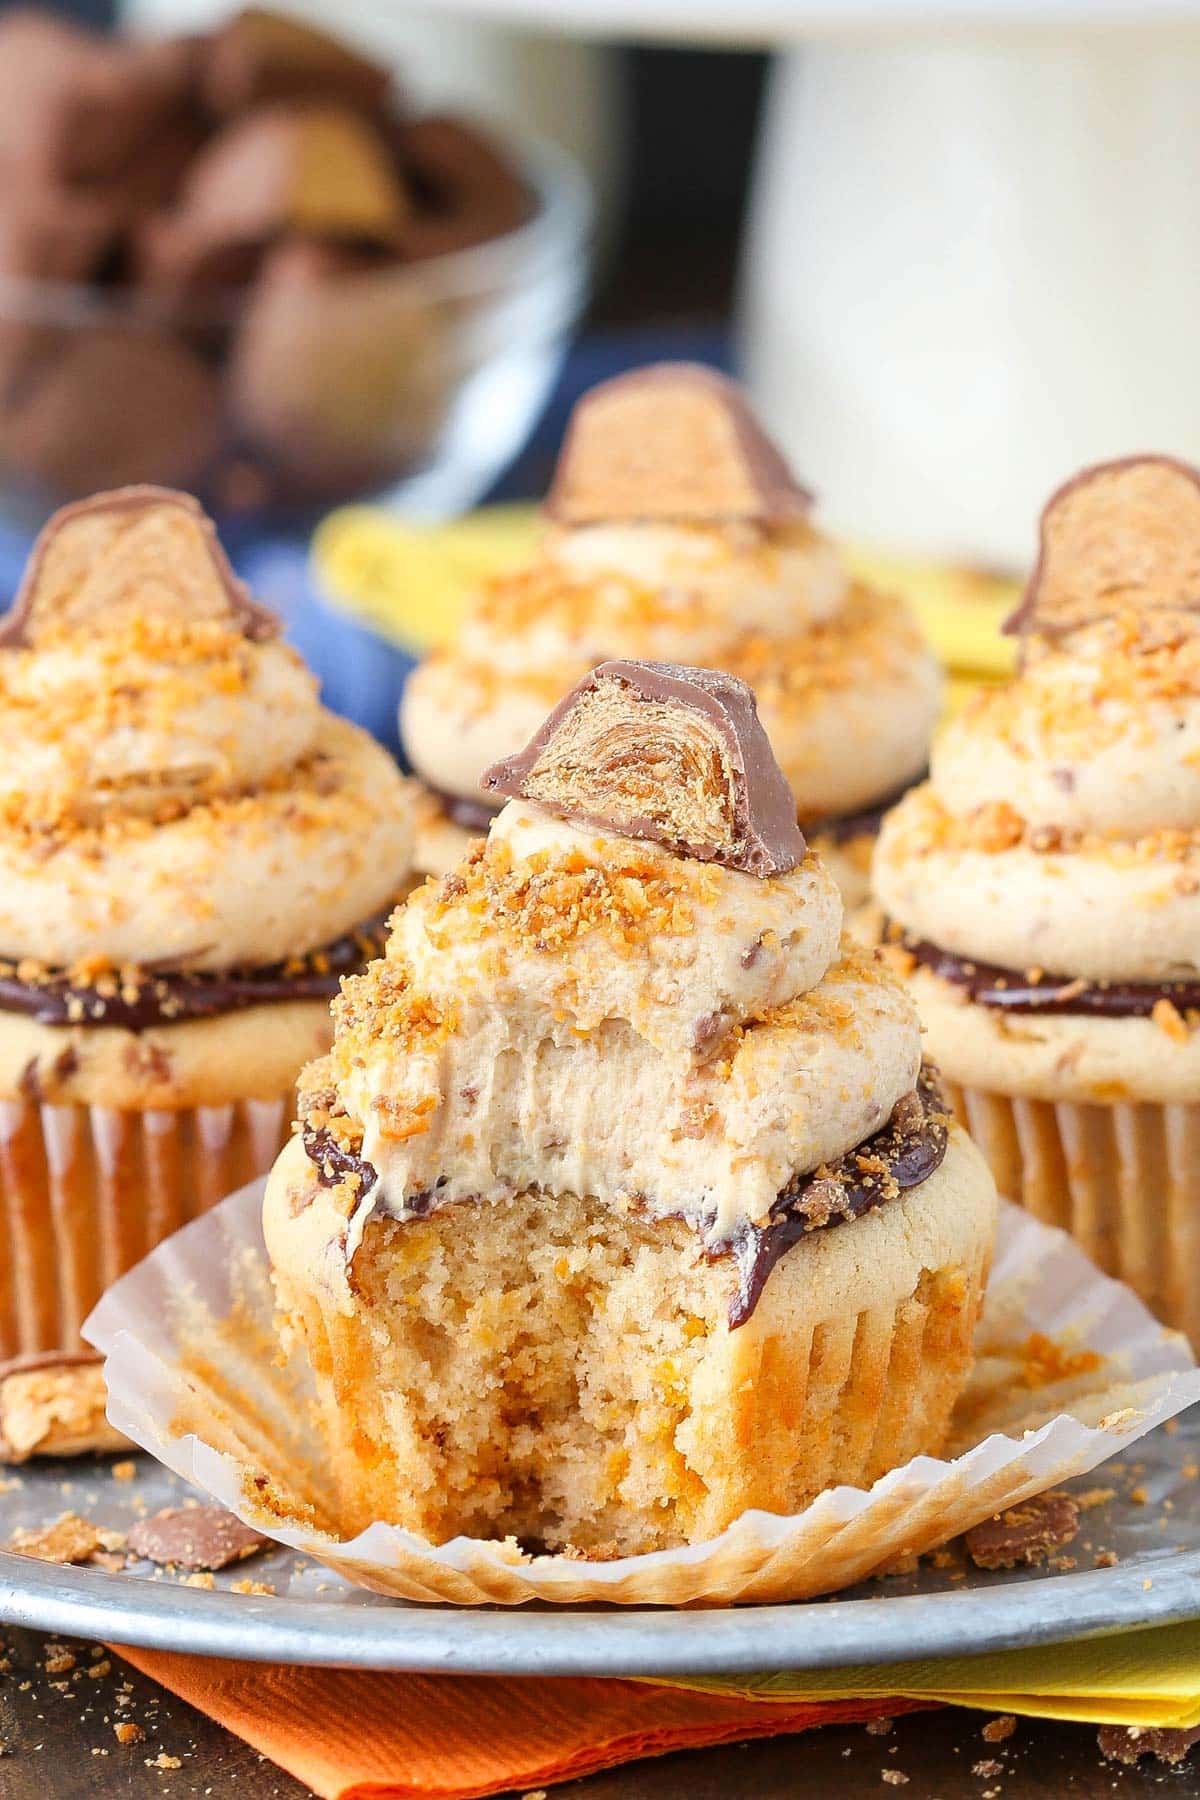
Butterfingers are a very underrated candy bar, in my opinion. They don’t get nearly as much love as Reese’s or Snickers, but they’re just as good, if not better. I love to switch things up by incorporating them into my desserts, like Butterfinger Cheesecake, Butterfinger Brownies, and these Butterfinger Cupcakes.
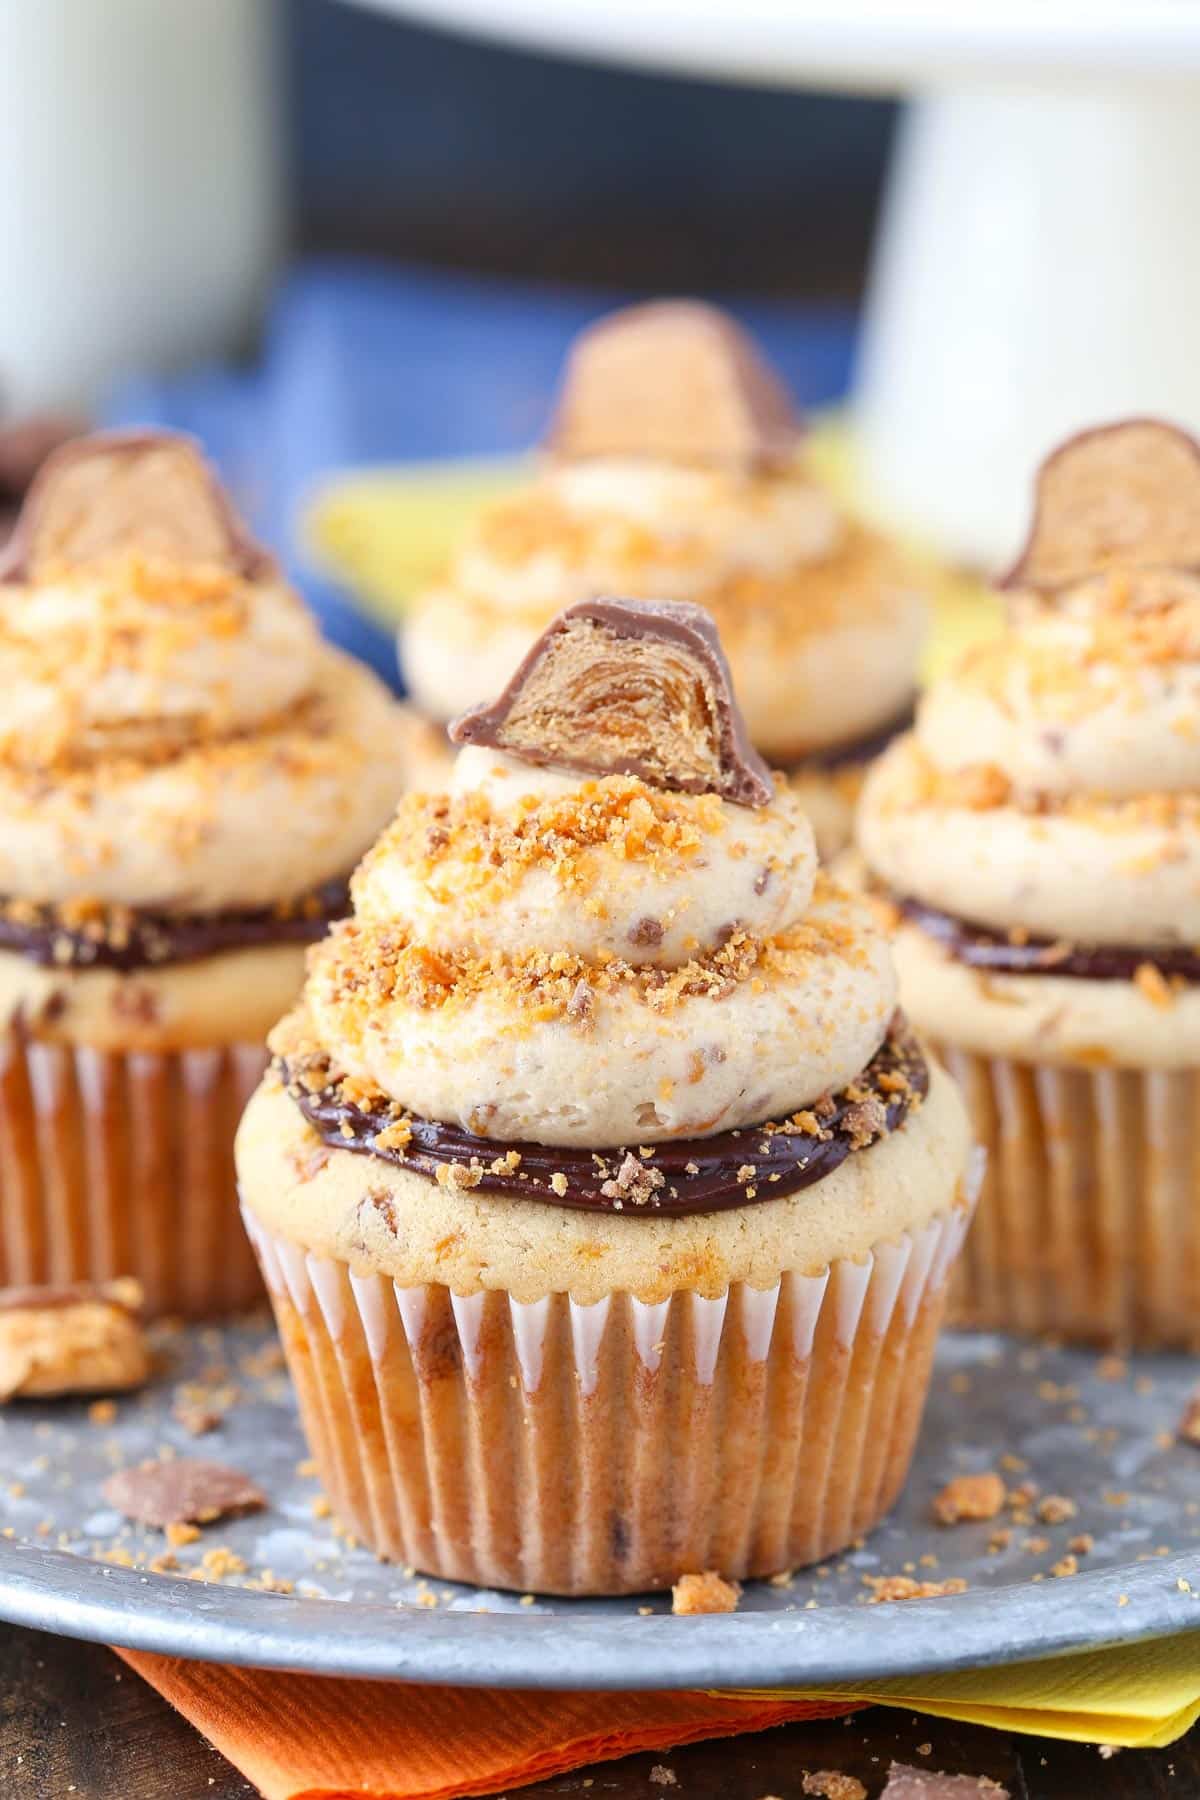
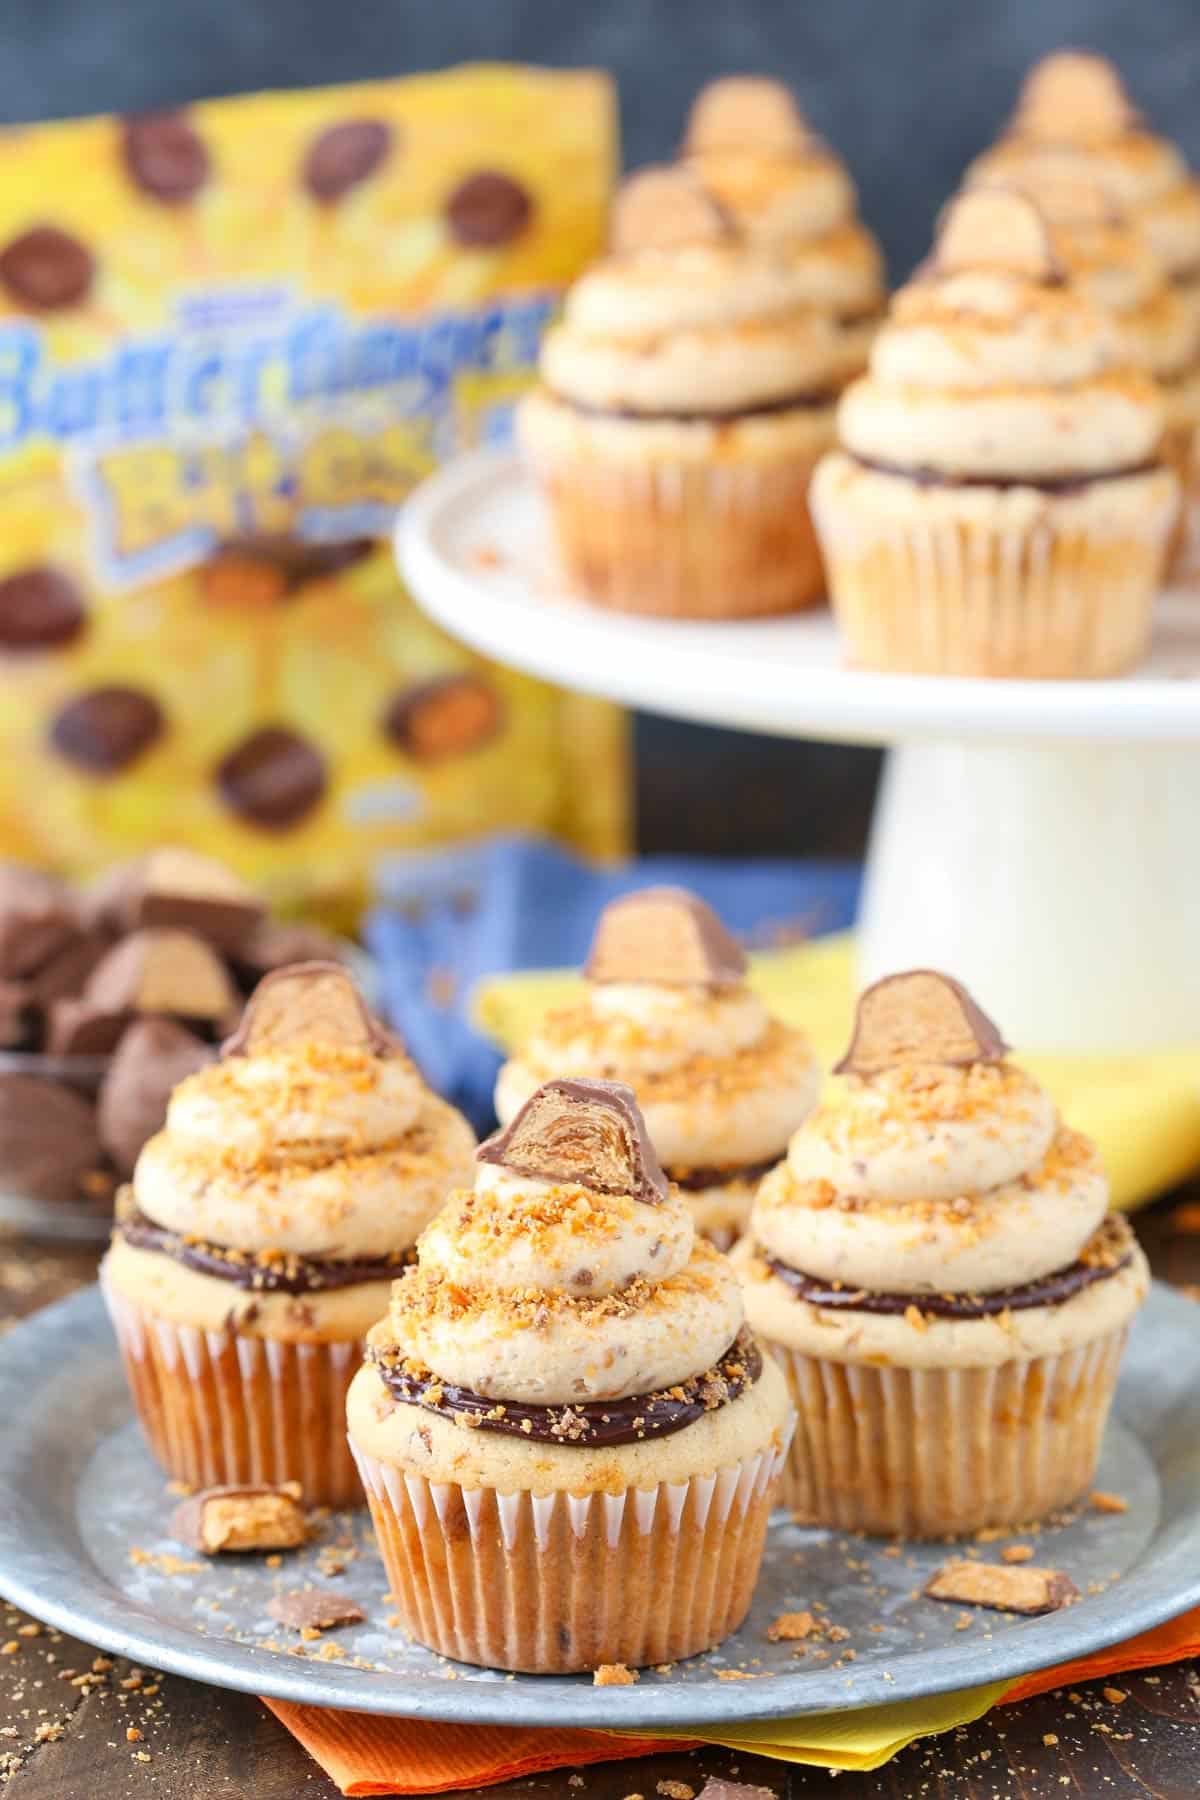
The base is very similar to my popular peanut butter cupcakes recipe, but with a few adjustments and, most importantly, crushed Butterfingers mixed right into the batter. The cupcakes are topped with a bit of chocolate ganache, because we know that chocolate is peanut butter’s best friend, and finished with a peanut butter frosting that is FULL of crushed Butterfingers. To make them pretty, I sprinkled them with some additional crushed Butterfingers (is it even possible to get enough?) and a Butterfinger half. The end result is a super cute and super fun cupcake that’s almost too pretty too eat.
Why These Butterfinger Cupcakes Are So Good
- Made with real Butterfingers. These cupcakes don’t just taste like Butterfingers, they’re made with them! Crushed Butterfingers make an appearance in both the batter and the frosting. You can even top them with half of a candy bar or a mini-size one if you want.
- Chocolate & peanut butter. I added chocolate ganache to these cupcakes because Butterfingers are coated in chocolate so it just makes sense. I’d say these cupcakes are about 80% peanut butter 20% chocolate and it works so perfectly.
- Moist, fluffy cupcake base. The base of these Butterfinger cupcakes is a moist, fluffy peanut butter cupcake. The crumb is tender and moist but also light and fluffy, which makes a nice contrast to the rich ganache and creamy frosting piled on top.
Ingredients and Notes
Here’s a look at some of the ingredients and why they are important.. Be sure to scroll down to the recipe card below for the exact measurements.
- Sugar – I used both white sugar and brown sugar to sweeten these cupcakes. The brown sugar adds more of a rich flavor while also helping to keep them moist.
- Peanut butter – It’s best to use regular creamy peanut butter like Jif or Skippy. All natural peanut butter, even ones labeled creamy, tend to be a bit drier and more gritty. They’re also more likely to separate.
- Sour cream – Adds moisture to the cupcakes. You could also try plain greek yogurt.
- All-purpose flour – Adding too much or too little flour will impact the final texture of the cupcakes and could make them dry. Use a food scale (my preferred way) or the spoon and level method, as described in my post on how to measure flour.
- Crushed butterfingers – A food chopper was the easiest way I found to crush them. You couldl also add them to a ziplock bag and crush them with something. A food processor would work too, you just don’t want to grind them up too much and turn them into crumbs.
- Chocolate chips – I recommend semi-sweet chocolate chips. Using another type of chocolate could give you a thinner or thicker ganache that doesn’t work quite as well.
- Heavy whipping cream – Combined with the chocolate to make a pourable ganache. You need the high fat content, so do substitute with milk or something lower fat.
- Powdered sugar – Adds volume to the peanut butter frosting and thickens it. You can reduce the amount, if you’d like. You’ll just end up with less frosting and it may not hold it’s shape as well, depending on how much you reduce it.
Tips for the Best Cupcakes
Here are a few things to keep in mind when making these Butterfinger cupcakes for the first time.
- Avoid natural peanut butters. Natural versions of peanut butter tend to separate, so stick with a regular one, such as Jif, for the best results.
- Fully cream the butter. When creaming the butter, sugar, and peanut butter, there should be a visible change in the color and texture. This usually takes about 3-4 minutes to achieve.
- Scrape down the bowl. After each ingredient addition, be sure to scrape down the sides and bottom of the bowl so that everything gets combined.
- Don’t overfill the liners. The peanut butter cupcakes will rise quite a bit in the oven, so make sure to fill the cupcake liners just halfway. Otherwise, they’ll bake over the top and make a mess.
- Avoid over-baking. I recommend checking the cupcakes right at the 18 minute mark and adjusting for your oven. A toothpick inserted in the center should have a few moist crumbs but no wet batter when they’re ready.
- Adjust the frosting consistency. If the frosting is too thick, add a tablespoon or so of heavy cream. If it’s too thin, add a bit more powdered sugar.
How To Store Leftovers
- Room temperature: Butterfinger cupcakes can be stored at room temperature for up to 48 hours. Keep them in a cake carrier or other airtight container.
- Fridge: For longer storage, refrigerate the cupcakes, because of the buttercream. They will last for an additional 1-2 days in the fridge. They are best enjoyed at room temperature, so I let them sit on the counter for a bit before enjoying.
- Freezer: These cupcakes can also be frozen, frosted or unfrosted. Let cool completely and, if frosted, flash freeze on a baking sheet until the frosting is solid. Wrap tightly in plastic wrap, place in a freezer container, and freeze for 1-2 months. Thaw in the fridge or on the counter.
More Tasty Cupcake Recipes
Butterfinger Cupcakes
save this recipe
Enter your email & we’ll send it to your inbox. Plus get new recipes from us every week!
Ingredients
For the Peanut Butter Cupcakes:
- 1 ¼ cups (163g) all-purpose flour
- 2 teaspoons baking powder
- ¼ teaspoon salt
- ¼ cup (56g) unsalted butter (room temperature)
- ½ cup (140g) creamy peanut butter (not an all-natural kind)
- ½ cup (104g) sugar
- ¼ cup (56g) packed light brown sugar
- ¼ cup (58g) sour cream (room temperature)
- 1 teaspoon vanilla extract
- 3 large egg whites (room temperature)
- 6 tablespoons (90ml) milk (room temperature)
- 2 tablespoons (30ml) water (room temperature)
- ½ cup crushed butterfingers
For the Chocolate Ganache:
- 5 ounces (142g) semi-sweet chocolate chips (about 2/3 cup)
- 6 tablespoons (90ml) heavy whipping cream
For the Peanut Butter Frosting:
- ¾ cup (168g) unsalted butter (room temperature)
- ½ cup (140g) creamy peanut butter (not an all-natural kind)
- 3 ½ cups (403g) powdered sugar
- 3 – 4 tablespoons (45-60ml) water or milk
- ¾ cup crushed butterfingers
Instructions
Make the cupcakes
- Preheat oven to 350°F (176°C) and prepare a cupcake pan with cupcake liners.
- Combine the flour, baking powder and salt in a medium size mixing bowl. In a separate small measuring cup, combine the milk and water. Set both aside.
- In a large mixing bowl, combine butter, peanut butter, sugar and brown sugar. Beat on medium speed until light in color and fluffy, about 3-4 minutes. Do not skimp on the amount of mixing time.
- Add sour cream and vanilla extract and mix until well combined.
- Add egg whites in two batches, mixing until well combined after each. Scrape down the sides of the bowl as needed to be sure all ingredients are well incorporated.
- Add half of the dry ingredients to the batter and mix until well combined. Add the milk mixture and mix until well combined. Add remaining dry ingredients and mix until well combined. Scrape down the sides of the bowl as needed to be sure all ingredients are well incorporated.
- Stir in the crushed butterfingers.
- Fill the cupcake liners about halfway. Bake for 18-20 minutes, or until a toothpick inserted comes out with a few crumbs.
- Remove cupcakes from oven and allow to cool for 2-3 minutes, then remove to cooling rack to finish cooling.
Make the ganache
- Add the chocolate chips to a medium sized bowl. Microwave the heavy whipping cream until it almost comes to a boil.
- Pour the cream over the chocolate chips, cover the bowl with clear wrap for 3-4 minutes, then whisk until smooth. Set aside to cool.
Make the frosting and finish
- While the chocolate ganache cools, make the frosting. Combine the butter, peanut butter and shortening with a mixer until smooth.
- Add about half of the powdered sugar and mix until smooth and well combined.
- Add 2-3 tablespoons of water or milk to the frosting and mix until well combined.
- Add remaining powdered sugar and mix until smooth.
- Add additional water or milk, as needed, to get the right consistency, then stir in the crushed butterfinger. Set aside.
- Spread a layer of chocolate ganache onto the top of each cupcake.
- Pipe the frosting onto the top of each cupcake. I used a large round pastry tip.
- Top the cupcakes with additional crushed butterfinger and a piece of butterfinger, if desired.
Nutrition
The nutrition facts provided are calculated using a third-party tool and are estimates only. Actual nutritional content may vary based on the ingredients and brands you use, as well as portion sizes. For accurate results, please consult a registered dietitian or nutritionist.
Enjoy!
This post is sponsored – in part – by Walkers Shortbread, but all opinions are my own.













If I use the yellow box cake mix and still do the brown sugar and peanut butter would I still put in the pieces of butterfinger in the batter?
Also when I make my cupcakes and cakes from box I do 3 eggs, 1 cup water, and 3 tablespoons of full fat Mayo. Could I still use that with the added sugar and peanut butter?
I don’t really alter cake mixes, so I’m not sure. I’m sorry.
This recipe is absolutely awesome. It is definitely the Butterfinger dream. The only problem I had was my frosting curdled and I had everything at room temperature. I use heavy, whipping cream versus milk. Do you think that’s why it curdled?
Frosting shouldn’t really curdle. You can use water, milk, heavy cream – any of those will work. Did you by any chance use a natural peanut butter?
No I did not use all natural peanut butter. I just don’t know why it curdled. Any other ideas ?
A big hit recipe in my house. Next time I think I will make. Swiss meringue frosting
Not really. It shouldn’t curdle. I’m sorry.
Can the frosting be made without shortnening?
Definitely, just use additional butter in it’s place.
Hey Lindsay, these cupcakes look amazing. I was just wondering, could I take this recipe for the cupcake batter and just use it for a Bundt cake? If it is not enough for a Bundt cake should I double the recipe?
I haven’t tried it as a Bundt so I’m not sure. You’d probably want to double it.
Thank you. I’ll double the recipe and bake it in a Bundt pan. I will let you know how it turns out. It’s my mom favorite candy bar so she’ll love it.
Hello Lindsay, sorry I forgot to ask this question yesterday, when I make the Bundt cake with this recipe, should I bake it at 350 degrees or 325 degrees? I saw your recipe for pumpkin Bundt cake and it bakes at 350, I was assuming this would be the same. I am also curious because there are Bundt cakes that I’ve made that have been baked at either of these temperatures.
You could try either really. Hard to say which is best without testing both.
These look sensational! I’ve tried the pie, these are next.
Made these today, followed recipe exactly, turned out beautifully! I bake alot and my husband said they were wonderful!!
I’m so glad you both enjoyed them!
Let me start by saying I love your cupcakes and I make them constantly….I make my own italian buttercream but I never mess with your cake recipe. I have made these twice now and the cake is dry and crumbly. At first I thought that I made it wrong but I follow your things very closely and the second time it was the same. I don’t over mix, I make sure that I am blending the sugars and butter precisely as you describe…still the same. I am now wondering if I can try maybe a yellow cake with the butterfinger bits? Or omit the peanut butter? looking for recommendations….Thank you so much in advance.
I’m sorry you’re finding them to be dry. If you’d like to replace the peanut butter with additional sour cream, you certainly can try that.
THESE ARE THE BEST THINGS IN THE ENTIRE WORLD! I made these tonight to bring to work for colleagues and made some for my students. Everyone freaked out. The cupcakes are so fluffy and amazing texture — which is hard to accomplish with peanut butter! SO AMAZING!
Wonderful! Thanks so much for the feedback! So glad you enjoyed them!
I made these for my mom and grandma two days ago. It was my first time making it. They were delicious! Definitely making these more often! 🙂
Oh My Gosh! These look delicious. I can not wait to try them!! YUM!
These look AMAZING!!!!!!!! The butterfingers, the frosting, the everything. Love it!