

I love this easy sugar cookies recipe, especially when I want to do some spur-of-the-moment baking. The cookie dough doesn’t need to be chilled, and the finished cookies stay wonderfully chewy for DAYS.
If you love soft sugar cookies, try my copycat Lofthouse cookies for a frosted, bakery-style treat.
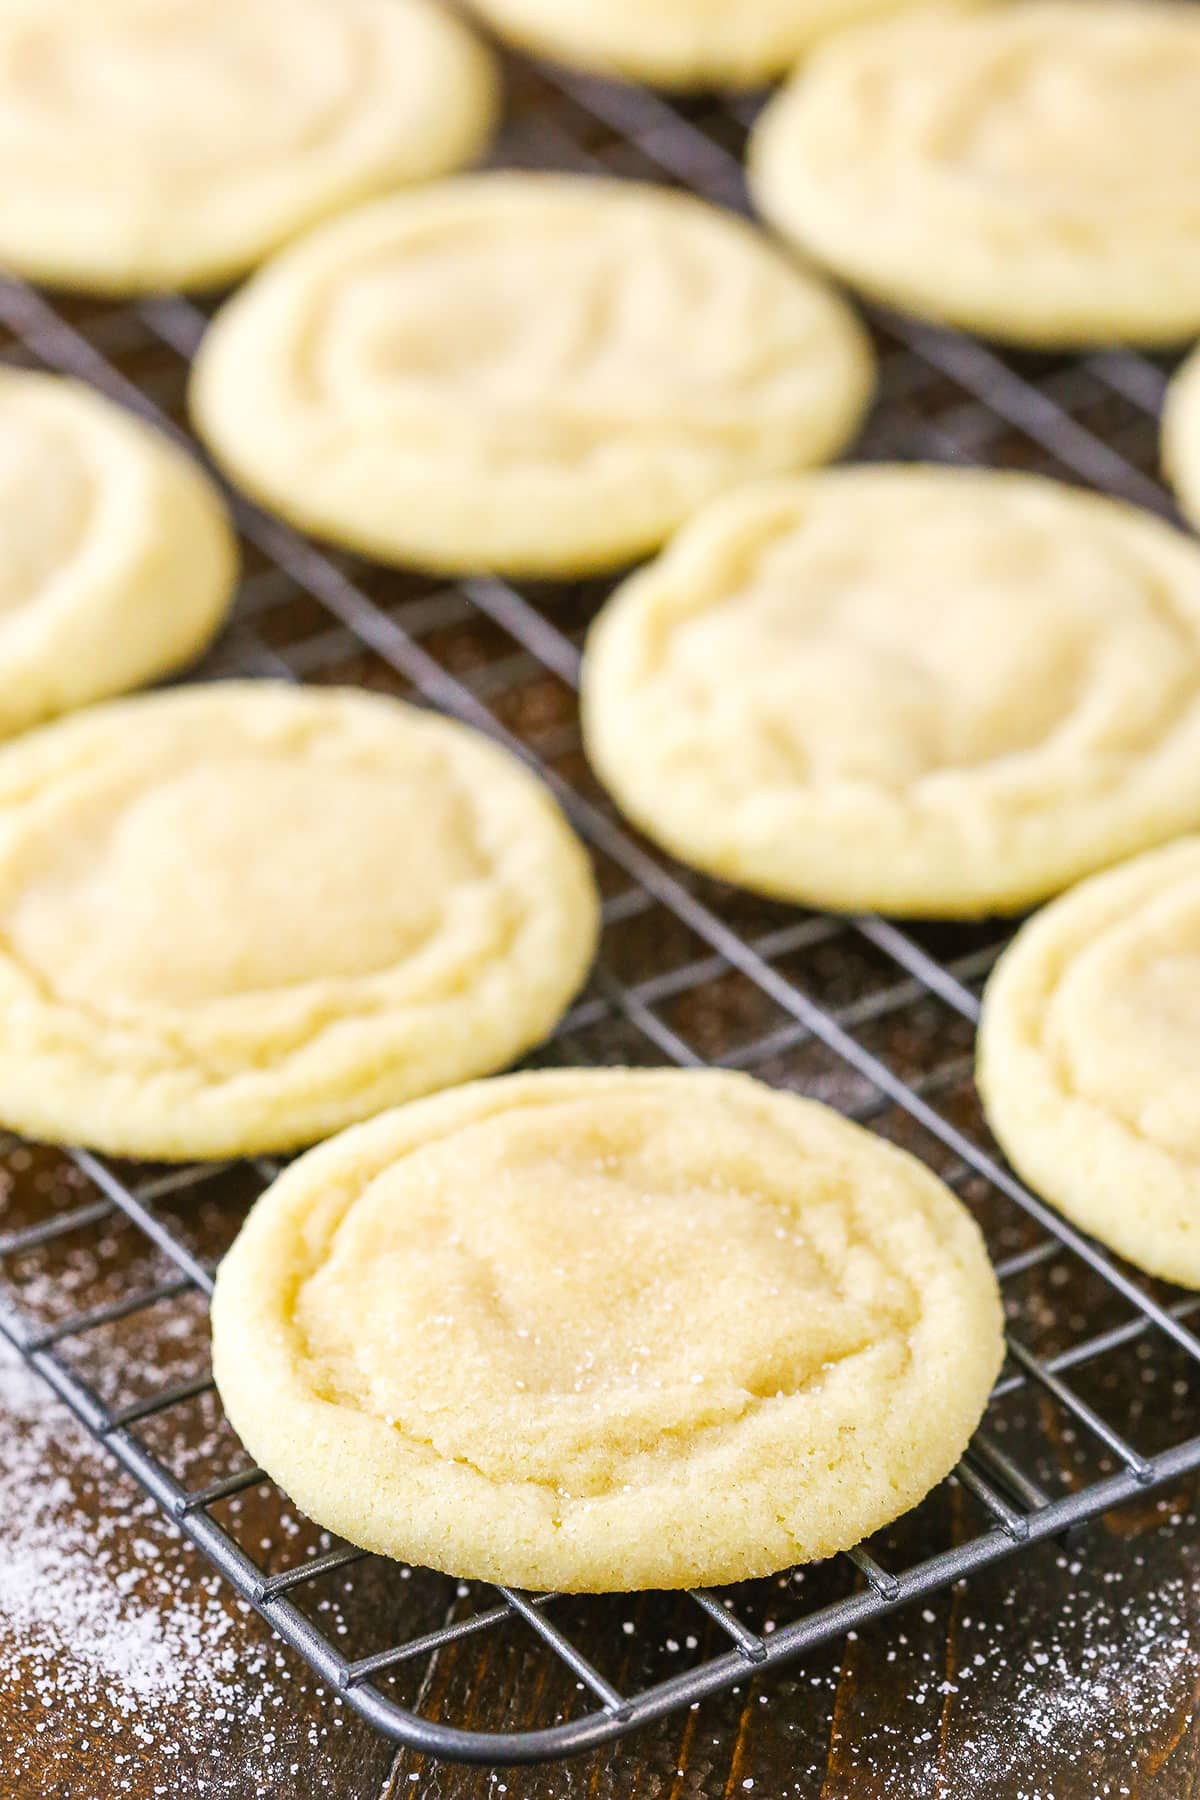
Next to a good snickerdoodle, chewy sugar cookies are a total favorite of mine any day of the week. And unlike, say, cut-out sugar cookies, which are definitely a Christmas staple, I feel like this easy drop sugar cookies recipe is perfect for year-round baking.
I tested SO many versions of these homemade sugar cookies. I’m pretty sure my mother-in-law (who watches the twins while I work) thought I was losing my mind. I’d be all, “Just one more version!” and then a week later there’d still be new batches on the counter. But finally, I found the perfect sugar cookie recipe. Everything about these buttery cookies is just right.

So Many Reasons To Love This Easy Sugar Cookie Recipe
- These cookies are the perfect thickness to have crisp, golden edges without losing their soft centers.
- They’re chewy, buttery sugar cookies without being cakey.
- There’s no need to chill the dough, cut out the cookies, or even press the balls flat. They spread perfectly on their own.
- I’m happy to say these homemade cookies stay soft and chewy for days when stored properly.
- These are delicious baked as-is, rolled in sugar for a crunchy finish, and they’re great for decorating with sugar cookie icing or sprinkles.
- They’re easily adaptable for holidays like Christmas, Easter, and Valentine’s Day. See my favorites in the Variations section later on.
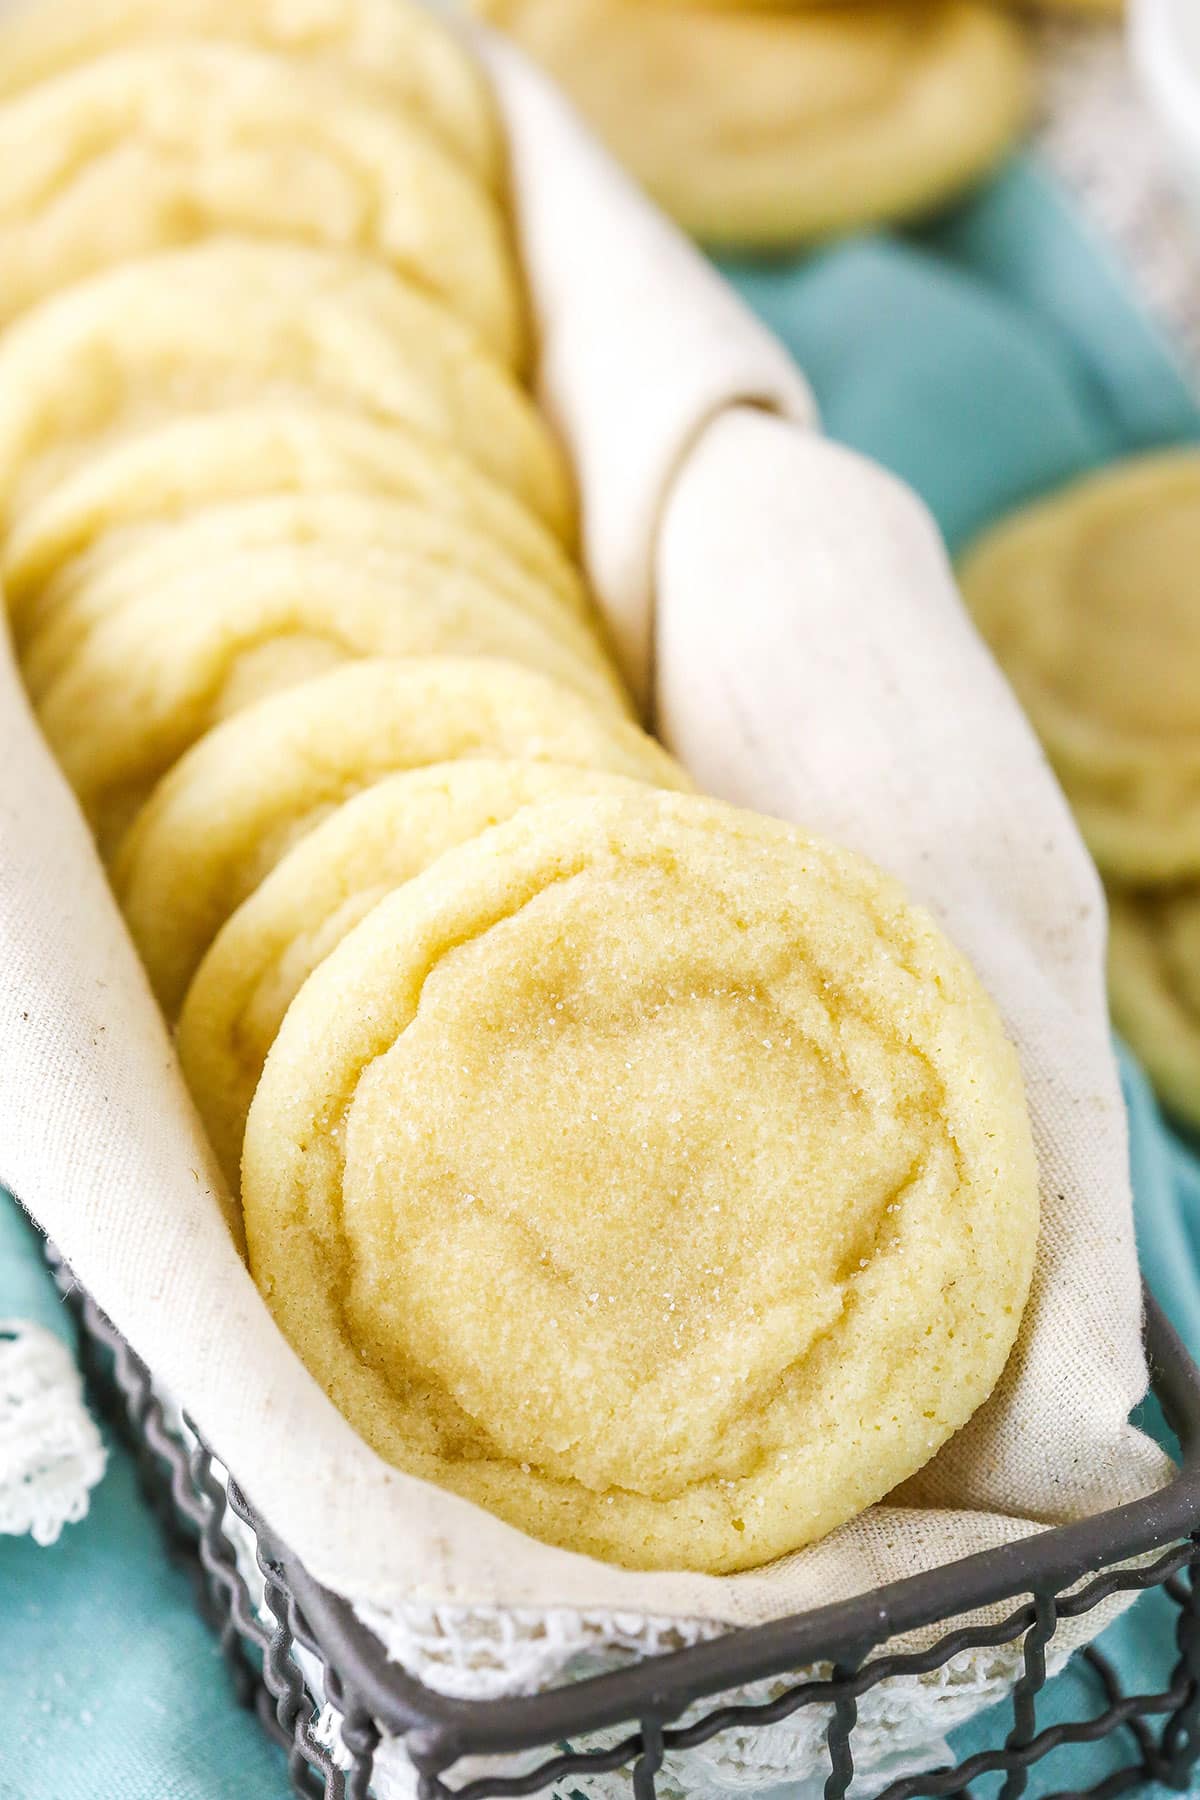
Ingredients Needed
Let’s talk about the key ingredients you’ll need to make chewy classic sugar cookies. See the recipe card for the full recipe with exact measurements.

- Flour – Use a kitchen scale or spoon and level the flour to avoid overmeasuring. See how to measure flour correctly so you don’t end up with too much flour in the dough.
- Baking soda and baking powder – In all my testing, I found that my favorite sugar cookies used a combination of baking soda and baking powder. Cookies made with only baking soda are chewy but thinner (see my coconut sugar cookies). Meanwhile, just baking powder yields a thicker, more cakey cookie. The combination of the two was just right for these bakery-style sugar cookies.
- Butter – I use unsalted butter. Bring the butter to room temperature before you start. If you forget, microwave it for 5 seconds at a time, turning a quarter turn after each interval, just until it’s softened but not melted. You can also slice the butter into thin slices and it’ll come to room temperature much more quickly.
- Granulated sugar and brown sugar – Brown sugar has more moisture than white granulated sugar because it contains molasses. I swapped out two tablespoons of white sugar for brown sugar in this sugar cookie recipe, and the results were fantastic. It makes a much softer and chewier cookie that stays fresh longer. It also adds a touch of extra flavor.
- Egg – Also at room temperature.
- Vanilla extract – Please use pure vanilla extract for your homemade sugar cookies, and not imitation vanilla. You’ll taste the difference.
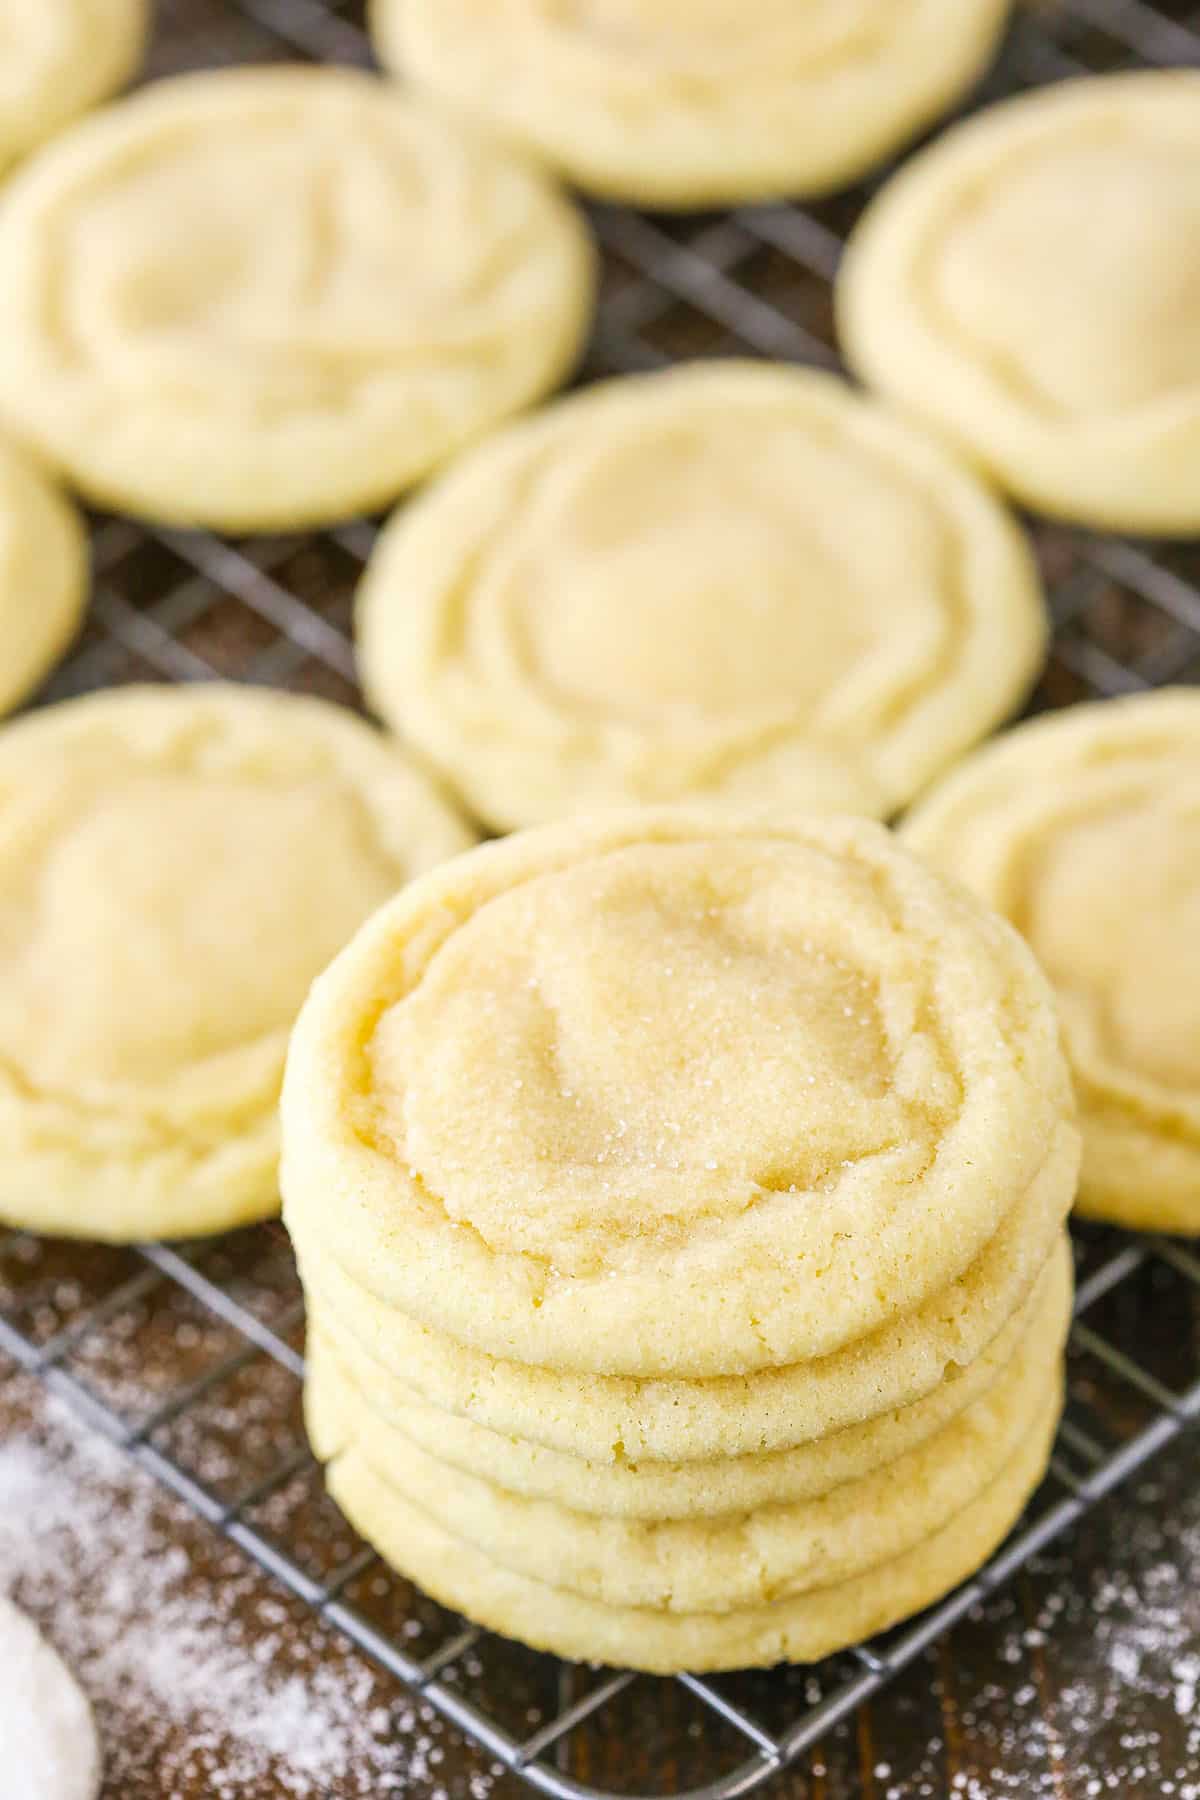
How to Make Chewy Sugar Cookies
Follow along to make the best soft sugar cookies from scratch. Before you begin, preheat your oven to 350ºF and line your baking sheets, either with parchment paper or a silicone baking mat.

Whisk the flour, baking soda, baking powder, and salt.

Cream the butter and sugars together until light and fluffy (about 3 minutes).

Mix in the egg and vanilla extract.

Add the dry ingredients and mix to form a thick dough.

Portion the dough into 1 ½ tablespoon-sized balls. Roll the dough balls in sugar.

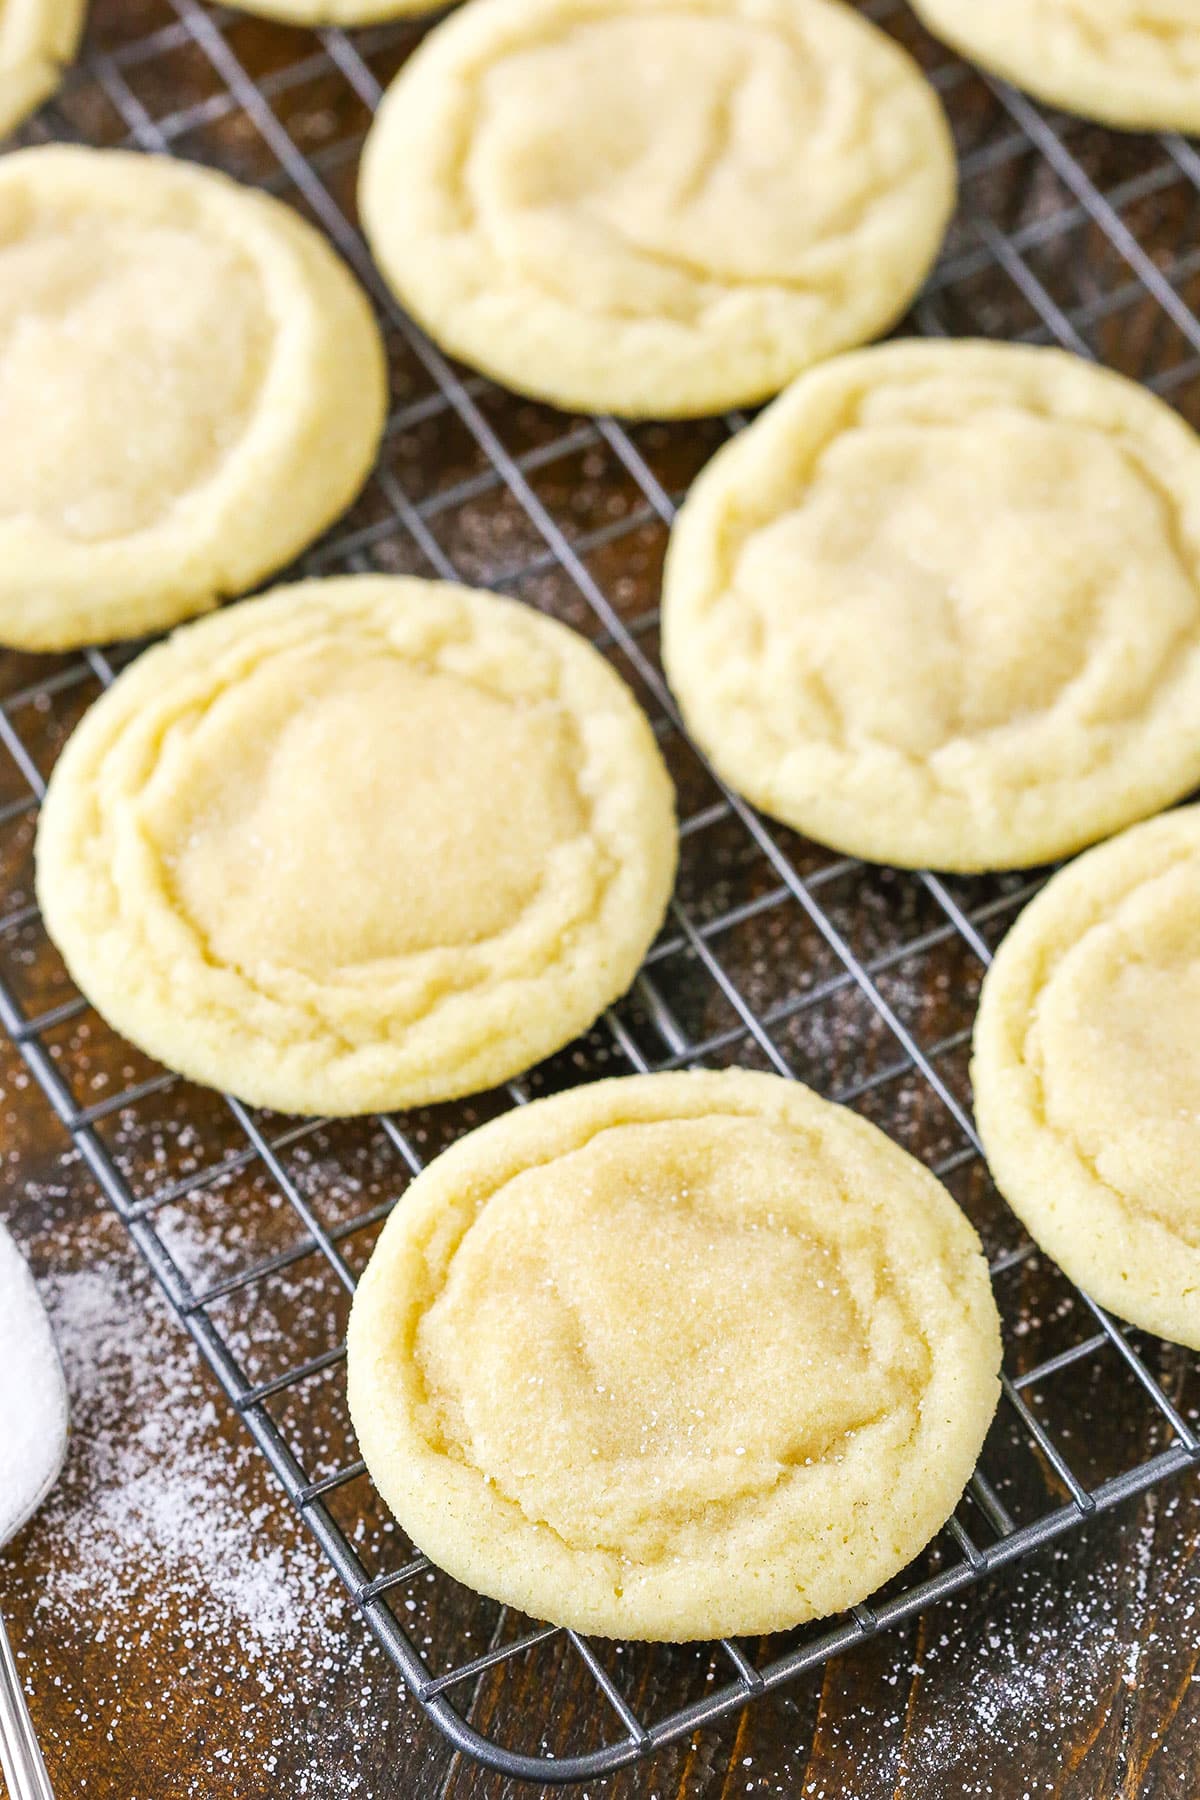
Bake the cookies at 350ºF for 7-8 minutes, until they’re just set in the centers.

The cookies will look a bit puffed up when they leave the oven…

… And they’ll settle as they cool on the baking sheet.
How Long to Bake Sugar Cookies
Mine baked just enough at 7 minutes, but keep an eye on them to see how they do in your oven. I removed mine when they had spread nicely, looked just done enough without looking undercooked, and the edges weren’t quite golden. Don’t worry if the centers of the cookies are still quite soft; they will firm up as they cool.
Variations and Decorating Ideas
These make great holiday sugar cookies, but they’re also wonderful for everyday baking. Here are some of the many ways I’ve adapted this sugar cookie recipe over the years.
- Frosting: You can make simple decorated sugar cookies with royal icing or use vanilla buttercream frosting to follow my tutorial for rosette cookies.
- Sprinkles: If you’re looking to make sugar cookies for a holiday or an event, these cookies would be great rolled in sprinkles instead of sugar. See my Christmas sprinkle cookies. Use any color you like!
- Christmas: Make peppermint sugar cookies or turn these into Grinch cookies with green food coloring and red heart sprinkles.
- More flavors: Try my chocolate sugar cookies, strawberry sprinkle cookies, and lemon sugar cookies for fun flavor variations.
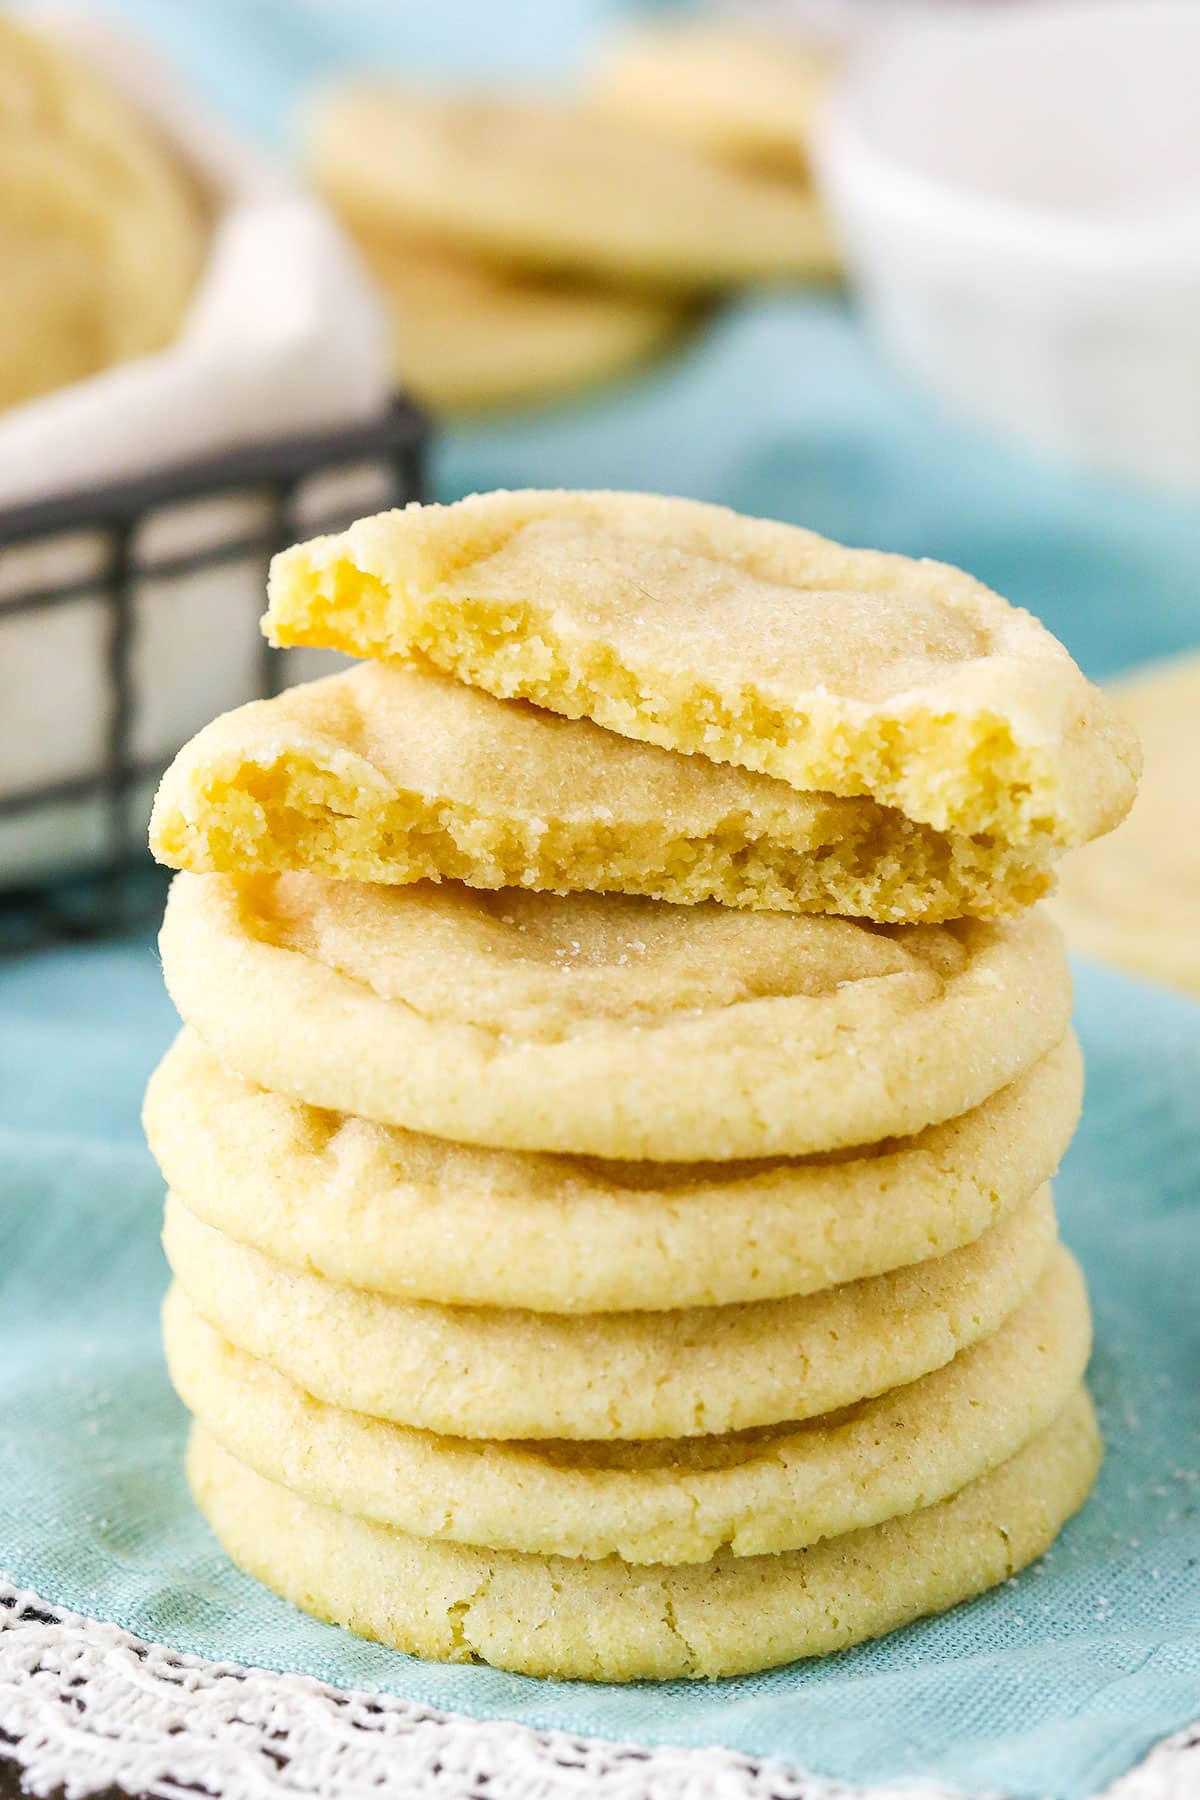
Tips for Chewy Sugar Cookies
- Make sure your butter is at the right temperature. Room temperature can be a little misleading if your house is too warm or too cool. Your butter shouldn’t be so soft that your finger goes right through it if you press on it, but it should also be able to make an imprint. If it won’t, or it barely does, it’s likely still too cold.
- Be sure to use just two tablespoons of brown sugar. It adds just enough additional moisture to the cookies to help them spread correctly and stay soft and chewy for days!
- Avoid overmeasuring. Measure the flour correctly using the spoon-and-level method or a digital kitchen scale for accuracy. Don’t scoop directly from the bag. You’ll end up adding too much, which makes the cookies dry.
- Don’t over-mix the dough after you add the flour. It can over-develop the gluten and cause the cookies not to spread as nicely or to be tough.
- Make sure your cookie dough balls are 1 ½ tablespoons each, or you’ll want to adjust the baking time. I also found this size to be just right for a perfect spread.
How to Store and Freeze
- Counter: Store these cookies on the counter in an airtight container for up to 4 days.
- Fridge: If you want to extend their shelf life, you can pop the container in the fridge. The cookies will keep in the fridge for up to 7 days.
- Freezer: These cookies freeze nicely too! Just let the baked cookies come to room temperature, then pack them in a Ziploc bag and freeze them. Thaw them in the fridge or on the counter when you’re ready to eat them.
More Classic Cookie Recipes



Easy Sugar Cookies
save this recipe
Enter your email & we’ll send it to your inbox. Plus get new recipes from us every week!
Ingredients
- 2 ¾ cups (358g) all-purpose flour
- 1 teaspoon baking soda
- ½ teaspoon baking powder
- ½ teaspoon salt
- 1 cup (224g) unsalted butter (room temperature)
- 1 cup + 2 tbsp (233g) granulated sugar
- 2 tablespoons (28g) light brown sugar (packed)
- 1 large egg
- 2 teaspoons vanilla extract
- ¼ cup (52g) granulated sugar (additional for rolling)
Instructions
- Preheat oven to 350°F (180°C). Line baking sheets with parchment paper or silicone baking mats. Set aside.
- Combine the flour, baking soda, baking powder and salt in a medium sized bowl and set aside.
- Cream the butter and sugars together in a large mixer bowl on medium speed until light in color and fluffy, 2-3 minutes. You should be able to see the change in color happen and know it’s ready.
- Add the egg and mix until well combined.
- Add the vanilla extract and mix until well combined.
- Add the dry ingredients and mix until the dough is well combined. It will be thick and shouldn’t be sticky. Do not over mix. Once it’s well combined, use a rubber spatula to help it come together to form a more cohesive ball.
- Create 1 ½ tablespoon sized balls of cookie dough. Gently roll into a ball, then roll each ball in the additional sugar to coat. Set the balls on the baking sheet.
- Bake cookies for 7-8 minutes. The cookies will spread and the centers will look soft, but should look done. Remove just before the edges begin to turn golden. Don’t over bake. The cookies will be a little puffy when you take them out of the oven but will fall a bit as they cool.
- Remove from the oven and allow to cool on baking sheets for 4-5 minutes before transferring to a wire rack to cool completely.
Video
Notes
Nutrition
The nutrition facts provided are calculated using a third-party tool and are estimates only. Actual nutritional content may vary based on the ingredients and brands you use, as well as portion sizes. For accurate results, please consult a registered dietitian or nutritionist.
Categories:
Christmas, Cookies, Easter, Holidays, Recipes, Recipes with video, Sweets and Treats, Thanksgiving, Valentine's Day,












I’m prepping for a party at the end of the week. I plan on making the dough today (also adding gel food coloring to make rainbow colors) and then baking the cookies later in 4 days. Should I refrigerate the dough or freeze it for 4 days? Thanks!!!
Either way should be fine.
Great recipe! mine came out thick and chewy. Not too flat. Had to set timer for 9 min, 7 was not long enough. I always mess up cookies… not these! Simple and yummy!!! One question, how should I store these on the counter?
You can store them in an air tight container on the counter.
Why did my dough come out sticky..help!!!!!!
I made this recipe to the tee! I baked them in my oven only 4 years old and temperature tested. I had to bake them way more than 7 minutes and they were undercooked at 7. They never did flatten at all. They were also tasteless. Blah
I’ve never actually made these cookies but a friend of mine does often and I love them. Has anyone tried to use cookie cutters with this recipe? I’m just curious if this recipe works well for that.
These cookies spread quite a bit when baking so not ideal for cookie cutters. You could try my cutout cookie recipe though. https://www.lifeloveandsugar.com/cutout-sugar-cookies/
Best sugar cookies I have ever made! I live in high altitude and they took 10 minutes. Also, I creamed the butter and sugar for 10 minutes (tip from Christina Tosi) and the cookies did not spread. They are so soft and delicious. Thank you!
The cookies are delicious. I have a Hotpoint which runs about 25 degrees hot. The cookies required about 10 minutes.
I love this recipe. Would I be ok to make the dough in advance and refrigerate?
That should be fine. But I might let the dough come back to room temperature prior to baking.
Absolutely perfect! Thanks so much!
These are great! I accidentally added a bit too much flour so I have sugar cookie puffs. They have an amazing taste though! My toddler is calling my version “snowballs”
Hello!! love your recipe they taste so so good, for some reason mine didn’t spread at all and i cannot figure out why! they stayed completely domed and i weighed out all the ingredients, so frustrated but still yummy!
Hmm, if the ingredients were accurate then they should be ok. Did you refrigerate the cookie dough at all? What type of oven do you have? I moved a couple months ago and definitely have noticed a difference in how things bake with a different oven. I have found that these cookie sheets work really well in my new oven.
I was wondering if it would be ok to add raisins to this cookie recipe.
I haven’t tried it, but it should be fine.
No way these were done after 7minutes, they were raw. I had to put them back in the oven for an additional 3 full minutes. Otherwise good.
That can truly vary by oven. I just made these again yesterday and they baked for exactly 7 minutes. I’m glad you enjoyed them!
Absolutely love this recipe!
Since discovering this recipe less than two weeks ago, I’ve made it three times — once doubling the recipe. It’s SO amazing!
I’m so glad you enjoyed them!
Would it be okay to add food coloring to the dough? Thanks, Diana
I would personally recommend gel icing color. You may need to add a lot of food coloring, which could thin out the cookie dough.
For what it’s worth, I used gel coloring today because my almost 3 year-old insisted on having purple cookies… and they still turned out great!