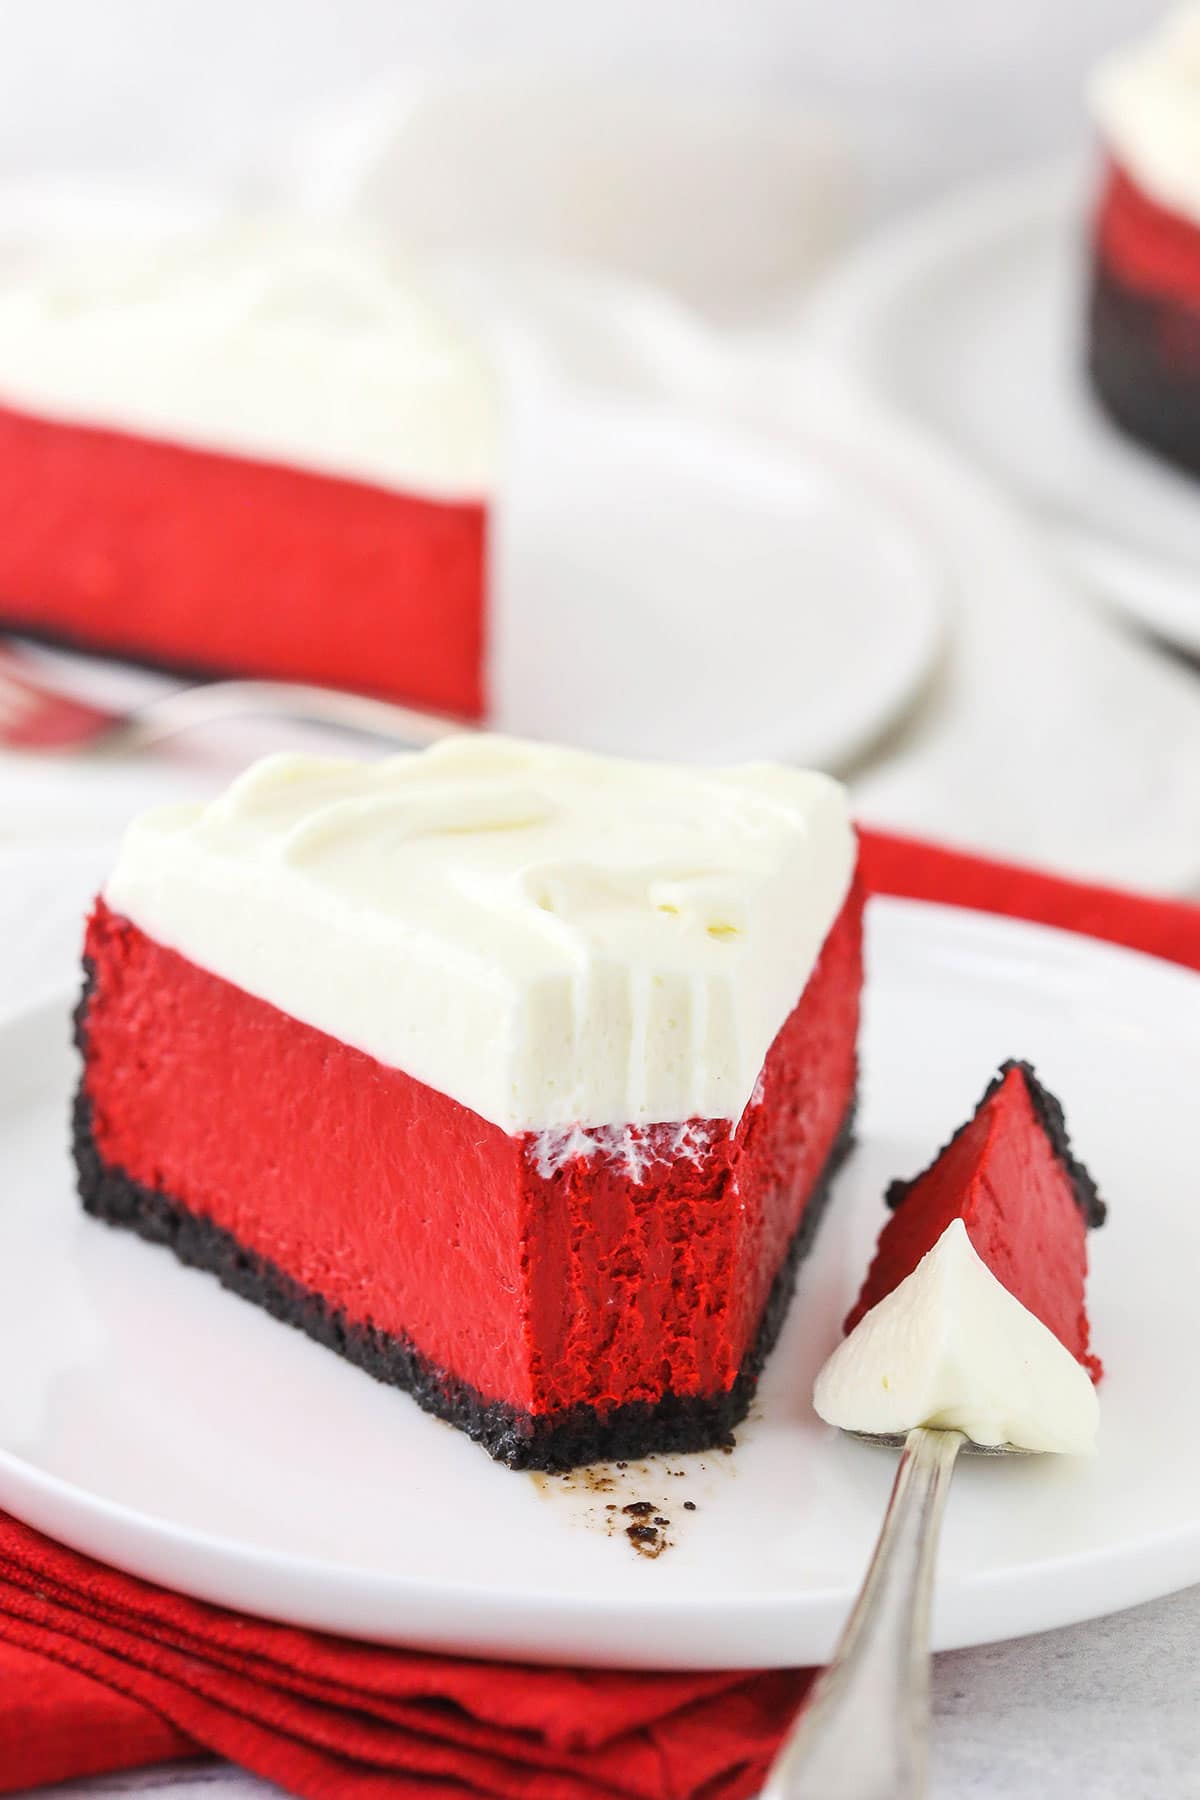
Made with a classic Oreo crust, this Red Velvet Cheesecake is one of the smoothest and creamiest cheesecakes I’ve ever tasted. It has that light tanginess that’s so loved in a red velvet dessert, and the whipped cream cheese topping finishes it off perfectly!
If you love this red velvet cheesecake recipe, you should totally try my Red Velvet Cheesecake Cake as well.
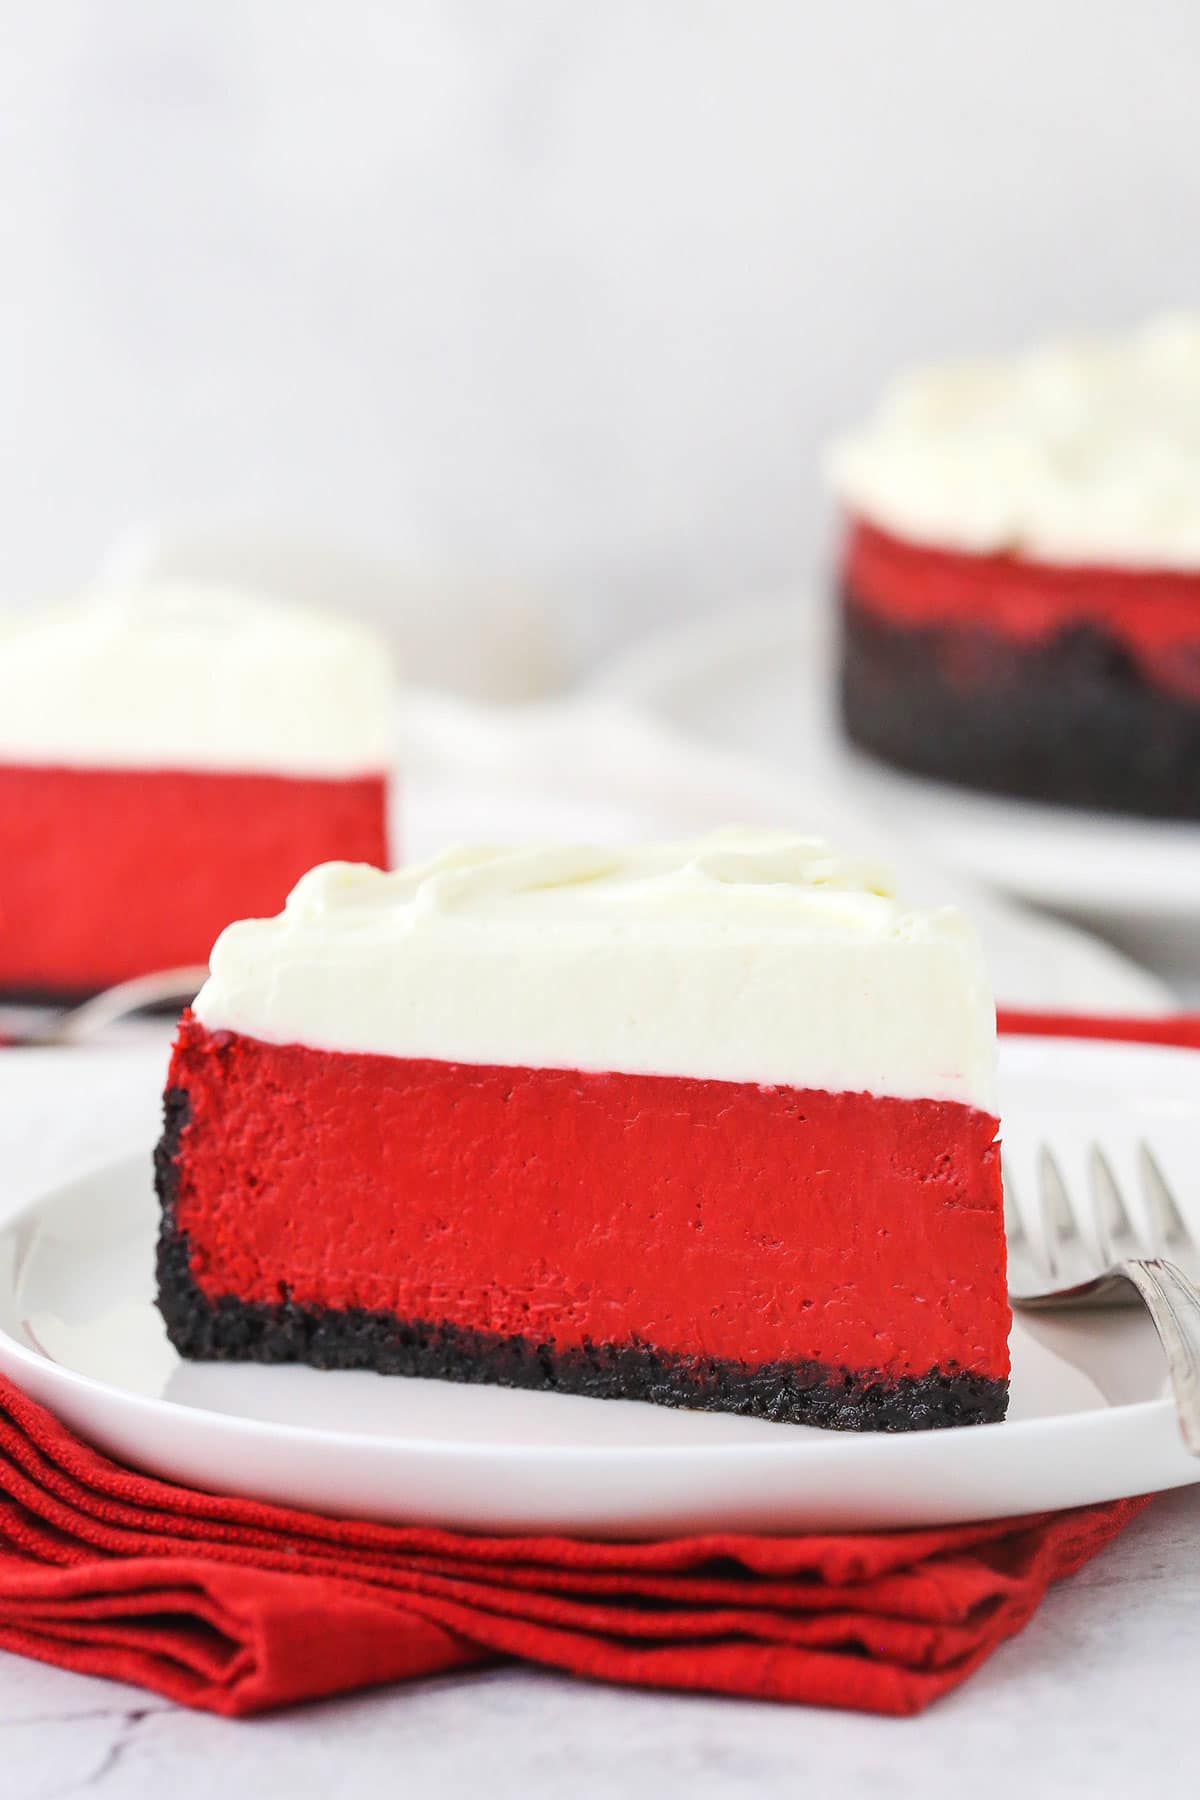
Creamy Red Velvet Cheesecake with Oreo Cookie Crust
There’s no such thing as stopping at one piece when it comes to this cheesecake. From the crunchy Oreo crust to the rich red velvet filling and the light cream cheese topping, it’s insanely good! If you’re a fan of red velvet, you’ve just discovered your new favorite dessert.
As far as baked cheesecakes go, this one’s very simple. You do have to use a water bath, but it’s really not as much work as it seems! And I’m here to guide you through the process from start to finish. Thanks to that quick little water bath, the cheesecake filling is super smooth and creamy. When you factor in the crust and the topping, it’s heaven in a cheesecake!
What Exactly is Red Velvet?
Some people think that red velvet is just chocolate with red food coloring and a little cream cheese, but that’s actually not the case. While chocolate and cream cheese are included in red velvet desserts, buttermilk and a splash of vinegar help produce that delightfully tangy flavor. Traditionally, the natural reaction of those ingredients creates that iconic red hue, and the food coloring is there to enhance it.
Ingredients You’ll Need
This cheesecake filling uses a tried and true base that I’ve built upon for all sorts of cheesecake flavors. Here are the ingredients you’ll need to make each layer of this dessert:
For the Oreo Cookie Crust
- Oreos: Leave the creme filling inside of the cookies.
- Butter: Melted. You can use salted or unsalted.
For the Red Velvet Cheesecake Filling
- Cream Cheese: Brought to room temperature.
- Sugar
- Cocoa Powder: Natural, unsweetened cocoa powder is best.
- Sour Cream: For an extra creamy filling.
- Buttermilk: If you don’t have any buttermilk on hand, you can make your own by mixing a cup of milk with a tablespoon of lemon juice or vinegar. Let the mixture sit for 5-10 minutes after stirring it. You’ll only need 1/4 cup for this cheesecake, but I recommend making a full cup so you can be sure you have the right ratio of milk to acid.
- Eggs: Large.
- White Vinegar: This is needed for that true red velvet tang. Don’t worry – your cake won’t taste like vinegar.
- Vanilla Extract: Use a good quality extract for the best flavor.
- Red Food Coloring: I use regular food coloring, but gel icing color would also work.
For the Cream Cheese Whipped Cream
- Cream Cheese: Room temperature.
- Heavy Whipping Cream: Keep this refrigerated until you’re ready to use it.
- Powdered Sugar: This thickens the whipped cream and keeps it from wilting or melting.
- Vanilla Extract
How to Make Red Velvet Cheesecake
After the cheesecake is baked, it has to chill in the fridge until it’s set. This will take at least 5 hours, so make sure you plan accordingly.
Make the Crust
- Prep for Baking: Preheat the oven to 325°F. Line a 9-inch springform pan with parchment paper in the bottom and grease the sides.
- Combine Ingredients & Add to Pan: Combine the crust ingredients in a small bowl. Press the mixture into the bottom and up the sides of the springform pan.
- Bake: Once the oven has finished preheating, bake the crust for 10 minutes, then set it aside to cool.
- Prep for Water Bath: Cover the outsides of the pan with aluminum foil so that water from the water bath cannot get in. Set the prepared pan aside.
Make the Filling
- Lower Oven Temperature: Reduce the oven temperature to 300°F.
- Beat Cream Cheese, Sugar & Cocoa: In a large bowl, beat the cream cheese, sugar and cocoa powder on low speed until completely combined and smooth. Scrape down the sides of the bowl as needed.
- Add Sour Cream & Buttermilk: Add the sour cream and buttermilk and mix on low speed until well combined.
- Add Eggs: Add the eggs one at a time, mixing slowly to combine after each addition. Scrape down the sides of the bowl as needed to make sure everything is well combined.
- Add Vinegar, Vanilla & Food Coloring: Add the vinegar, vanilla extract and food coloring and mix until well combined.
- Pour Into Crust: Pour the cheesecake batter into the prepared crust.
- Assemble Water Bath: Place the springform pan inside of another larger pan. Fill the outside pan with enough warm water to go about halfway up the sides of the springform pan. The water should not go above the top edge of the aluminum foil on the springform pan.
- Bake: Bake the cheesecake for an hour and 45 minutes. The center should be set, but still jiggly.
- Turn Off Oven: Turn off the oven and leave the door closed for 30 minutes. The cheesecake will continue to cook, but slowly begin to cool as well.
- Crack Oven Door: Crack the door of the oven for 20-30 minutes to allow the cheesecake to continue cooling slowly. This process helps prevent cracking.
- Chill: Remove the cheesecake from the oven and the water bath wrapping and refrigerate it until it’s firm, 5-6 hours or overnight.
Make the Topping
- Remove From Pan: Once the cheesecake is nice and firm, remove it from the springform pan and set it on a serving plate.
- Beat Cream Cheese: Add the cream cheese to a large mixer bowl and beat until it’s smooth. Set it aside.
- Whip Remaining Ingredients: Add the remaining ingredients to another large mixing bowl and whip on high speed until stiff peaks form.
- Combine: Gently fold the whipped cream into the cream cheese in two parts until well combined.
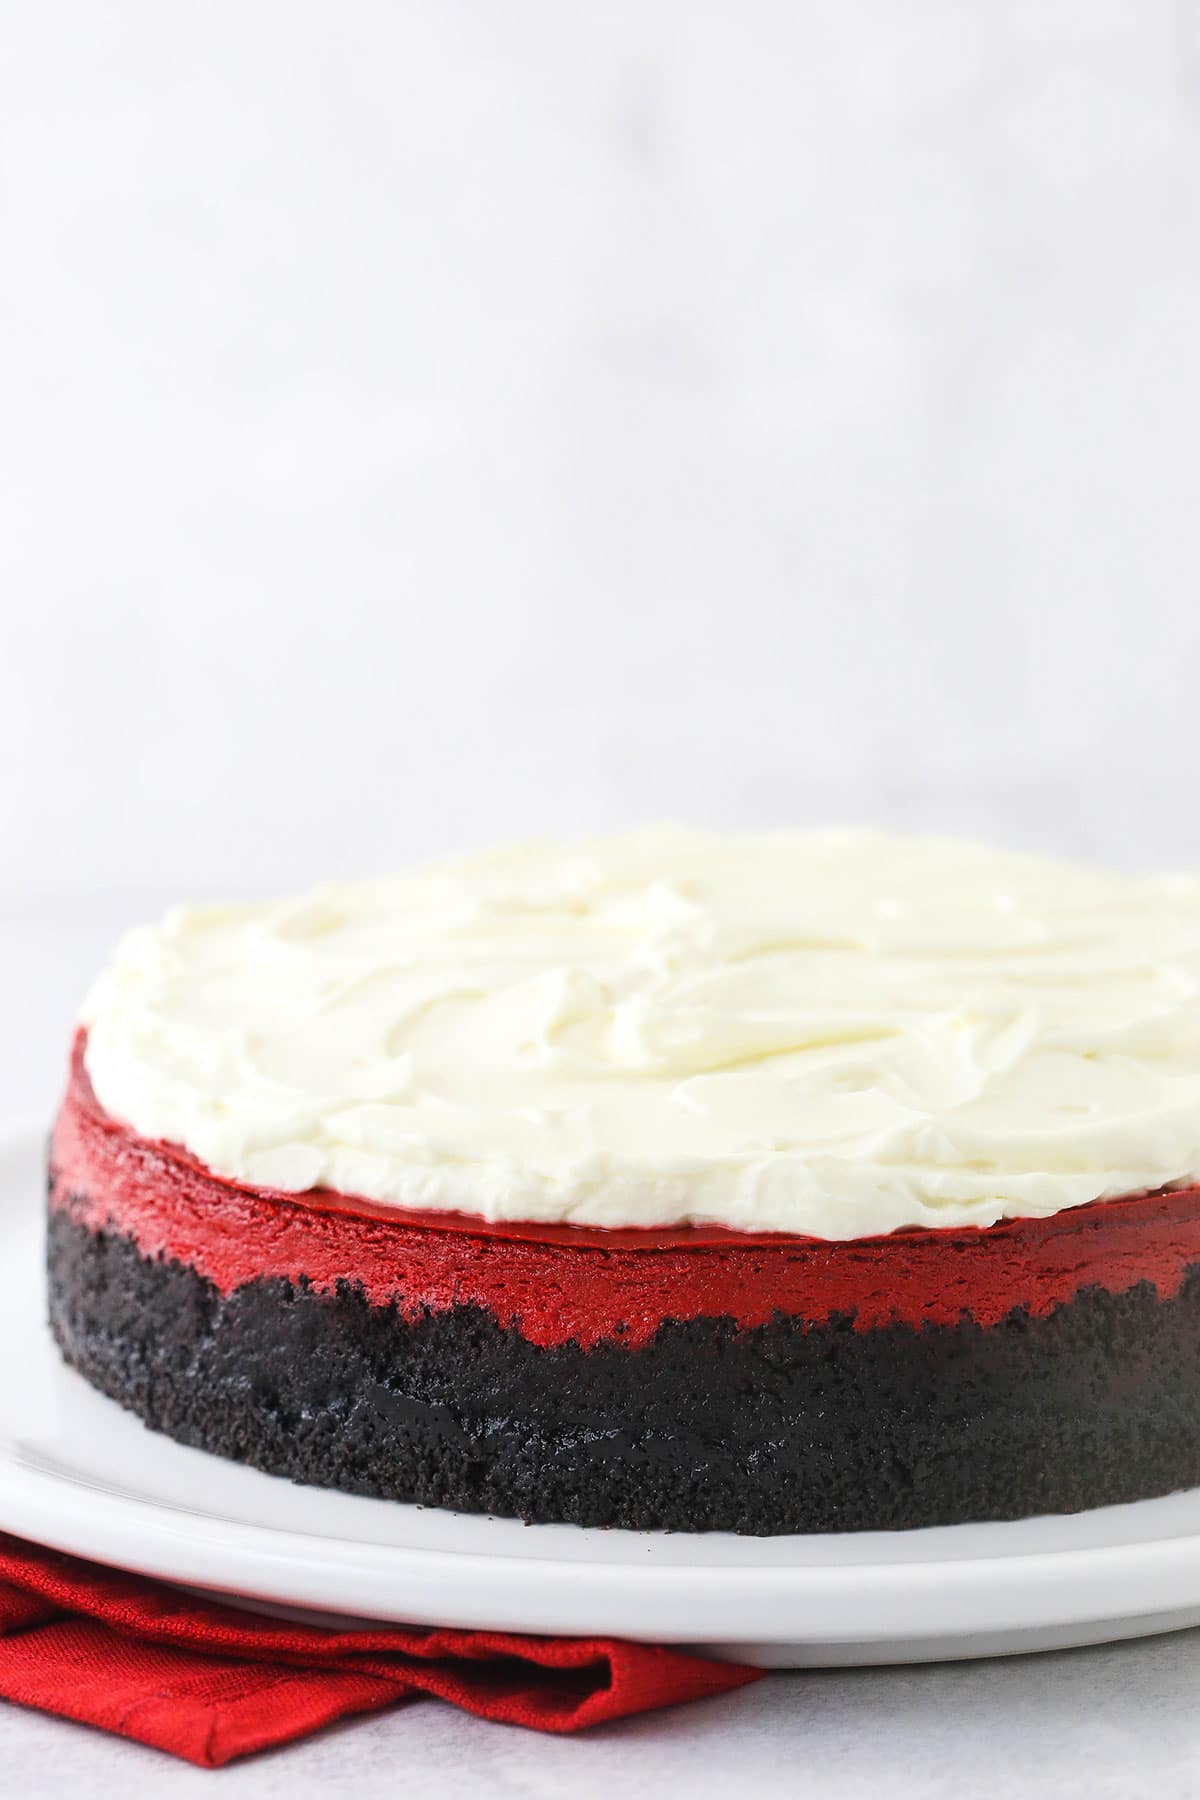
- Add to Cake: Spread the whipped cream topping onto the cheesecake in an even layer.
- Enjoy! Refrigerate the cheesecake until you’re ready to serve it.
Recipe Tips & Tricks
It’s time to talk about some quick tips and suggestions that will help you nail this red velvet cheesecake. Here they are!
- Bring Your Cream Cheese to Room Temperature: You’ll have a hard time working with your cream cheese if it’s cold. Unlike the heavy whipping cream, the cream cheese should be brought to room temperature before it’s used to avoid a lumpy filling.
- Stick With Low Speed: Always mix your filling at low speed, and be careful not to over-mix it. Both can add additional air to the batter, which is a common culprit of cracks.
- How Do I Make Sure My Water Bath Doesn’t Leak? When you’re assembling your water bath, make sure that the water doesn’t rise above the edges of the tin foil lining. For a detailed tutorial and more hacks for preventing leakage, check out my Water Bath Tips & Tricks.
- Cool the Cheesecake Slowly: I encourage you to follow the recipe instructions for cooling your cheesecake. If it cools too quickly, it will crack. If you still notice cracks in your cheesecake, it’s not the end of the world – they’ll be covered up with the whipped topping anyway.
How to Store Leftover Cheesecake
This cheesecake should be kept well covered in the fridge. Enjoy it within 3-4 days.
Is This Dessert Freezer-Friendly?
Yes! Pop it in the freezer for about an hour to flash freeze it, then wrap it well in clear wrap and foil. You can also wrap and freeze individual slices if preferred.
Freeze your cheesecake for up to 1 month. Thaw it out overnight in the fridge before enjoying it.
Print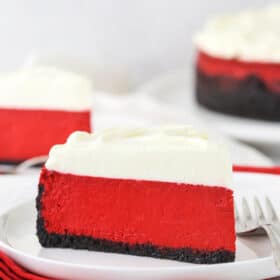
Red Velvet Cheesecake
- Prep Time: 1 hour
- Cook Time: 1 hour 55 minutes
- Total Time: 2 hours 55 minutes
- Yield: 13 1x
- Category: Dessert
- Method: Oven
- Cuisine: American
Description
Made with a classic Oreo crust, this Red Velvet Cheesecake is one of the smoothest and creamiest cheesecakes I’ve ever tasted. It has that light tanginess that’s so loved in a red velvet dessert, and the whipped cream cheese topping finishes it off perfectly!
Ingredients
For the Oreo Cookie Crust
- 24 Oreos (2 cups | 268g Oreo crumbs)
- 4 tbsp (56g) butter, melted
For the Red Velvet Cheesecake Filling
- 24 oz cream cheese, room temperature (three 8 oz packages)
- 1 cup (207g) sugar
- 3 tbsp (21g) cocoa powder
- 1 cup (230g) sour cream
- 1/4 cup (60ml) buttermilk
- 4 large eggs
- 2 tsp white vinegar
- 2 tsp vanilla extract
- 2 oz red food coloring
For the Cream Cheese Whipped Cream
- 4 oz cream cheese, room temperature
- 1 cup (240ml) heavy whipping cream, cold
- 1/2 cup (58g) powdered sugar
- ½ tsp vanilla extract
Instructions
Make the Crust
- Preheat oven to 325°F (163°C). Line a 9-inch (23cm) springform pan with parchment paper in the bottom and grease the sides.
- Combine the crust ingredients in a small bowl. Press the mixture into the bottom and up the sides of the springform pan.
- Bake the crust for 10 minutes, then set aside to cool.
- Cover the outsides of the pan with aluminum foil so that water from the water bath cannot get in (see how I prepare my pan for a water bath). Set prepared pan aside.
Make the Filling
- Reduce oven temperature to 300°F (148°C).
- In a large bowl, beat the cream cheese, sugar and cocoa powder on low speed until well completely combined and smooth. Be sure to use low speed to reduce the amount of air added to the batter, which can cause cracks. Scrape down the sides of the bowl.
- Add the sour cream and buttermilk and mix on low speed until well combined.
- Add the eggs one at a time, mixing slowly to combine after each addition. Scrape down the sides of the bowl as needed to make sure everything is well combined.
- Add the vinegar, vanilla extract and food color and mix until well combined.
- Pour the cheesecake batter into the crust.
- Place the springform pan inside another larger pan. Fill the outside pan with enough warm water to go about halfway up the sides of the springform pan. The water should not go above the top edge of the aluminum foil on the springform pan.
- Bake for 1 hour 45 minutes. The center should be set, but still jiggly.
- Turn off the oven and leave the door closed for 30 minutes. The cheesecake will continue to cook, but slowly begin to cool as well.
- Crack the door of the oven for 20-30 minutes to allow the cheesecake to continue to cool slowly. This process helps prevent cracking.
- Remove the cheesecake from the oven and water bath wrapping and refrigerate until firm, 5-6 hours or overnight.
Make the Topping
- When the cheesecake is cool and firm, remove from the springform pan and set on a serving plate.
- To make the whipped cream, add the cream cheese to a large mixer bowl and beat until smooth. Set aside.
- Add the remaining ingredients to another large mixing bowl and whip on high speed until stiff peaks form.
- Gently fold the whipped cream into the cream cheese in two parts until well combined.
- Spread the whipped cream on top of the cheesecake in an even layer.
- Refrigerate the cheesecake until ready to serve.
Notes
- Makes 12-14 servings.
- To Store: Cheesecake is best when stored well covered and eaten within 3-4 days.
- To Freeze: Cut out a circle of cardboard equivalent to the size of the cake and line it with foil if desired. Place the cake on top of the cardboard and wrap it tightly in a layer of plastic wrap and a layer of foil. You can also wrap and freeze individual slices. Store for up to 1 month and thaw overnight in the fridge before enjoying.
Nutrition
- Serving Size: 1 Slice
- Calories: 458
- Sugar: 29.6 g
- Sodium: 259.3 mg
- Fat: 32.5 g
- Carbohydrates: 36.4 g
- Protein: 7.3 g
- Cholesterol: 131.7 mg
More Red Velvet Treats to Try
If you love all things red velvet, you have to try the recipes below!
- Red Velvet Cheesecake Swirl Brownies
- Red Velvet Berry Trifle
- Red Velvet Ice Cream Cake
- Strawberry Red Velvet Waffle Parfait
Categories:
Cheesecakes, Christmas, Fall and Holiday Favorites, Holidays, July 4th, Recipes, Sweets and Treats, Valentine's Day,


Love this recipe.and how easy it is to make.thanks
I can’t get whole fat buttermilk anymore, so I bought the powdered kind. The label amount sounds like way too much powder. Have you used the powdered? If so how much do you use per cup of liquid?
I have used the powdered before. The one I get recommends one tablespoon per 1/4 cup of milk, I believe. So 4 tablespoons per cup. I’d follow the instructions for the one you have.
I love this cheesecake but the crust has not done well twice. It’s super greasy and sticks to the parchment when the cheesecake is done baking. I don’t know if it’s because it bakes longer than usual. Should I try and reduce the butter?
Hmm, yes, you could try reducing the butter.
Can I air Fryer it?
I don’t know. I haven’t used an air fryer for cheesecake before.
Could heavy cream or Greek yogurt be substituted for the sour cream?
Yes, that’d be fine. With heavy cream, you may just need a few more minutes of baking time.
Could heavy cream be substituted for the sour cream?
Sure, you just may need to bake it a little bit longer.
Hi Lindsey
Can you make this cheesecake with a cake bottom.
Noted your other recipes the average bake time is an hour 15 min
This particular cheesecake is 1hr 45
If I make the chocolate cake bottom would baking it as per recipe affect the cake bottom at all
You should be able to make it with a cake bottom. Often when I do that, I reduce the eggs to 3, instead of 4, so that it isn’t too tall. I’m not really sure what the bake time would be, but it could be a little less. Baking it shouldn’t affect the cake bottom.
What kind of buttermilk? Whole or low -fat?
I use whole.
Home run – in my permanent rotation. Family fought over Togo pieces – there were only 2
Can you add chopped pecans to the top of the frosting?
Sure!
Is there anything I can sub for the red food coloring? We try not to use any artificial colors or dyes due to family sensitivities.
I understand, I’m just not sure of a substitute that would produce the same color. You could certainly leave it out though.
I know this comment is old but — beet powder
Looks delish
I wanted to clarify
it is 2 oz of food color ?
I’m making it now and ali only had one .37 fluid oz bottle and it seemed like plenty.
Thanks
Yes, that’s correct. If what you have seems like enough for you, it may be totally fine.