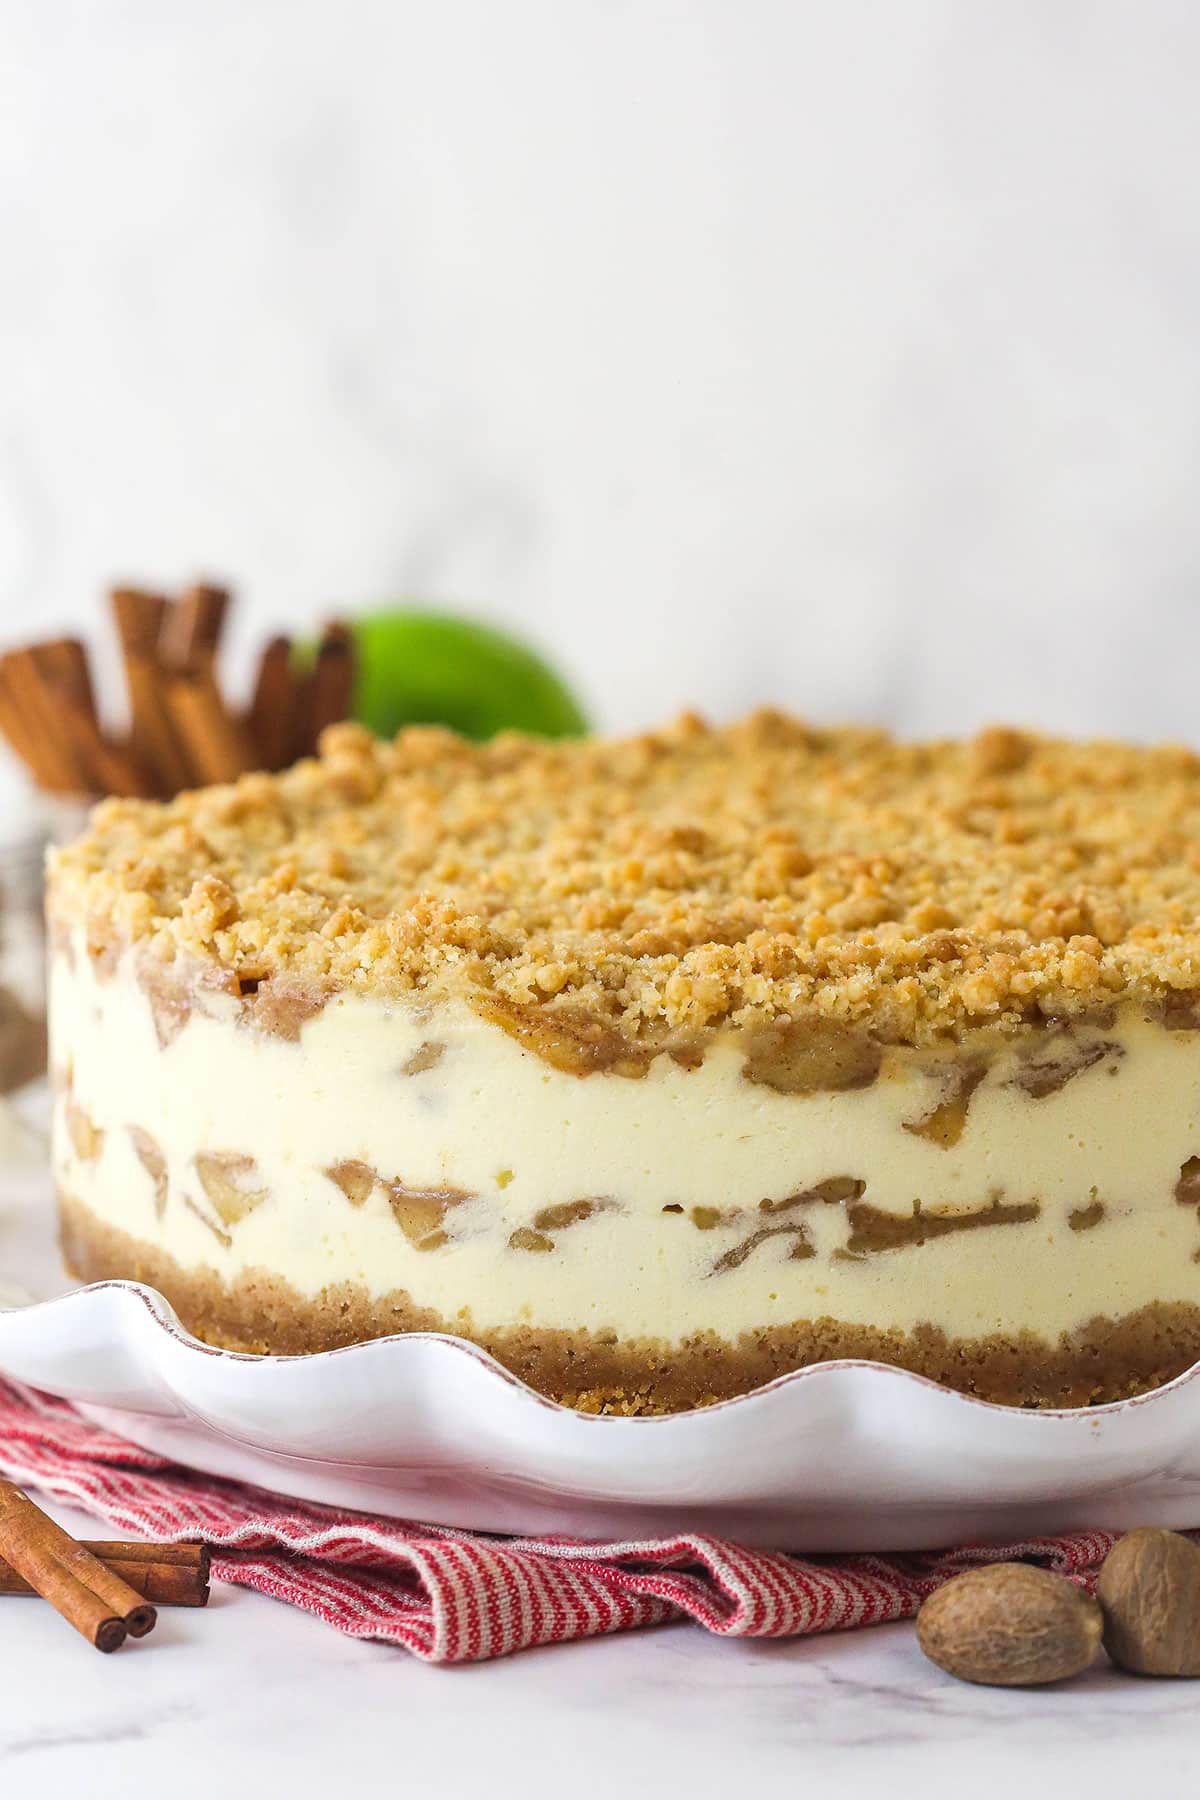
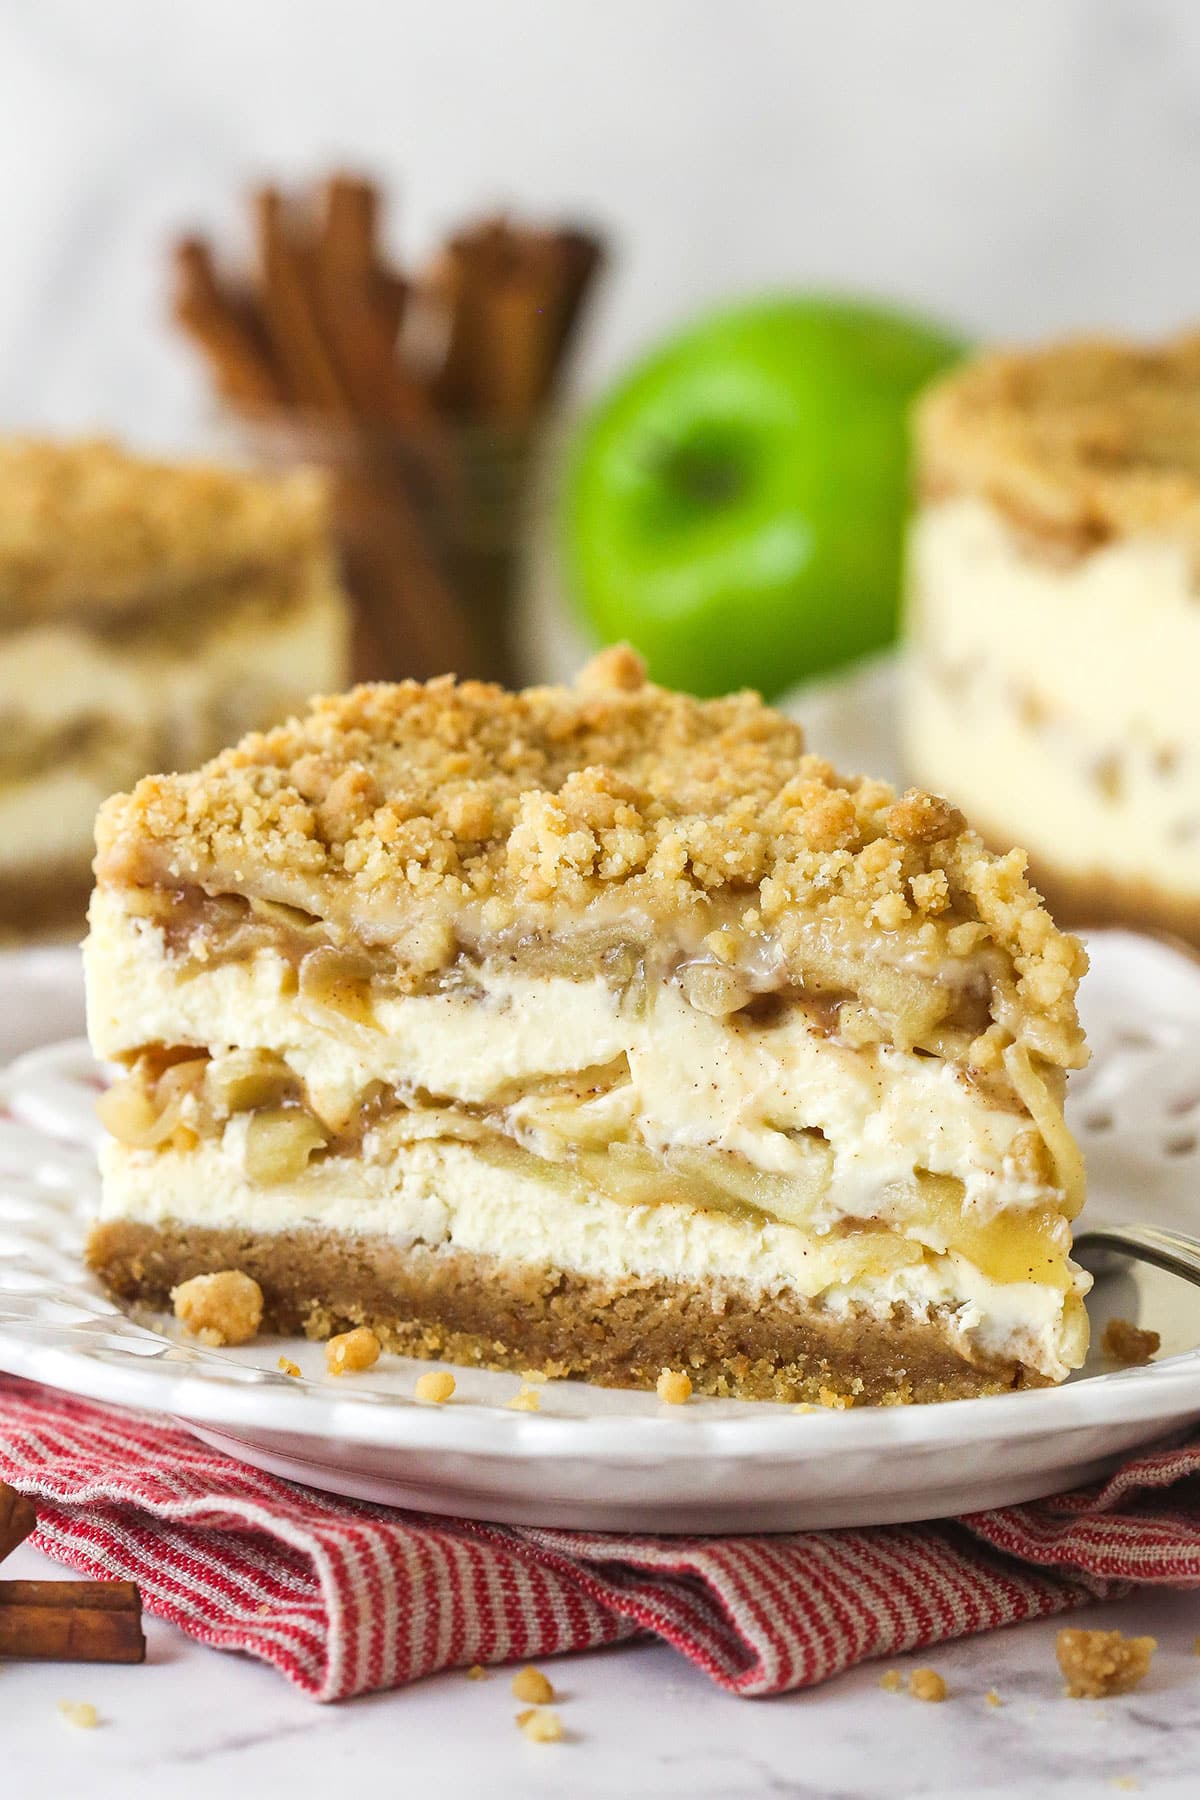
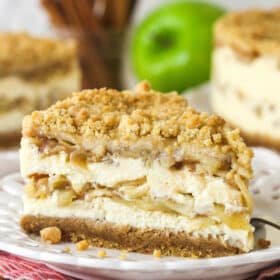
This apple pie cheesecake is a labor of love, but it’s so worth it. Layers of creamy vanilla cheesecake are alternated with apple pie filling and finished with a crumb topping, all in a simple graham cracker crust. Every bite is the perfect combination of cheesecake and apple pie. A standout dessert for Fall!
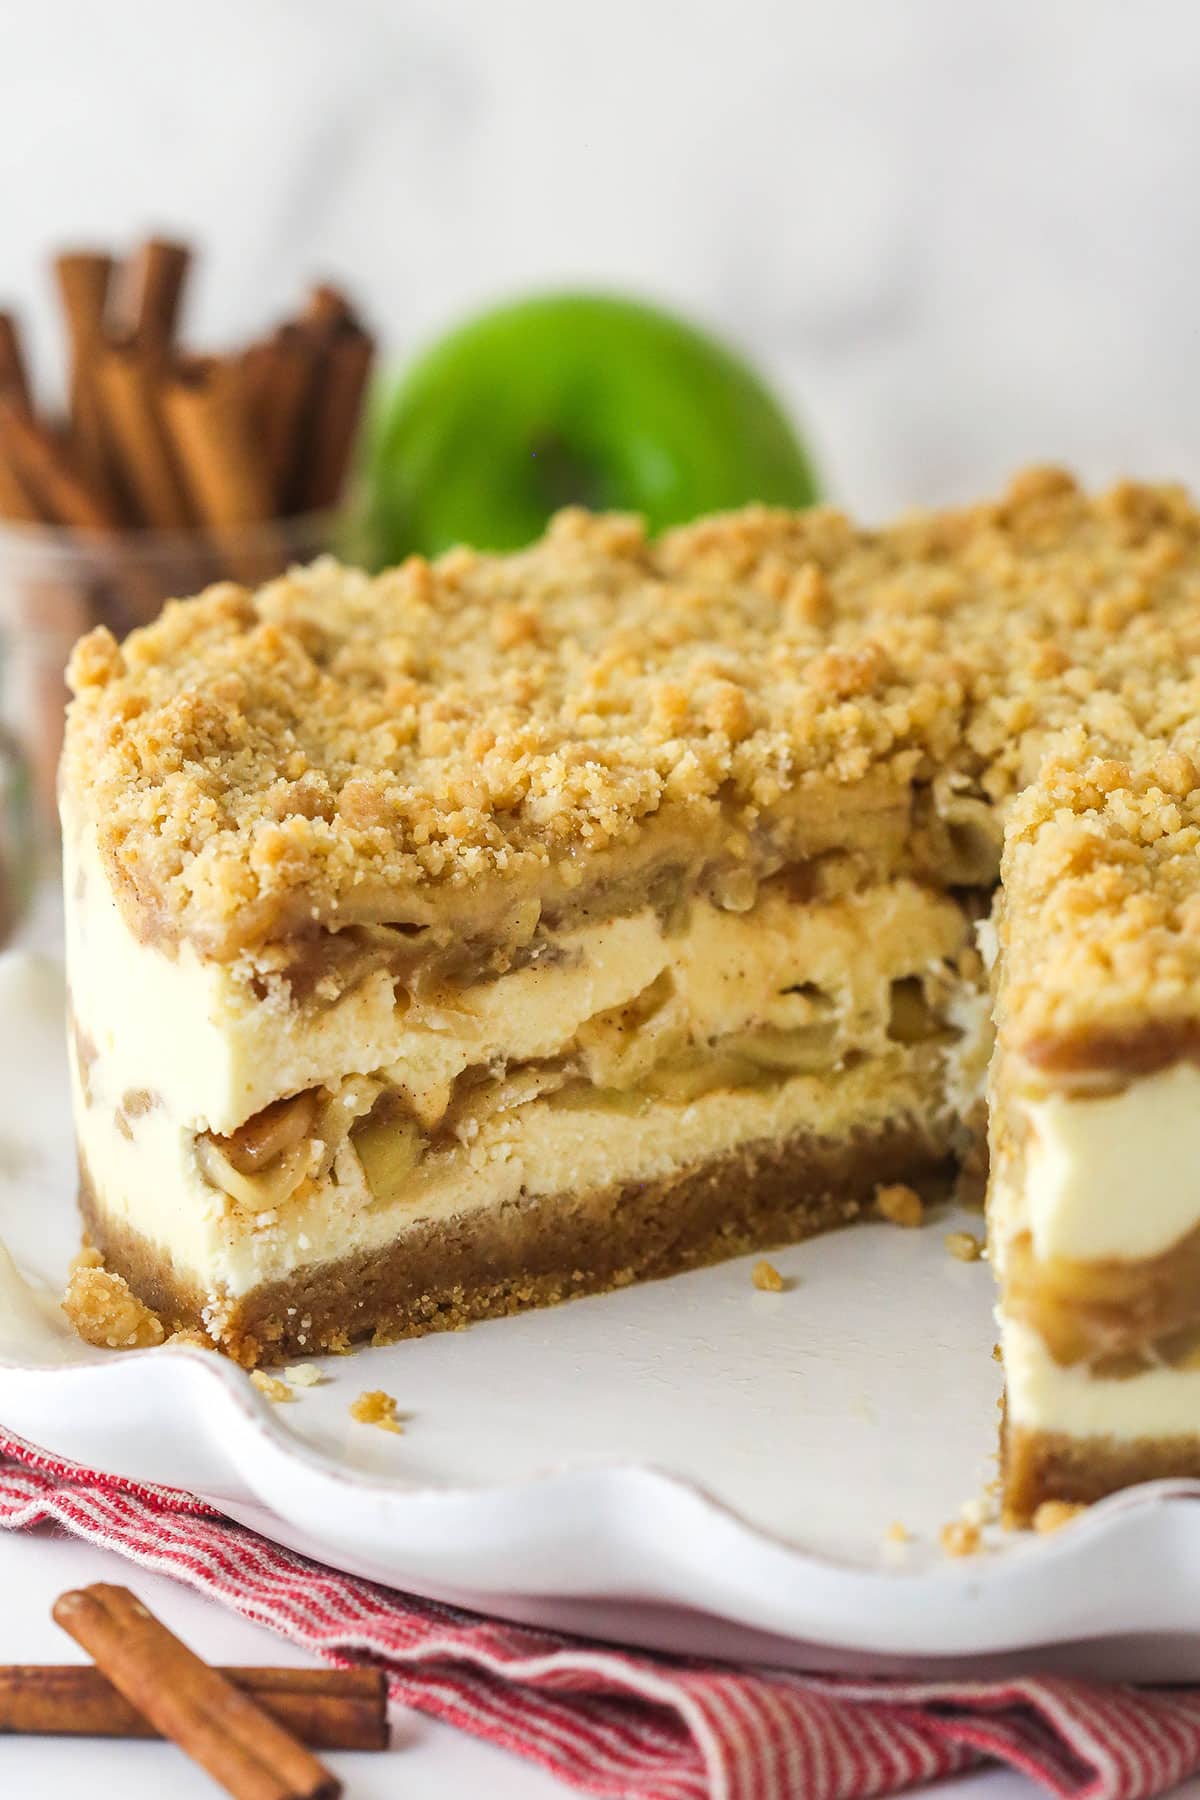
After sharing my Pumpkin Pie Cheesecake and Pecan Pie Cheesecake a couple years ago, I decided it was time for an apple version. When I thing of Thanksgiving pies, those are the main three that come to mind, so it was time to round out the cheesecake lineup. This apple pie cheesecake is a beautiful marriage of apple pie and cheesecake. It’s not just a cheesecake with apples in it. It’s literally the filling from my apple pie (adjusted for amounts) layered with my vanilla cheesecake filling. Perfect for those who can’t choose between the two – or want to change up their favorite pie recipe and make it even better!
Several tasters declared it to be their favorite thing I’ve ever made, which is a huge compliment and says a lot about just how good this cheesecake is! It’s truly such a treat. The combination of apple pie and cheesecake marries together so perfectly. I did quite a bit of testing to get it just right!

Why You’ll Love This Cheesecake
- Two desserts in one. Now you don’t have to decide between cheesecake and pie – you get both in one dessert! Something to love for everyone!
- Flavor combination. While the creamy cheesecake and apple pie layers remain separate, the flavors marry together in each bite in the perfect way. The subtle sweetness and warm spices in the apple pie filling with the creamy, delicious cheesecake layer are nothing short of spectacular.
- Amazing textures. There’s smooth, creamy cheesecake layered with tender spiced apples, topped with a lightly sweet, crunchy crumble and all on top of a graham cracker crust. How could you turn this down?
- Make ahead. When it comes to the holidays, prepping ahead is the name of the game. Cheesecake is an excellent dessert to make ahead because it holds up really well in the fridge. You could easily make this cheesecake a couple days before Thanksgiving. Winner!
Ingredient Notes
Almost everything used in this pie is a baking staple likely already in the kitchen. There are a few things to keep in mind though. Be sure to check out the recipe card below for the exact measurements.
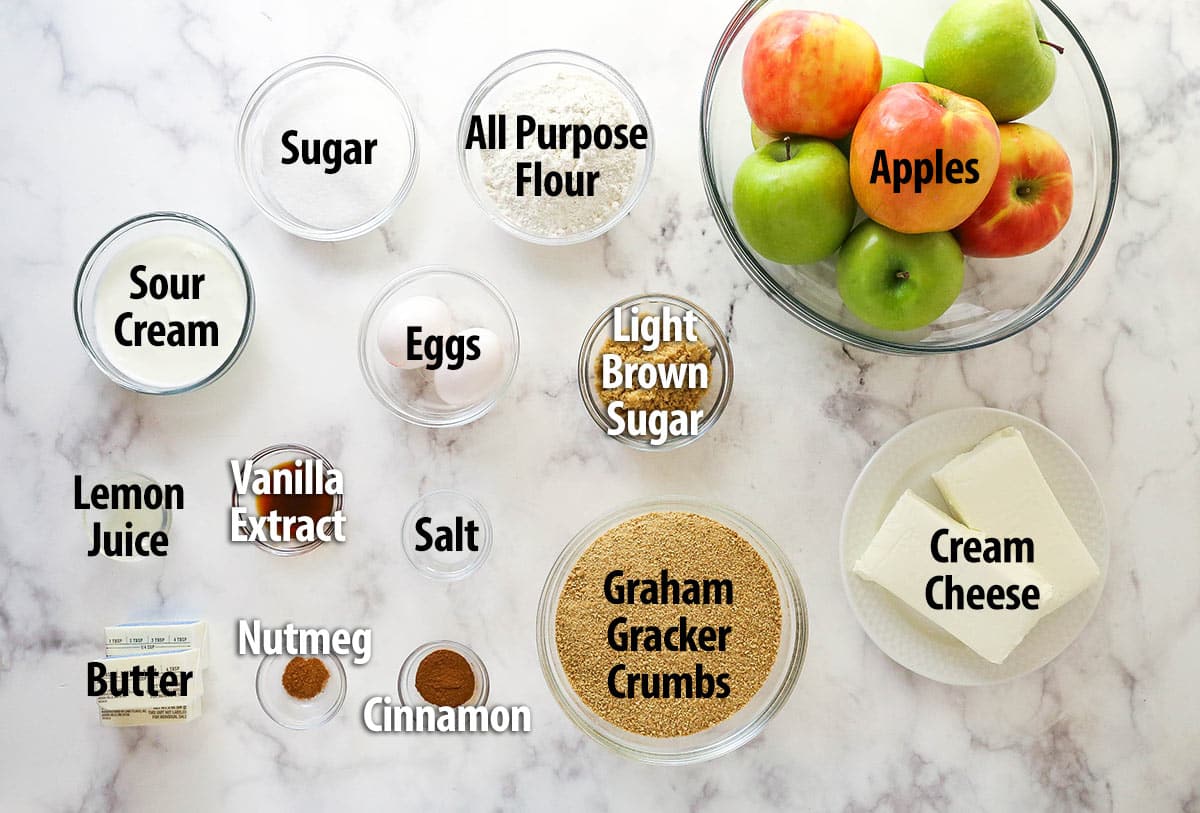
- Apples – I used both Granny Smith and Honeycrisp apples for a combination of sweet and tart apple flavor. I highly recommend using a combination of tart and sweet apples for the best flavor.
- Lemon juice – Fresh lemon juice is ideal. It brightens the overall apple flavor.
- Salt – Brings out the flavors already present in the pie filling. Without it, it’d be bland, so don’t leave it out.
- Graham cracker crumbs – While you can buy graham cracker crumbs at the store, I prefer to crush my own sheets of crackers into crumbs. They taste better and hold the butter better while baking.
- Cream cheese – Full-fat, brick-style cream cheese is best. Reduced fat, tub-style cream cheese options will be softer and won’t work well here.
- All-purpose flour – In the cheesecake, it helps result a creamier texture. You can also use cornstarch (in the cheesecake filling), but in half the amount.
- Sour cream – Adds that classic cheesecake tang and smooth texture. You could also use plain Greek yogurt.
- Eggs – Use large eggs, not medium or extra large.
How To Make Apple Pie Cheesecake
There are multiple elements to making this cheesecake but the end result is so worth every bit of time and effort! The printable instructions can be found in the recipe card below.
Make the apple pie filling
Peel, core, and slice the apples to 1/8 inch thick and cut each slice into thirds. You should have about 10-11 cups of apples. Toss the apples in the lemon juice as you slice them.
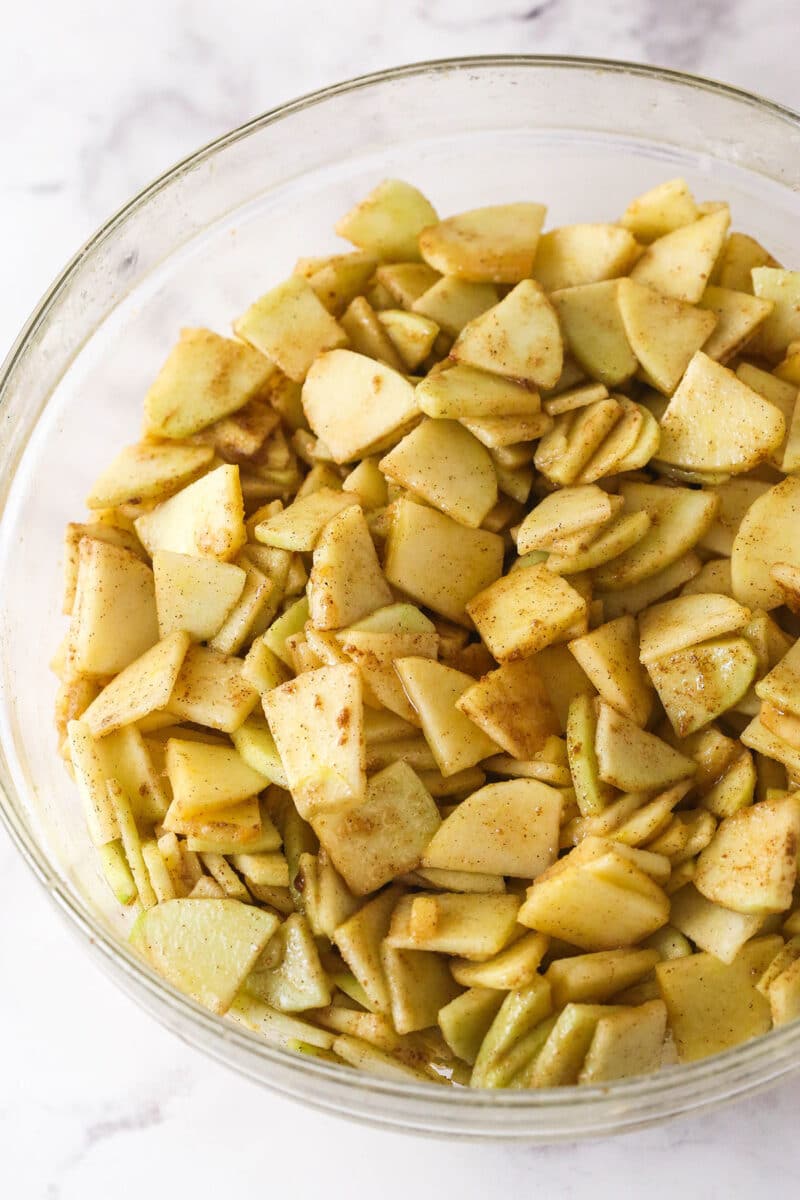
Toss apples with the sugars, flour, salt, and spices.
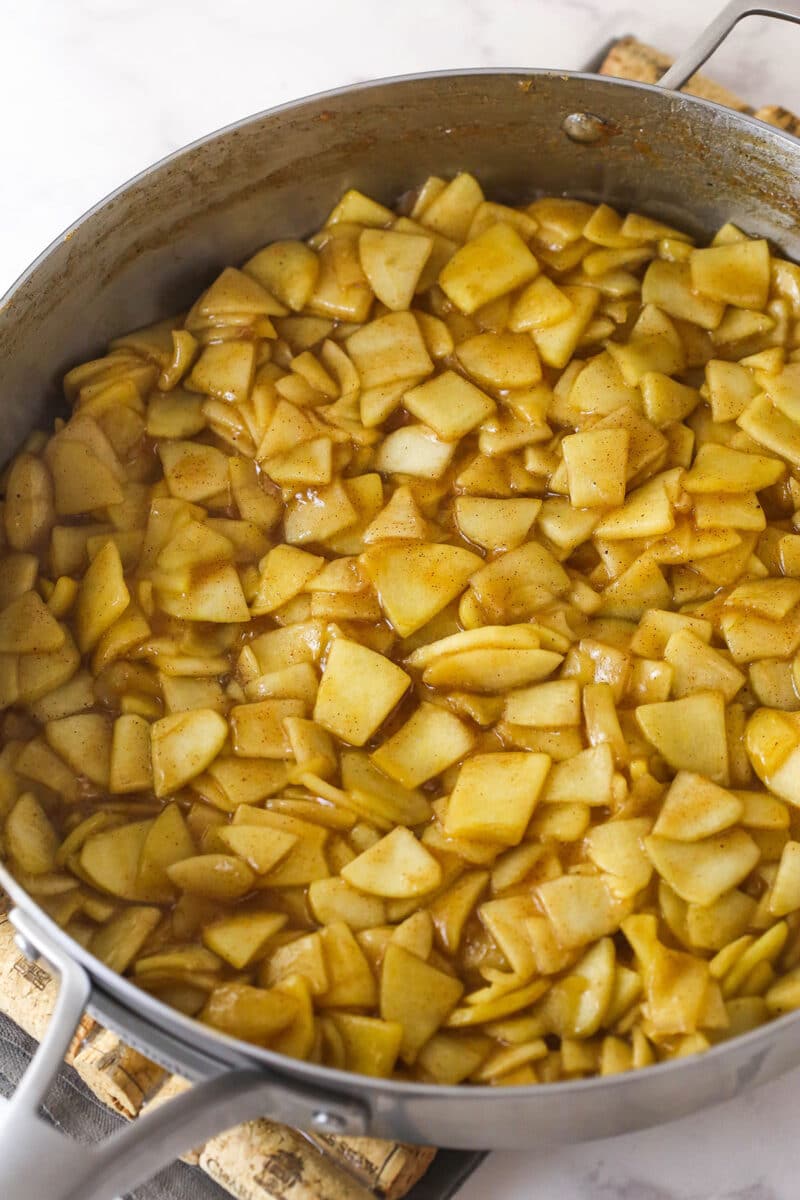
Cook the apples for about 20 minutes, until fork-tender. Remove from heat and add the vanilla.
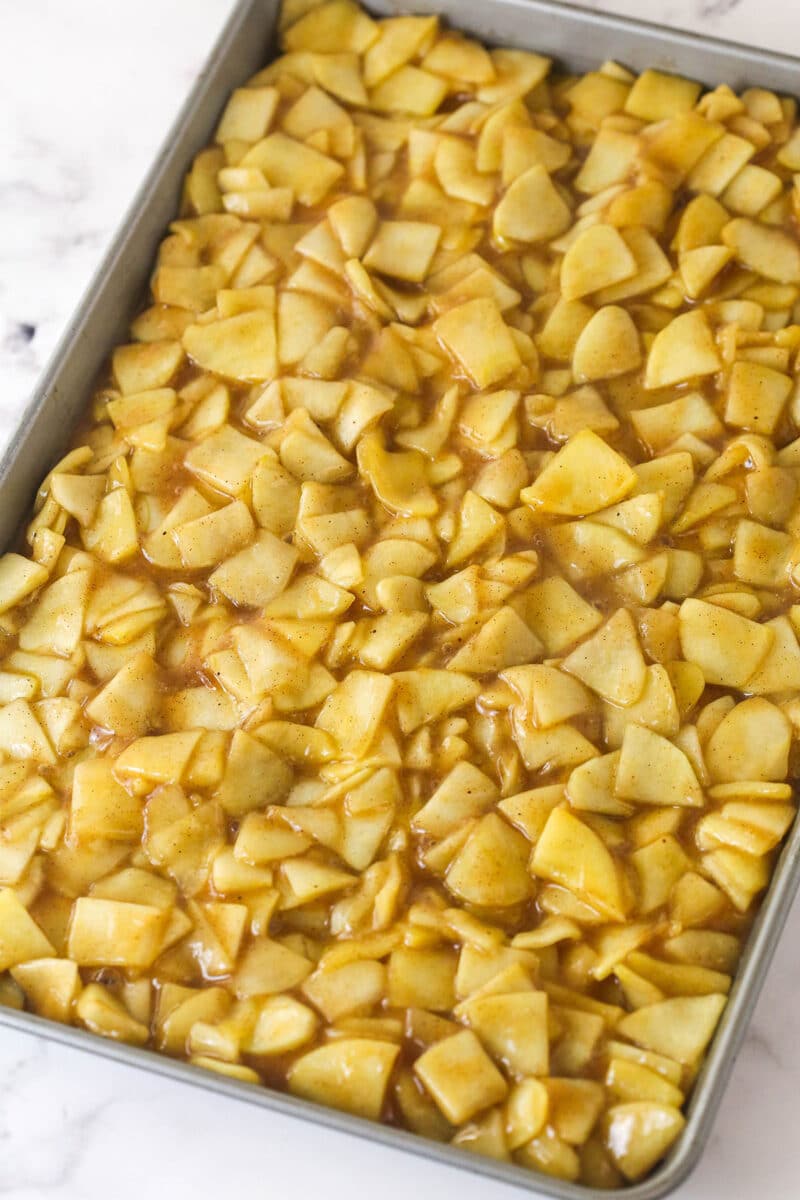
Spread the apples onto a sheet pan to cool completely.
Make the crust
While the apples are cooling, make the crust. Preheat the oven to 325°F, line the springform pan with parchment paper and grease the sides.
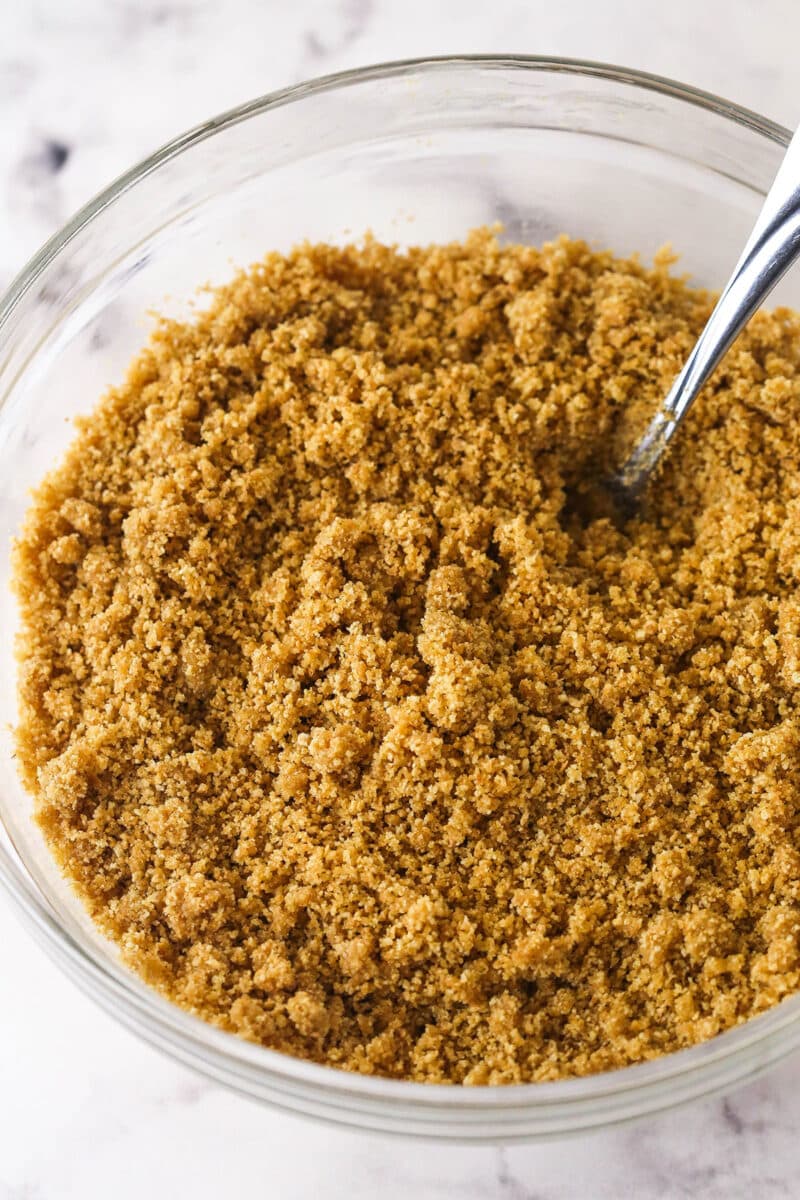
Combine the crust ingredients in a bowl.
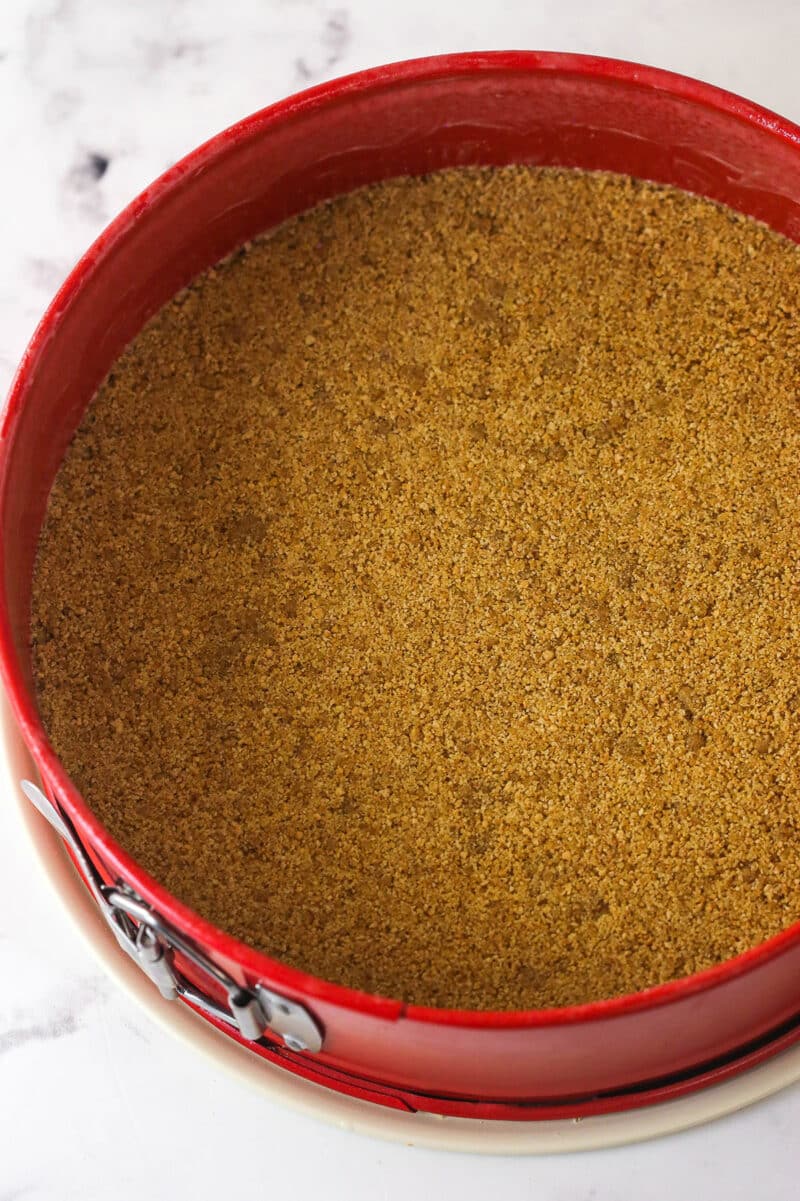
Press the mixture into the bottom of the pan. Bake for 8-10 minutes. Set aside to cool.
Once cool, cover the outsides of the pan with aluminum foil so that water from the water bath cannot get in (or see how I prepare my pan for a water bath). Set prepared pan aside.
Make the cheesecake filling and layer
Increase oven temperature to 350°F.
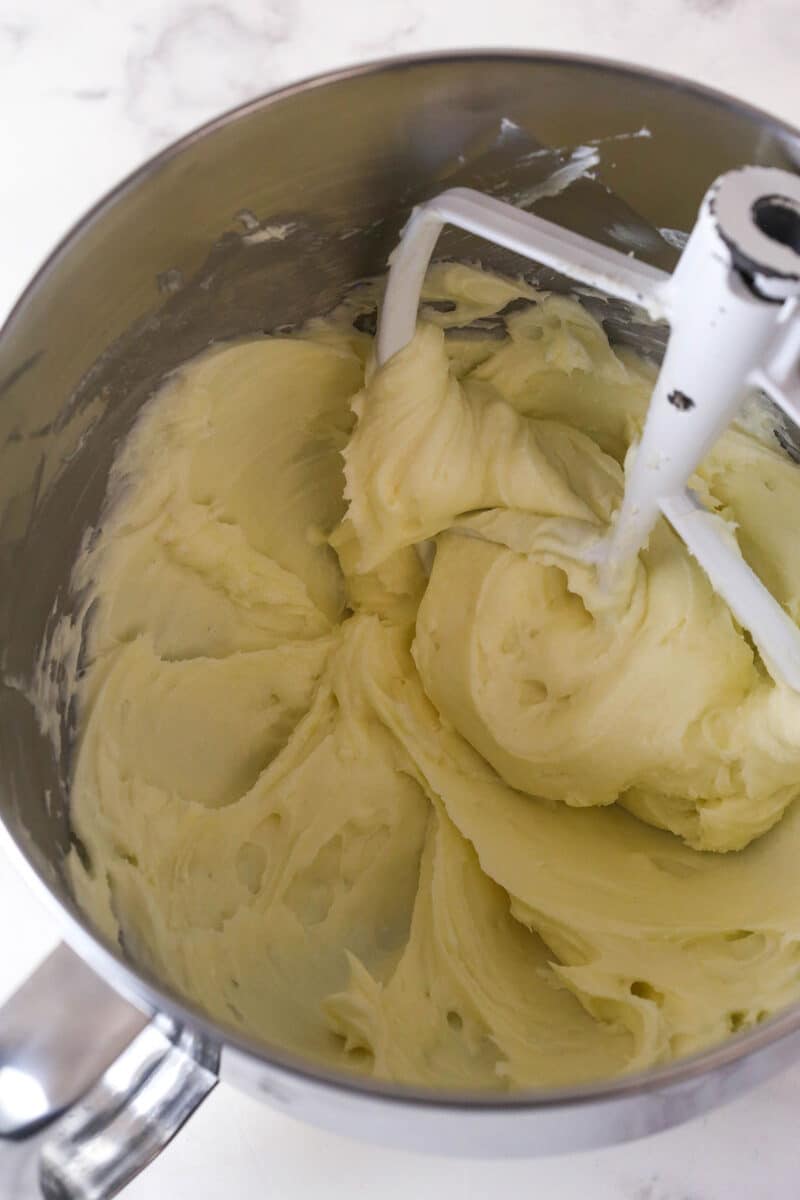
Beat the cream cheese, sugar, and flour on low speed until smooth.
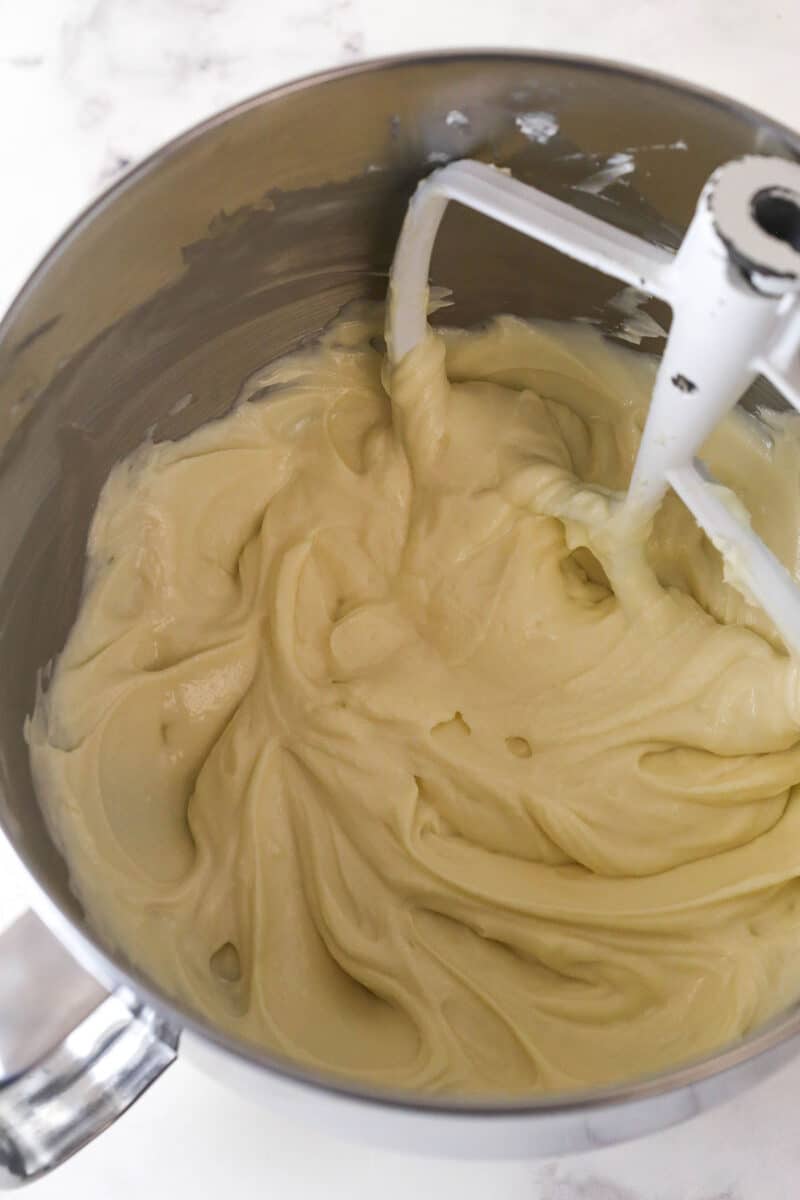
Mix in the sour cream and vanilla.
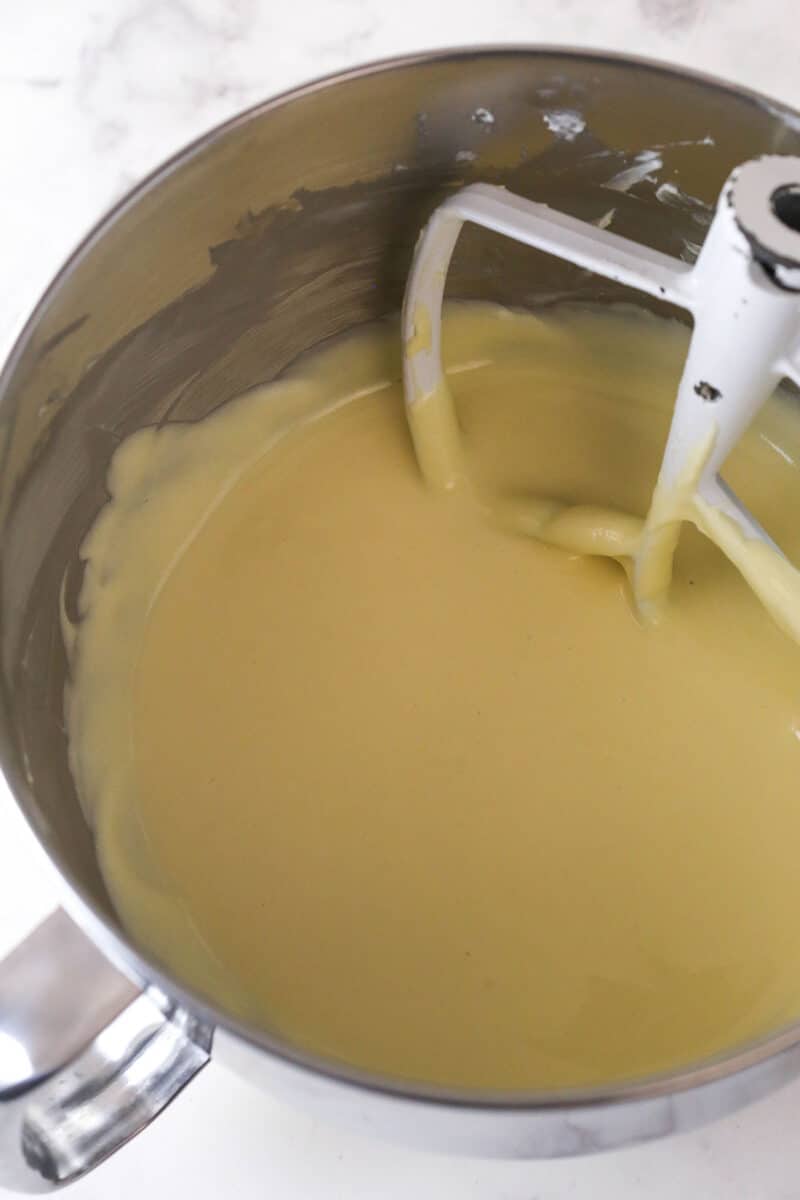
Add the eggs one at a time. Scrape down the sides of the bowl.
Add the eggs one at a time. Scrape down the sides of the bowl.
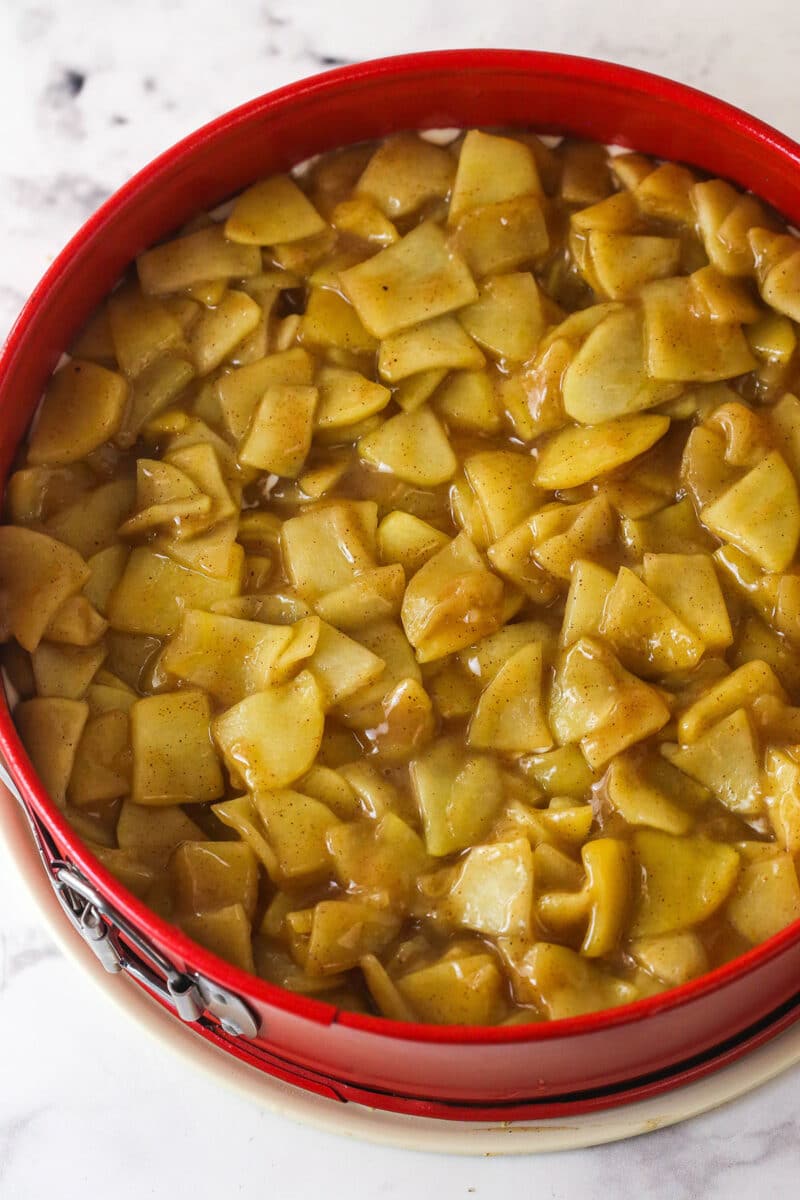
Spread half of the cheesecake batter on the crust, then top with half of the apple pie filling. Repeat the two layers, finishing with apples on top.
Add crumb topping and bake
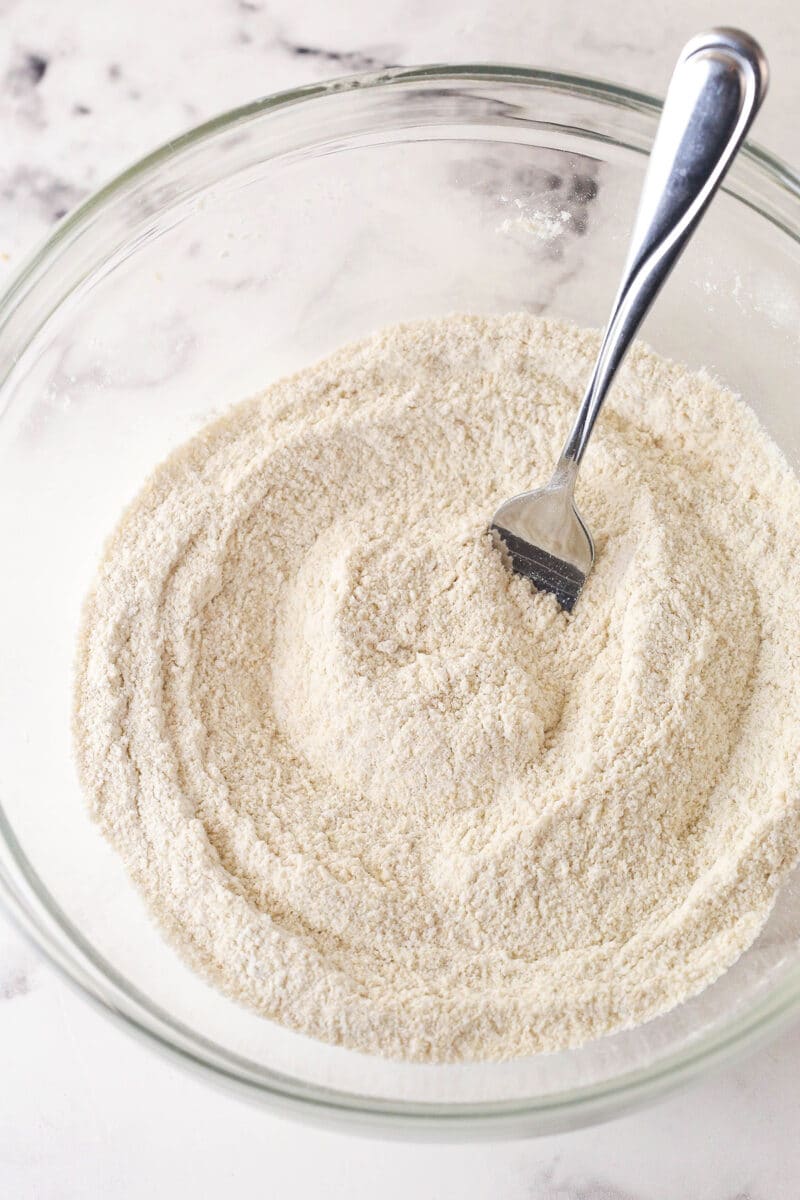
Combine the flour, sugars, and salt.
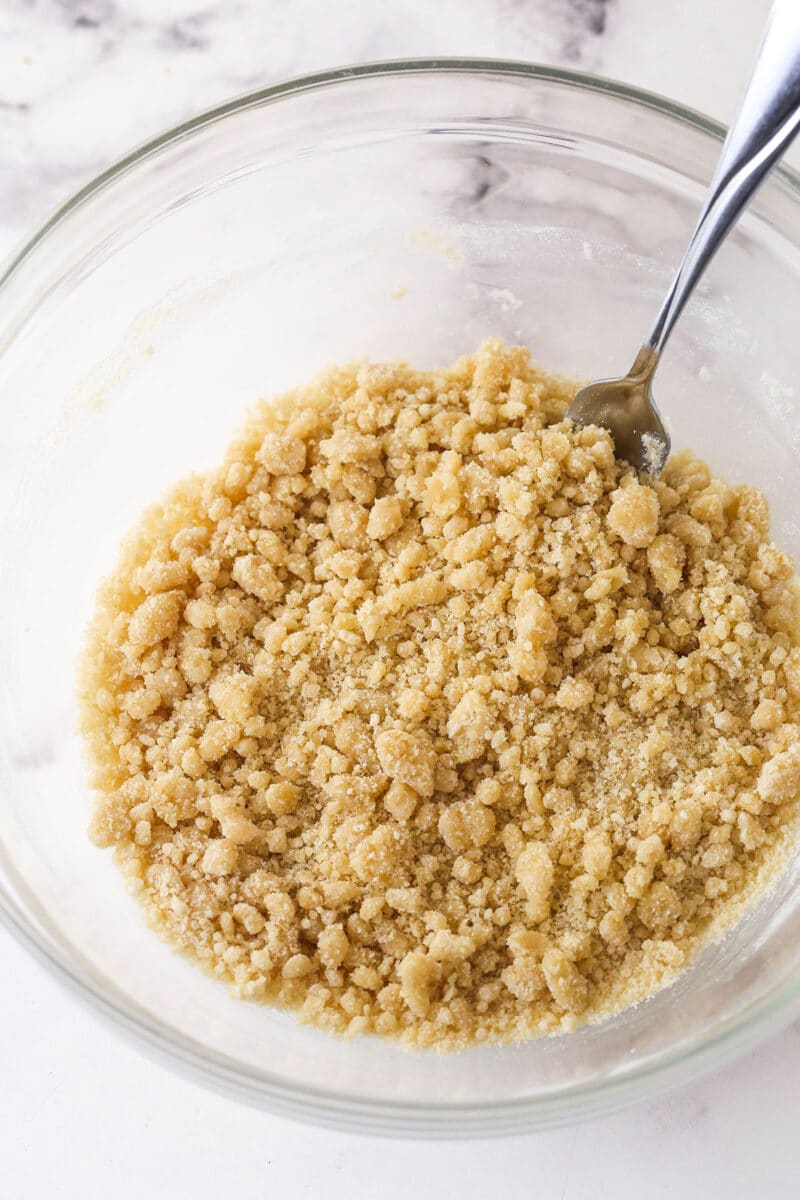
Stir in the butter and vanilla with a fork until there are larger and smaller chunks.
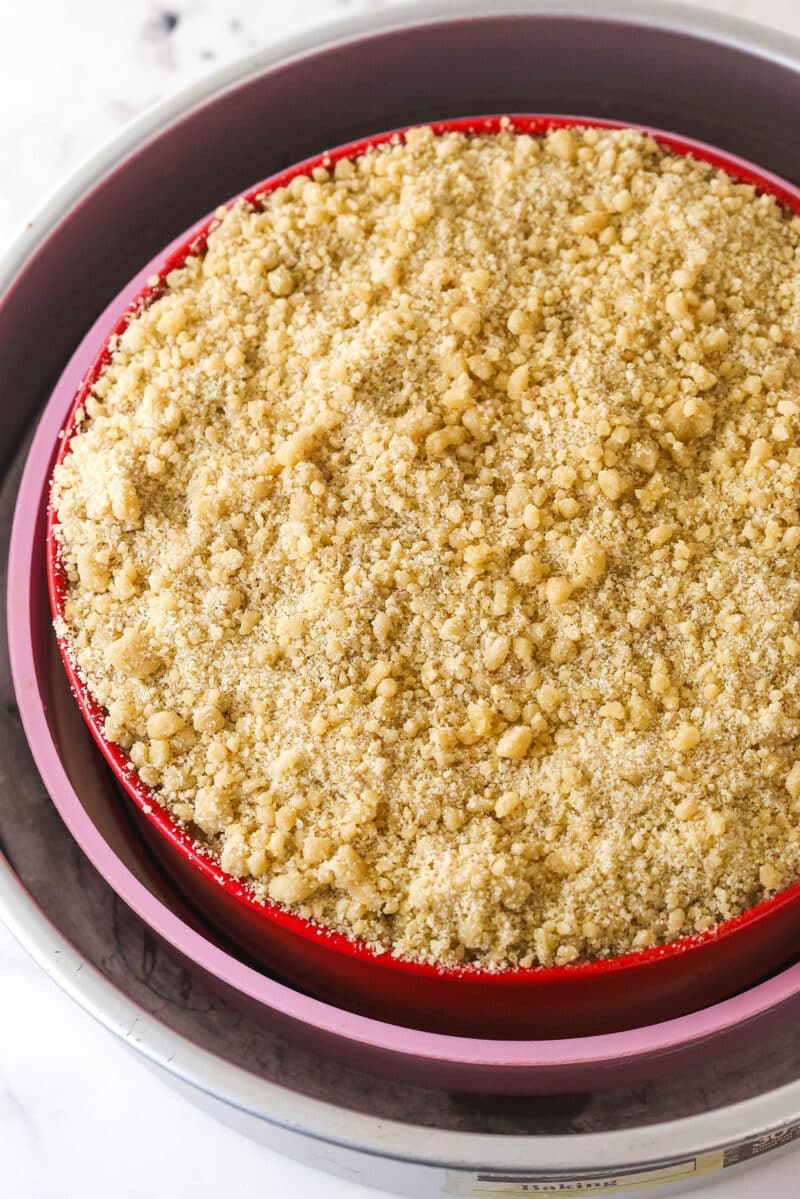
Spread the topping on the apples. Place the pan in a larger pan and add warm water to create a water bath.
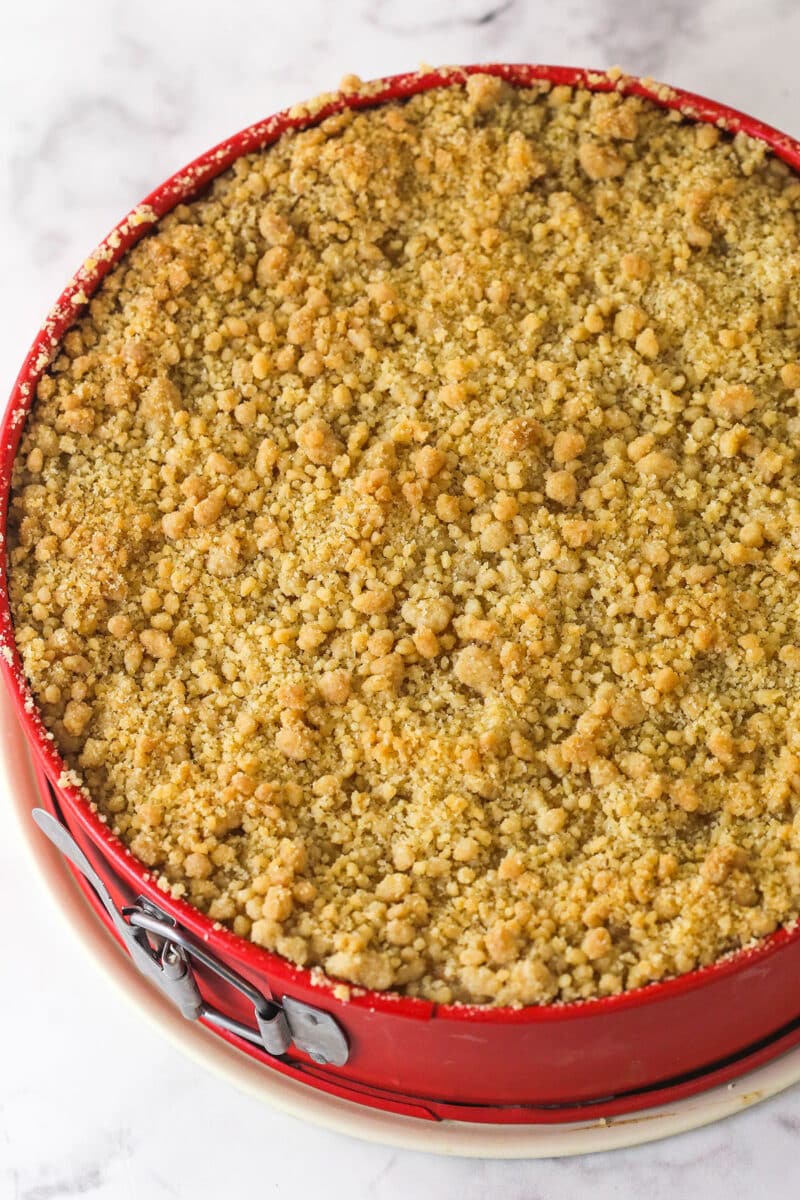
Bake for 30 minutes at 350°F then reduce the heat to 325°F. Continue baking for 60-70 minutes.
Once the cheesecake is fully cooked, turn off the oven and leave the door closed for 30 minutes. Then crack the door and let the cheesecake cool for another 30 minutes. Remove the cheesecake from the water bath, let cool to room temperature for an hour or so, and then refrigerate for at least 4-5 hours.
Remove the cheesecake from the springform pan and place on a serving dish. Keep refrigerated until it’s time to enjoy.
Tips for the Best Cheesecake
- Slice the apples evenly. To ensure even cooking, you want to make sure that the apple slices are sliced to an even thickness. Then, be sure to cut them into thirds. This makes it easier to slice and eat your cheesecake!
- Cook the apples fully. Keep in mind that whatever texture the apples are when you take them off the stovetop is the texture they’ll be when the cheesecake comes out of the oven. They won’t continue to cook in the oven. I recommend fork-tender, but not super soft.
- Use a water bath. It ensures even cooking and a cheesecake that maintains enough moisture to avoid major cracks. See my post How To Bake Cheesecake in a Water Bath for my best tips. It’s not as hard as you think!
- Bake at both temperatures. Since this cheesecake is pretty thick with multiple layers, it takes longer than many other cheesecakes to bake. Starting at the higher 350°F temperature and then reducing it (without opening the oven door!) keeps the bake time reasonable, while ensuring it’s fully baked.
- No jiggle! I typically tell you that a cheesecake should jiggle in the center when you turn the oven off. That’s not the case with this apple pie cheesecake. You really want the entire thing to be fully set with no jiggle in the center before starting the cooling process.
- Cool slowly. Like with any cheesecake, you want to allow this one to cool slowly. First, leave it in the oven with the door closed for 30 minutes, then crack the oven door and leave it in there for another 30 minutes. After that, remove the water bath and let it come to room temperature for an hour or so, before refrigerating it until fully set. This process helps ensure it is fully cooked and prevents cracks.
Proper Storage
I’ve written an entire post on How to Store Cheesecake but here’s the general gist for this recipe.
- Fridge: Store apple pie cheesecake in the fridge for 4-5 days. I like to store my cheesecakes in a cake carrier but any airtight container works. If you don’t have one that fits cheesecake, you can tightly wrap it in plastic wrap instead.
- Freezer: Once the cheesecake has fully set in the fridge, flash freeze for 1-2 hours. Then, wrap it tightly in plastic wrap and then in a layer of foil. You can also wrap individual slices in plastic and place them in a Ziploc bag. Freeze for up to 3 months and remove the wrapping before thawing in the fridge. Keep in mind that the apples may be a little softer after being frozen.
More Apple Desserts To Try
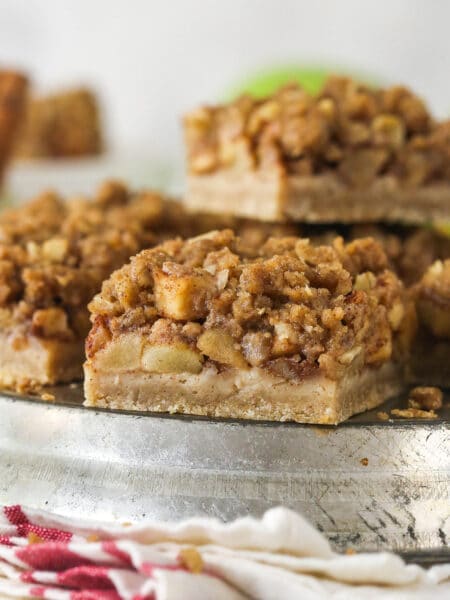
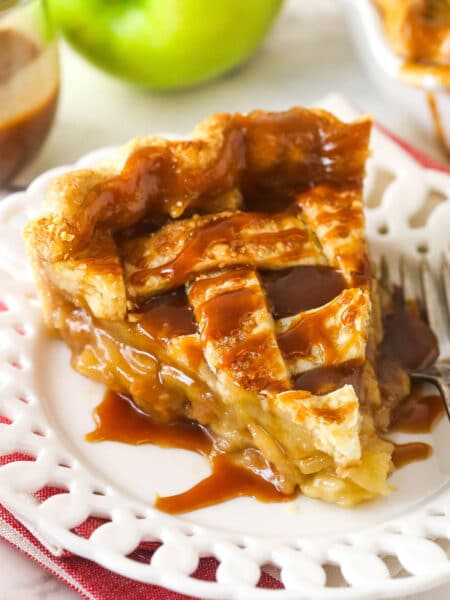
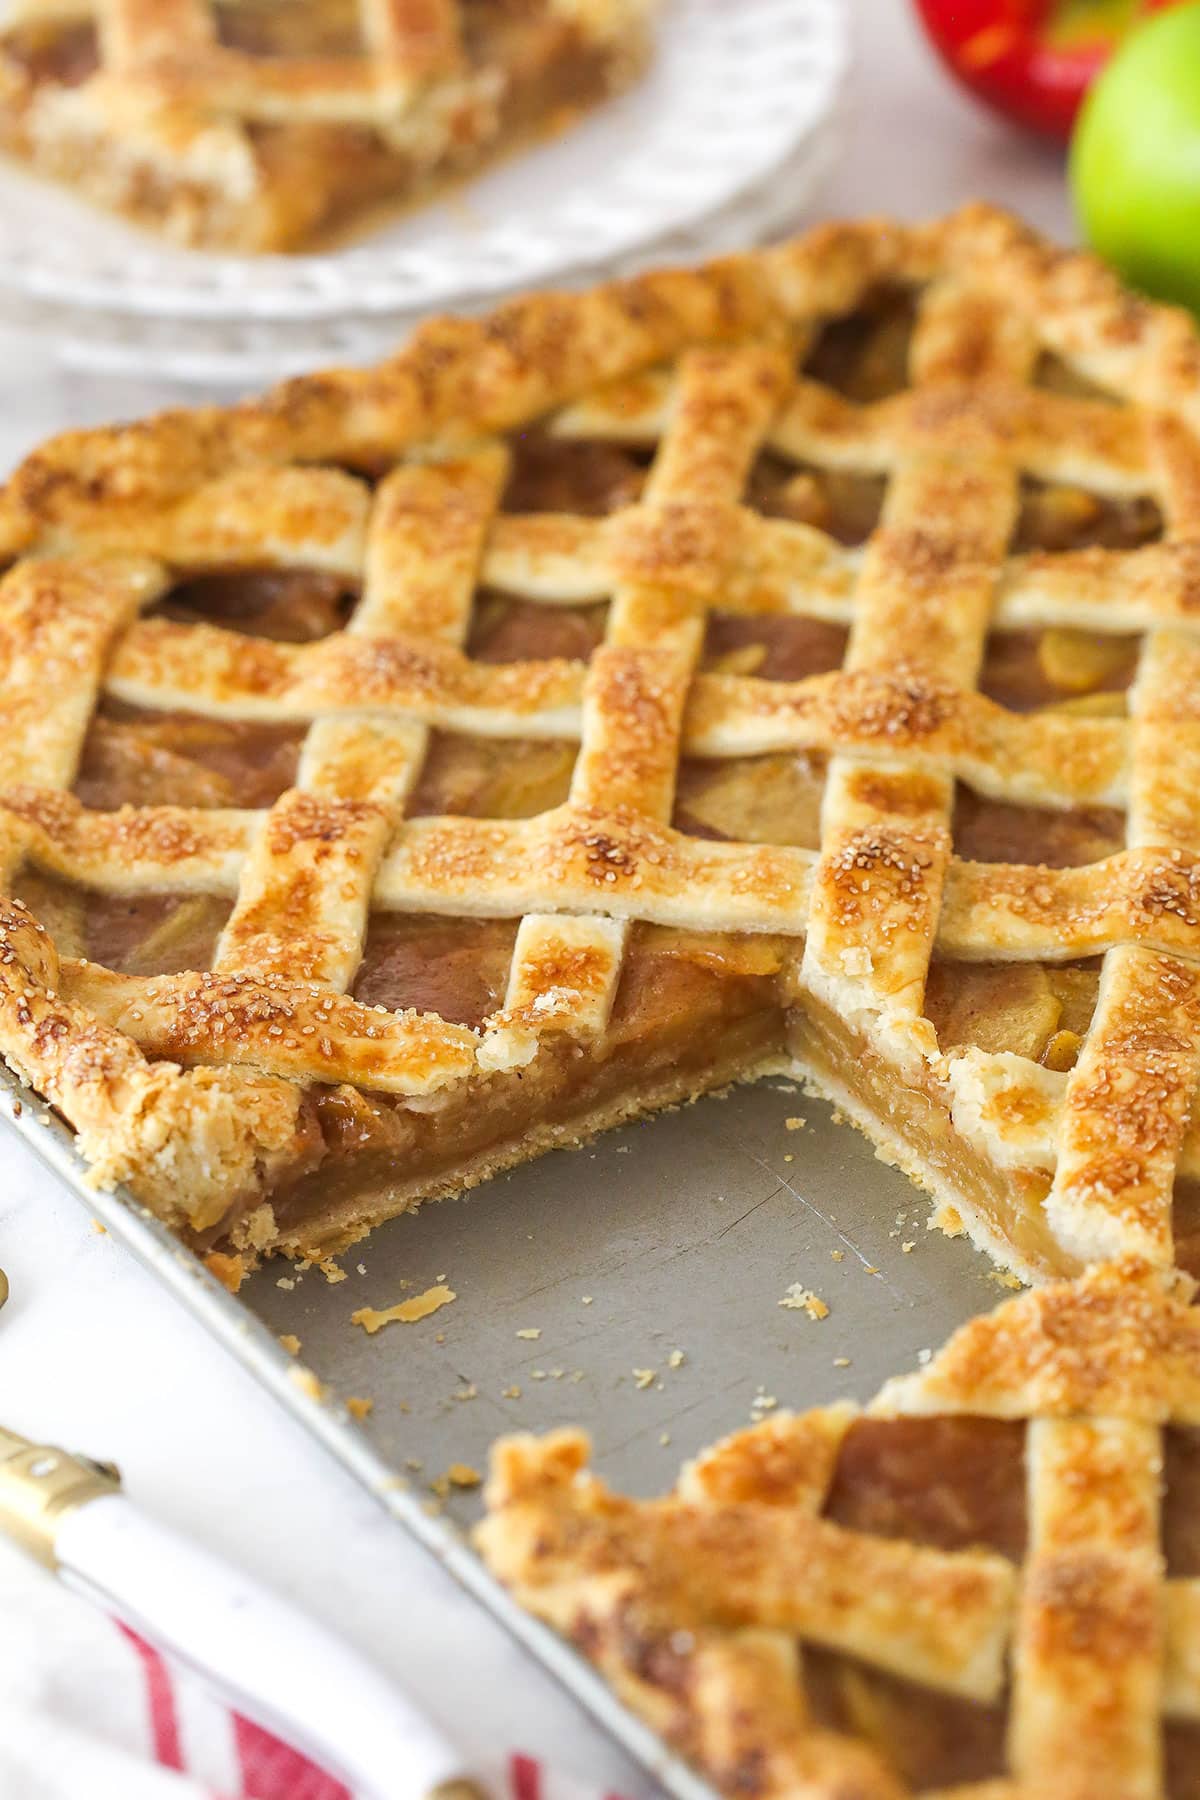
Apple Pie Cheesecake
save this recipe
Enter your email & we’ll send it to your inbox. Plus get new recipes from us every week!
Ingredients
Apple Pie Filling
- 2 pounds Granny Smith apples (before peeling and coring)
- 1 ½ pounds Honeycrisp apples (before peeling and coring)
- 2 teaspoons lemon juice
- 6 tablespoons (84g) light brown sugar (packed )
- 6 tablespoons (78g) granulated sugar
- ¼ cup (33g) all-purpose flour
- ½ teaspoon salt
- 1 ¼ teaspoons ground cinnamon
- ¼ teaspoon ground nutmeg
- 1 teaspoon vanilla extract
Crust
- 2 ¼ cups (302g) graham cracker crumbs
- 3 tablespoons (42g) light brown sugar (packed)
- ½ cup (112g) unsalted butter (melted)
Cheesecake
- 16 ounces (452g) cream cheese (room temperature)
- ⅔ cup (138g) sugar
- 2 tablespoons (16g) all-purpose flour
- ½ cup (115g) sour cream (room temperature)
- 1 tablespoon vanilla extract
- 2 large eggs (room temperature)
Crumb Topping
- ¾ cup plus 2 tablespoons (114g) all-purpose flour (measured correctly)
- 5 tablespoons (70g) light brown sugar (packed)
- ¼ cup (52g) sugar
- ⅛ teaspoon salt
- ¼ cup (56g) unsalted butter (melted)
- ¾ teaspoon vanilla extract
Instructions
Make the apple pie filling
- Peel, core, and slice all of the apples to about 1/8 inch thick. You want to try to slice them all about the same thickness so they cook evenly. Cut each slice in thirds. You should end up with 10-11 cups (about 1,165 grams) of sliced apples. Add the lemon juice to a very large bowl and toss the apples in the juice as you slice them, leaving the apple slices in the bowl for later.
- Add the sugars, flour, salt, cinnamon, and nutmeg to the apple slices and gently toss to coat them all with the mixture. Be careful not to break the apples as you toss them. Pour the apple mixture into a large 5-quart skillet (I use this skillet but this one would work well too.)
- Cook the apples (covered with a lid) over medium heat for about 20 minutes. Stir occasionally so that they cook evenly. You want the apples to be fork-tender but still hold their shape. The apples won’t soften more in the oven, so how they are when you stop cooking them is how they’ll be in the cheesecake. Cook them to how you like them.
- Remove the pan from the heat and gently stir in the vanilla extract.
- Spread the apple filling evenly onto a sheet pan or any pan with a lip around the edge and refrigerate it until completely cool. Depending on how cold your fridge is, it’ll take a couple of hours or so to cool fully. You could also pop it in the freezer to cool more quickly, but you won’t want it to be frozen when you go to use it later.
Make the crust
- Preheat oven to 325°F (163°C). Line a 9-inch (23cm) springform pan with parchment paper in the bottom and grease the sides.
- Combine the crust ingredients in a small bowl. Press the mixture into the bottom of the springform pan.
- Bake the crust for 8-10 minutes, then set aside to cool.
- Cover the outsides of the pan with aluminum foil so that water from the water bath cannot get in (or see how I prepare my pan for a water bath). Set prepared pan aside.
Make the cheesecake filling and layer
- Increase oven temperature to 350°F.
- In a large bowl, beat the cream cheese, sugar and flour on low speed until well combined and smooth. Be sure to use low speed to reduce the amount of air added to the batter, which can cause cracks. Scrape down the sides of the bowl.
- Add the sour cream and vanilla extract and mix on low speed until well combined.
- Add the eggs one at a time, mixing slowly to combine after each addition. Scrape down the sides of the bowl as needed to make sure everything is well combined.
- Add half of the cheesecake batter to the crust. Spread half of the cooled apple pie filling evenly over the top of the cheesecake filling. I use a spoon to drop small amounts of apples around the top of the cheesecake filling, to create a full, even layer.
- Add the other half of the cheesecake batter on top of the apple filling, carefully spooning/spreading it over the filling, instead of pouring it and causing everything to shift/move around. Spread the other half of the cooled apple pie filling evenly over the top of the cheesecake filling. Set cheesecake aside.
Add crumb topping and bake
- To make the crumb topping, combine the flour, sugars and salt in a medium size bowl.
- Add the melted butter and vanilla extract and stir with a fork until evenly dispersed. The mixture should have some larger and smaller chunks.
- Sprinkle the streusel evenly over the apple pie filling. It will be a good bit of topping.
- Place the springform pan inside another larger pan. Fill the outside pan with enough warm water to go about halfway up the sides of the springform pan. The water should not go above the top edge of the aluminum foil on the springform pan.
- Bake at 350°F for 30 minutes, then reduce the oven to 325°F and continue baking for 60-70 more minutes. This cheesecake takes a good while to bake, so to speed it up a bit, it starts cooking at a higher temperature, then the temperature gets reduced. Normally when checking for doneness, you want to see a little jiggle in the center, but if this one still jiggles, it’s probably underdone. It should be set throughout.
- Turn off the oven and leave the door closed for 30 minutes. The cheesecake will continue to cook, but slowly begin to cool as well.
- Crack the door of the oven for 30 minutes to allow the cheesecake to continue to cool slowly. This process helps prevent cracking.
- Remove the cheesecake from the oven and water bath wrapping and set at room temperature for an hour or so, until closer to room temperature. Refrigerate until firm, 4-5 hours or overnight.
- Remove the cheesecake from the springform pan and place on a serving dish. Refrigerate cheesecake until ready to serve. Feel free to serve with whipped cream or caramel sauce. Best if eaten within 4-5 days.
Notes
- Apples – I used Granny Smith and Honeycrisp apples for a combination of sweet and tart apple flavor. I highly recommend using a combination of tart and sweet apples for the best flavor.
- Graham cracker crumbs – You can buy graham cracker crumbs at the store, but crushing your own sheets of crackers into crumbs tastes better and holds the butter better while baking.
- Cream cheese – Full-fat, brick-style cream cheese is best. Reduced fat, tub-style cream cheese options will be softer and won’t firm up as well.
- All-purpose flour – For a gluten free alternative (only in the cheesecake filling), you can also use cornstarch in half the amount.
- Sour cream – If you don’t have sour cream available, you could also use plain Greek yogurt.
Nutrition
The nutrition facts provided are calculated using a third-party tool and are estimates only. Actual nutritional content may vary based on the ingredients and brands you use, as well as portion sizes. For accurate results, please consult a registered dietitian or nutritionist.