This post may contain affiliate sales links. Please read my disclosure policy.
This No Bake Strawberry Milkshake Cheesecake is light, easy to make and full of strawberry milkshake flavor. Made with real Strawberry Nesquik and a chocolate Oreo crust, it’s the perfect dessert for strawberry milkshake lovers!

I originally got the idea for the flavor of this cheesecake from my husband, who loves strawberry milk. He doesn’t have the biggest sweet tooth, but he does love trying my desserts and this one seemed perfect for him. Needless to say, we both loved it! It was difficult to keep from eating it all in one sitting. Such amazing flavor.
Originally, this recipe didn’t use any gelatin and was a much softer no-bake cheesecake. Today, I’m updating it to be a little more firm and like a more traditional no-bake cheesecake. It still has all that amazing flavor, just with a thicker texture.
Easy Strawberry Milkshake Dessert
There are many reasons to try this cheesecake and fall in love. Here are a few of them.
- Nostalgic. While my husband still drinks strawberry Nesquick, it’s something I associate with childhood. The flavor is great too, so it makes a really fun dessert to try and brings back memories.
- Bold strawberry flavor. One of the reasons I love Strawberry Nesquik milk powder is because it has such bold strawberry flavor. Using the Nesquik powder helps create the perfect strawberry milkshake flavor, and I absolutely love it!
- Quick, easy, and no oven necessary. Traditional baked cheesecakes can be intimidating because of the long cooking process. No bake cheesecakes, like this one, are much easier to make and way less time consuming.
What You’ll Need
Here’s a look at the ingredients you’ll need and a kew things to keep in mind. Be sure to scroll to the recipe card below for exact measurements.
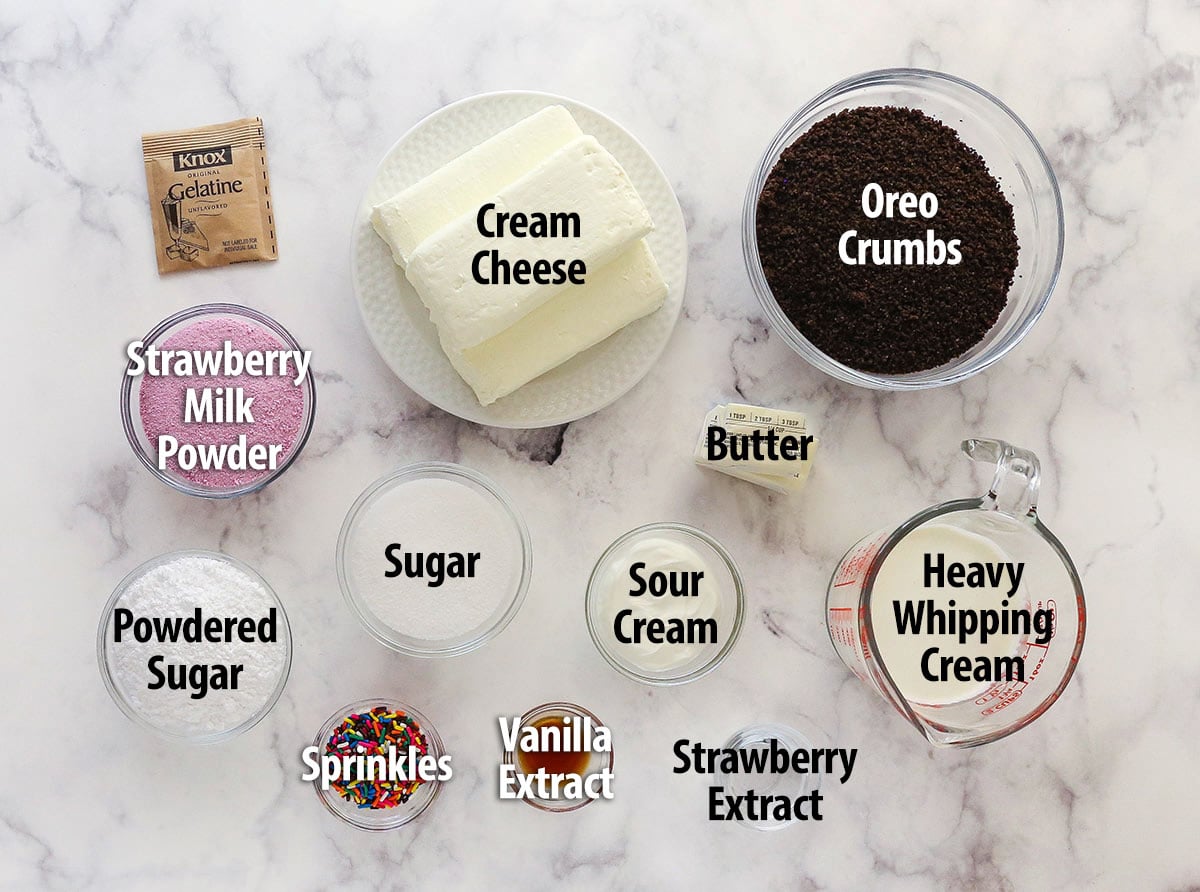
- Oreo Cookie crumbs – You’ll need about 24 standard Oreo Cookies to make enough cookie crumbs for the crust. You do not need to remove the Oreo filling.
- Colorful sprinkles – I highly recommend using jimmies. They’ll show up well and not be too crunchy.
- Cold water – Hydrates the gelatin so it can be used in the filling.
- Unflavored gelatin – Gives the cheesecake a bit more stability, making it easier to slice. I use powdered gelatin.
- Cream cheese – Use brick-style, full-fat cream cheese. Using reduced-fat cream cheese will make the filling too soft, and it won’t set properly.
- Strawberry milk powder – For that unmistakable strawberry milkshake flavor! I used Nesquik, but it’s ok use other brands of strawberry milk powder if you don’t have Nesquik.
- Sour cream – Makes the cheesecake creamy and adds tangy flavor. Make sure to use full-fat sour cream so that the filling sets properly.
- Strawberry extract – You’ll need strawberry extract to give the filling additional strawberry flavor.
- Powdered sugar – This will stabilize the heavy whipping cream when whipped. Don’t leave it out, so that your whipped cream doesn’t wilt.

How to Make No Bake Strawberry Milkshake Cheesecake
Ready to make this cheesecake? Check out these step-by-step directions to get familiar with the recipe. For more detailed instructions scroll to the recipe card below.
For the Crust
- Prep pan. Line the bottom of a 9-inch springform pan with parchment paper and grease the sides.
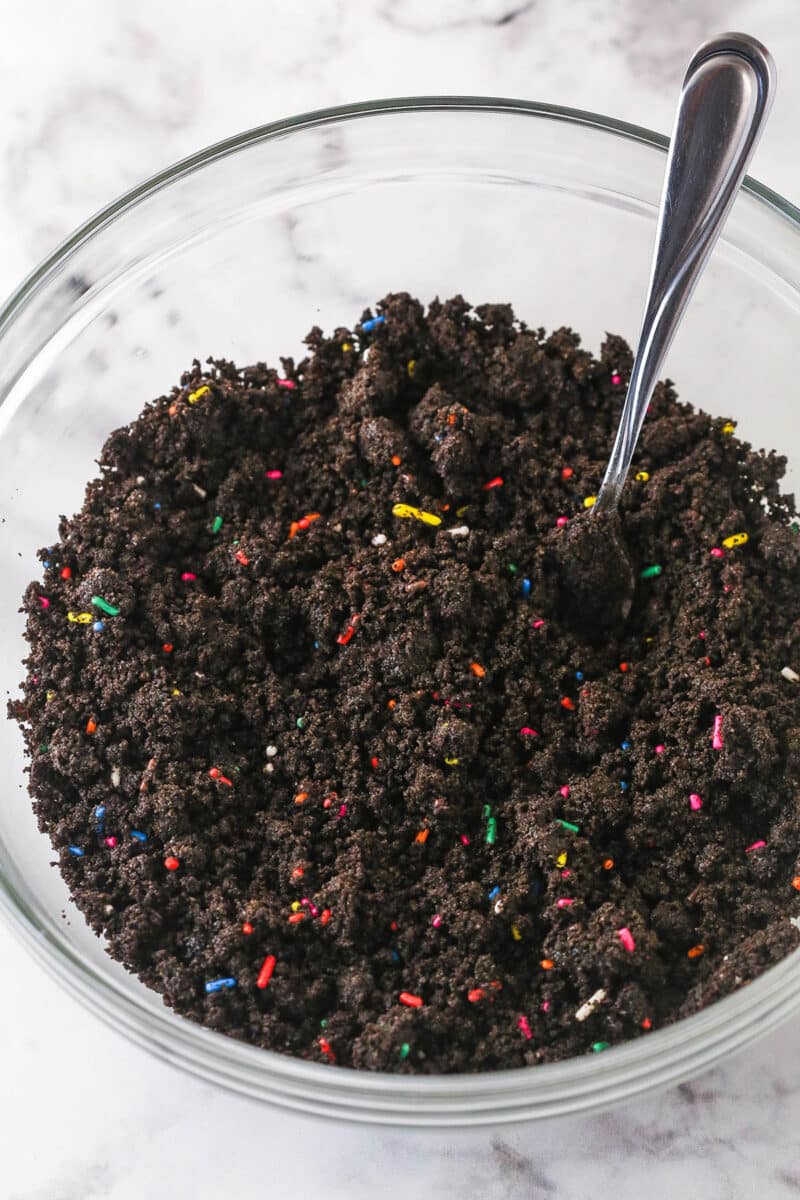
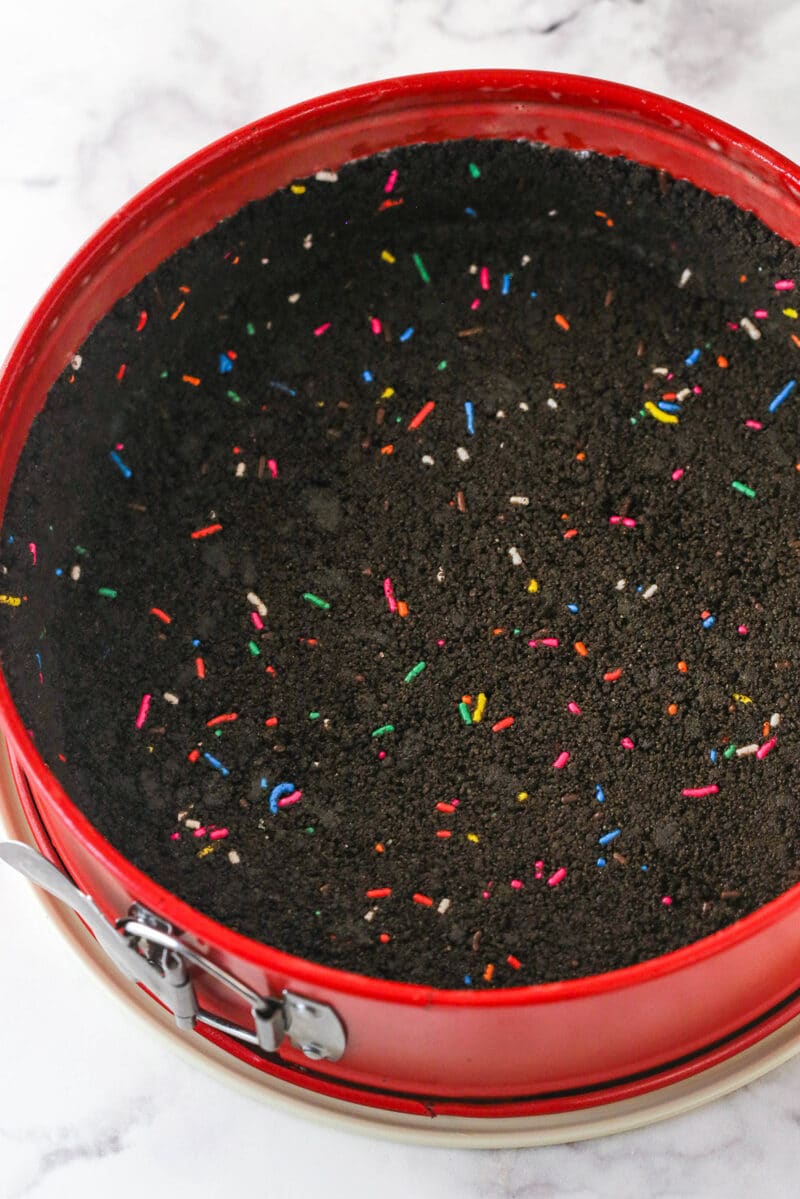
- Mix crust, fill pan. Combine the crust ingredients and press the mixture into the springform pan.
- Chill. Place the crust in the fridge to chill.
For the Filling
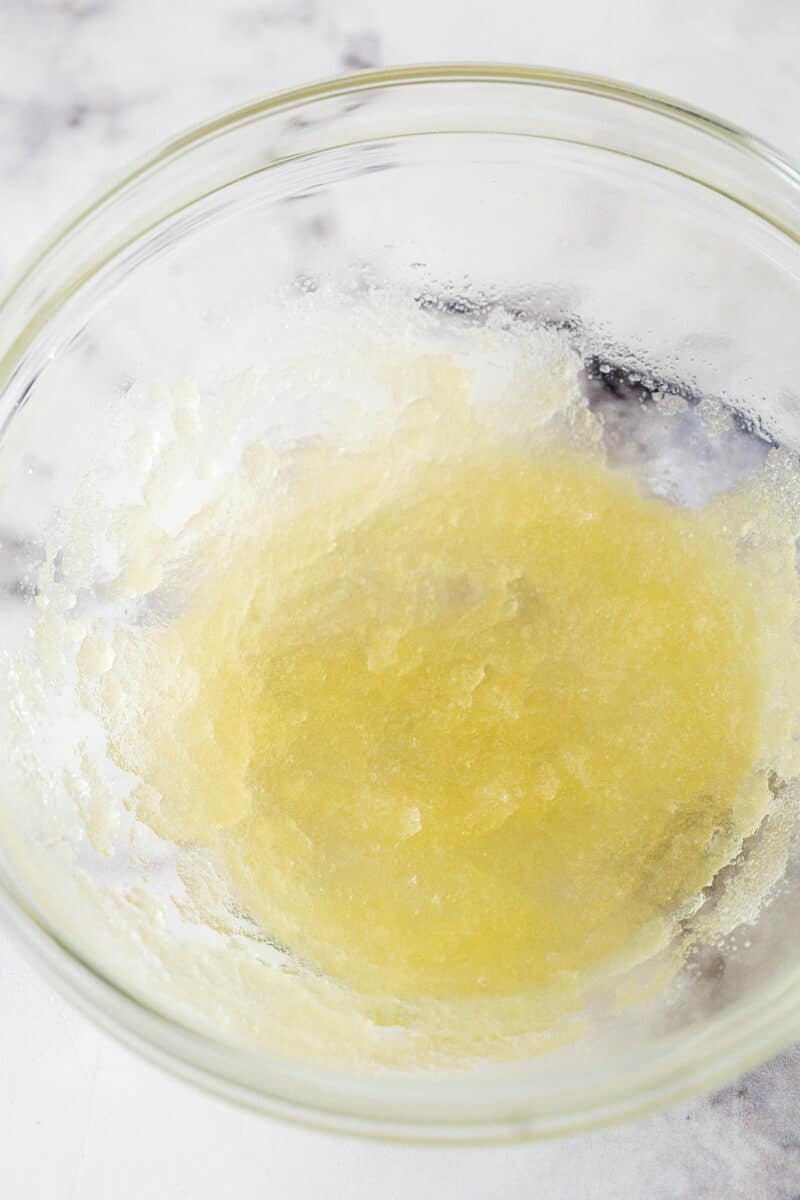
- Prepare gelatin. Sprinkle gelatin evenly over cold water. Stir to make sure all the gelatin is moistened. Let it bloom (hydrate) for 5 minutes.
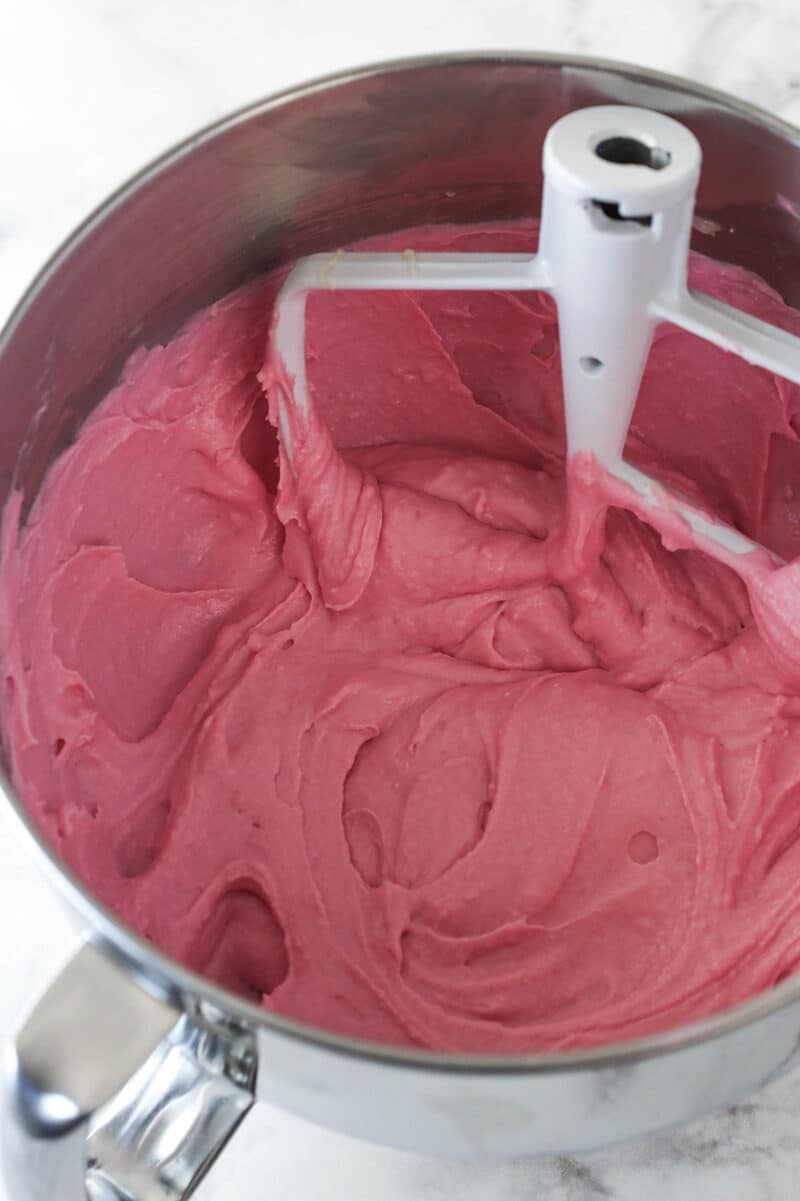
- Begin making the filling. In a large mixer bowl, beat the cream cheese and sugar until smooth. Add the strawberry milk powder and mix until smooth. Next add the sour cream and strawberry extract and mix until well combined.
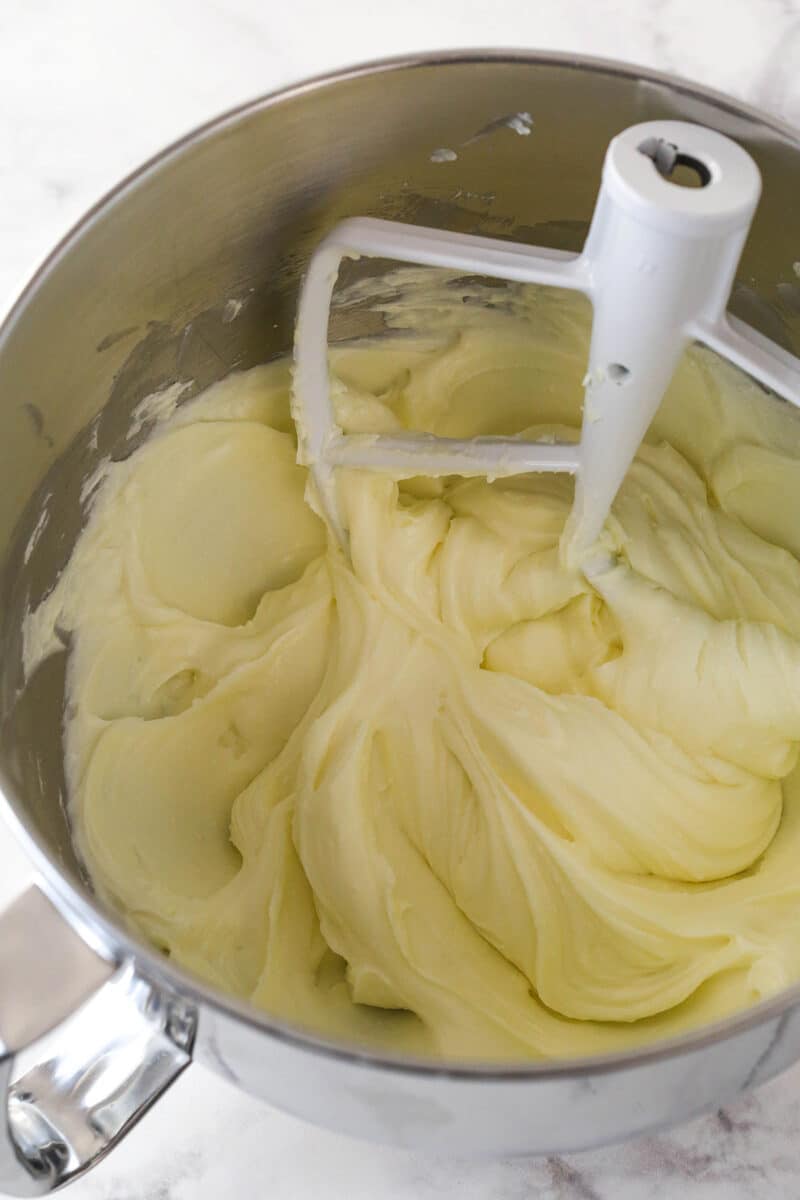
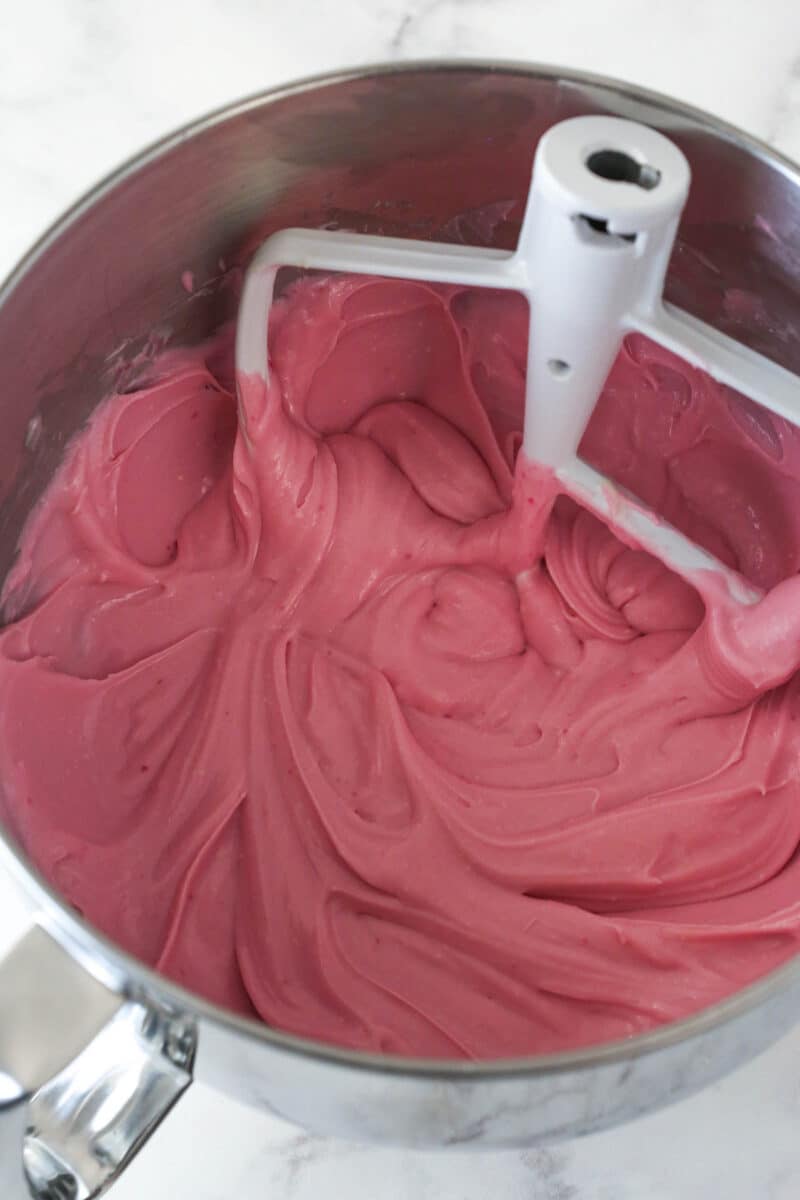
- Add gelatin. Heat the bloomed gelatin until melted (about 10 seconds). Add it to the cheesecake filling, mixing until well combined. Set filling aside.
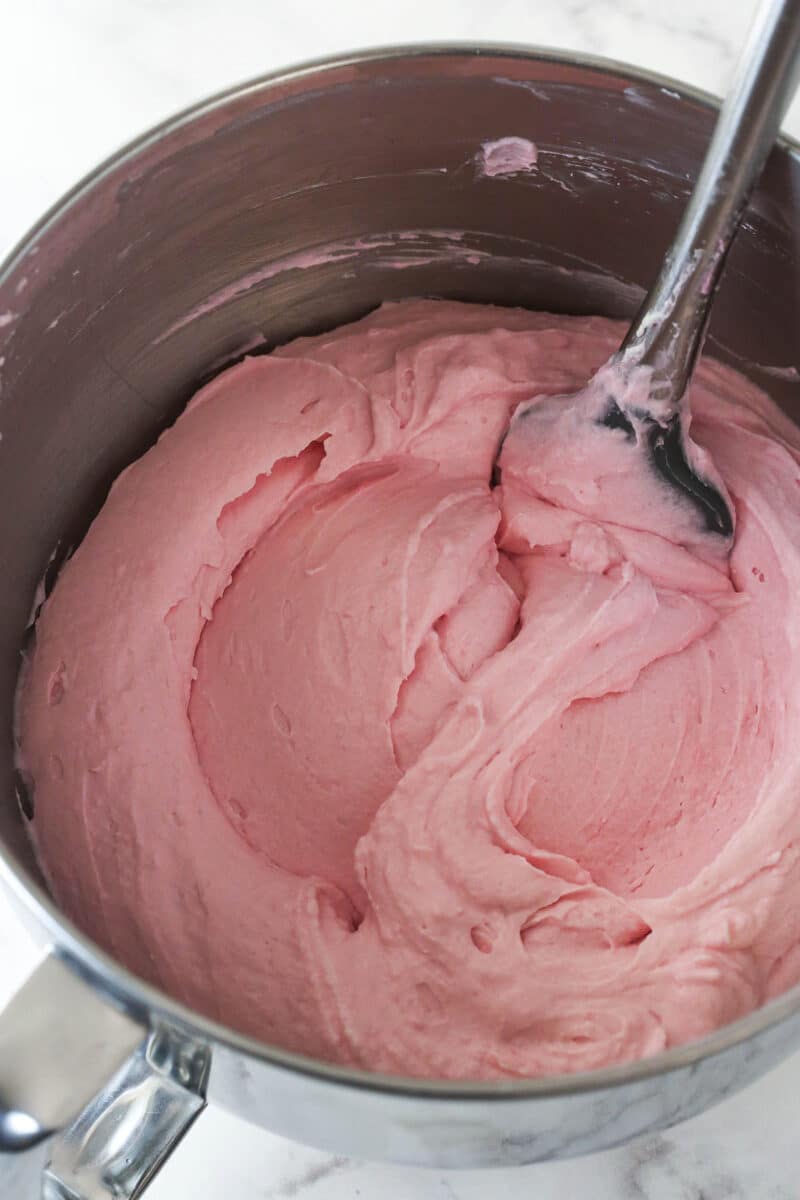
- Make and add whipped cream. In another bowl, whip the cream, powdered sugar and vanilla on high speed until stiff peaks form. Fold it into the cream cheese mixture in two parts.
- Add filling to pan and chill. Pour the filling evenly into the crust. Refrigerate for 4-5 hours, until cold and firm.
Finish Off the Cheesecake
- Place on serving plate. Remove the cheesecake from the pan, and set it on a serving platter.
- Make whipped cream. Whip heavy whipping cream, powdered sugar and vanilla extract on high speed until stiff peaks form.
- Decorate. Pipe swirls of whipped cream around the edge of the cheesecake and top with some colorful sprinkles, if desired.
- Serve and enjoy!

Tips for Success
- Temperature matters. To make a smooth, lump-free filling, make sure to use room temperature cream cheese. You can test for softness by pressing your thumb gently on the outside of the foil packaging. It’s ready when your thumb leaves a slight indent.
- Wet the gelatin. To be sure you don’t end up with lumps of gelatin, you want all of the powder to be wet from the water. Give it a stir, if needed, to moisten all the powder.
- Don’t overheat. With gelatin, you also want to be sure not to heat it too much when you melt it. It won’t firm back up properly.
- Don’t over-mix. When folding the whipped topping into the cheesecake filling, don’t over-mix it! Over mixing takes the volume out of the whipped topping and can cause your dessert to fall flat.

Storage Information
- Fridge. Store cheesecake in an airtight cake carrier or container in the fridge. Or you can wrap the cake in a layer of plastic wrap and use toothpicks to prop the plastic away from the whipped cream. Store the cheesecake in the fridge for up to 5 days.
- Freezer. You can freeze this cheesecake, but I recommend freezing it before decorating it with toppings. Place the undecorated cheesecake in the freezer for a few hours to firm up, then wrap it in a double layer of plastic wrap. If you’ve sliced it already, arrange the slices in a single layer in an airtight container. You can store the cheesecake in the freezer for up to 3 months. When you’re ready, thaw it in the refrigerator (overnight is best) and then decorate.
More No Bake Cheesecake Recipes
- No-Bake Oreo Cheesecake
- Perfect No-Bake Cheesecake
- No Bake Blueberry Cheesecake
- No Bake Cherry Almond Cheesecake
- No Bake Strawberry Cheesecake
This recipe was updated 6/9/2025. For the original recipe, download the recipe PDF.
Print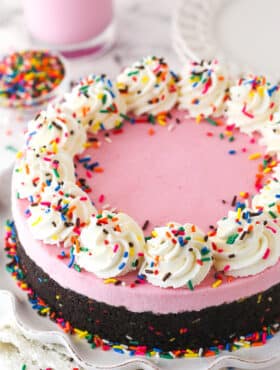
No Bake Strawberry Milkshake Cheesecake
- Prep Time: 1 hour
- Total Time: 1 hour
- Yield: 12-14 Slices
- Category: Dessert
- Method: No Bake
- Cuisine: American
Description
This No Bake Strawberry Milkshake Cheesecake is light, easy to make and full of strawberry milkshake flavor. Made with real Strawberry Nesquik and a chocolate Oreo crust, it’s the perfect dessert for strawberry milkshake lovers!
Ingredients
Crust
- 2 3/4 cups (369g) Oreo cookie crumbs (about 31 oreos)
- 7 tablespoons (98g) butter (salted or unsalted), melted
- 3 tablespoons sprinkles
Filling
- 2 tablespoons cold water
- 2 1/4 teaspoons | 0.25 oz package unflavored gelatin
- 24 ounces (678g) cream cheese, room temperature
- 1/2 cup (104g) sugar
- 1 1/2 cups strawberry Nesquik powder mix (or similar strawberry milk powder)
- 1/4 cup (58g) sour cream
- 2 teaspoons strawberry extract
- 1 1/4 cups (300ml) heavy whipping cream, cold
- 3/4 cup (86g) powdered sugar
- 1 teaspoon vanilla extract
Whipped cream
- 1 cup (240ml) heavy whipping cream, cold
- 1/2 cup (58g) powdered sugar
- 3/4 teaspoon vanilla extract
- Sprinkles
Instructions
Make the crust
- Line a 9-inch (23cm) springform pan with parchment paper in the bottom and grease the sides.
- Combine the crust ingredients in a small bowl. Press the mixture into the bottom and up the sides of the springform pan.
- Place the crust in the fridge while you make the filling.
Make the cheesecake filling
- Add the cold water to a small bowl and sprinkle the gelatin evenly over it. You want all of the powdered gelatin to be touching water. If it isn’t, give it a stir until it’s all moistened. Let the gelatin sit and bloom/hydrate for 5 minutes.
- In a large mixer bowl, beat the cream cheese and sugar together until well combined and smooth.
- Add the strawberry milk powder and mix until well combined and smooth. Add the sour cream and strawberry extract and mix until well combined.
- Heat the gelatin until. Melted, about 10 seconds, then add to the cream cheese mixture and mix until well combined. Set aside.
- In another large mixer bowl, add the heavy whipping cream, powdered sugar and vanilla extract. Whip on high speed until stiff peaks form.
- Carefully fold the whipped cream into the cream cheese mixture, in two parts, until well combined.
- Adding the cheesecake filling to the prepared crust and spread into an even layer. Refrigerate until cold and firm, 4-5 hours.
Finish cheesecake
- Remove your cheesecake from the springform pan and set it on a plate or serving platter. You can use an offset spatula to smooth out the sides, if needed. Set aside.
- To make the whipped cream, add the heavy whipping cream, powdered sugar and vanilla extract to a large mixing bowl and whip on high speed until stiff peaks form.
- Pipe the whipped cream around the top outer edge of the cheesecake, then add the sprinkles. I used Ateco tip 844.
- Store cheesecake in the fridge well-covered or in an air-tight cake carrier. Best if eaten within 4-5 days.
Nutrition
- Serving Size: 1 Slice
- Calories: 459
- Sugar: 30.6 g
- Sodium: 230.6 mg
- Fat: 33.9 g
- Carbohydrates: 37.5 g
- Protein: 5.7 g
- Cholesterol: 87.6 mg
Enjoy!





This looks amazing! I’m totally making it next weekend 🙂 About how many oreos will it take to get 2 cups?
It should take about 20 Oreos for 2 cups of crumbs. Enjoy it! 🙂
I was wondering if you could make this with strawberry milk instead?
And would the recipe change in any way?
There`s someone I want to make this for and he really likes a certain brand of strawberry milk, and I want to use it to make him something he`d like, and this seems perfect.
I don’t think strawberry milk would work well. The cheesecake wouldn’t be thick enough. The powder works because it’s not a liquid.
Could you miss out the mikk if using ready made strawberry milk shake drink?
There’s only 1 tbsp of milk, so strawberry or regular won’t make a big difference. But yes, you could use strawberry milk in place of regular milk.
I’m wondering how much fresh whipping cream would you use ?
I’d use about 1 1/4 cups.
Perfect……..Thank You
Your photos are stunning! I love all the colors. And you put sprinkles in your CRUST. Dying.
This is seriously testing my willpower! I’m trying to eat healthier (and in moderation) too, so this could be a dangerous experiment…perhaps I’ll save it for a special occasion – like a Saturday or something!
Haha! Perfect for a Saturday! 🙂
what a beautiful cheesecake, I could eat it with my eyes. Such a refreshing change from the usual! I’ve got to make this. Have a great time at BlogHer; I’m jealous!
Thanks Katie! It’s my first BlogHer conference, so I’m excited!
Have fun at BlogHer! I’ve never baked with strawberry Nesquick before but this cake is making me want to run out right now and get some! And, yes, it is after midnight. Sleeping is for people who aren’t on a mission to make a no-bake cheesecake this instant!! Yum!
Thanks Lindsey! I’m usually up after midnight too – and usually baking 🙂
I don’t have a spring form pan. Could I do this in another pan? I know it won’t be a cute, I just want to make sure it will fit. Maybe a 9×9 or regular pie pan? Please email!!! I want to eat this ASAP! Mmmmm….
Yes, another pan would be fine. 9×9 could be a little big. 8×8 might be better. Either way should be fine, the 9×9 might just be a thinner cheesecake. If you have a round pan that isn’t springform, you could use that too.
Have fun at BlogHer!! I’m a wee bit jealous but at least I have this amazing strawberry cheesecake to keep me company. 😉 Because it WILL keep me company. In my belly. Ok I’m done being weird – gorgeous cheesecake Lindsay!
haha, thanks Jess! 🙂
I’m so done with you and all these amazing and fantastic recipes!! This is seriously so gorgeous!
Oh no! Don’t go! 🙂 Thanks Jocelyn!
I seriously die every time you post a new recipe! Girl you got mad skills in the kitchen and with your camera!!! Can I come live with you? I will gladly do dishes as long as I can eat every single thing you make 🙂 This no bake pie is incredible. Totally loving on the sprinkles in the crust and the chocolate and strawberry contrast!!!
Aww, thank you so much Jocelyn!! 🙂 You could totally live with me – or at least in the neighborhood. How fun would that be?! Can’t wait to see you in person this weekend!
This is just beautiful
Thanks Chichi!
What a festive cake!! Love this
Thanks Jenna!
Perfect birthday cake for a cheesecake lover! Stunning, fun photos!!!
Definitely! Thanks Jaren!
The pink, the Oreos, the sprinkles… this is my kind of recipe Lindsay!
Thanks Sally! 🙂
That pink color makes this cheesecake look so cute!
Thanks you Medeja!