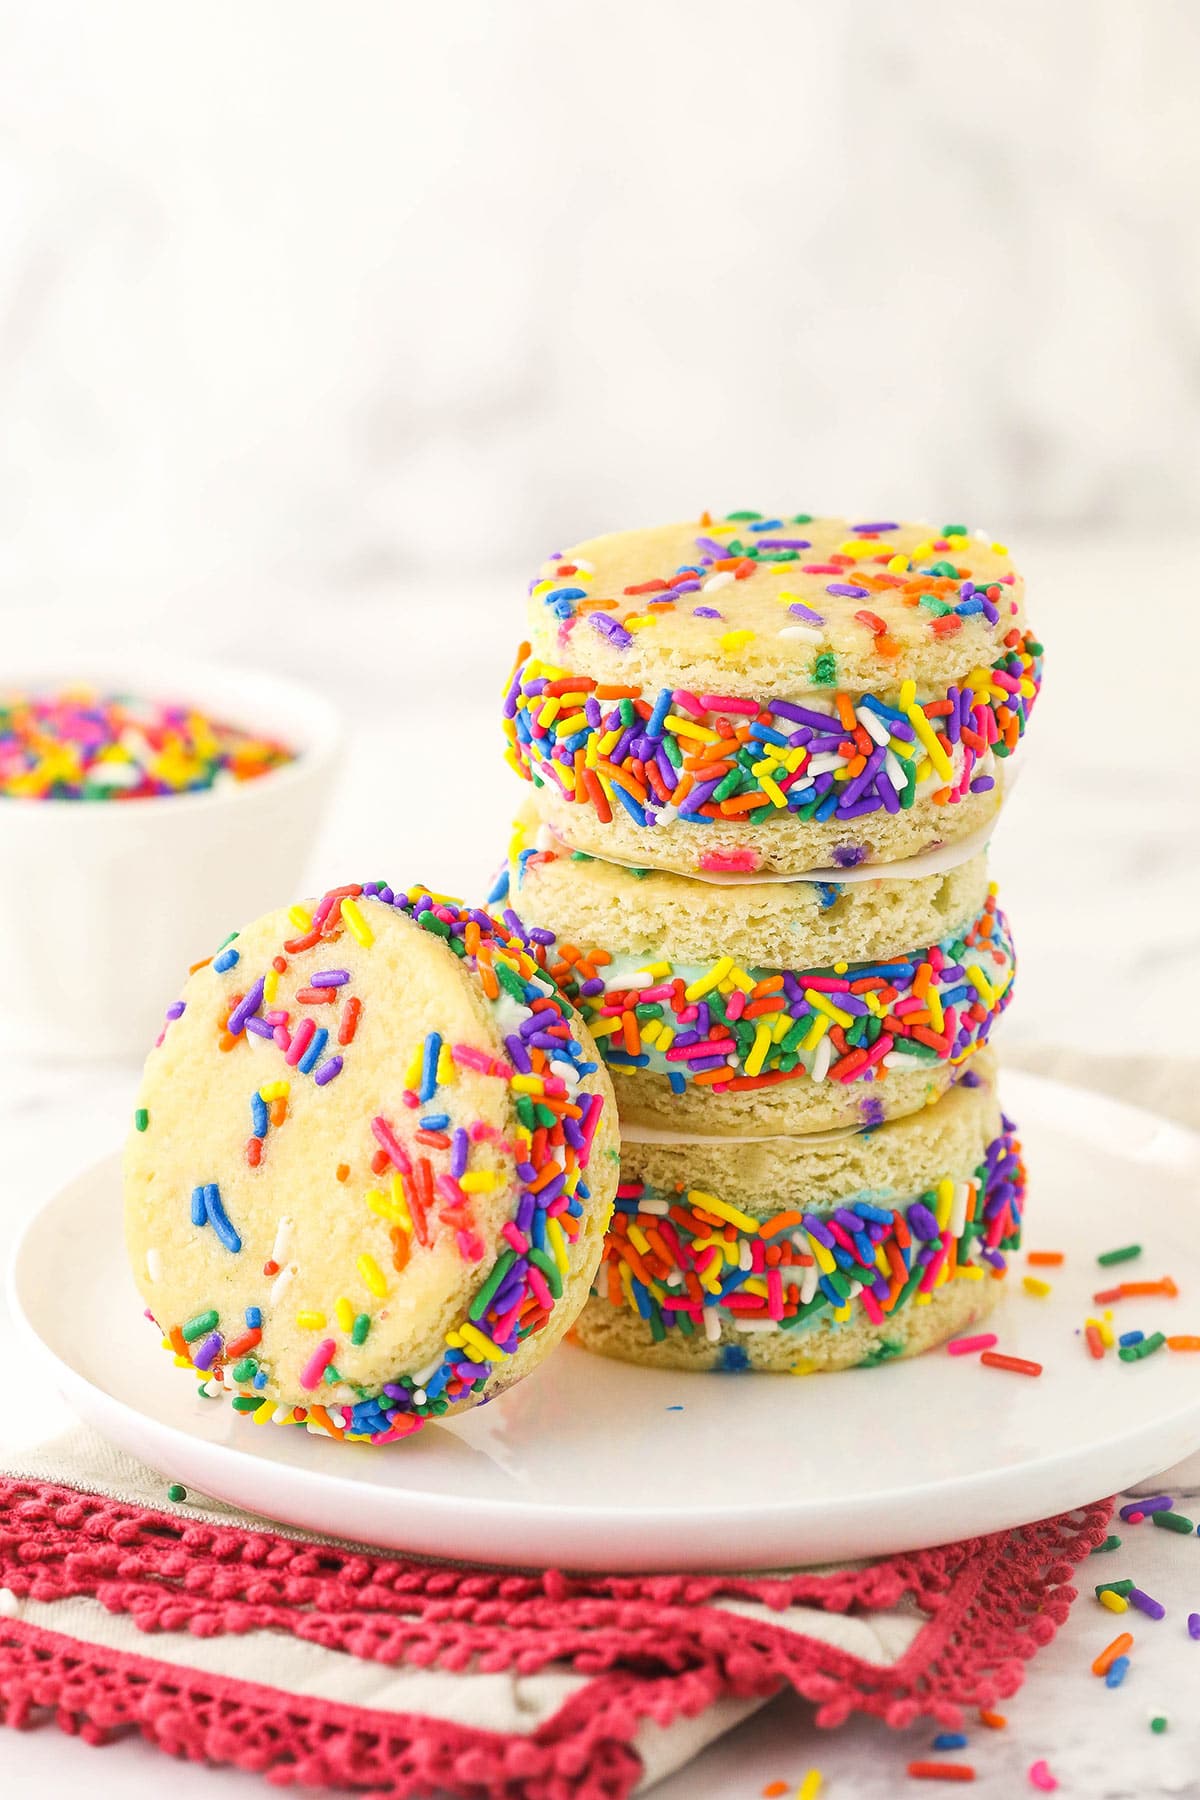
Birthday cake ice cream is sandwiched between two confetti cake rounds and studded with sprinkles in these fun dessert sandwiches! You deserve to indulge your sweet tooth with a couple of Cake Batter Ice Cream Sandwiches.
Looking for even more ways to make ice cream sandwiches? Try these homemade “Chipwich” ice cream sandwiches made with chocolate chip cookies!

The Dreamiest Ice Cream Dessert for Birthdays
We all know those people who celebrate their birthday with an ice cream cake every year. Some of them aren’t overly fond of regular cake, some of them were born during the annual summer heat waves, and some of them simply love ice cream. Whatever the reason, these cake batter ice cream sandwiches are a wonderful way to shake things up without breaking birthday tradition.
And let’s be real – cake batter ice cream isn’t exclusive to birthdays – it’s a fitting treat for any occasion! The same is true for these refreshing ice cream sandwiches. You can easily use different sprinkle colors to make them nice and festive for any special occasion, whether it’s Christmas, Halloween or the 4th of July.
The confetti cake bases couldn’t be better accompaniments for the rich and creamy ice cream in between them. You’ll love how they stay soft and delicate even after spending a week in the freezer. But judging by how irresistible these are, they’ll likely get devoured much sooner!

What You’ll Need
The quantities for each item can be found in the recipe card toward the end of this post.
- All-Purpose Flour: I recommend a food scale to ensure accuracy. Otherwise, be sure to spoon it into your measuring cup bit by bit, fluffing up the flour between each spoonful, to achieve an accurate measurement.
- Baking Powder: For a fluffy, tender crumb.
- Salt: Even though you won’t taste it directly, this flavor enhancer is important to both the texture and taste of the cake. It should only be left out if you have to use salted butter.
- Unsalted Butter: Brought to room temperature.
- Sugar
- Light Brown Sugar: This should be packed into the measuring cup.
- Large Egg
- Vanilla Extract: A high-quality extract will provide the best flavor.
- Milk: Room temperature.
- Sprinkles: Some will be added to the cakes and the rest will be used to coat the outer edge of the ice cream layer.
- Cake Batter Ice Cream: I use store-bought ice cream for the sake of convenience, but you could certainly make some from scratch if you’d like.

How to Make Cake Batter Ice Cream Sandwiches
First off, you’ll have to whip up the confetti cake that will serve as the “buns” for the ice cream sandwiches. If you’d like, you can do this the day before you start on assembly.
Make the Confetti Cake
Prep Oven & Pans: Preheat the oven to 375°F. Prepare two 9×13-inch baking pans with parchment paper in the bottom and spray the sides.
Combine Dry Ingredients: Whisk together the flour, baking powder and salt in a medium-sized bowl. Set the mixture aside.
Beat Butter & Sugars: Beat the butter and sugars together just until they’re combined and smooth.
Add Egg: Add the egg and mix until well combined.
Add Vanilla & Milk: Add the vanilla extract and milk and mix until well combined. The batter will look a little curdled.
Add Dry Ingredients: Add the flour mixture and mix just until well combined.
Add Batter to Pans: Divide the batter evenly between the two prepared cake pans. I use a food scale for precision, but you could measure it out with cups as well. Spread the batter evenly – it’ll be VERY thin.
Add Sprinkles & Bake: Sprinkle about two tablespoons of sprinkles on top of each cake, so 4 tablespoons (1/4 cup) total. Bake for 7-10 minutes, or until a toothpick comes out clean.
Let Cool: Allow the cakes to cool mostly in the pan, then turn them out onto a cooling rack that’s large enough to fully support them (use 2 if necessary). You’ll want to line the cooling rack with parchment paper and lightly spray the parchment with nonstick baking spray so the cake doesn’t stick. The “tops” of the cakes will end up being the outside of the ice cream sandwiches and ideally they’ll look nice, so you don’t want them to stick to the parchment paper.
Freeze: Prior to building the ice cream sandwiches, put the cakes into the freezer for about 20-30 minutes. You can freeze them for longer if you want to make them ahead of time.
Build the Ice Cream Sandwiches
Cut Cake: Use a round biscuit or cookie cutter that’s about 2 3/4 inches in diameter to cut circles out of the two cake layers to make the rounds for the sandwiches. You should get about 12 per cake layer, depending on the size of your cutters.

Return to Freezer: Place the little cake rounds back into the freezer so they stay firm while you work. If they aren’t firm when you go to add the ice cream, they’re more likely to break apart.
Assemble Sandwiches: Add about 1/4 cup (4 tablespoons) of ice cream to the top of a cake round and spread it out evenly. I used the back of a spoon to spread it around. It’s easiest to work with the ice cream while it’s still firm/right out of the freezer. The softer it is, the more it melts out from between the cakes when you place them back in the freezer. Work quickly. Top the ice cream with a second cake round and immediately return the sandwich to the freezer. Continue working with the cakes and ice cream until you’ve made all of the sandwiches.


Freeze: Allow the ice cream sandwiches to freeze for 2-3 hours so that the ice cream is fully frozen.
Roll in Sprinkles: Dip the sides into the remaining half cup of sprinkles. I like to spread the sprinkles out on a plate and roll the ice cream through them.


Serve Immediately or Return to Freezer: Put the finished sandwiches back into the freezer until you’re ready to serve them.
Tips for Success
Flawless cake batter ice cream sandwiches are well within your reach. Use these tips and tricks to prove it!
- Finesse That Flour Measurement: Unlike the brown sugar, the flour should not be packed into the measuring cup. If it is, you’ll use too much and ruin the texture of your cake. Use the spoon and level method or a food scale to ensure accuracy.
- Spread Evenly: The batter will be very thin in the cake pans. To make sure you spread the batter thinly and evenly, i recommend using a small offset spatula.
- Prep Your Pans Well: These cakes are extremely thin and delicate, so you have to line and grease your pans thoroughly. This makes for easy, break-free removal.
- Line & Grease the Cooling Rack: Don’t forget to line your cooling rack(s) with parchment paper that has been greased with nonstick cooking spray before you transfer over the cakes. Otherwise, the tops of the cakes will stick, which could also lead to breakage.
Variation Ideas
Feel free to make these ice cream sandwiches your own. If you’d prefer rectangular portions like these Neapolitan Ice Cream Sandwiches, you can build the sandwiches directly in one of the cake pans and cut them out with a long, sharp knife after they set. This gives them a more classic look and streamlines the assembly process! You may have to use more ice cream since there will be no unused cake.
If the flavor is what you’re looking to change, try turning these little slices of heaven into chocolate chip cookie dough ice cream sandwiches! Simply substitute the cake batter ice cream for chocolate chip cookie dough ice cream and use mini chocolate chips in place of the sprinkles. I might just have to go try that right now!
Storage Instructions
You can store these ice cream sandwiches in an airtight container with parchment paper separating them for 1-2 weeks. Alternatively, wrap them individually in plastic wrap before you seal them in the container. The second option is best for longevity.
Print
Cake Batter Ice Cream Sandwiches
- Prep Time: 3 hours
- Cook Time: 7 minutes
- Total Time: 3 hours 7 minutes
- Yield: 12 1x
- Category: Dessert
- Method: Oven
- Cuisine: American
Description
Birthday cake ice cream is sandwiched between two confetti cake rounds and studded with sprinkles in these fun dessert sandwiches! You deserve to indulge your sweet tooth with a couple of Cake Batter Ice Cream Sandwiches.
Ingredients
- 1 3/4 cups plus 2 tbsp (244g) all purpose flour
- 1 1/4 tsp baking powder
- 1/4 tsp salt
- 1/2 cup (112g) unsalted butter, room temperature
- 3/4 cup (155g) sugar
- 1/4 cup (56g) packed light brown sugar
- 1 large egg
- 1 tsp vanilla extract
- 1/2 cup (120ml) milk, room temperature
- 3/4 cup sprinkles, divided
- Half Gallon Cake Batter Ice Cream
Instructions
Make the Confetti Cake
- Preheat the oven to 375°F (190°C). Prepare two 9×13 inch baking pans with parchment paper in the bottom and spray the sides.
- In a medium sized bowl, combine the flour, baking powder and salt. Set aside.
- Beat the butter and sugars just until combined and smooth.
- Add the egg and mix until well combined.
- Add the vanilla extract and milk and mix until well combined. Batter will look a little curdled.
- Add the flour mixture and mix just until well combined.
- Divide the batter evenly between the two cake pans. I used a food scale to do that accurately, but you could measure with cups as well. Spread the batter evenly. It’ll be VERY thin. Sprinkle about two tablespoons of sprinkles on top of each of the cakes, so 4 tablespoons (1/4 cup) total. Bake for 7-10 minutes or until a toothpick comes out clean.
- Allow to cool mostly in the pan, then turn out onto a cooling rack that’s large enough for the full cake. You’ll want to line the cooling rack with parchment paper and lightly spray the parchment with non-stick baking spray, so that it doesn’t stick. The “tops” of the cakes will end up being the outside of the ice cream sandwiches and ideally they’ll look nice, so you don’t want them to stick to the parchment paper.
- Prior to building the ice cream sandwiches, put the cakes into the freezer for about 20-30 minutes (you can freeze them for longer if you want to do that ahead of time).
Build the Ice Cream Sandwiches
- Use a round biscuit cutter/cookie cutter/something similar that’s about 2 3/4 inches in diameter to cut circles out of the two cake layers to make the rounds for the sandwiches. You should get about 12 per cake layer, depending on the size of your cutters.
- Place the little cake rounds back in the freezer to stay firm while you work. If they aren’t firm while working with them and adding the ice cream, they are more likely to break apart.
- Add about 1/4 cup (4 tablespoons) of ice cream to the top of a cake and spread evenly. I used the back of a spoon to spread it around. I found it was easiest to work with the ice cream when it was still firm and right out of the freezer. The softer it is, the more it melts out from the between the cakes when you place them back in the freezer. Work quickly. Top the ice cream with a second cake and place the sandwich back into the freezer.
- Continue working with the cakes and ice cream until you’ve made all of the ice cream sandwiches. Allow them to freeze for 2-3 hours so that the ice cream is fully frozen, then dip the sides into the remaining 1/2 cup of sprinkles. I spread the sprinkles out onto a plate and rolled the ice cream through them.
- Put the finished sandwiches back in the freezer until ready to serve.
Notes
Store ice cream sandwiches in an airtight container in the freezer with parchment paper separating them (or wrap each one in plastic wrap). They should be good for 1-2 weeks.
Nutrition
- Serving Size:
- Calories: 644
- Sugar: 58.4 g
- Sodium: 166 mg
- Fat: 39 g
- Carbohydrates: 77.7 g
- Protein: 8.8 g
- Cholesterol: 191.9 mg
More Refreshing Frozen Desserts
Need more frozen treats to get you through the summertime? Sit back and relax with one of the following goodies.


What cake batter Ice cream do you use? I can’t find that flavor anywhere!
It was Mayfield Brand.
If I want chocolate cake hoy much of cocoa I have to used?
You can use the chocolate cakes from these ice cream sandwiches. It’s the same cake but modified to chocolate. https://www.lifeloveandsugar.com/neapolitan-ice-cream-sandwiches/