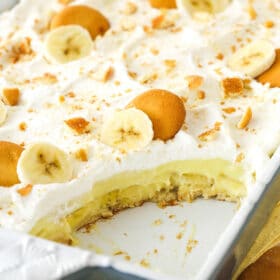
This homemade banana pudding recipe has layers of vanilla wafers, banana slices, and thick, creamy vanilla pudding- all topped with whipped cream! It’s a classic that’s perfect for any occasion and one of my favorite desserts!

The hubs and I are HUGE fans of banana pudding. Like, huge. In fact, we love any and all things banana pudding – just refer to all the delicious banana recipes on my site – Banana Pudding Pie (my newest favorite), Banana Pudding Cheesecake, Banana Pudding Popsicles and Banana Pudding Ice Cream Cake – the list goes on. If you can put bananas in it, we love it.
And there’s nothing better than a delicious homemade pudding. This version is a traditional, southern, homemade banana pudding. The classic. It’s a rich, creamy vanilla pudding that’s full of flavor, set on top of layers of Nilla wafers and slices of banana. The key is to let it all rest in the fridge for a bit before serving. It lets the wafers soften up and the pudding take on the banana flavor. This banana pudding is hard to beat!

Why This Is The Best Banana Pudding Recipe
- Big banana flavor. If given enough time to chill in the fridge, the flavor from the bananas layered into the dessert really sets into the pudding. No extracts here. Just real banana flavor.
- Smooth and creamy. The pudding itself is so smooth, creamy, and rich. It’s also nice and thick and sets up just right.
- Simple, made-from-scratch. This recipe uses ingredients you likely have on hand, or at least can easily find. And for a homemade dessert, it comes together quickly.
Ingredients and Notes
This recipe uses simple ingredients that you might already have ready to go! Here’s a look at what they are. Be sure to scroll to the recipe card below for precise measurements.

- Egg yolks – Be sure to use large eggs, not medium or extra large. These will help thicken the pudding
- All-purpose flour – I used flour here to achieve an even creamier texture. If you’d like to use cornstarch, you can. Just use half the amount.
- Salt – Brings out the flavors already present and keeps your pudding from being bland.
- Whole milk – You want to stick with whole milk here. Do not use a milk product that is lower in fat. The pudding will end up too thin.
- Unsalted butter – I always use unsalted butter, but if you only have salted butter, that would be fine.
- Bananas – Look for nice, yellow bananas. They will last longer in your pudding. Don’t use over ripe bananas.
- Heavy whipping cream – The heavy cream should be cold. If it is too warm, it won’t whip up and hold volume properly.
- Powdered sugar – The powdered sugar works to sweeten the whipped cream and also to stabilize it so it won’t wilt.

How To Make Homemade Banana Pudding
Here’s a quick look at how to make this classic dessert. Don’t forget to scroll to the recipe card below for more thorough instructions.
First, whisk together the egg yolks and set to the side.
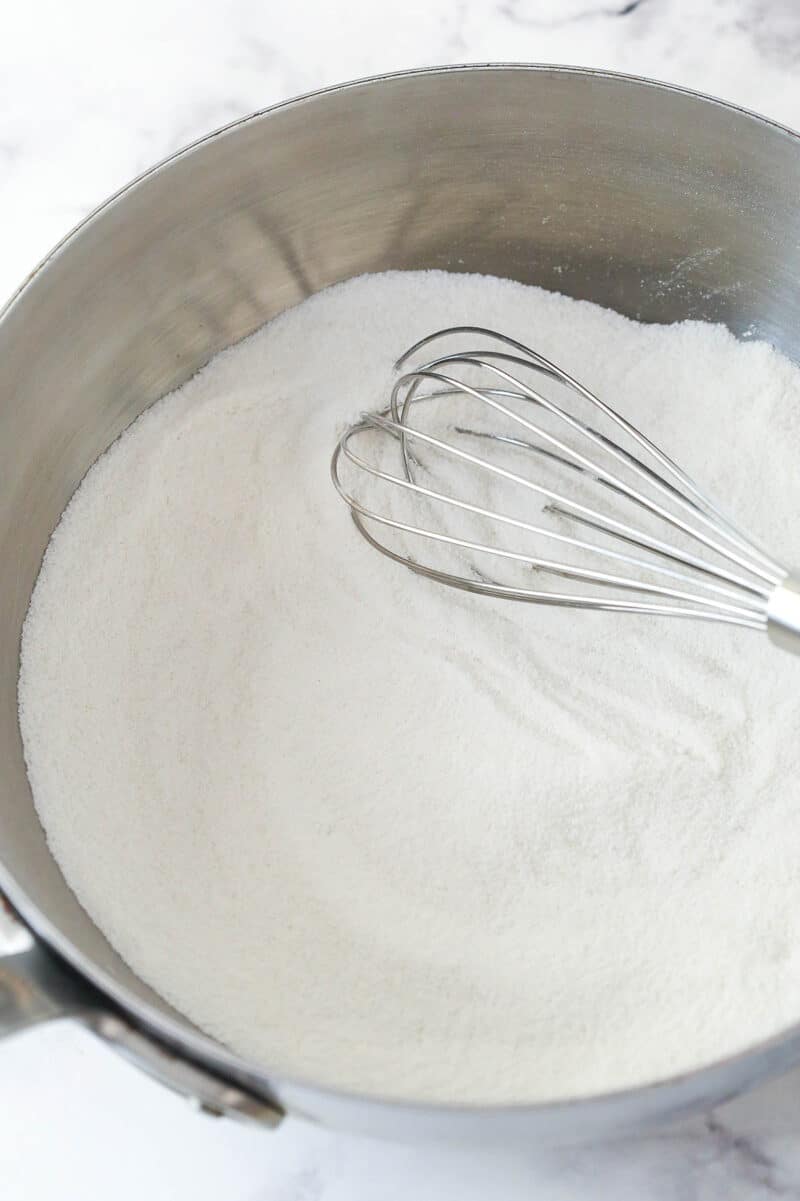
Combine sugar, flour and salt in a large saucepan.
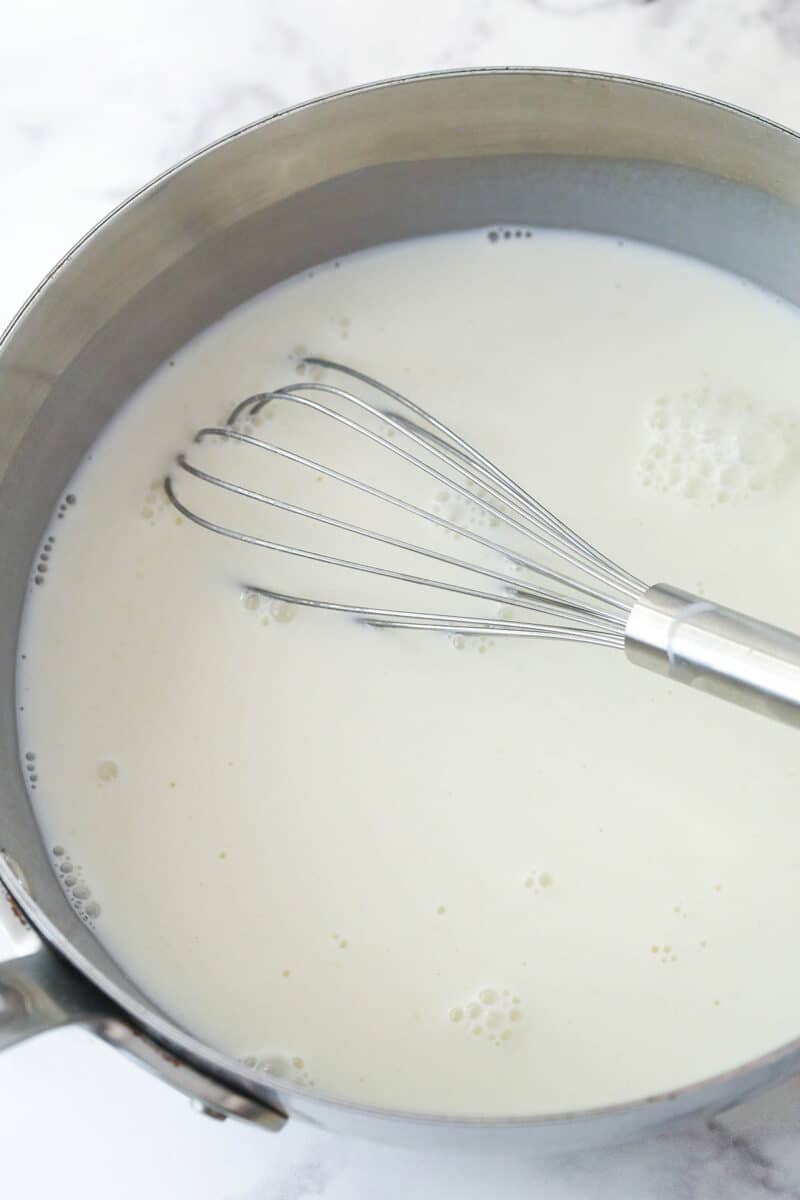
Add the milk and combine. Cook over medium heat, whisking continuously, until it begins to bubble.
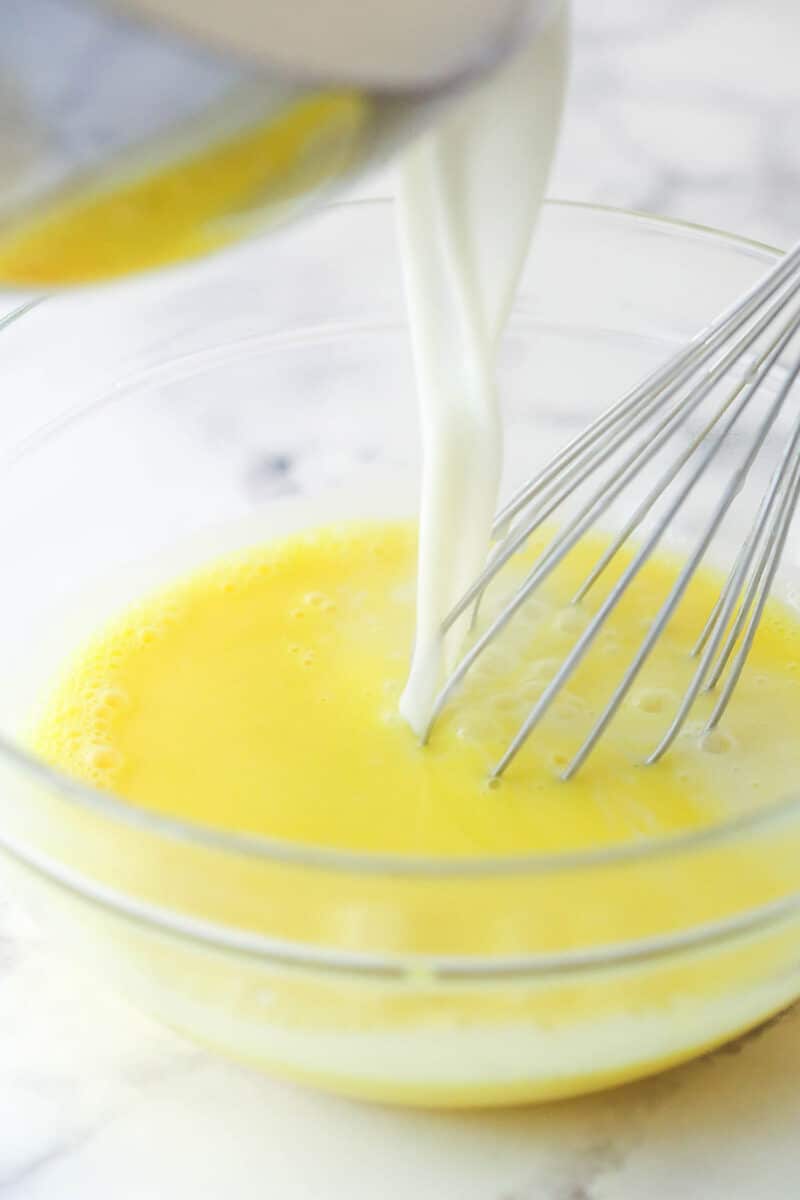
Slowly pour some of the milk mixture into the eggs, whisking constantly. Pour the egg mixture into the pan with the rest of the milk mixture.

Bring to a gentle boil over medium heat, stirring constantly. Allow to boil for about 3 minutes, until thickened, then remove from heat. Stir in vanilla extract and butter.
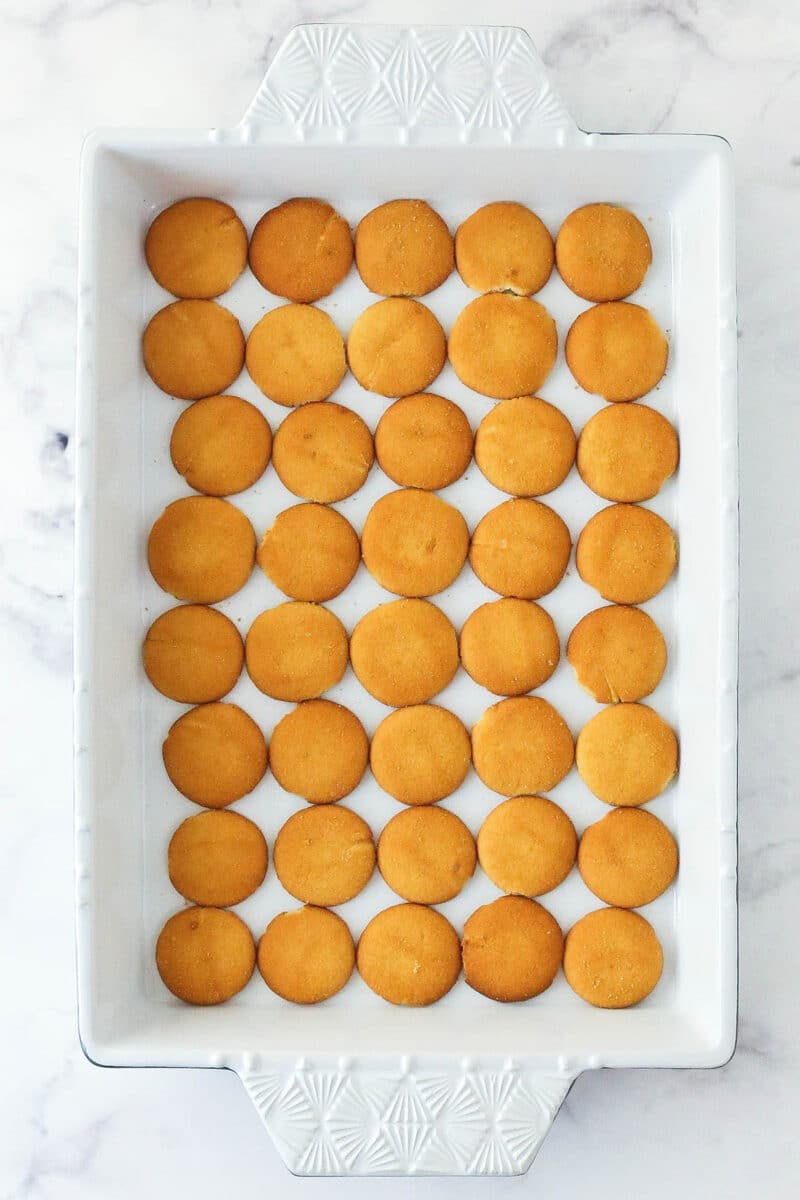
Add a layer of vanilla wafers to an ungreased 9×13-inch baking dish.
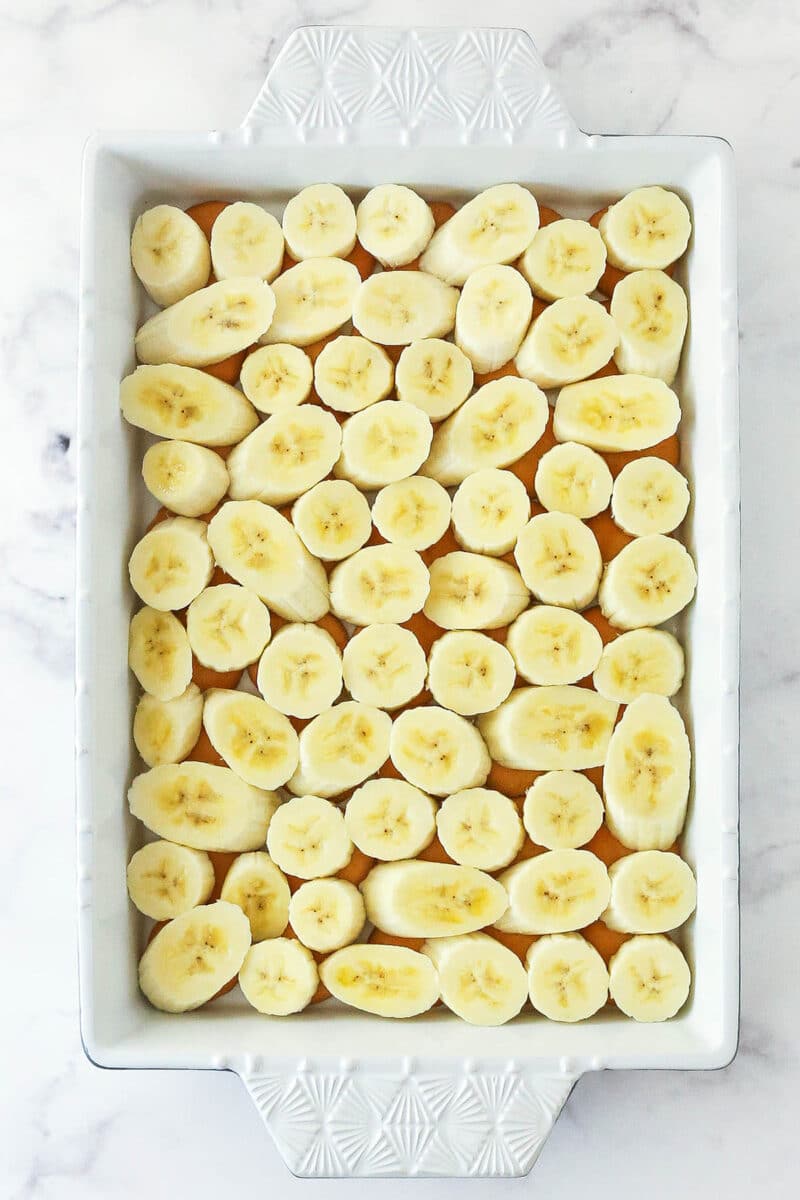
Add a layer of banana slices on top of the wafer cookies.

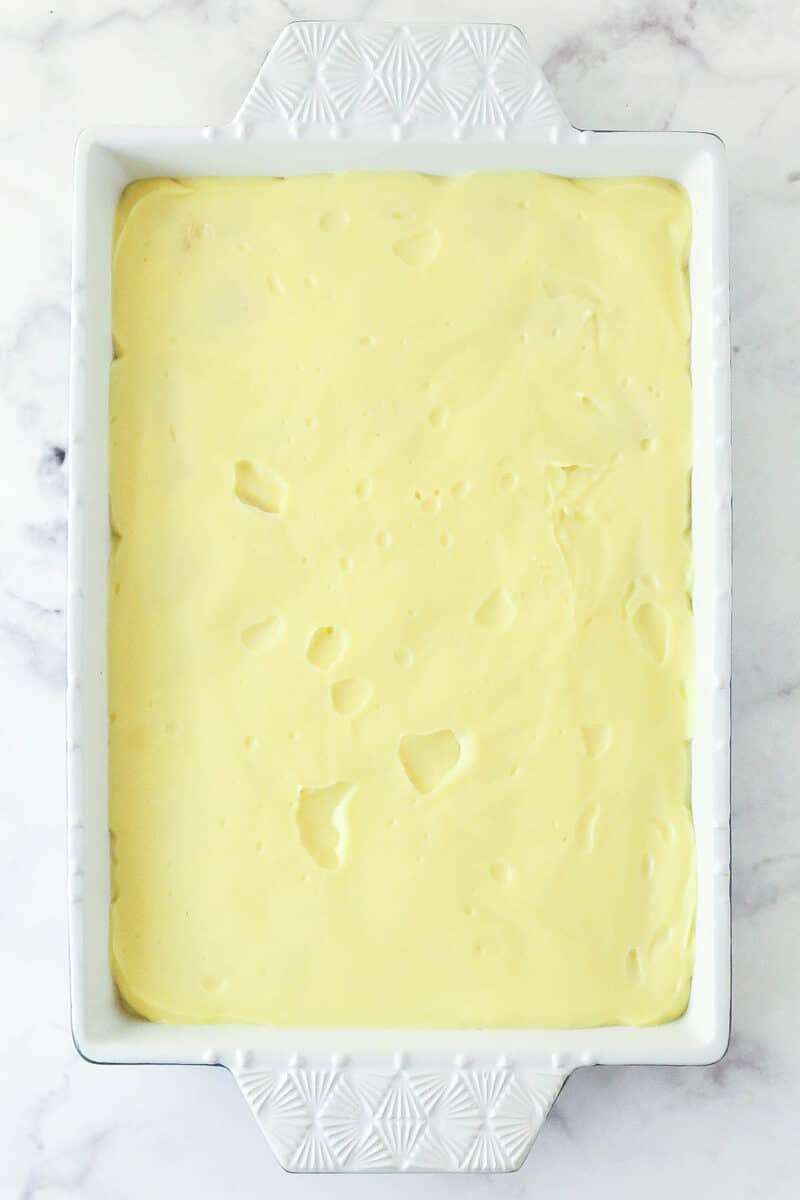
Pour the warm pudding over the top of the bananas. Press clear wrap onto the top and chill.
Once fully cool and chilled, remove the clear wrap from the pudding.
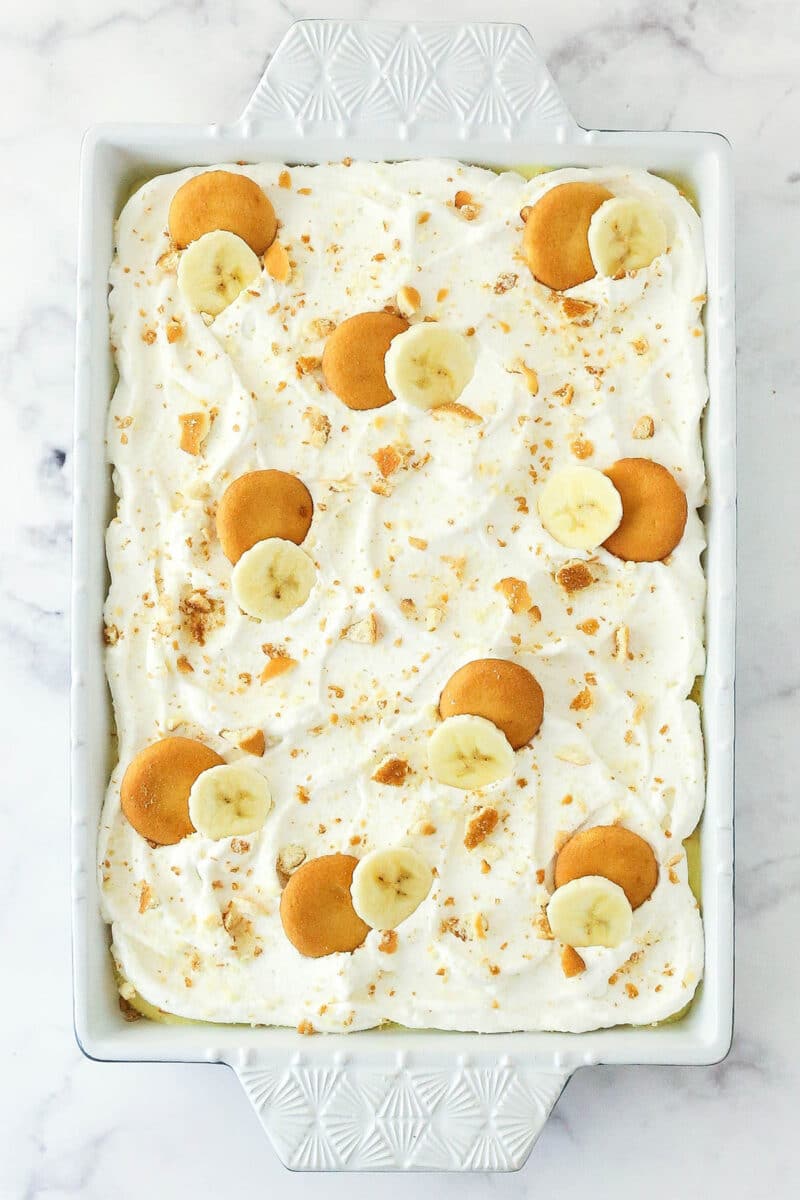
Whip the heavy whipping cream, powdered sugar, and vanilla extract on high speed until stiff peaks form. Spread the whipped cream over the pudding. Garnish with vanilla wafers and banana slices.

Tips for Success
This banana pudding recipe is pretty simple but it is important to pay attention to the details. Here are a few pro tips that will help you achieve the best results possible.
- Keep the heat under control. As the pudding is thickening, resist the temptation to turn the heat up to speed up the process. Keep the heat to medium (or even a little lower, not higher) so that it has time to thicken properly.
- Use whole milk. Attempting to use a milk product that is lower in fat will give end you a runny pudding.
- Whisk. Whisk. Whisk. When making the pudding, you pretty much want to be whisking the whole time. If you don’t keep the mixture moving, it is likely to burn and/or cook unevenly.
- Don’t overcook. There’s no need to cook it for more than about 3 minutes over medium heat once it starts boiling. Because the mixture is thick, you may need to stop your whisk for just a moment to notice the bubbling. Keep in mind that the pudding will continue to thicken as it cools.
- Temper. It might be tempting to add the egg yolks to the warm milk mixture as is. Don’t do it. They can scramble and negatively affect the texture of the pudding. Instead, whisk about 1/2 cup of the warm milk mixture into the eggs first. This will help bring them to temperature before you add them to the pudding.
- Don’t skimp on chill time. The pudding needs at least 3 hours in the fridge to firm up and let the cookies soften before digging in. If you can, allow the pudding to chill overnight. The banana flavor will set into the pudding, and the consistency will be even better the next day.

Can I Use Another Size Pan?
Yes, this dessert can also be made in an 8 or 9-inch square pan. Just cut the recipe in half or add two of each layer. Vanilla wafer, banana slices, pudding, and repeat.
How to Store Banana Pudding
If you find yourself with leftovers, cover the baking dish with a double layer of plastic wrap. You can store banana pudding in the fridge for up to 3 days. Keep in mind that the wafers will get increasingly soggy and the bananas will brown once exposed to air and the longer the pudding sits.
I don’t recommend freezing this dessert. It doesn’t thaw well.
More Banana Desserts To Try
This recipe was updated 7/1/2026. If you’d like the original version of this recipe, download the recipe PDF.
Homemade Banana Pudding
save this recipe
Enter your email & we’ll send it to your inbox. Plus get new recipes from us every week!
Ingredients
Pudding
- 6 large egg yolks
- 1 cup (207g) sugar
- ¼ cup (33g) all-purpose flour
- ¼ teaspoon salt
- 3 cups (720ml) whole milk
- 1 ½ teaspoons vanilla extract
- 2 tablespoons (28g) unsalted butter
- 40 –50 vanilla wafers
- 6 medium-sized bananas (cut into ½-inch slices)
Whipped Cream
- 1 ¼ cups (300ml) heavy whipping cream (cold)
- ½ cup (58g) powdered sugar
- ¾ teaspoon vanilla extract
Instructions
Make the pudding
- In a small bowl, whisk the egg yolks together. Set aside.
- In a large saucepan combine sugar, flour and salt. Add the milk and whisk together to combine.
- Cook over medium heat, whisking continuously, until it just begins to bubble.
- Slowly pour a small amount (about ½ cup) of the milk mixture into the eggs, whisking constantly so that the eggs don’t scramble.
- Pour the tempered egg mixture into the pan with the rest of the milk mixture. Bring to a gentle boil over medium heat, stirring constantly. Allow to gently boil for about 3 minutes, then remove from heat. Keep in mind that the pudding thickens as it cools, so you don’t need it to be super thick before you remove it from the heat.
- Stir in vanilla extract and butter until butter is melted and combined.
Layer Together
- In an ungreased 9×13 baking dish, add a layer of vanilla wafers (about 40-50 wafers), then a layer of banana slices and then the pudding.
- Cover with clear wrap that is pressed against the top of the pudding and set in the fridge to cool completely and firm up, about 3-4 hours
- Prior to serving, make the whipped cream. Add the heavy whipping cream, powdered sugar and vanilla extract to a large mixer bowl and whip on high speed until stiff peaks form.
- Remove the clear wrap from the top of the cooled pudding and spread the whipped cream over the top. Garnish with additional vanilla wafers and banana slices, if desired. Serve immediately or refrigerate until ready to serve. Best if eaten within 2-3 days, because the bananas will spoil and the vanilla wafers can end up soggy over time.
Notes
Nutrition
The nutrition facts provided are calculated using a third-party tool and are estimates only. Actual nutritional content may vary based on the ingredients and brands you use, as well as portion sizes. For accurate results, please consult a registered dietitian or nutritionist.
Categories:
Easter, Holidays, July 4th, No Bake Desserts, Other Sweets, Recipes, Recipes with video, Sweets and Treats,


Has the recipe changed? I used to use this recipe all the time and have always used one can of sweetened condensed milk and 3 eggs not 6.
It has changed. I would get some feedback that people felt like it was too thin and it can be hard to tell if that’s what more people experience or not, when not many people comment. I ended up deciding to change it to a more traditional banana pudding. However, I still really love banana pudding with sweetened condensed milk, so I finally made a new version. You can find it here. The recipe itself will look fairly different, but it’s the same idea. Instead of adding the sweetened condensed milk at the end, it’s incorporated into the cooked pudding. It works great and has a very similar flavor to the one you’re talking about. I also still have the old recipe as a PDF, which you can find above the recipe card or download at this link. I hope that helps!
Hi Lindsay, any substitute for vanilla wafers ?
Here in India we don’t get them easily
It’s a little hard to say, since I’m not sure what’s available there. It’s possible you have something very similar. They are crispy little vanilla cookies. If you have something like that, you could give that a try. Another option could be shortbread cookies.