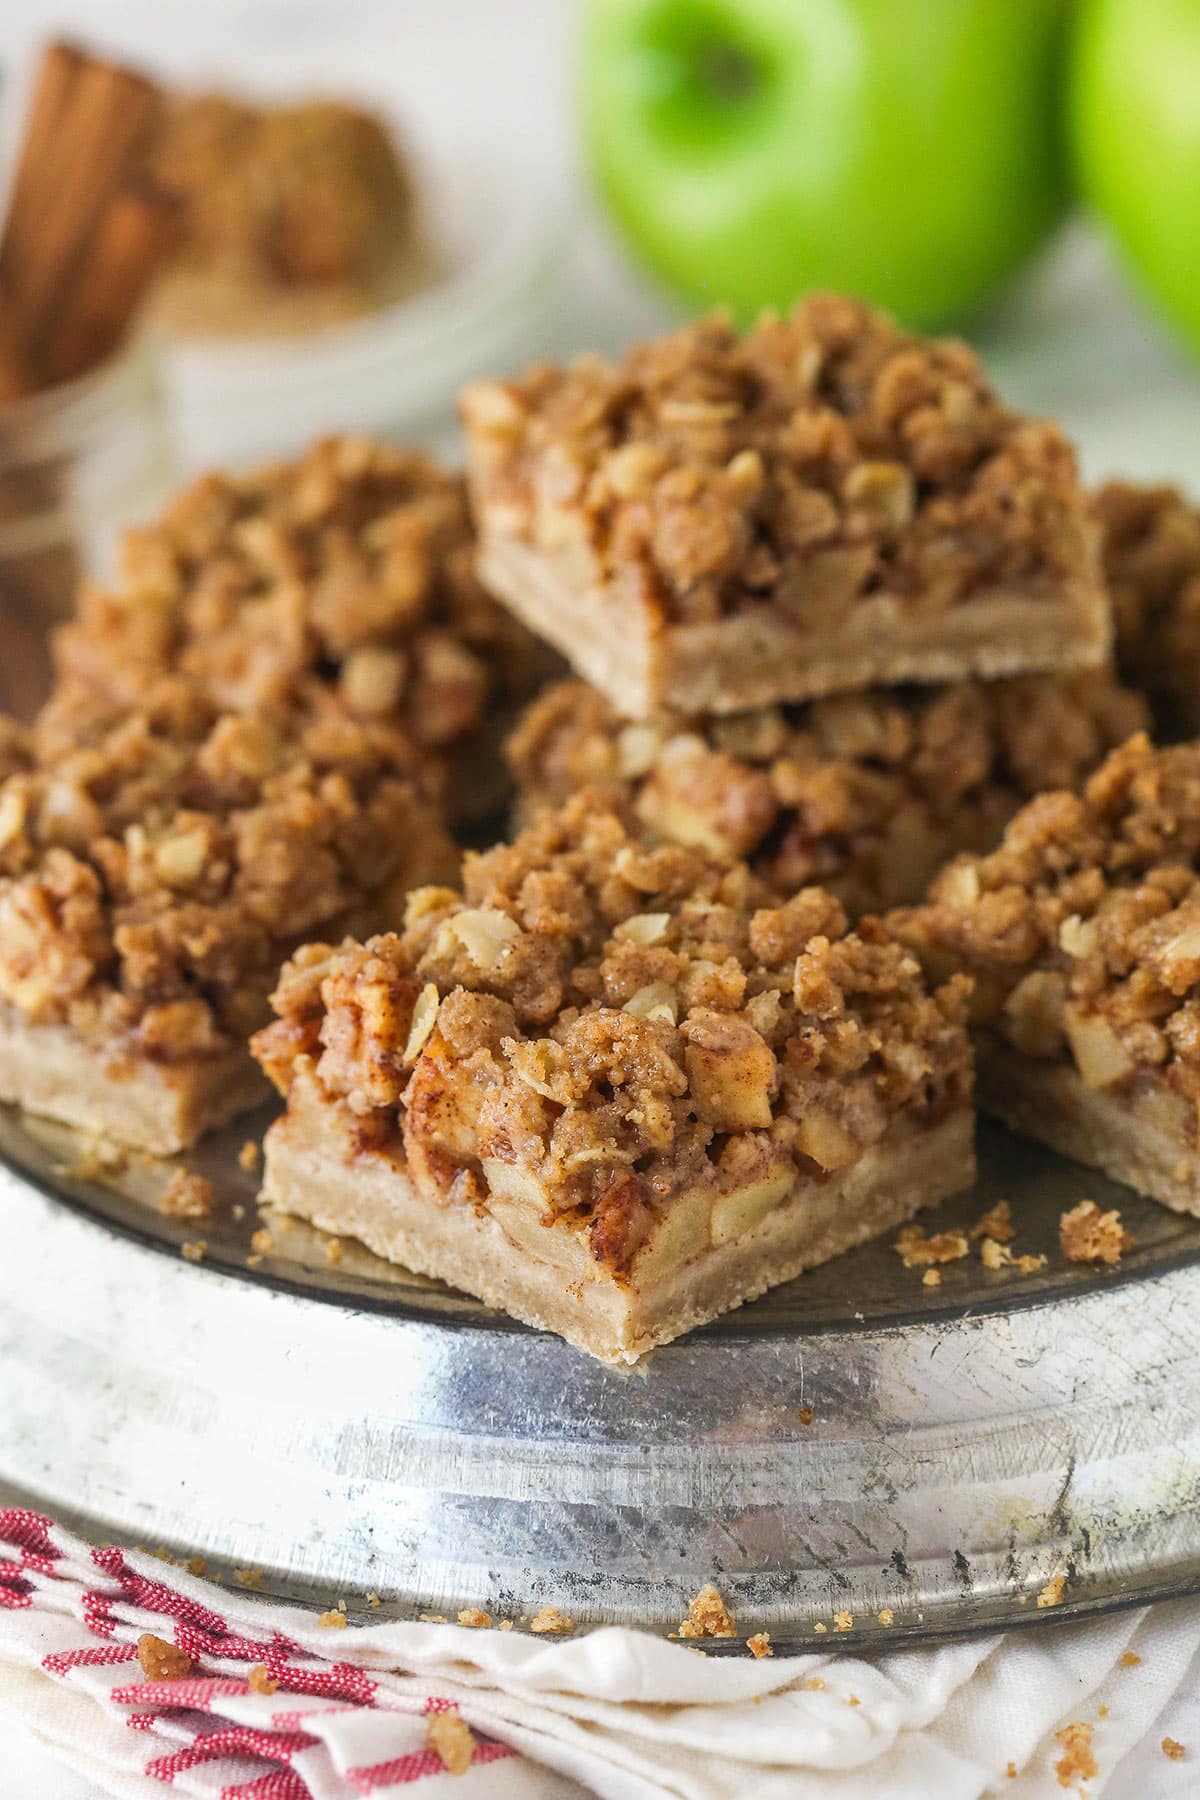
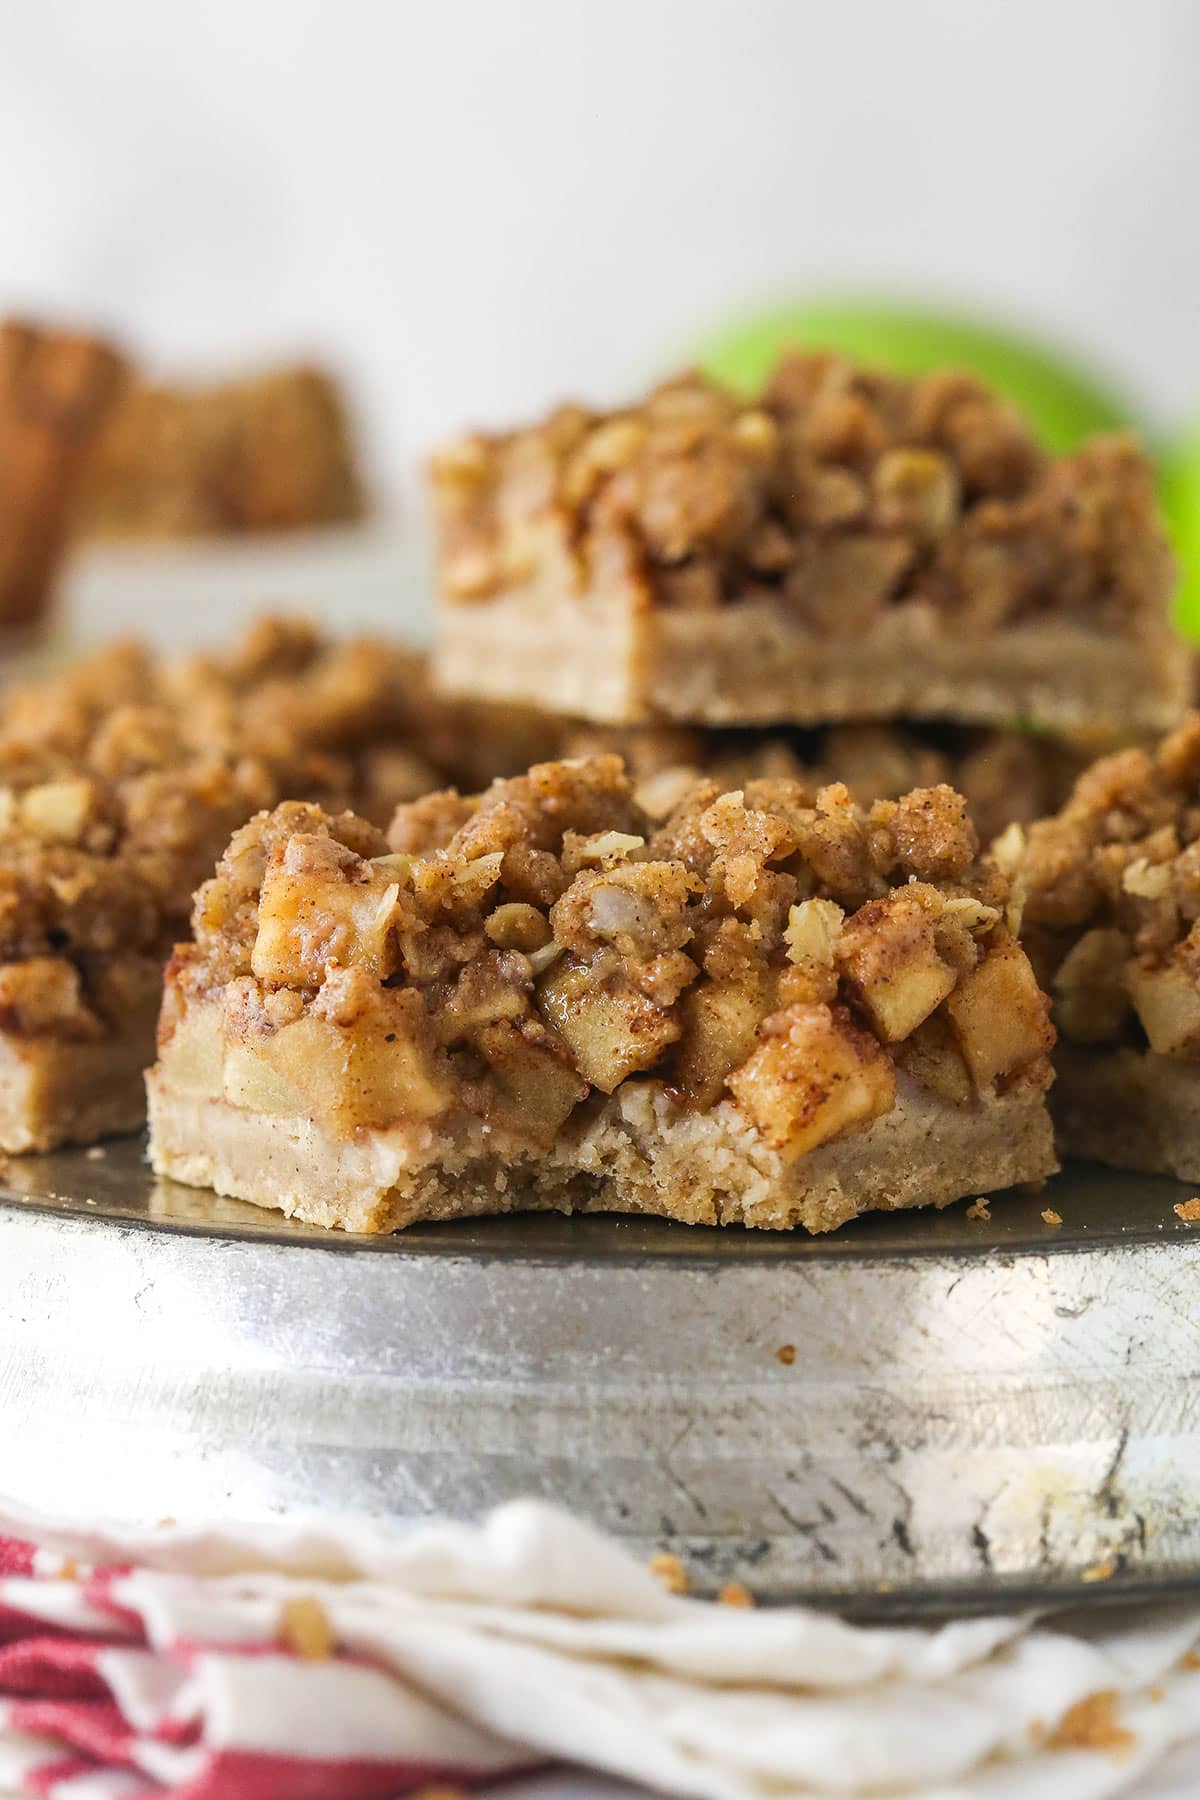
These apple pie bars have all of the amazing flavor of apple pie in a simple, easy-to-make bar. The crisp shortbread crust, the lightly sweet, spiced apple filling, and the crumble topping all come together to make the perfect fall dessert that’s great for sharing.
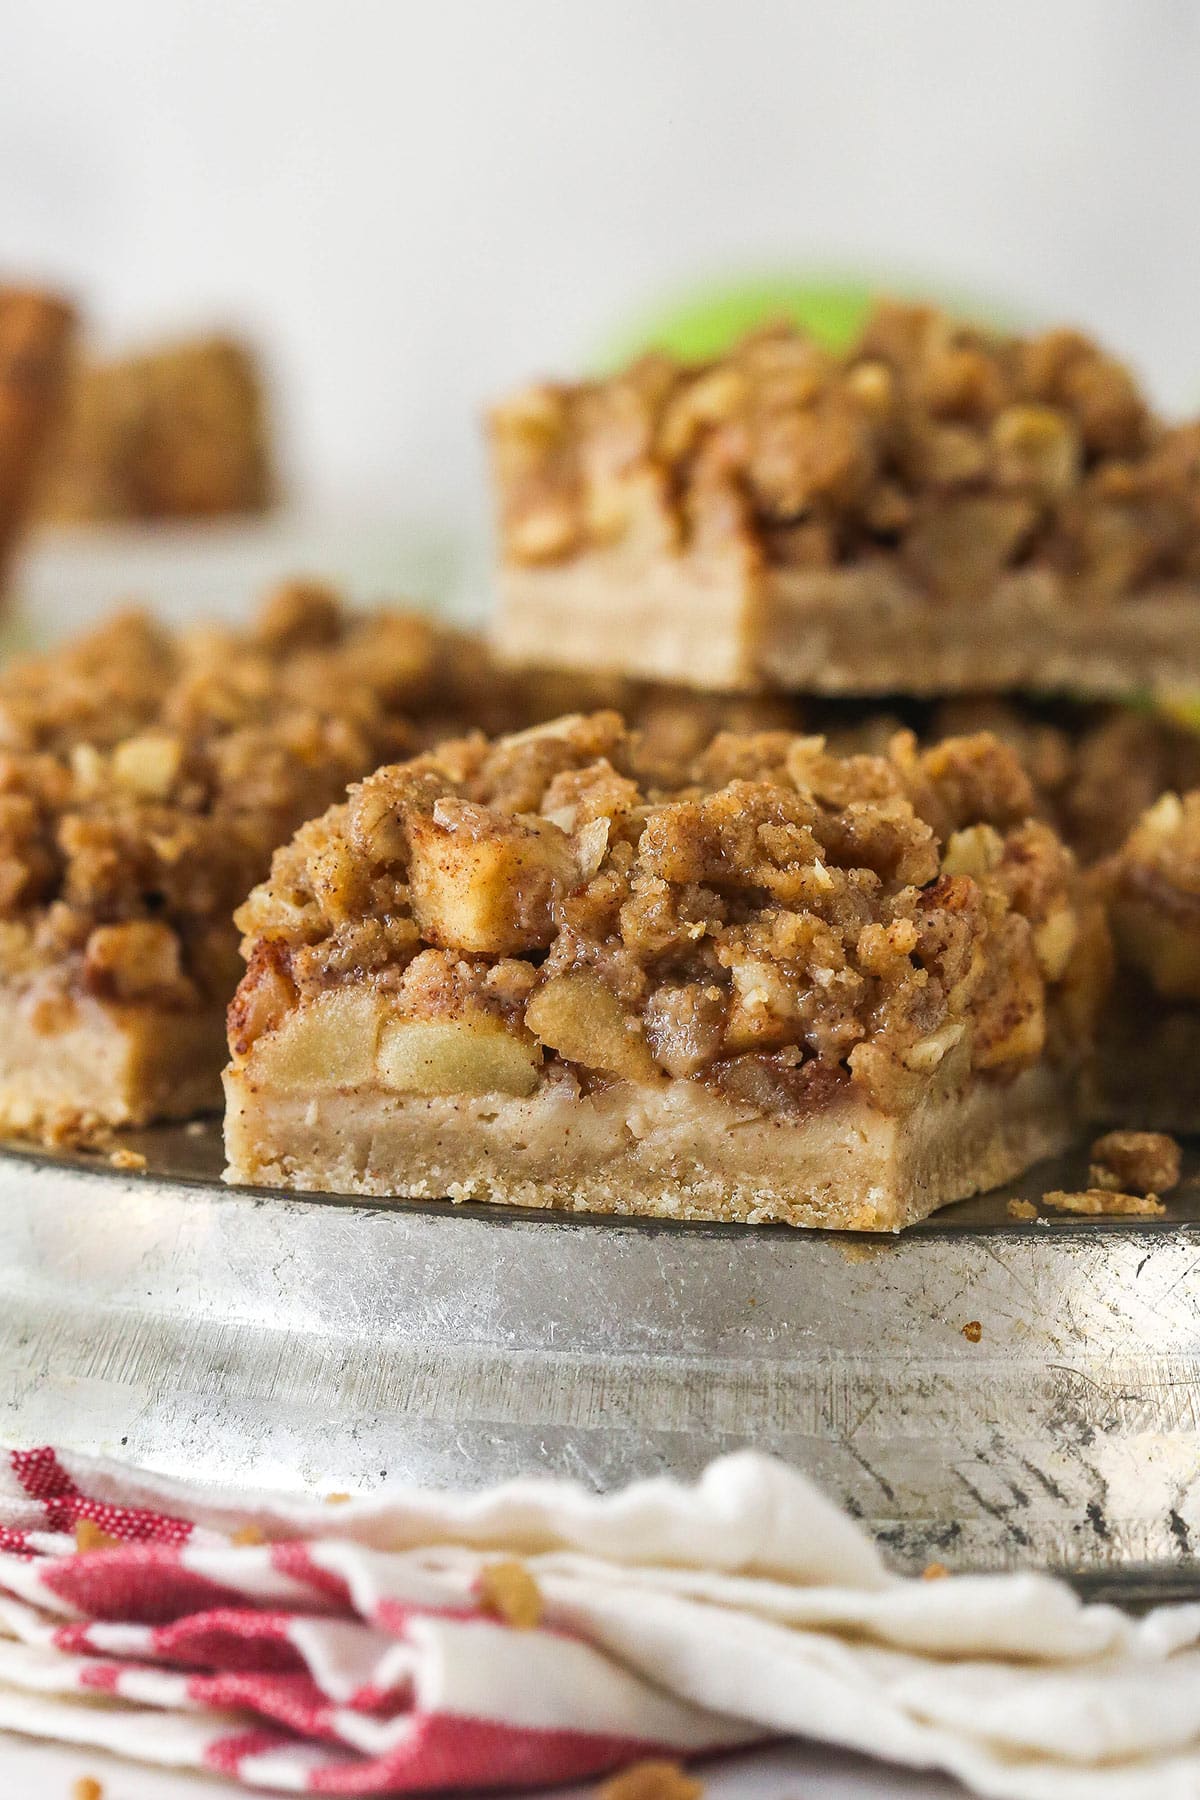
I love apple season. It’s the beginning of all the amazing flavors of fall. I get into berries over the summer, and then I remember how much I love apples and cinnamon. Yum!
We tested these apple pie bars a few different ways to make sure they were just right. We tried a large 9×13 pan, but found that they were hard to remove from the pan for cutting at that size. We also tried more or less apples, and even tried using sliced apples instead of chopped. You don’t want too many apples, or the bars are hard to hold and eat. Too few apples and they get overpowered by the topping. The final amount is just right. And as for sliced apples, they hold together a little better than the chopped, but somehow their flavor got lost. We preferred the chopped apples.
These apple pie bars are now my favorite thing to make when I’m craving apple pie but don’t have quite that much time or I need something a little easier to share. They’re a little more pie-like than my apple streusel bars (another favorite), which are a more cakey apple bar. So good!

Why Everyone Should Try These Apple Pie Bars
- Easy to make. Perhaps the best and most important thing about this recipe is that it’s crazy easy to make. There’s no finicky pie crust to deal with and each layer requires just a few ingredients.
- Warm fall flavors. There are few flavors that scream “Fall!” more than apples, cinnamon, and nutmeg. Every bite of these apple pie bars is filled with sweet, warm spiced flavor.
- Crumble topping. These bars are topped with a sweet, crumbly topping made with brown sugar, oats, and flour. It’s similar to the topping used in my apple crumb cheesecake pie and it’s so good!
- Made for sharing. These are a great alternative to pie for parties and other events where you want something more portable and easy to serve. One batch makes 12 to 15 bars, which is the perfect amount for most gatherings.
Ingredient Notes
One thing I love about these bars is that they’re made with very simple ingredients and there’s an overlap between ingredients in each layer, which means you really only need a handful of different ingredients. Here’s an overview of what you’ll need. The exact measurements can be found in the recipe card at the end of the post.
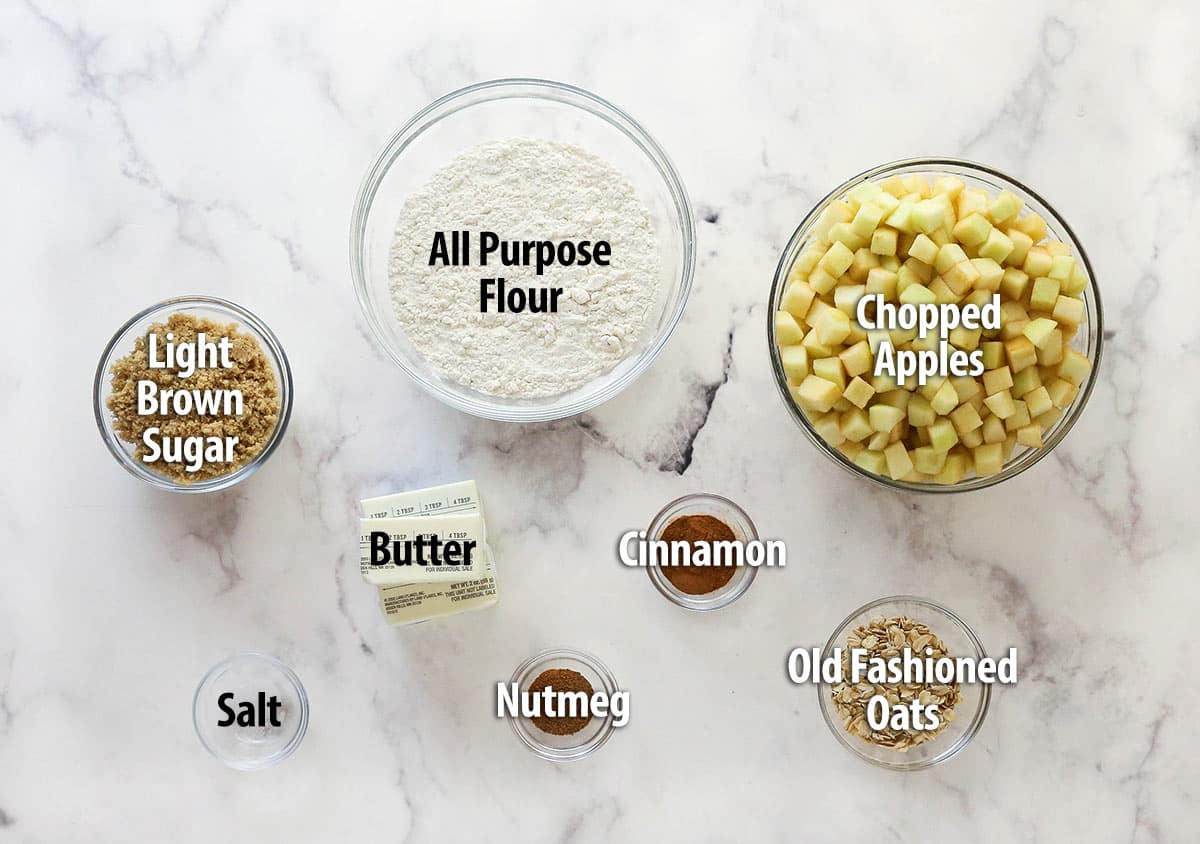
- All-purpose flour – Flour is the base of the shortbread crust. Smaller amounts are also used in the apple filling and the crumble topping. Use the spoon and level technique as outlined in my post How To Properly Measure Flour or a food scale for accurate measuring. Over measuring your flour will result in a dry, crumbly crust.
- Light brown sugar – I opted for brown sugar in all parts of this recipe. The light molasses flavor works very nicely with the apples and spices.
- Cinnamon & nutmeg – The quintessential apple pie spices! These add warmth that perfectly complements the apples and brown sugar.
- Butter – Room temperature butter is used in the crust while melted butter helps the crumble topping come together. I recommend unsalted here to fully control the flavor.
- Salt – Brings out the flavors already present. Don’t leave it out!
- Apples – Any apples you enjoy in apple pie work great here. Feel free to use a combination of sweet and tart varieties for a more robust flavor. I used Granny Smith and Honeycrisp apples.
- Rolled oats – Add texture and volume to the crumble topping.
How To Make Apple Pie Bars
These bars are quick and easy to make! The hardest part is waiting for them to chill before diving in. The printable instructions can be found in the recipe card below.
To begin, preheat the oven to 300°F. Line the pan with parchment paper, leaving overhang on the sides.
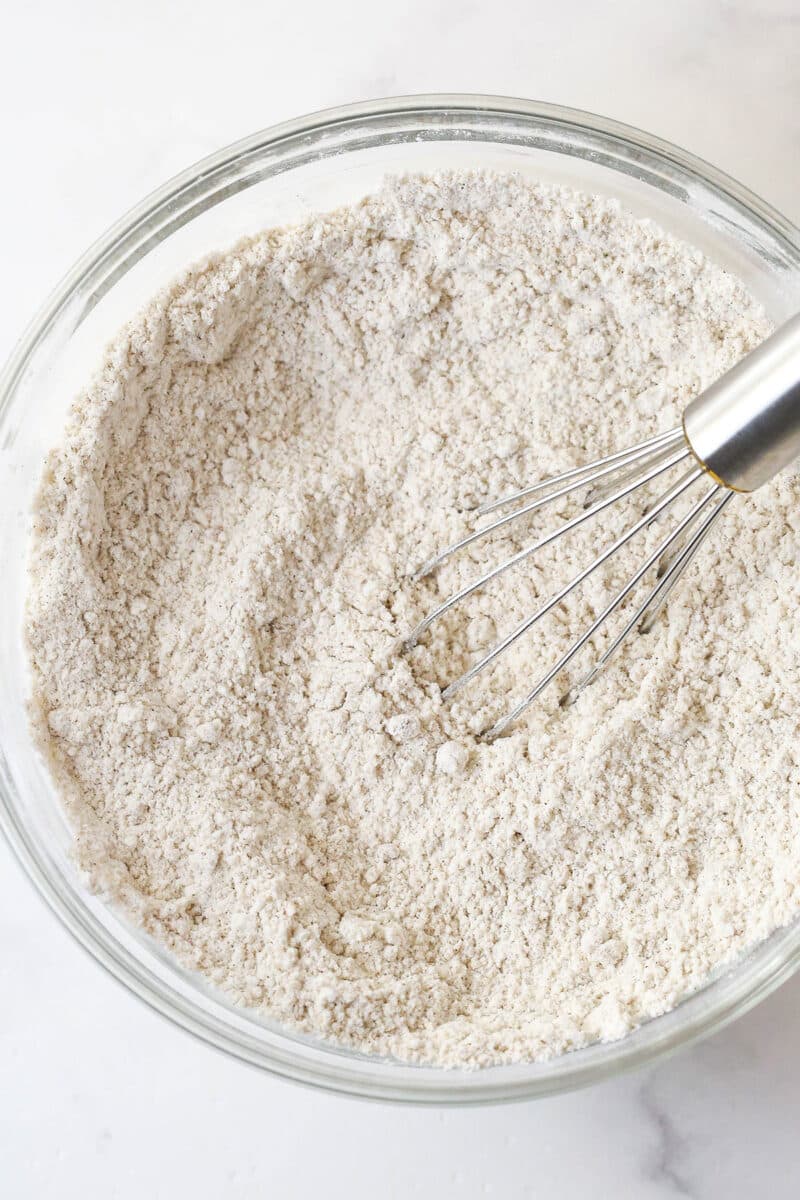
Whisk the flour, brown sugar, and cinnamon together.
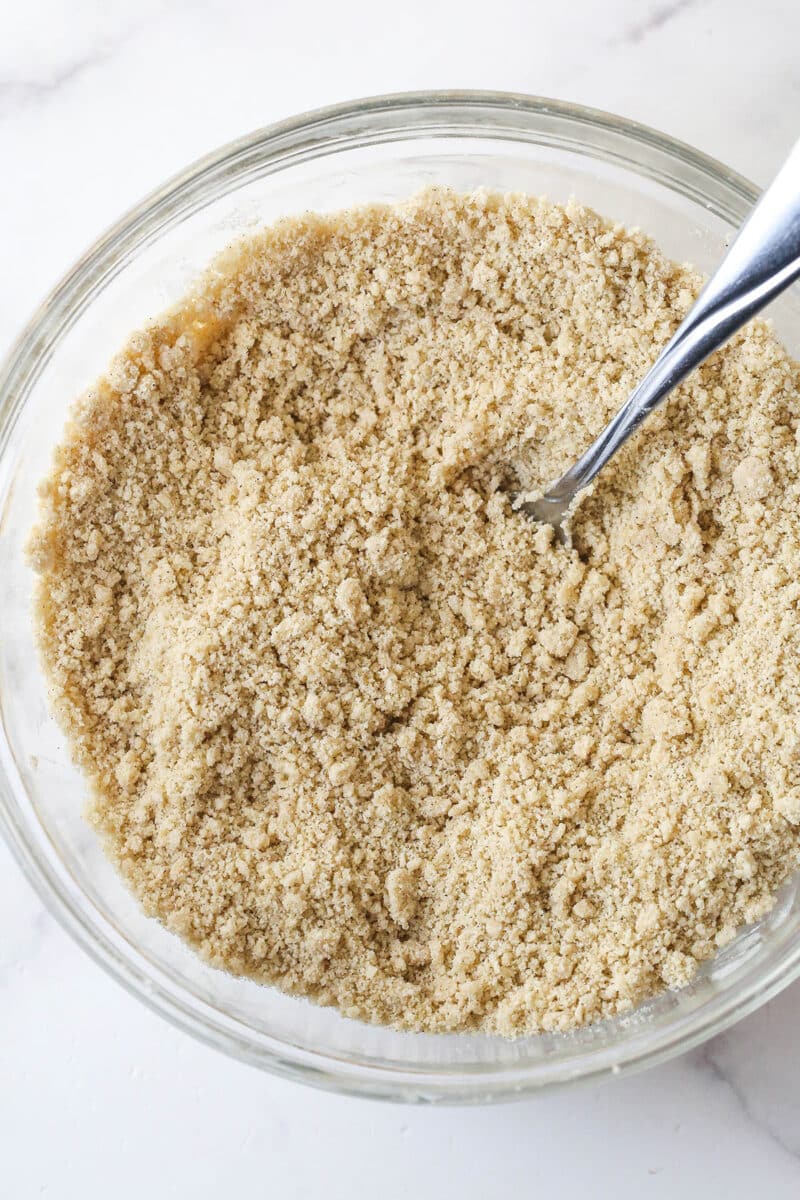
Cut in the butter until crumbly.
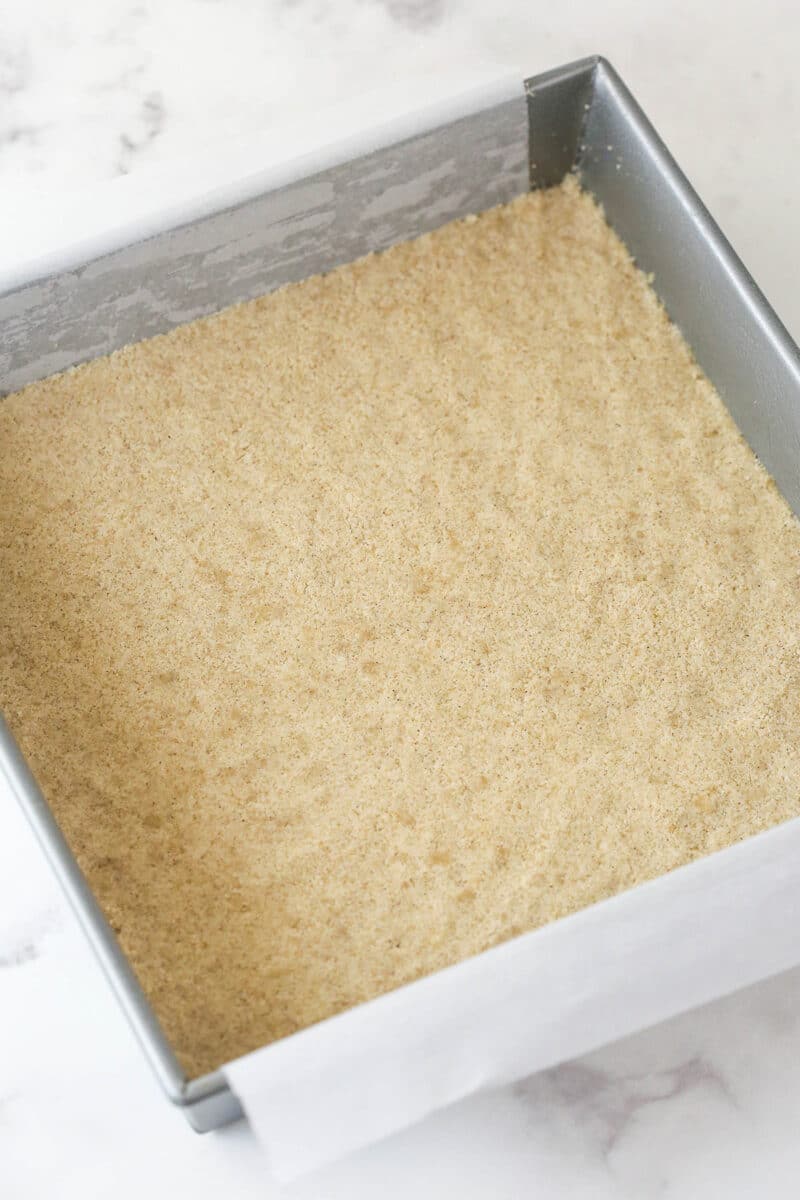
Press the mixture evenly into the bottom of the pan.
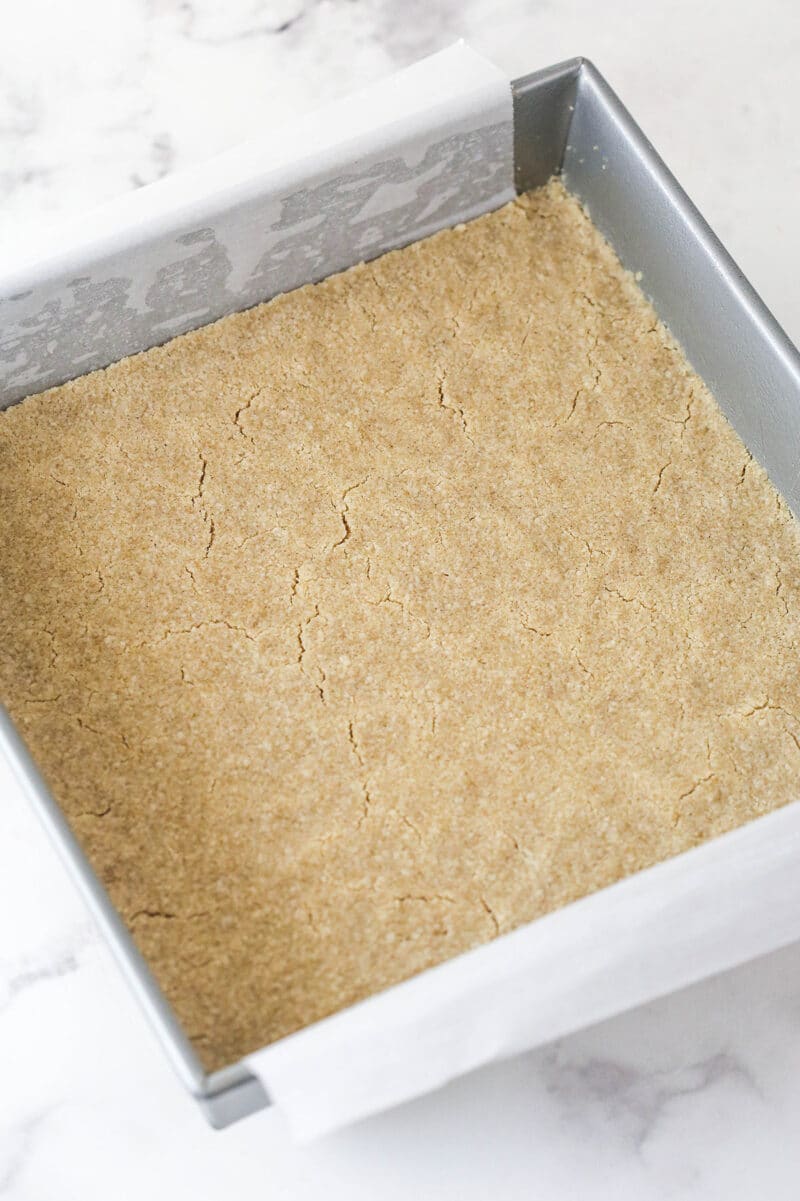
Bake for 10-15 minutes. When it’s done, increase the temperature to 325F.
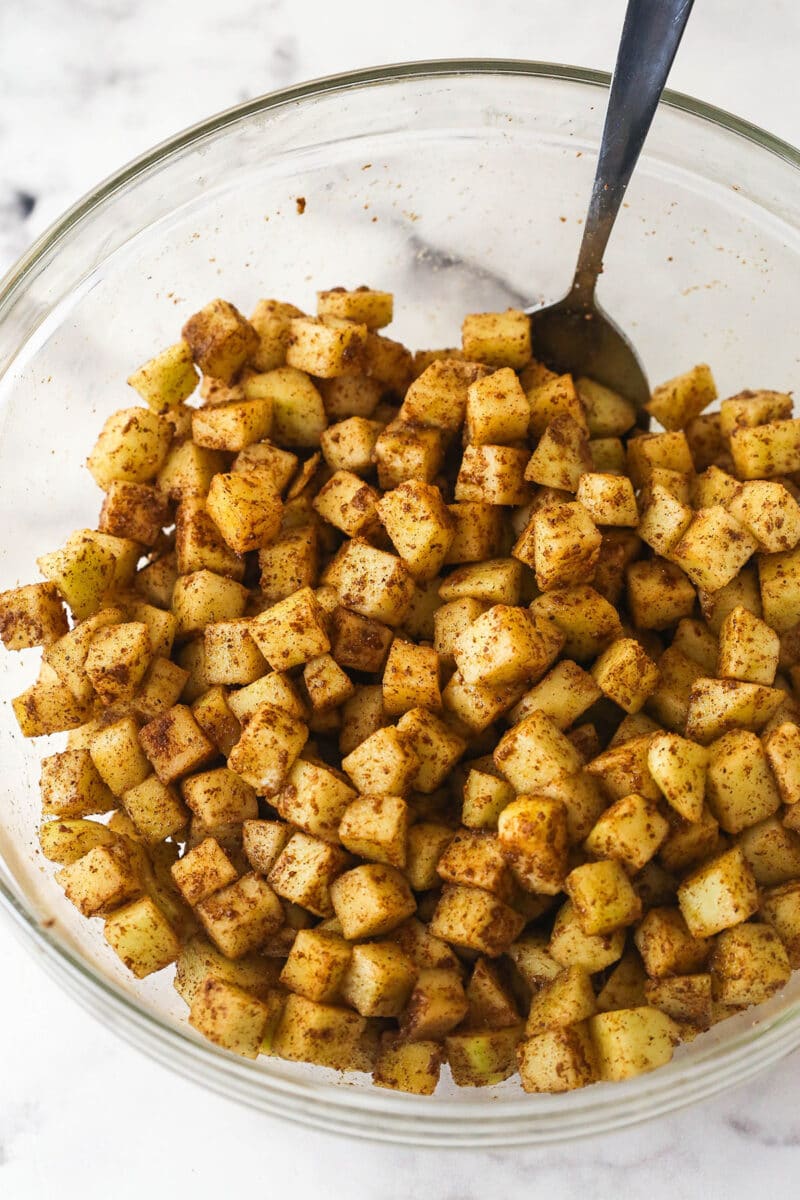
Gently combine the apples, flour, brown sugar, and spices.
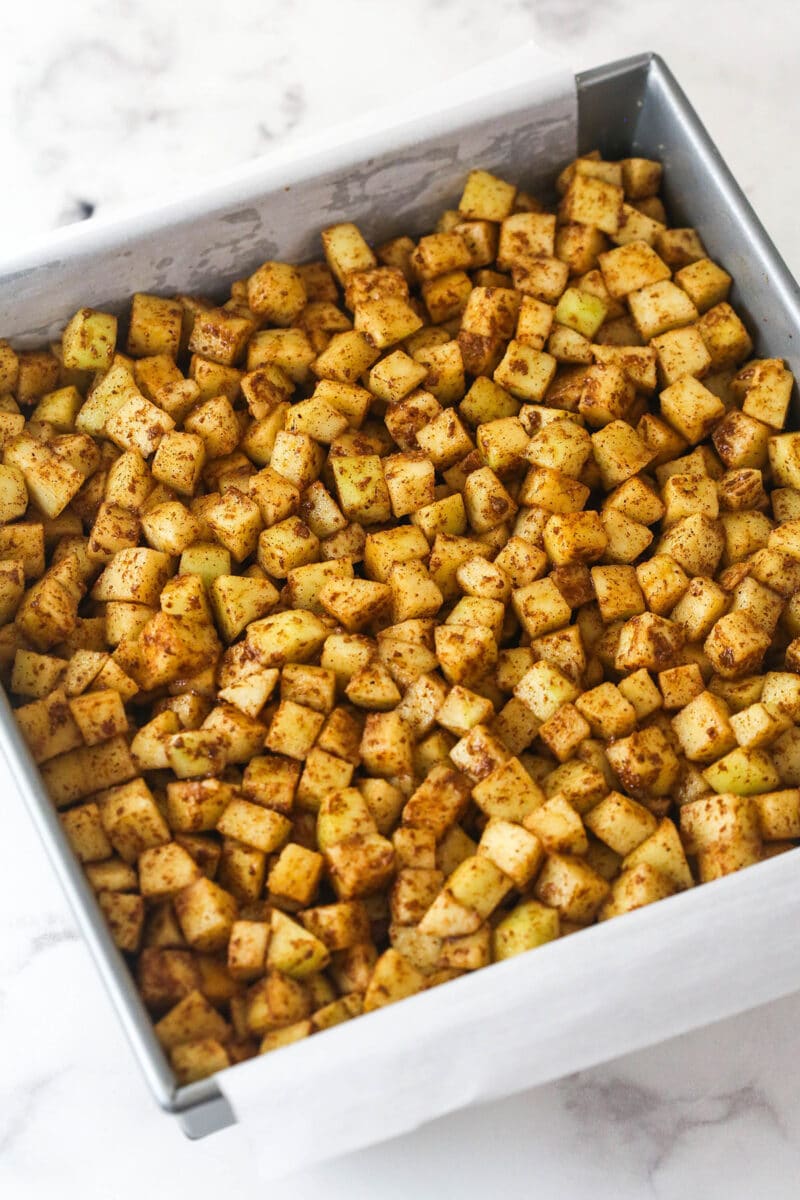
Spread the filling evenly over the crust.
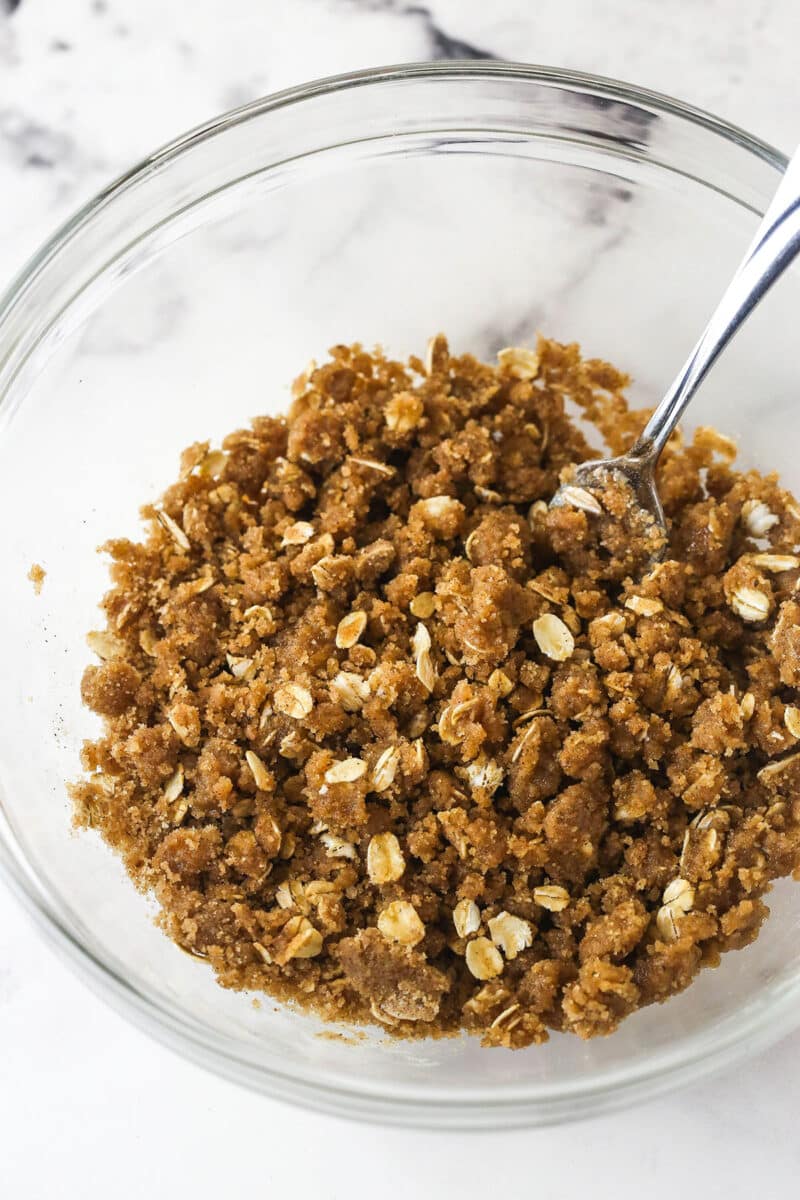
Combine the flour, oats, brown sugar, and spices. Stir in the melted butter.
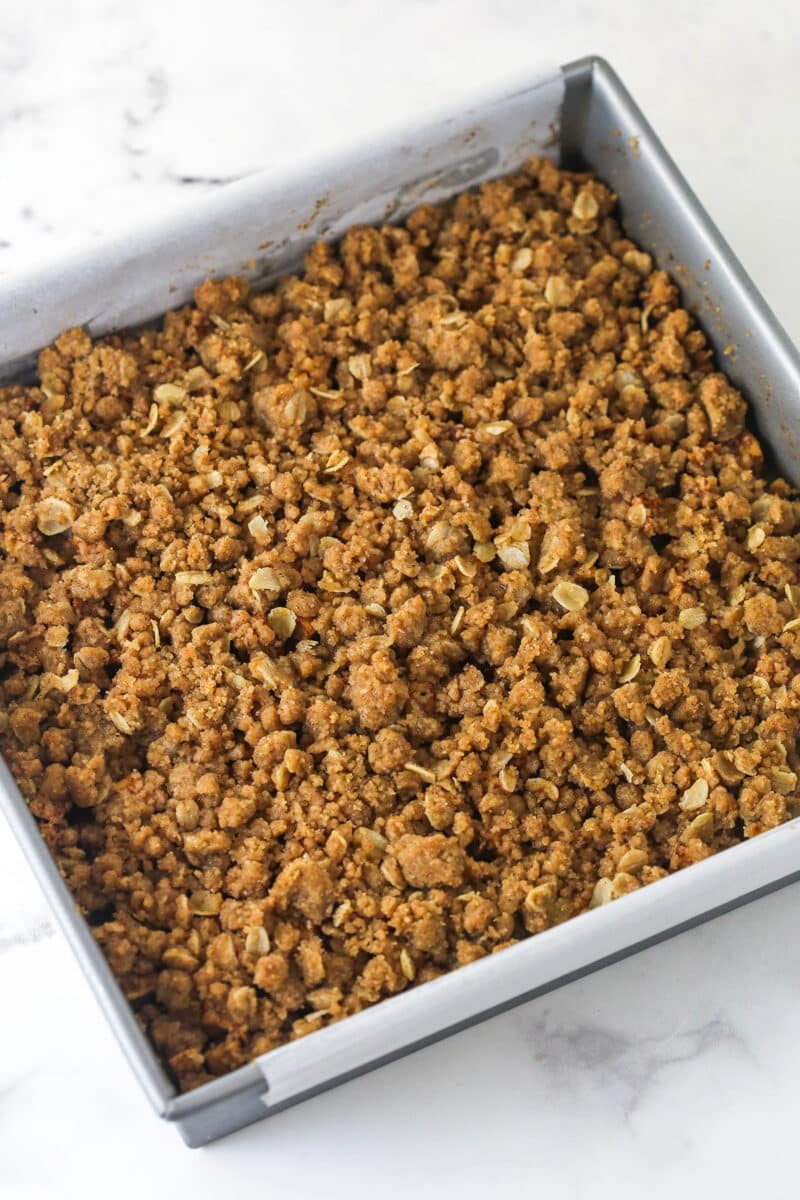
Sprinkle the topping evenly over the apple filling.
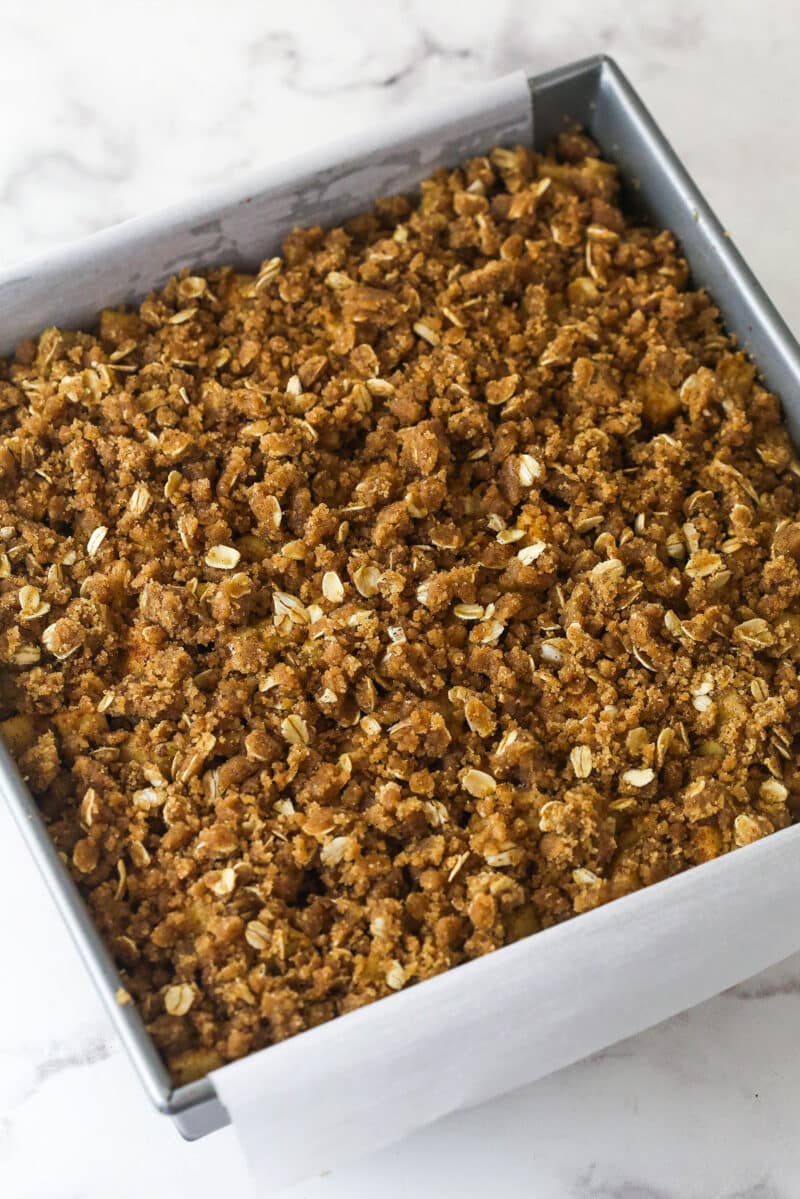
Bake for 45-50 minutes, until the apples are tender.
Let the apple pie bars cool on the counter for about an hour and then refrigerate until cold and firm. Before serving, use the parchment paper to remove them from the pan and cut into bars.
Tips & Tricks
- Use sweet & tart apples. You can absolutely make these apple pie bars with one type of apple, but if you have the option, I highly recommend using one sweet variety (like Honeycrisp, Gala, or Pink Lady) and one tart variety (like Granny Smith or Braeburn). It adds extra depth to the flavor.
- Chopped, not sliced, apples. I tested these bars with both sliced apples and chopped apples. For some reason, the bars with sliced apples didn’t have as much flavor. So for the apple-iest flavor, stick with chopped apples.
- Measure properly. One of the biggest culprits of dry treats is over measuring your flour. To avoid this, use the spoon and level technique or better yet, a food scale, for accurate measuring. This is particularly important for the crust.
- Use parchment paper. I highly recommend lining the pan with parchment paper and leaving an overhang. Then, once the bars are done, you can easily lift them out of the pan to slice. It makes clean-up a breeze too!
- Pre-bake the crust. It is necessary to par-bake the shortbread crust. Otherwise, it won’t cook fully under the pie filling and you’ll have a soft, mushy crust instead of a firm one.
- Refrigerate before slicing. If you try to slice these apple pie bars when they’re warm, the filling will fall all over. Instead, let them cool at room temperature for an hour and then refrigerate until they’re completely firm before slicing.
Proper Storage
- Fridge: Store apple pie bars in the fridge, well-covered or in an airtight container. They are best eaten within 4-5 days.
- Freezer: Wrap the bars tightly in plastic wrap then place in a freezer-safe container. Freeze for up to 3 months. Thaw in the fridge.
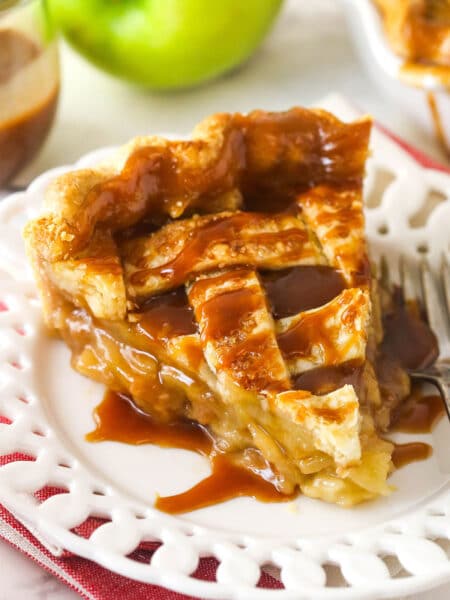
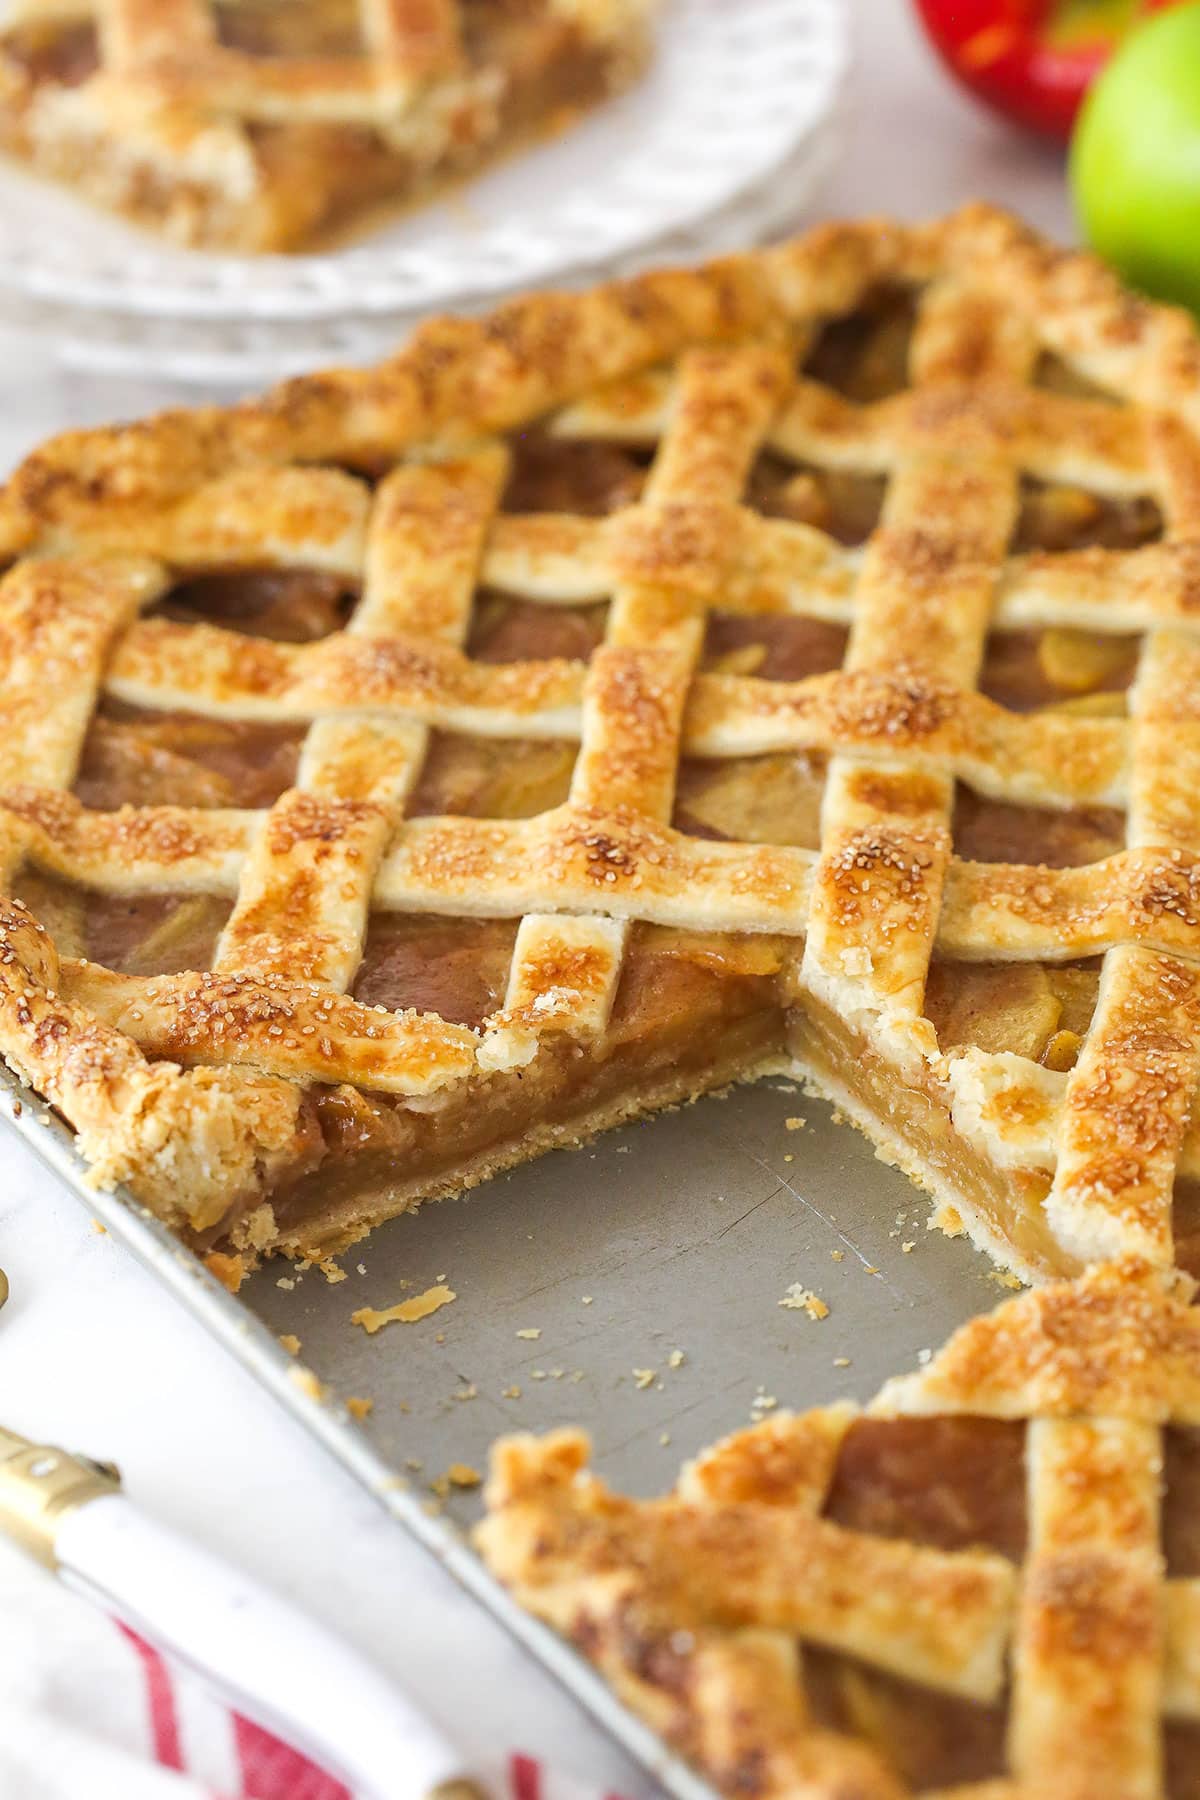
More Apple Desserts To Try
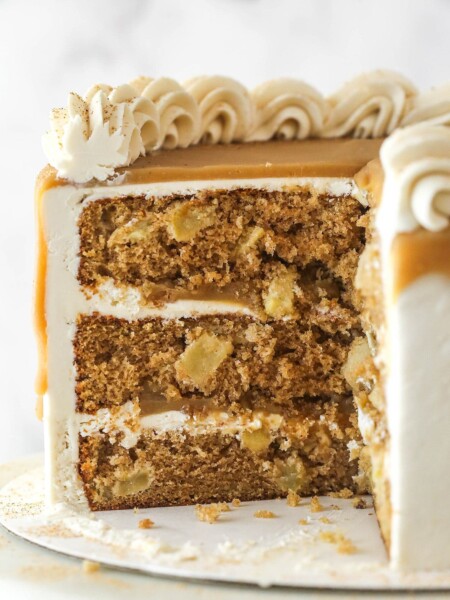
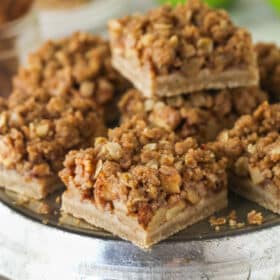
Apple Pie Bars
save this recipe
Enter your email & we’ll send it to your inbox. Plus get new recipes from us every week!
Ingredients
Shortbread Crust
- 1 ½ cups (195g) all-purpose flour
- 6 tablespoons (84g) light brown sugar (packed)
- ¾ teaspoon ground cinnamon
- ½ cup (112g) unsalted butter (room temperature)
- Pinch of salt
Apple Pie Filling
- 4 ¾ cups (534g) chopped apples (4-5 large apples)
- 1 tablespoon (8g) all-purpose flour
- 2 tablespoons (28g) light brown sugar (packed)
- 2 ¼ teaspoons ground cinnamon
- 1 teaspoon ground nutmeg
Crumble Topping
- ½ cup (65g) all-purpose flour
- ¼ cup (21g) old-fashioned rolled oats
- ½ cup (112g) light brown sugar (packed)
- 1 ½ teaspoons ground cinnamon
- ½ teaspoon ground nutmeg
- ¼ cup (56g) unsalted butter (melted)
Instructions
- Preheat oven to 300°F and prepare a 9-inch pan with parchment paper that sticks up above the sides of the pan, so that you can remove the bars later for easy cutting.
- In a medium bowl, combine the flour, brown sugar and cinnamon.
- Cut butter into the flour mixture with a pastry blender or fork until mixture is crumbly.
- Press evenly into the bottom of the pan and bake for 10-15 minutes. When the crust is done, turn the temperature up to 325°F.
- In another large bowl, gently combine the apples, flour, brown sugar, cinnamon and nutmeg. Spread the cinnamon apples evenly over the crust.
- In another small bowl, combine the flour, oats, brown sugar, cinnamon and nutmeg for the streusel. Add the melted butter and stir together until crumbly.
- Sprinkle the topping evenly over the apples.
- Bake the bars for about 45-50 minutes, or until the apples are tender. Remove the bars from the oven and allow to cool on the counter for about an hour, then refrigerate until cold and firm.
- Use the parchment paper to remove the bars from the pan and cut into bars. Bars should be stored well covered in the fridge and eaten within 4-5 days.
Nutrition
The nutrition facts provided are calculated using a third-party tool and are estimates only. Actual nutritional content may vary based on the ingredients and brands you use, as well as portion sizes. For accurate results, please consult a registered dietitian or nutritionist.