

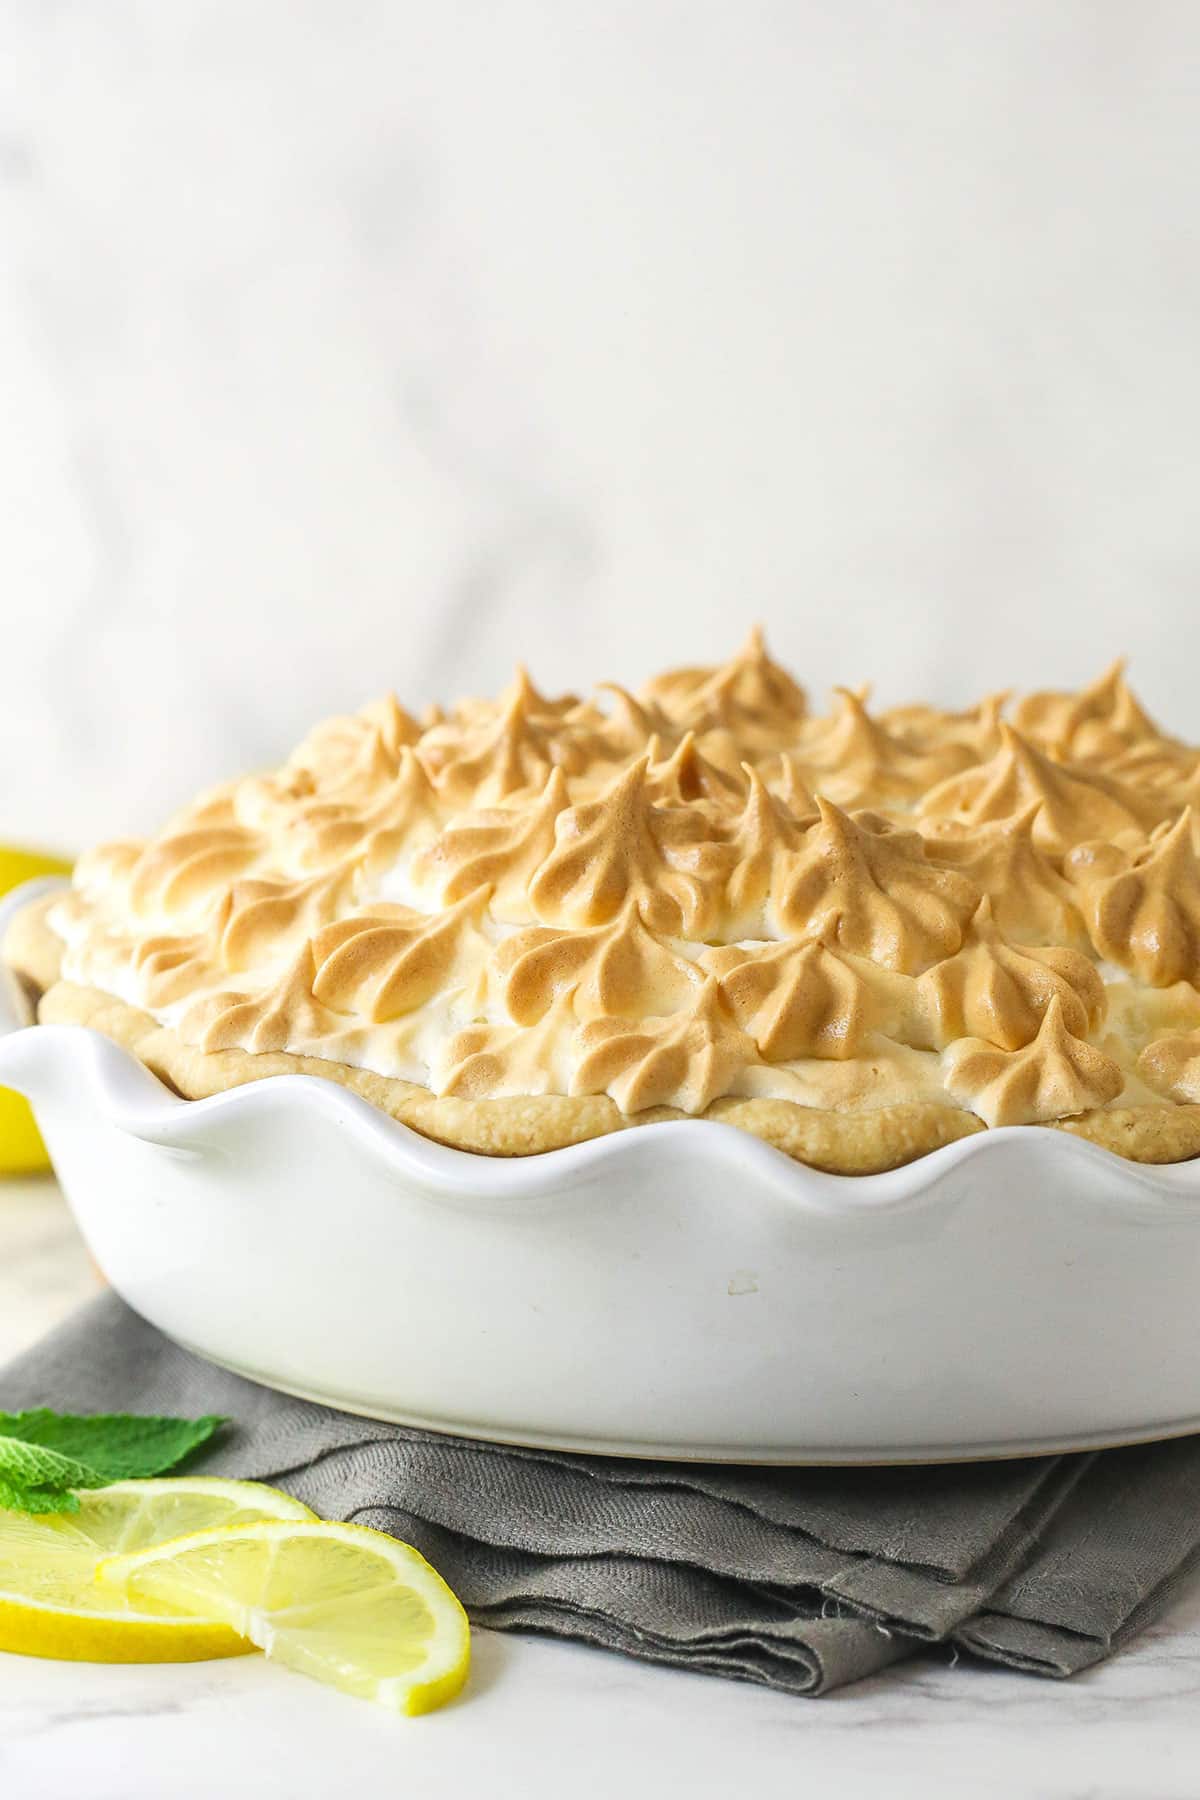
This classic lemon meringue pie features a sweet-tart lemon filling in a buttery crust topped with a light, but stable meringue. A few simple tricks help prevent weepy, watery meringue and ensure a pie that holds up well for days.

I really enjoy a good lemon meringue pie. The tart, but also sweet, lemon filling with the light meringue and the crisp, buttery crust is a heavenly combination. But meringue can be finicky and is the defining piece that determines a great pie, or a soupy pie. I did alllll the testing so that you can have it turn out right every time!
This pie uses the more traditional French meringue topping, but it is fully baked. While French meringue can be finicky and will eventually begin to weep a bit, if done correctly it can actually hold up really well for several days. The key to a stable meringue that doesn’t immediately weep is to use cream of tartar, a little cornstarch, and to cook it fully.
And if you want a truly reliable meringue that won’t weep at all, you can go with a Swiss meringue. It’s what I use on my Lemon Meringue Cheesecake. It’s delicious and I love it, but it has more of a marshmallow-y flavor to it, which I personally think can overpower this pie a bit. But it is super reliable!

Why This Is The Best Lemon Meringue Pie
- Tart lemon filling. One of the reasons I love lemon meringue pie is the creamy sweet/tart lemon filling. It manages to be both sweet and tart, which is how lemon is supposed to be.
- Perfect stable meringue. After lots of trial and error, I finally figured out how to make a stable meringue topping that doesn’t weep. There’s no need to devour this pie in a few hours because the topping holds up for days. Just be sure to read through all the tips in this post before starting, so you can avoid some of the common mistakes!
- Easy to make. The crust, filling and meringue each come together quickly and are fairly simple to make. The part you have to pay the most attention to is baking to ensure the meringue is fully baked.
- Great for holidays. There are a few pies that make an appearance at nearly every holiday dessert table. For my family, that’s usually chocolate cream pie, pumpkin pie, and lemon meringue pie. I am now volunteered to make this pie every holiday, and everyone is always impressed by how pretty it is, how nice it looks, and how good it tastes.
Key Ingredients
Here’s an overview of the ingredients needed for each element of this pie recipe and why each one is important. The exact ingredient measurements can be found in the recipe card at the bottom of the post.
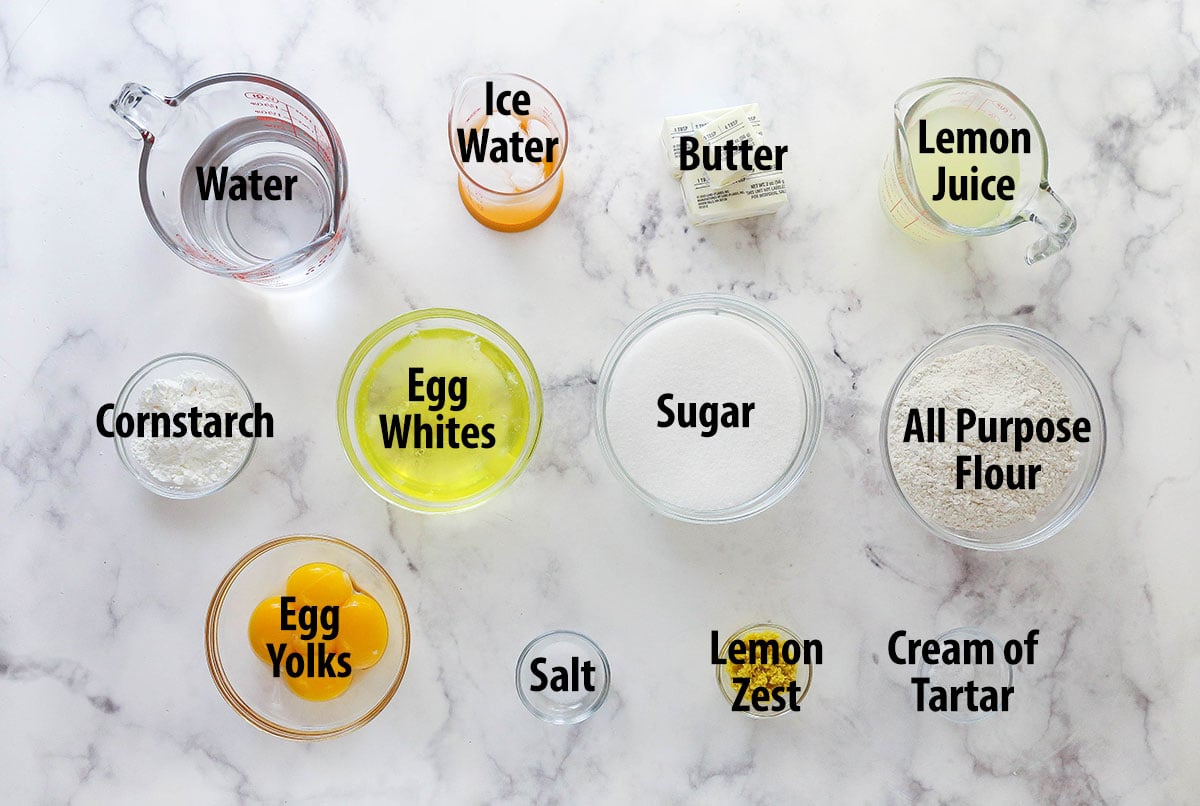
Crust Ingredients
- Flour – I recommend weighing the flour for accurate measuring. No one wants a dry crust! If you don’t have a food scale, the spoon and level technique is best, as described in my How To Properly Measure Flour post.
- Salt – To enhance the flavor in the crust.
- Butter – I always use unsalted butter. If you happen to use salted butter, skip the salt. It should be very cold and cut into ½ inch cubes. Sometimes I even freeze it for a few minutes before using it.
- Ice water – It is important to use ice water, not just cool water. The goal is to keep the butter as cold as possible to ensure a flaky crust.
Lemon Filling Ingredients
- Egg yolks – Help to thicken the filling and add to its flavor.
- Water – Adds the volume and liquid needed, without adding fat, like milk or cream would.
- Cornstarch – Along with the egg yolks, the cornstarch helps to thicken the lemon filling.
- Salt – Enhances flavors already present in the pie filling.
- Lemon juice – Use fresh lemon juice, not bottled, for best flavor.
- Lemon zest – Amps up that yummy lemon flavor.
- Butter – Adds to the texture, flavor, and appearance of the filling.
Meringue Ingredients
- Egg whites – The main component of our meringue.
- Cream of tartar – Adds stability to the egg whites and helps prevent weeping.
- Sugar – Aids in building the structure of the meringue. It adds strength and elasticity to the proteins in the egg whites.
- Cornstarch – Also helps guard against weeping, but you could leave it out if you’d prefer.
How To Make Lemon Meringue Pie
The most important thing to remember with this pie is that the crust needs to chill for several hours before baking, and the meringue needs to be added to a warm pie filling. Feel free to make the pie crust in advance to speed things up! More detailed printable instructions can be found in the recipe card below.
Make the crust
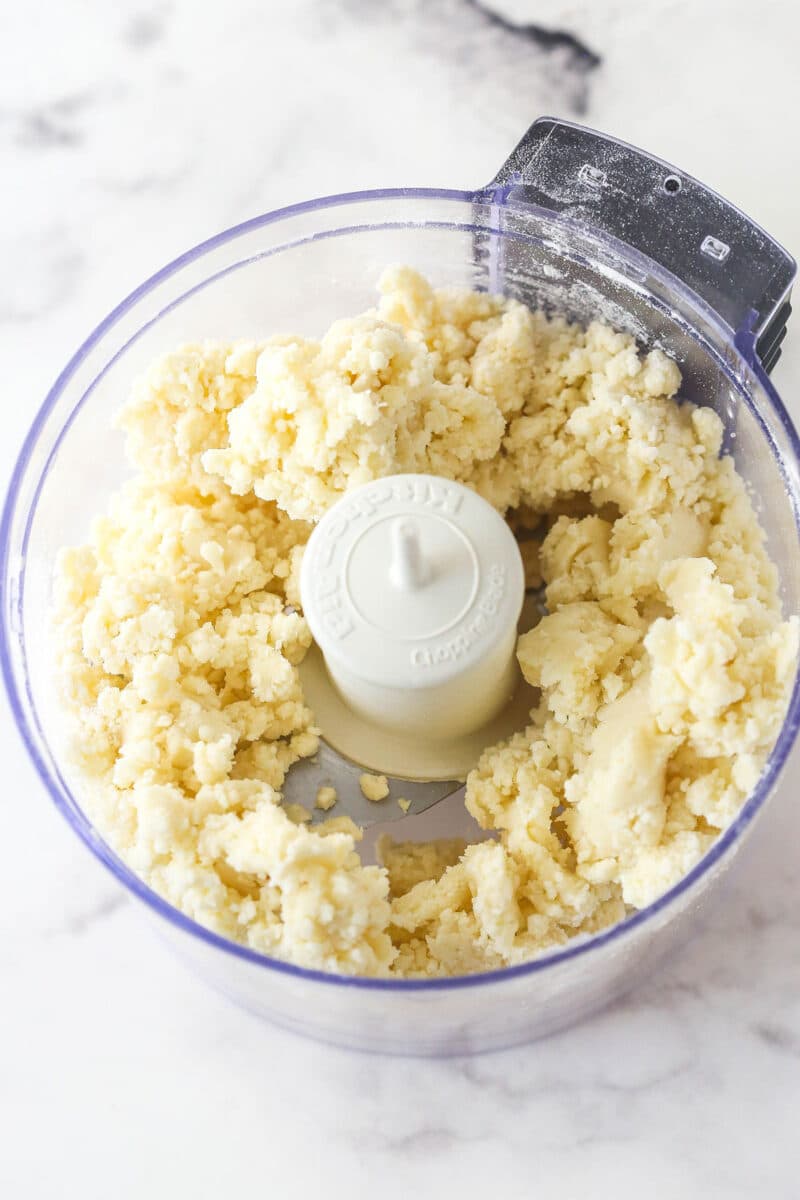
Pulse 3/4 cup flour and salt 2-3 times. Add the cubed butter and pulse until a crumbly dough forms.
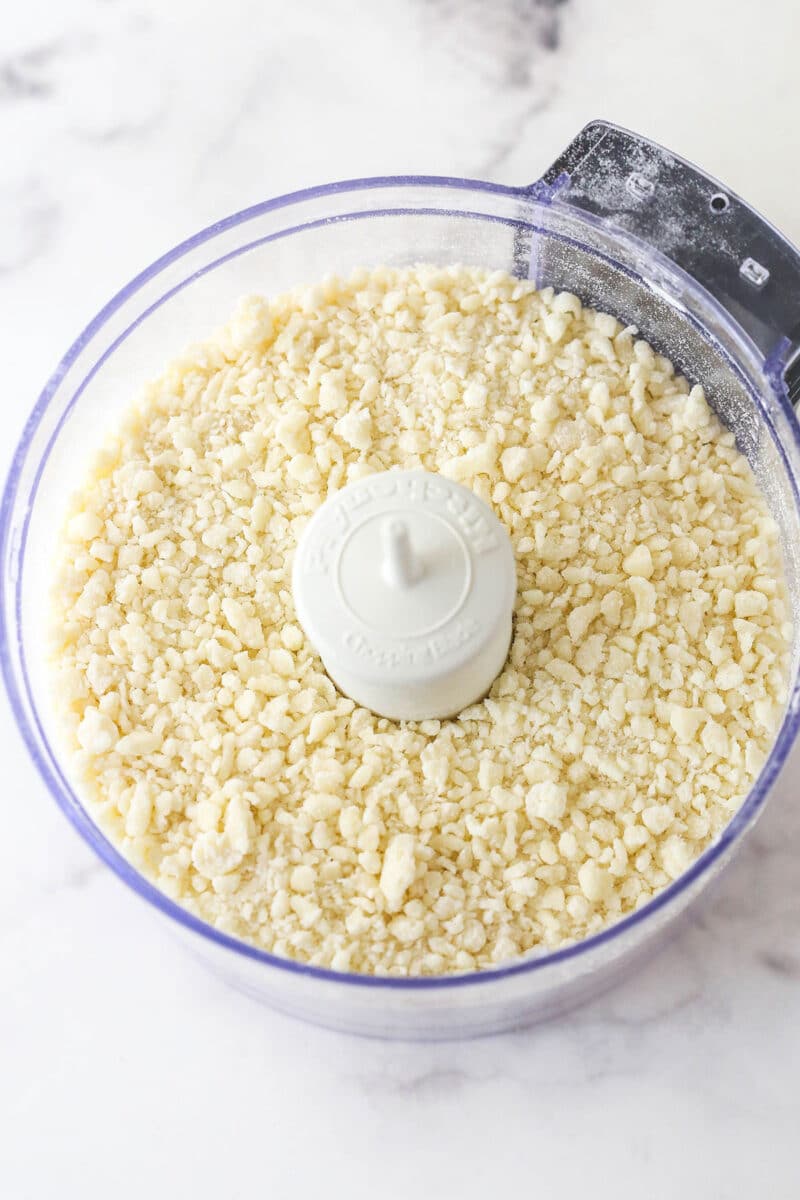
Add the remaining flour. Pulse until combined with a sandy appearance and no large chunks.
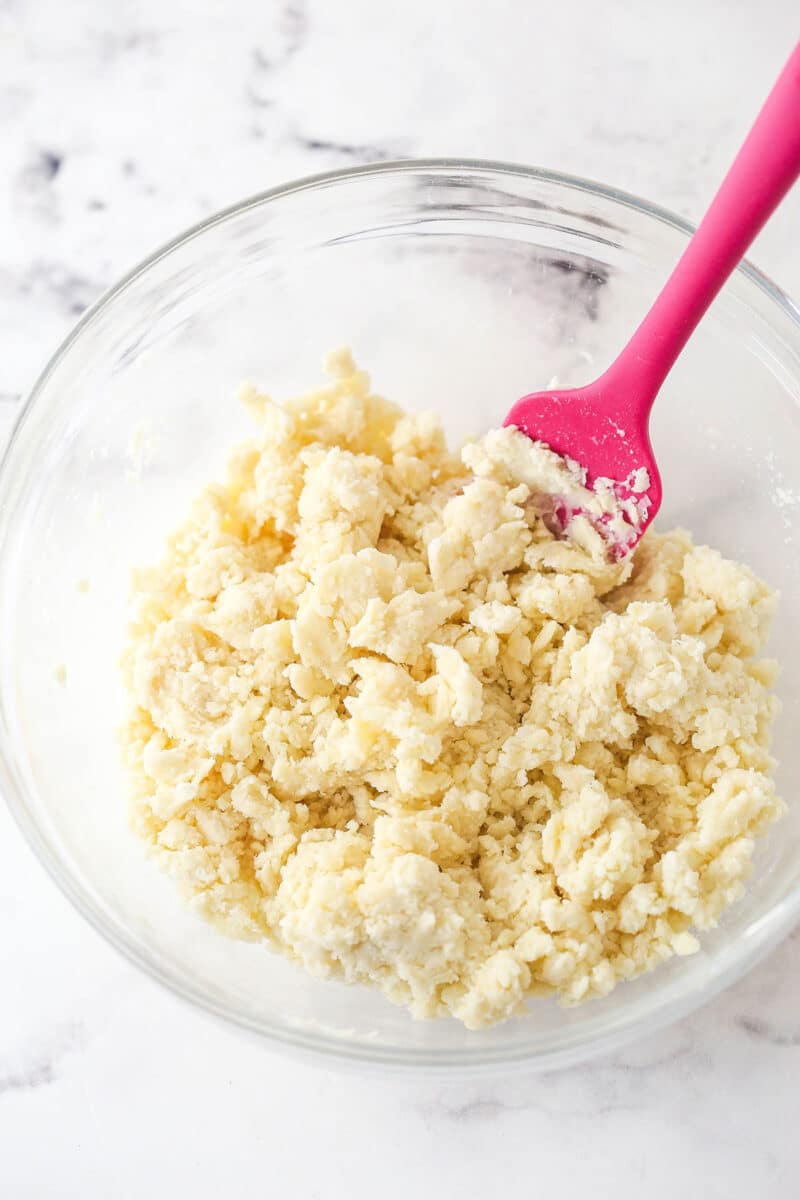
Transfer to a bowl and add 2 tablespoons of ice water. Use a spatula to fold it together.
NOTE: The dough is ready if it holds together nicely if when you pinch it. If it falls apart, add more water and continue to press together with the spatula.
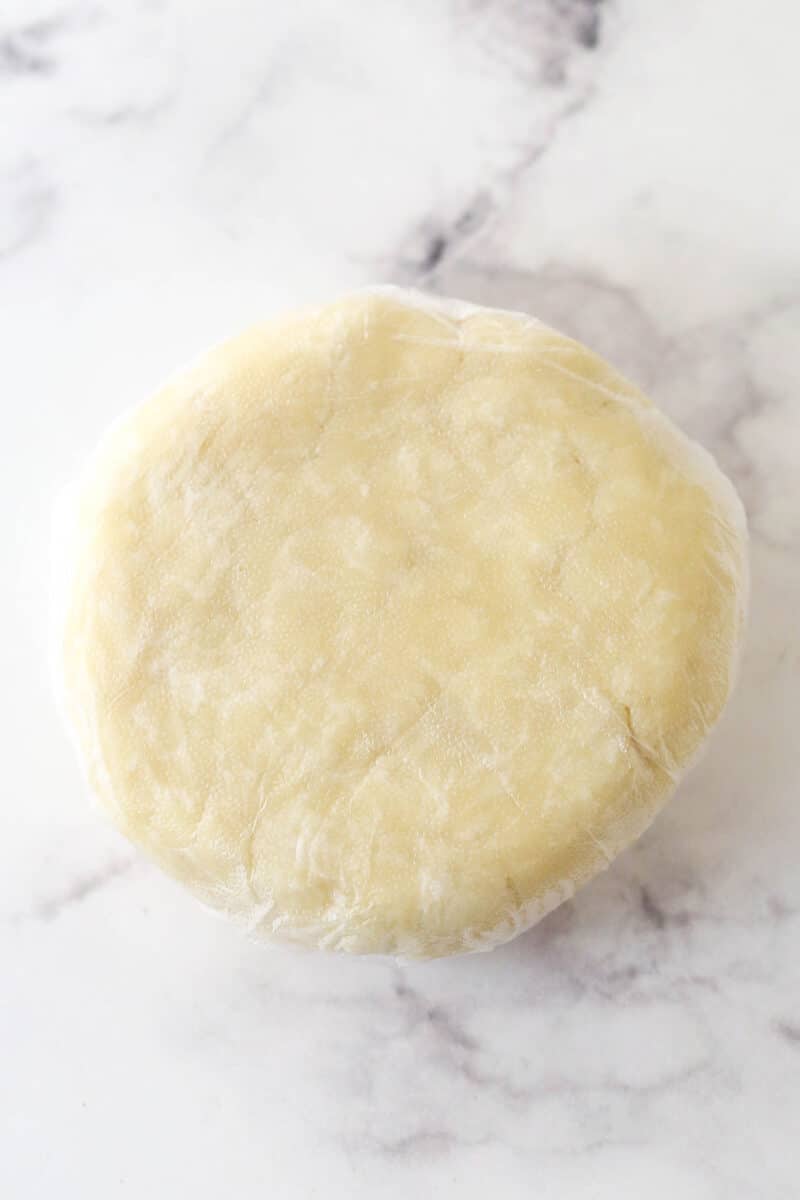
Shape the dough into a disc. Wrap in plastic wrap, then refrigerate for at least an hour.
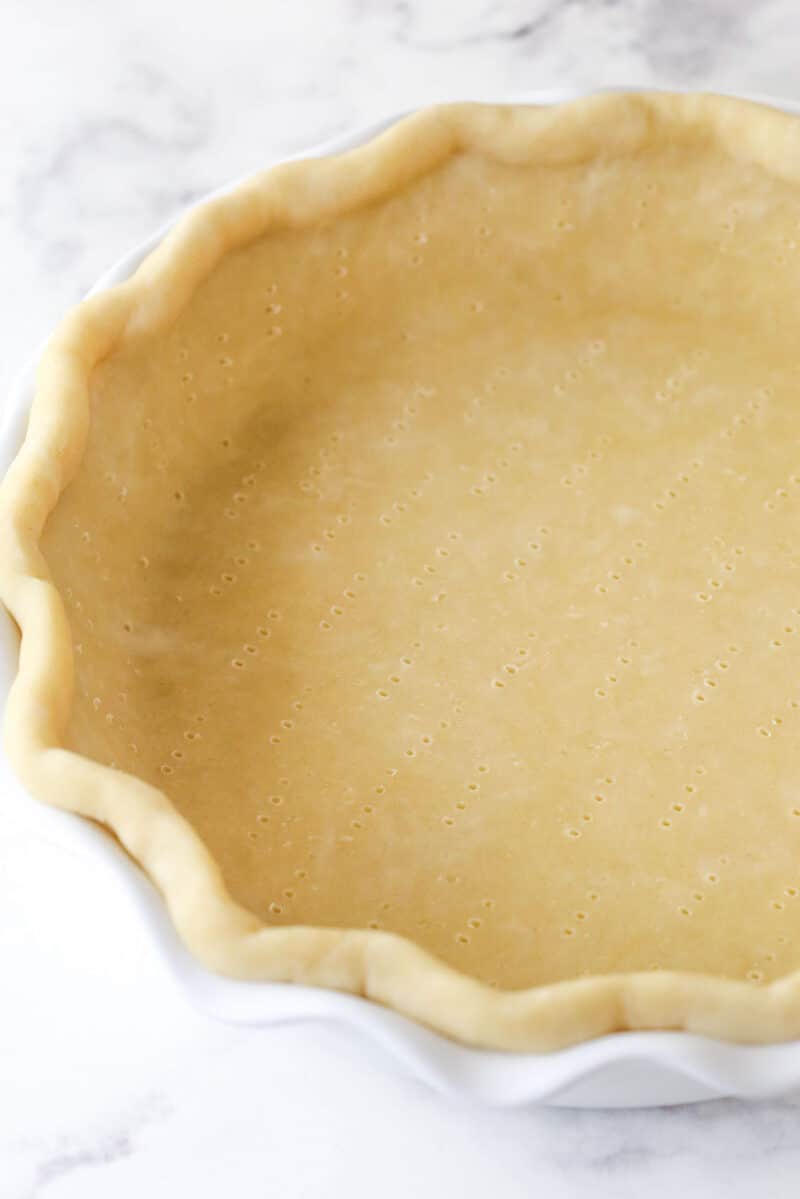
Roll the crust out, place it in the pie plate and shape. Prick the crust with a fork and refrigerate until cold and firm.
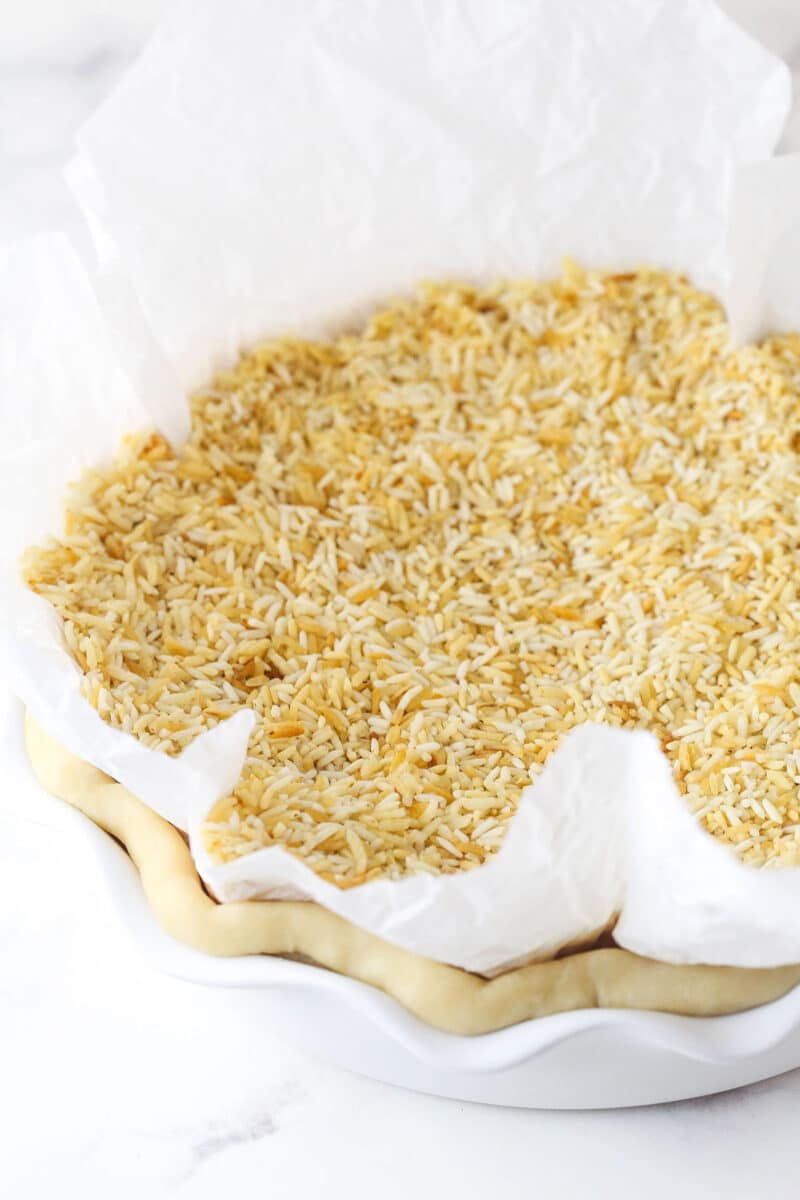
Preheat the oven to 350°F and fill with pie weights, dry rice, or beans.
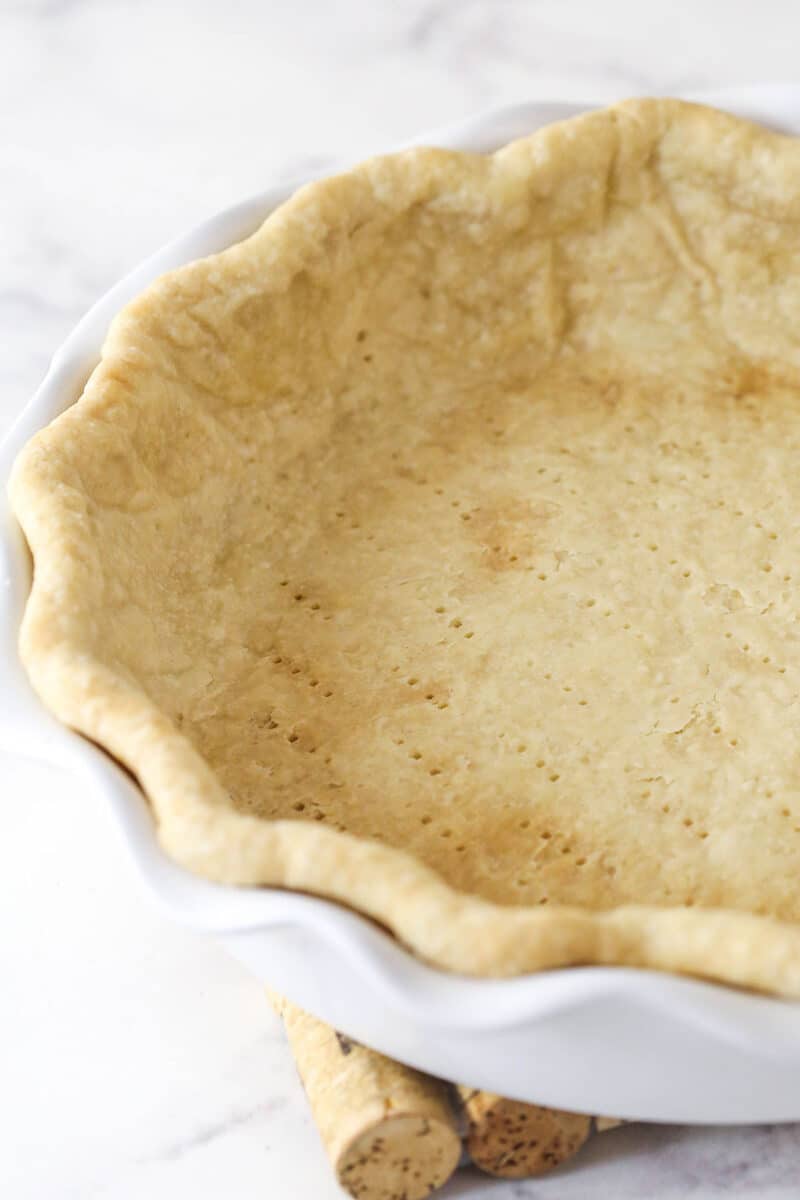
Bake for 20-25 minutes, until it begins to brown on the edges. Remove the weights and bake for another 5 minutes.
Make the lemon filling
Whisk the egg yolks together in a medium bowl and set aside.
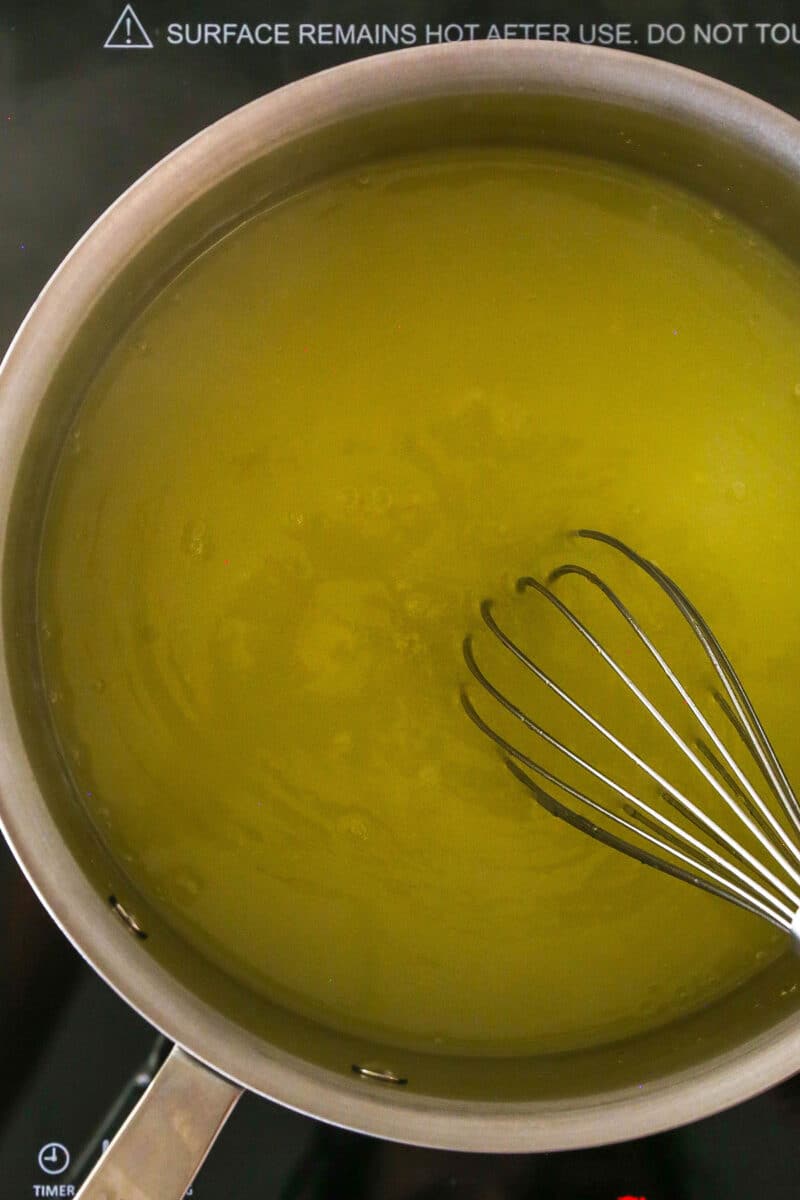
Heat the water, sugar, cornstarch, salt, and lemon over medium until it begins to bubble.
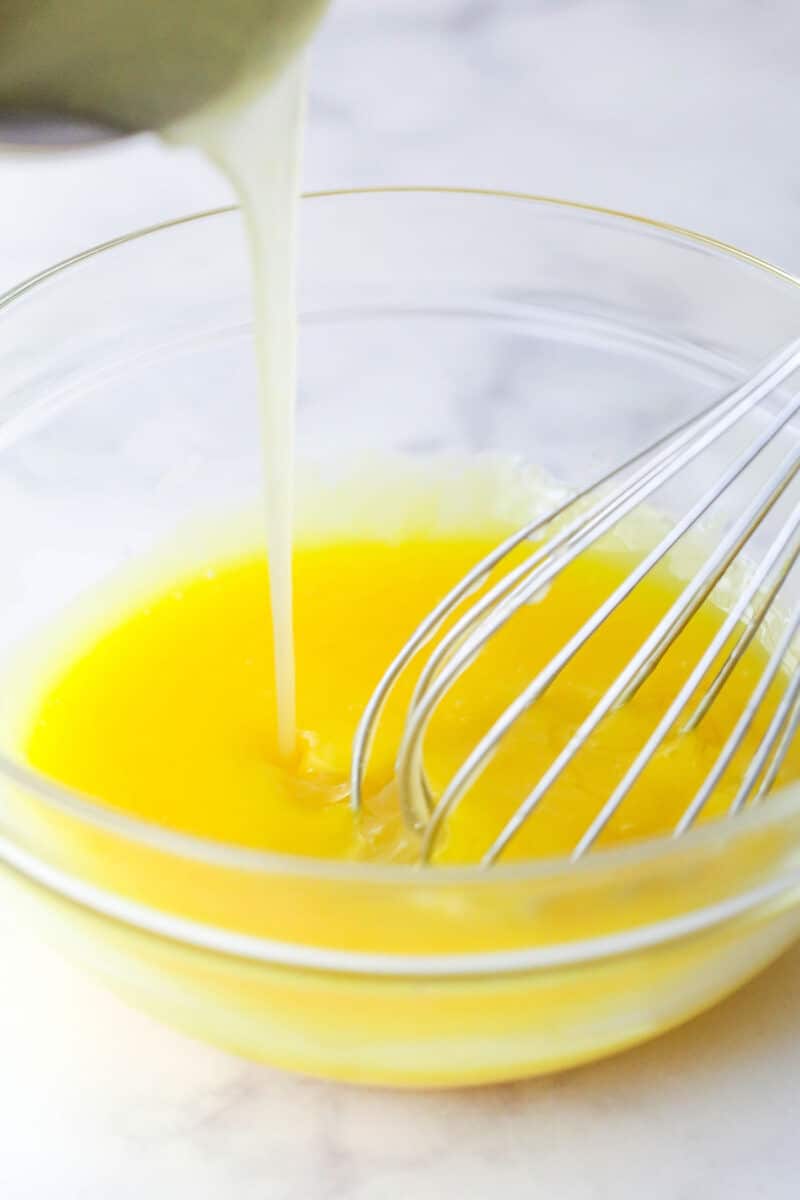
Slowly add 1/4 cup of the lemon mixture into egg yolks. Pour slowly and whisk quickly to prevent scrambling.
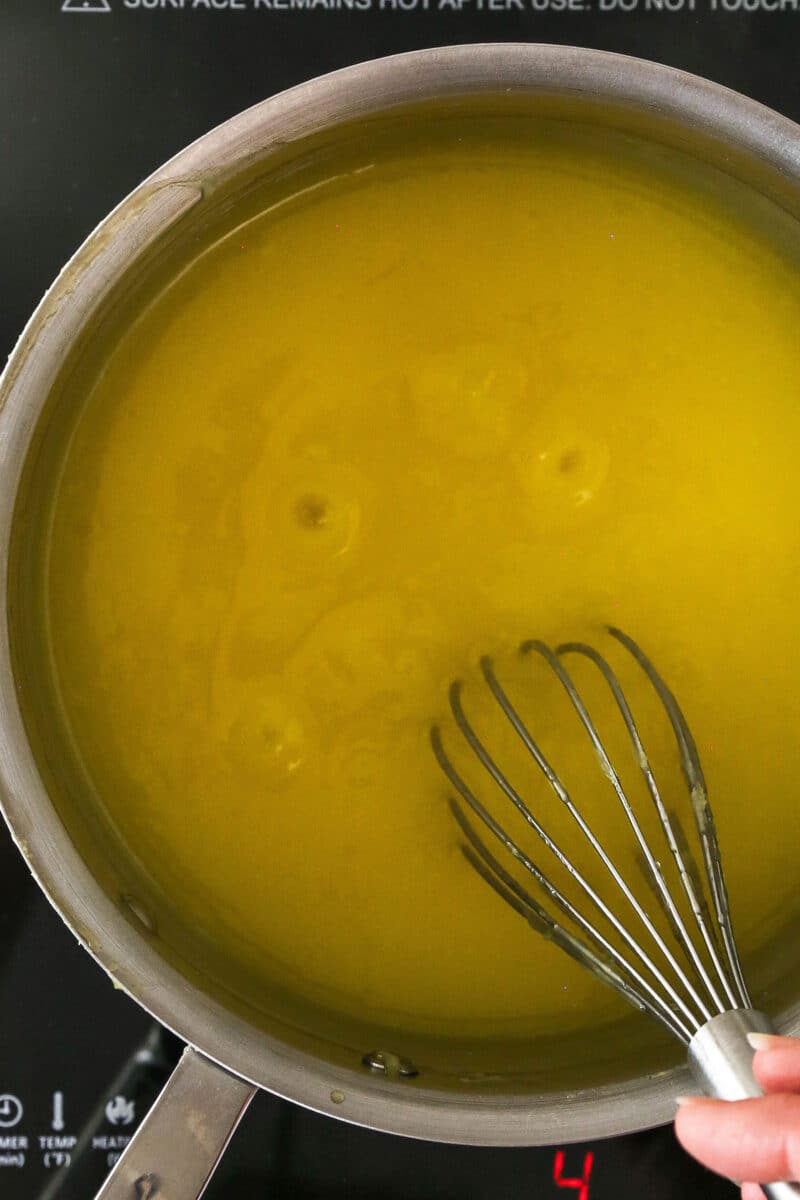
Add the egg mixture to the lemon mixture. Cook for about 1 minute, until thick and bubbles begin bursting at the surface.
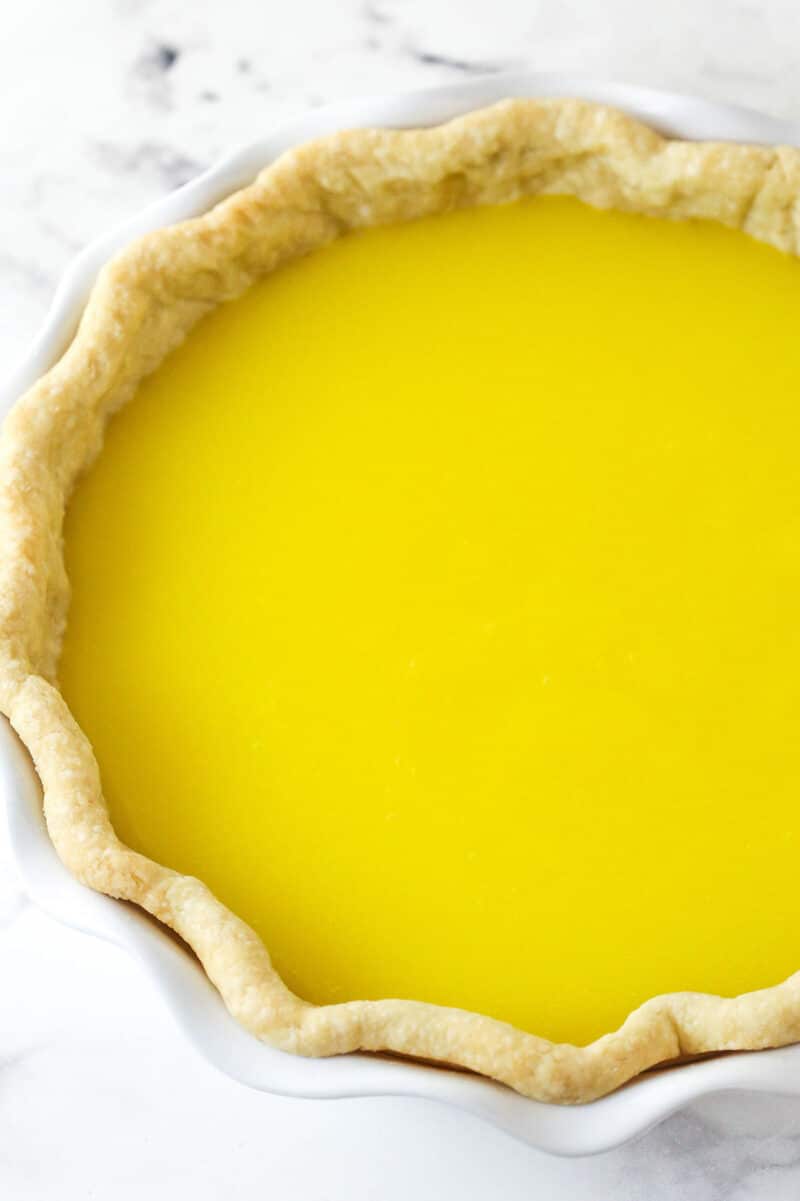
Whisk in the butter, then spread the filling evenly into the blind baked pie crust.
Make the meringue
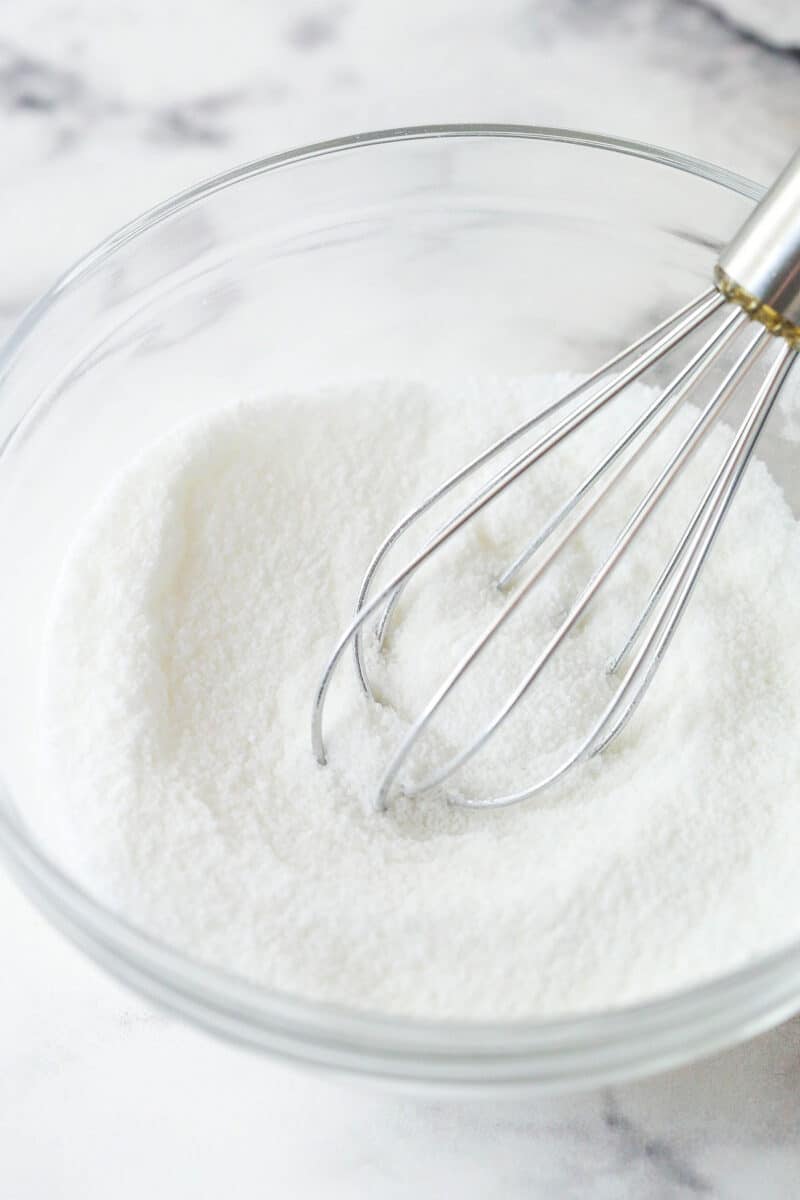
Combine the sugar, salt, and cornstarch.
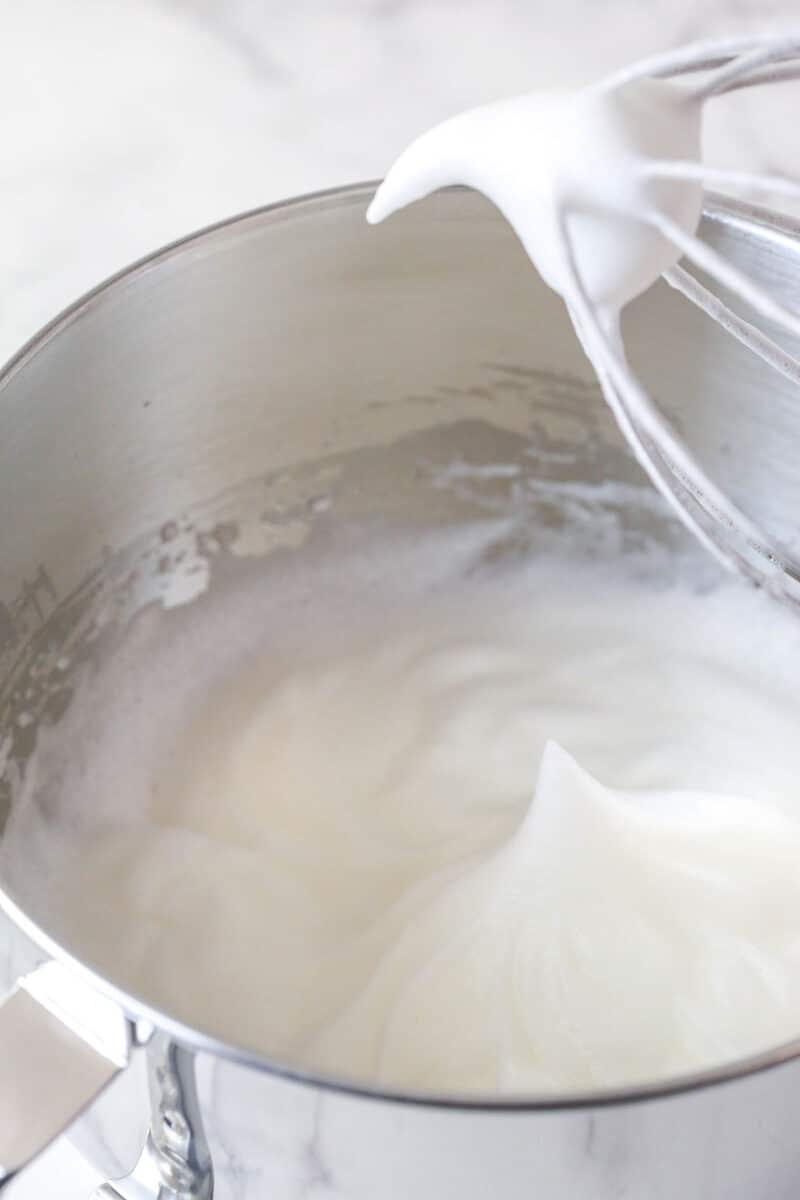
Whip the egg whites and cream of tartar on medium until foamy. Increase the speed to high until soft peaks form.
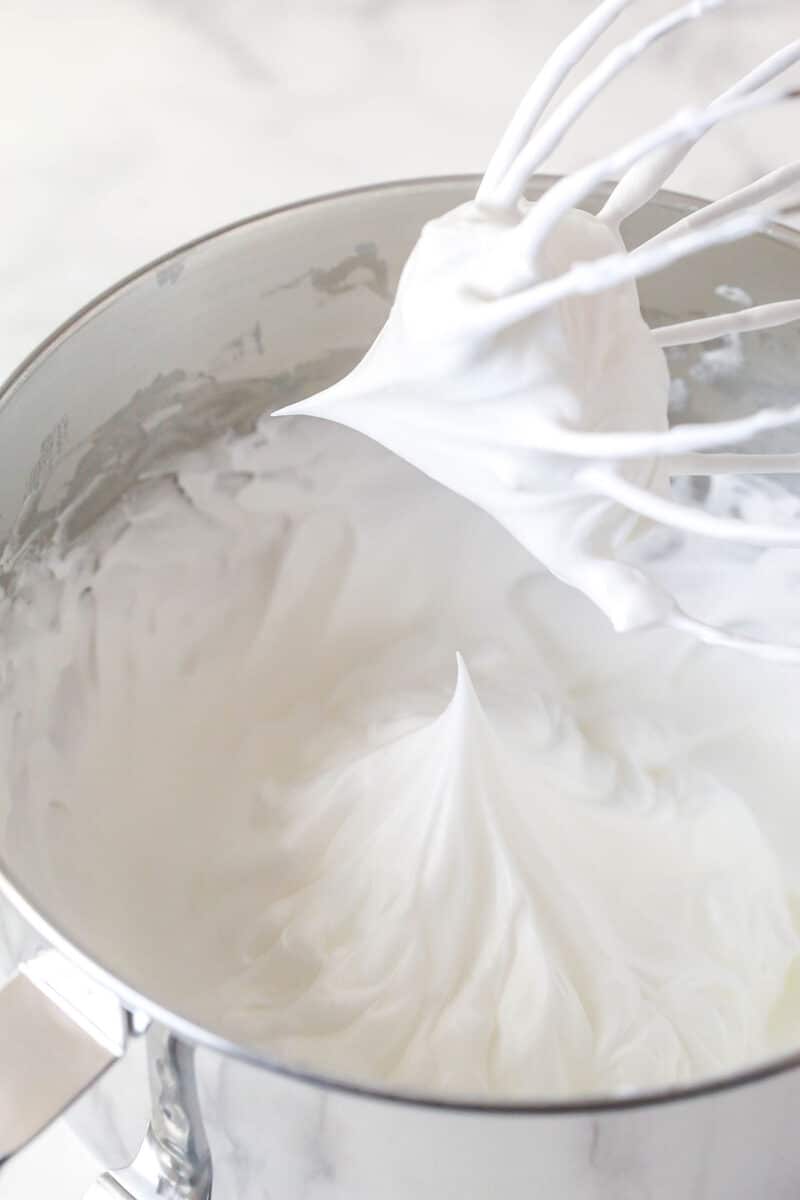
Add the sugar, cornstarch, and salt. Continue whipping on high until stiff peaks form and the mixture is glossy with no graininess.
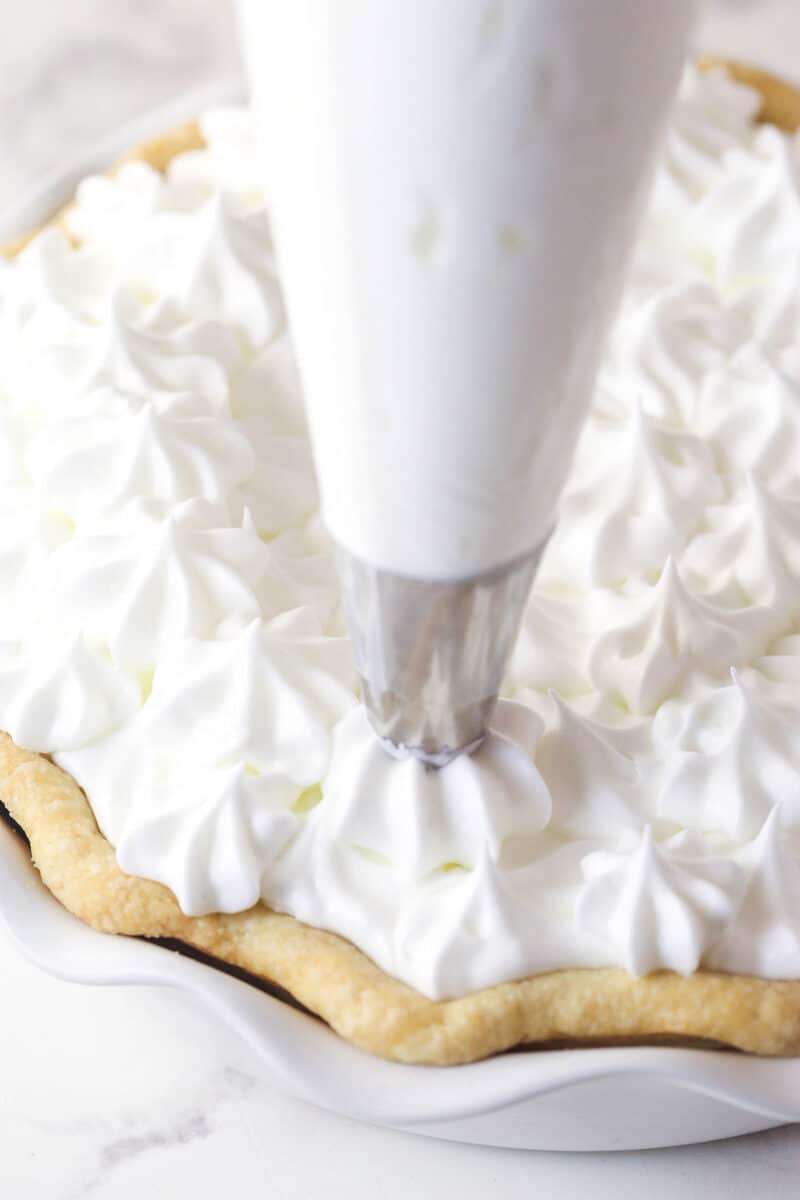
Spread or pipe the meringue evenly onto the warm pie. Be sure to spread it to the edge to seal it to the crust.
Bake the pie at 325°F for 30-35 minutes, or until the meringue reaches 160°F. Let the baked pie cool at room temperature for about an hour, then refrigerate for 4-5 hours before serving.
Tips For Meringue That Won’t Weep
The key to a good and stable lemon meringue pie is the meringue. Your pie filling should hold up great. But if your meringue weeps, you can have a mess on your hands. Avoid that with these tips.
- Only add the sugar to the meringue after soft peaks form. Then continue whipping until stiff peaks are reached. The structure created in your meringue will hold/stick to your filling better if the sugar is added at the right time.
- Use a little cornstarch to help avoid any potential weeping. Your meringue shouldn’t weep if you follow the proper steps, but let’s be honest – meringue can be finicky. Cornstarch is a little bit of an insurance policy.
- Spread the meringue to the crust. Make sure the meringue is spread (or piped) all the way to the edges of the crust all around the pie to seal it, which prevents shrinking.
- Be sure that your meringue cooks fully. This is the most important tip. Undercooked meringue will create a soupy pie. Eggs are fully cooked at 160°F and all ovens vary, so if you have an instant read thermometer to check with, you can certainly use that. I do!
- Be sure to add the meringue to a warm pie filling. This helps it cook fully. The heat from the filling helps to cook the meringue from the bottom/inside, while the oven warms from the outside.
- Bake the meringue at a moderate temperature. As the air bubbles expand during baking, the water in the meringue evaporates and the meringue sets. But if the temperature is too high, the top browns before the water inside has time to evaporate. This water dissolves the sugar and forms syrupy beads on the surface.
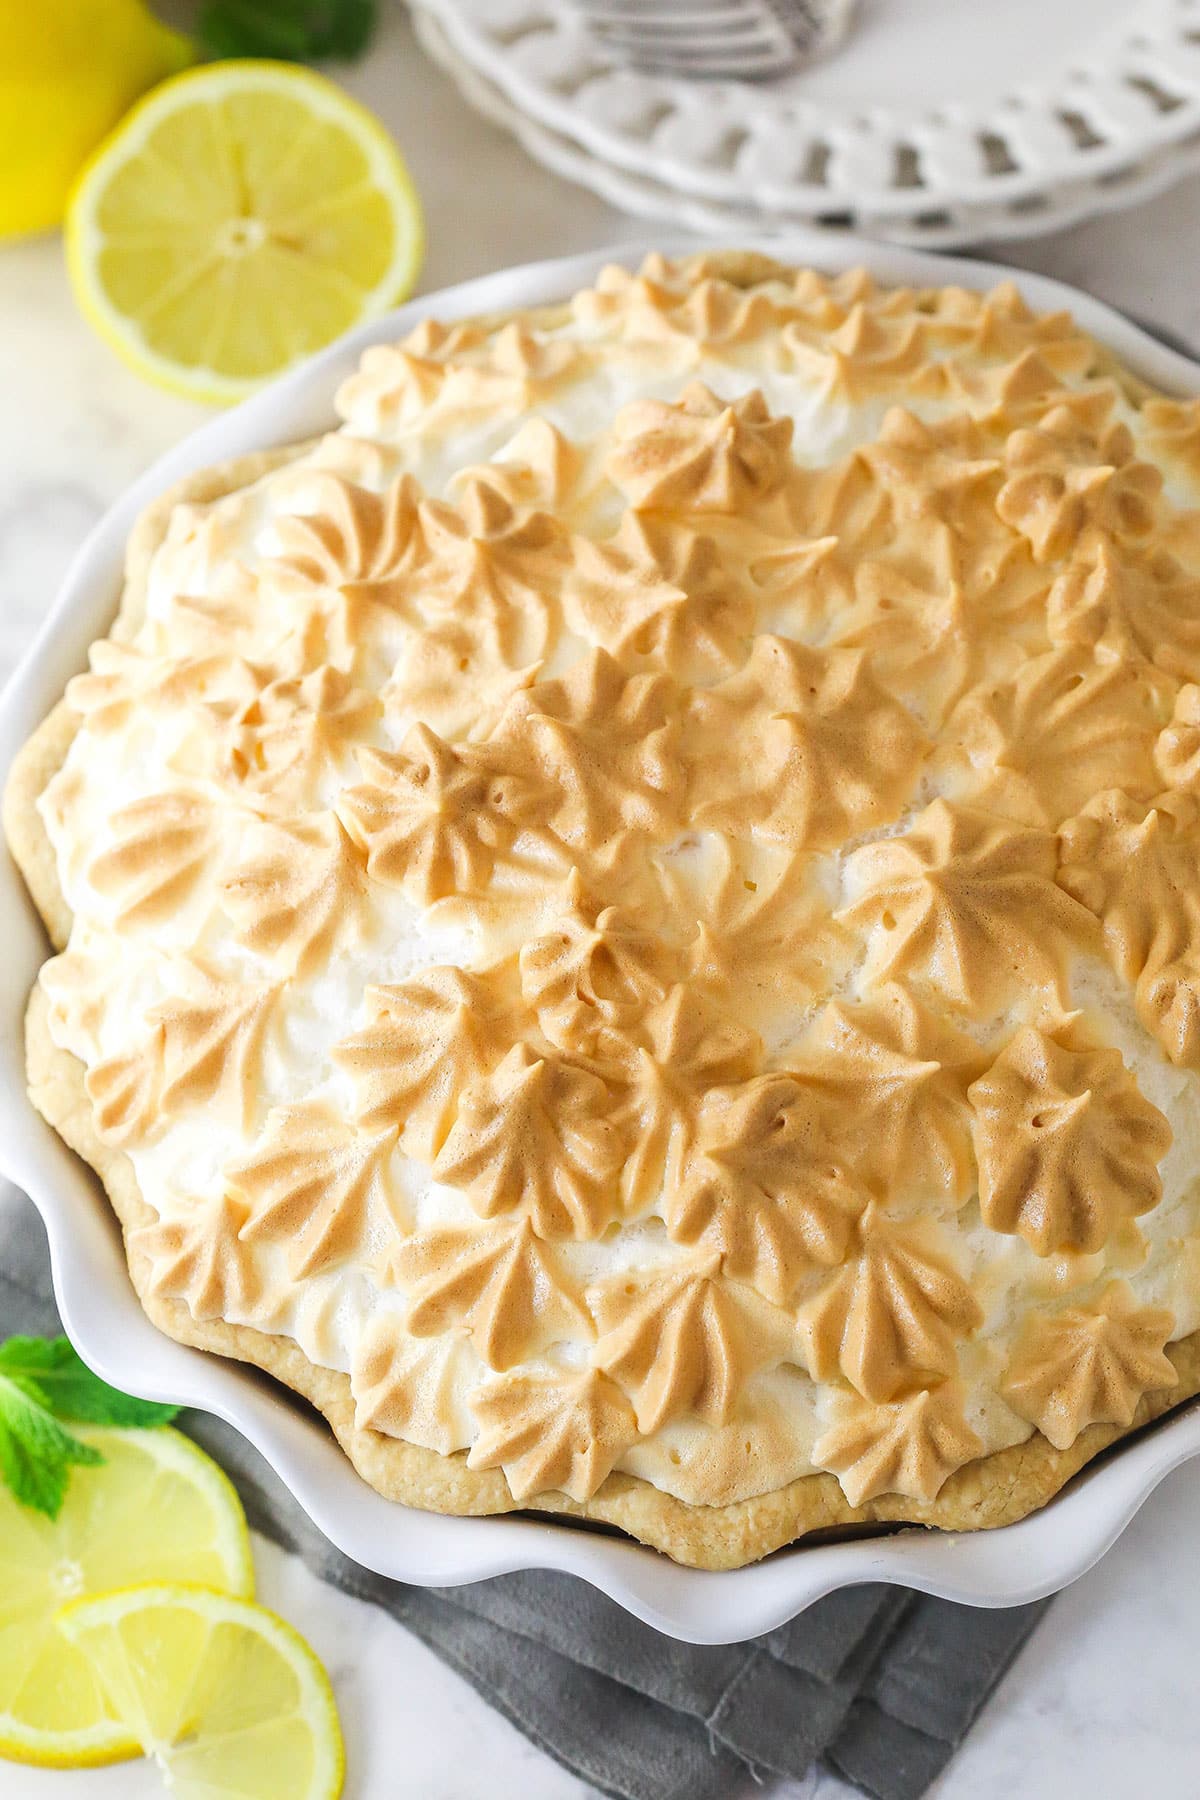
Why Did a Crust Form On Top Of My Meringue?
This usually happens if you’ve added too much sugar to your meringue. Be sure to stick with half a cup.
Why Is My Pie Full of Liquid?
It sounds like your meringue weeped, and badly. If your pie is sitting in so much liquid that you can’t even slice and serve it, your meringue was probably quite underbaked. If it’s weeping more slowly, it may just be a little under baked. Be sure to add the meringue to a warm pie filling and to bake it fully. Otherwise, the proteins in the meringue won’t set properly, and the structure will collapse and leak water, or ”weep”. The worst weeping issues I’ve seen are from a meringue that’s not fully cooked.
Other reasons your meringue may have weeping issues: It was baked at too high a temperature or for too long. This can cause weeping that appears as large droplets on top of your meringue.
Make Ahead & Storage
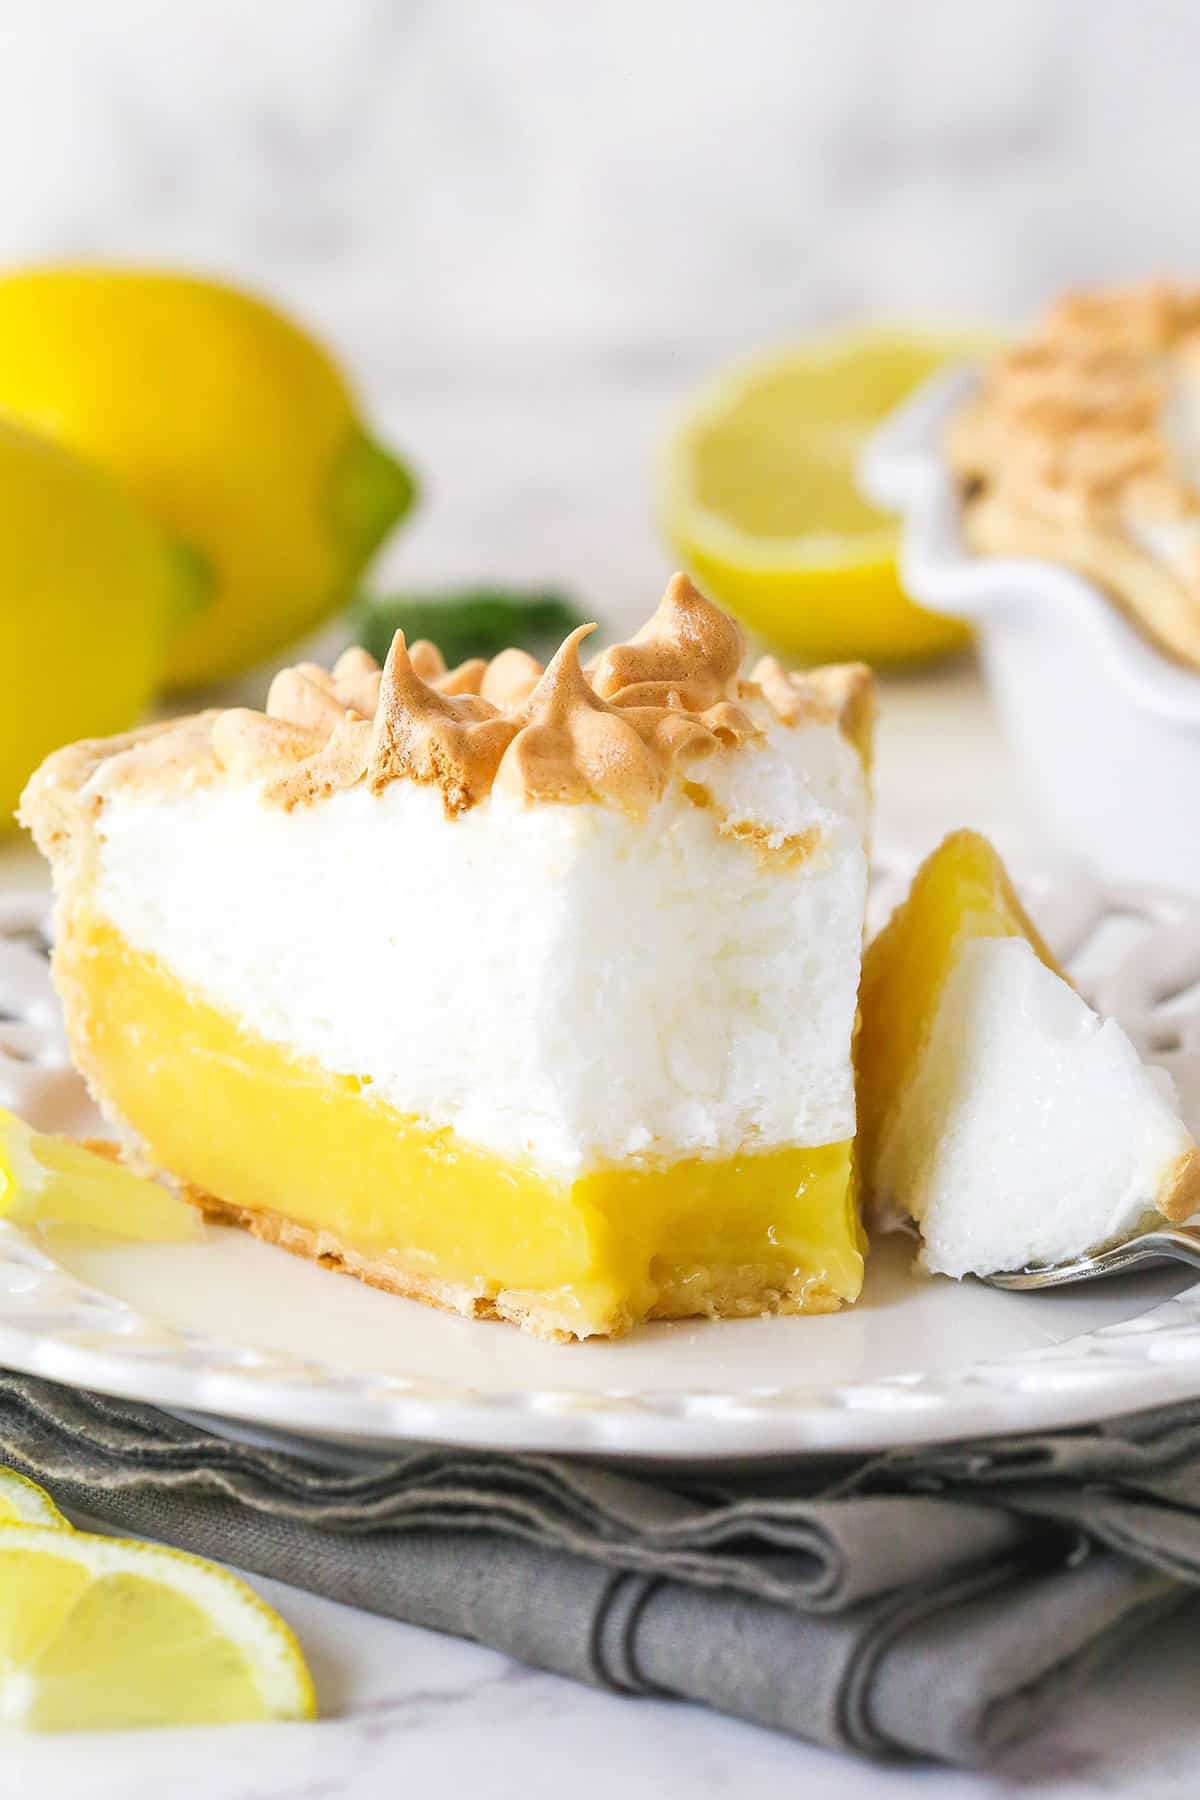
Lemon meringue pie is best enjoyed sooner rather than later, after it’s had several hours to chill. That said, part of the testing I did specifically for this recipe was trying to make a meringue that would hold up for several days.
While it’s still best to make this pie no more than 24 hours in advance, leftovers can be stored, tightly covered, in the fridge for 2-3 days. The meringue will begin to weep a little but should stay pretty stable if it was cooked properly.
Watch How To Make It
More Classic Pie Recipes


Lemon Meringue Pie
save this recipe
Enter your email & we’ll send it to your inbox. Plus get new recipes from us every week!
Ingredients
Crust
- 1 ¼ cups (163g) all-purpose flour (divided)
- ½ teaspoon salt
- ½ cup (112g) unsalted butter (cold, cut into ½ inch cubes)
- 2-4 tablespoons ice water
Lemon Filling
- 5 large egg yolks
- 1 ¼ cups water
- 1 ¼ cups (259g) sugar
- 5 tablespoons (40g) cornstarch
- ¼ teaspoon salt
- ¾ cup fresh lemon juice (3-4 large lemons)
- 1 tablespoon lemon zest (2-3 large lemons)
- 2 tablespoon butter
Meringue Topping
- 5 large egg whites (room temperature)
- ¾ teaspoon cream of tartar
- ½ cup (104g) sugar
- 1 tablespoon cornstarch
- Pinch of salt
Instructions
Make the crust
- NOTE: I make the crust with a food processor because it’s quicker and easier, but you can also do it by hand by adding the cubed butter to all of the flour and salt and cutting the butter into the flour until it’s all combined and the largest pieces of butter remaining are about the size of peas. Then add the water and continue with the rest of the instructions.
- Add 3/4 cup (98g) of flour and salt to a food processor and pulse together 2 to 3 times.
- Scatter the cubed butter over the flour and process until a crumbly dough forms, about 15 seconds. The flour should all be coated – none of the flour should be dry.
- Add the remaining 1/2 cup (65g) of flour and pulse a few times until everything is evenly distributed. The doughy pieces should break up and it should look sandy. There shouldn’t be a bunch of big pieces remaining. A few are fine, but it should be mostly evenly distributed.
- Move the mixture to a medium mixing bowl and add 2 tablespoons of the ice water. Start with 2 tablespoons and add from there. Using a rubber spatula, gently fold everything together. The crumbs should begin to form larger clusters. If you pinch some of the dough and it holds together nicely, it’s ready. If the dough falls apart, add 1-2 more tablespoons of water and continue to press until dough comes together.
- Work just enough for it to come together, then shape into a disc. Wrap disc in plastic wrap and refrigerate for at least an hour or up to 2 days.
- When ready to bake the crust, place the pie crust onto a piece of parchment paper. Cover the crust with another piece of parchment paper and roll it out with a rolling pin.
- Peel one piece of the parchment paper off and use the other piece of parchment to lift the pie crust and drape it over a 9-inch deep-dish pie plate. Carefully peel off the second piece of parchment paper, then shape your pie crust. “Dock” the crust by pricking the crust with a fork to allow steam to escape evenly. This helps the crust not bubble up and cook unevenly.
- Refrigerate the crust for 2-3 hours or freeze for about 20 minutes You want to be sure the crust is very cold.
- Preheat oven to 350°F (180°C) and line the pie crust with parchment paper. Be sure the parchment paper presses all the way against the crust so that it’s flush. Fill the pie crust with pie weights, dry rice or beans.
- Bake for 20-25 minutes, or until the crust begins to brown on the edges. Remove the parchment paper and pie weights and bake for another 5 minutes, or until lightly golden brown. Don’t bake it too much, since it will be baked again.
- Remove from the oven and set aside while you make the filling.
Make the lemon filling
- Whisk the egg yolks together in a medium bowl. Set aside.
- Whisk the water, granulated sugar, cornstarch, salt, lemon juice, and lemon zest together in a medium saucepan. Heat over medium heat. The mixture will be thin and cloudy, then eventually begin thickening and start to bubble.
- When it starts to bubble, remove from heat and slowly stream about ¼ cup of the warm lemon mixture into the egg yolks while whisking the egg yolks quickly to prevent them from scrambling.
- Add the egg yolk mixture into the lemon mixture and stir to combine. Place back over the heat and continue cooking until the mixture is thick and big bubbles begin bursting at the surface, about 1 minute.
- Remove the pan from heat and whisk in the butter, then spread the filling evenly into the blind baked crust.
- Set aside while you make the meringue.
Make the meringue
- In a small bowl combine the sugar, salt and cornstarch for the meringue. Set aside.
- In a very clean bowl, whip the egg whites and cream of tartar on medium speed until foamy/frothy. Turn the speed up to high and whip until soft peaks form.
- Add in the sugar, cornstarch and salt mixture, then continue whipping on high speed until the peaks are stiff and the mixture is glossy. If you pinch a little in between your fingers, you shouldn’t feel any graininess.
- Spread the meringue evenly onto the warm pie. I like to pipe mine on and used Ateco tip 847. Make sure to spread or pipe it all the way to the edge of the pie, sealing it to the crust.
- Bake the pie at 325°F for about 30-35 minutes, or until the meringue reaches 160°F. I use an instant read thermometer to be sure.
- Let the pie rest at room temperature for about an hour before refrigerating for 4-5 hours, then serve.
Notes
- Sugar in meringue: Only add the sugar to the meringue after soft peaks form. Then continue whipping until stiff peaks are reached. The structure created in your meringue will hold/stick to your filling better if the sugar is added at the right time.
- Shrinking: Make sure the meringue is spread (or piped) all the way to the edges of the crust all around the pie to seal it, which prevents shrinking.
- Weeping: Undercooked meringue will create a soupy pie. Eggs are fully cooked at 160°F and all ovens vary, so if you have an instant read thermometer to check with, you can certainly use that. I do!
- Warm pie filling: The heat from the filling helps to cook the meringue from the bottom/inside, while the oven warms from the outside.
Nutrition
The nutrition facts provided are calculated using a third-party tool and are estimates only. Actual nutritional content may vary based on the ingredients and brands you use, as well as portion sizes. For accurate results, please consult a registered dietitian or nutritionist.













Such a delightful pie! Only change I would make is to add a touch more lemon! 🍋 The meringue turned out perfectly!! 🤩
I’m so glad you enjoyed it!
At the risk of sounding like a beginning baker, what happens to the crust after being baked 20- 25 minutes at the beginning and then baked for another 30 – 35 minutes at the end?
It does just fine. I didn’t have any issues with it burning or over baking. If you were to notice it starting to brown too much around the edges, you could try to use a pie crust shield. But I tested this pie a crazy number of times and never had an issue.