Looking for ways to simplify your holiday baking? This sheet pan pumpkin pie delivers all the classic flavors you love (rich, creamy pumpkin pie filling in a buttery, flaky crust), but doubles the servings. What a dream!

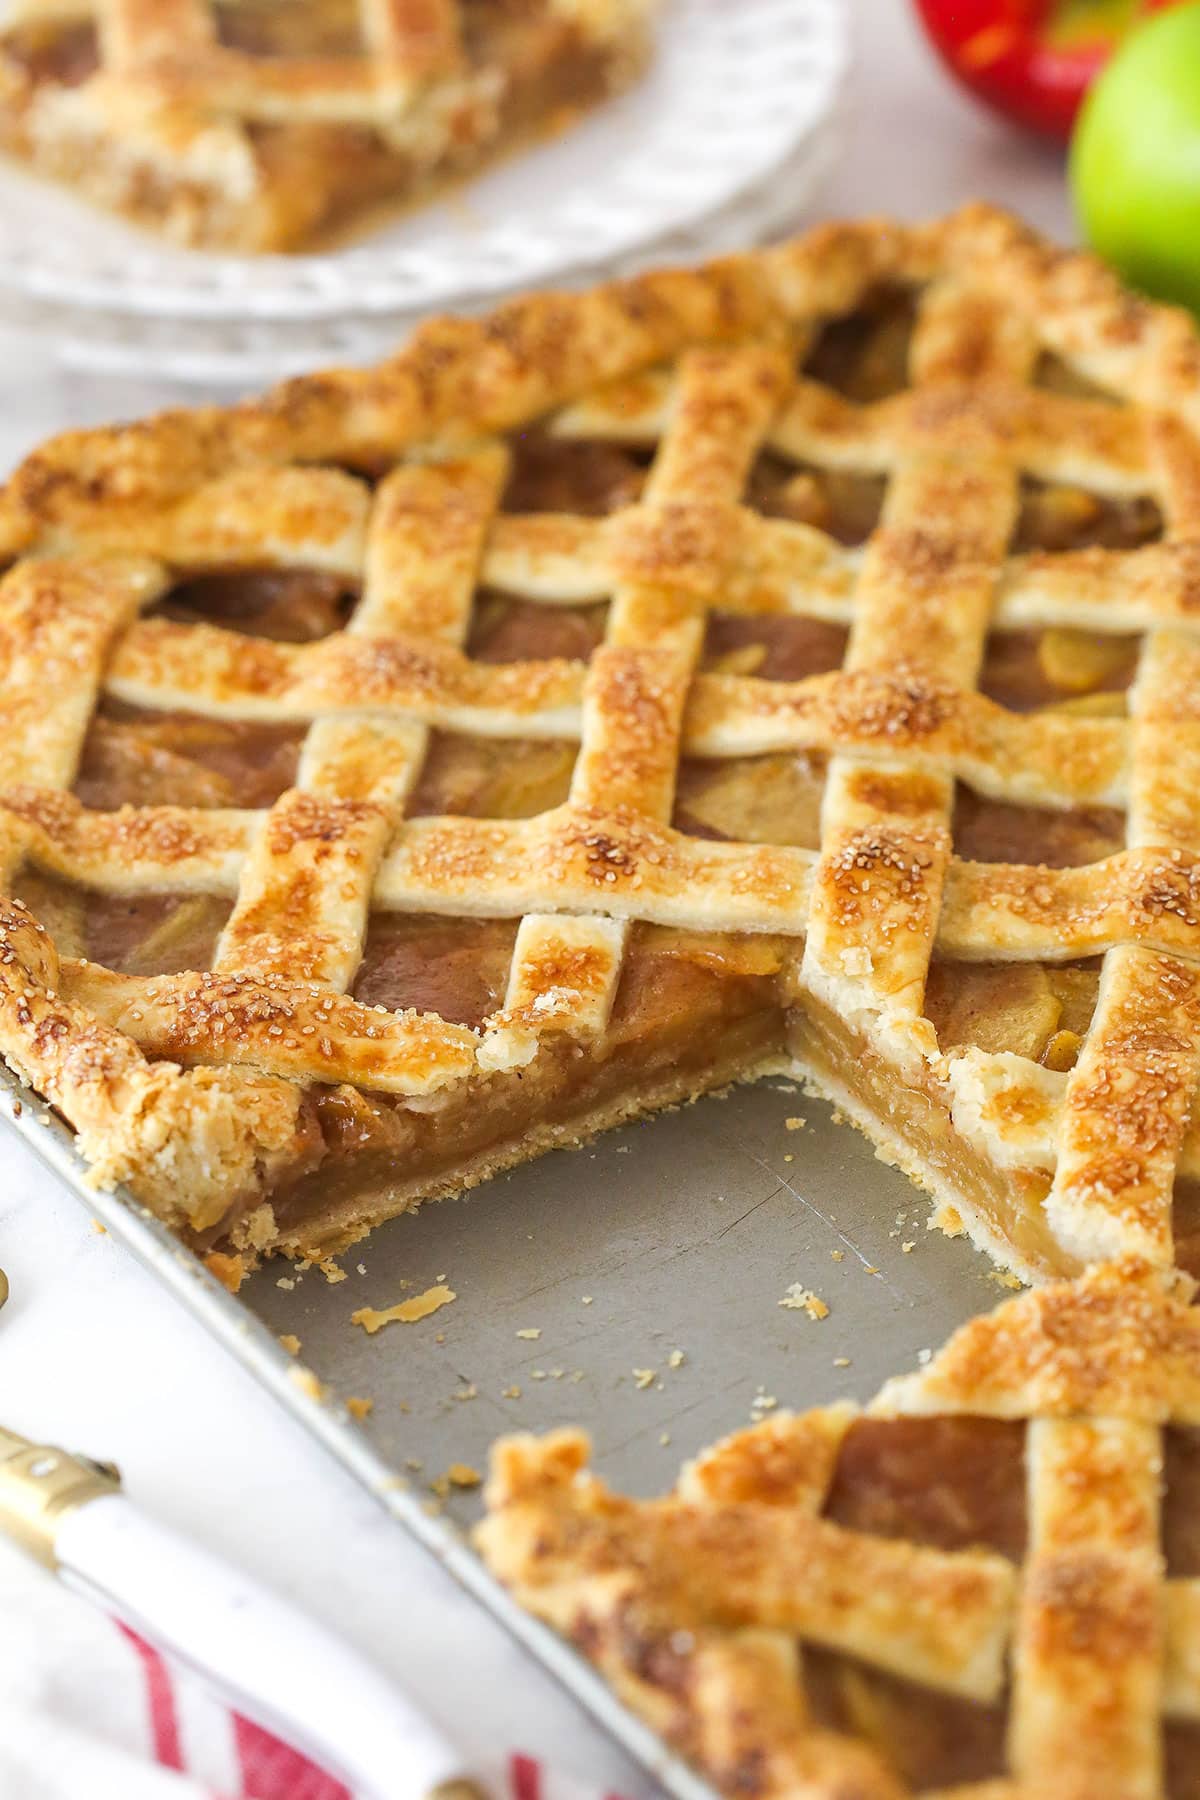
I’ve become a big fan of sheet pan pies. Recently, I posted an apple pie slab pie, so of course I had to follow it with another classic, and pumpkin pie was a no-brainer. Sheet pan pies (aka “slab pies”) are incredibly practical. They’re easy to cut and serve, they yield more servings, and they’re super easy to transport. So, they’re ideal for larger gatherings and a total lifesaver during the holiday season.
Built on my classic pumpkin pie recipe, this pie’s got everything you love about the classic just bigger. Made with pumpkin puree and warming spices, the filling is wonderfully rich and creamy without being too heavy. Set in a perfectly flaky, buttery crust, it’s sure to be a hit with anyone who tries it.

Why This Sheet Pan Pumpkin Pie Is a Holiday Game Changer
I am telling you, you have to give this recipe a whirl. Here’s why it’s about to change the way you think about holiday baking:
- All the flavors you love. This recipe uses pumpkin puree and a classic blend of cinnamon, ginger, nutmeg, and cloves to create that nostalgic pumpkin pie flavor you know and love. It’s just bigger this time.
- The best texture. Just like in my traditional recipe, I used heavy cream and just a splash of milk for a perfectly creamy and rich (but not too heavy) filling. Next to the flaky, buttery crust, it’s hard to stop at one slice.
- Perfectly sharable. You know how the holidays go. So many people in and out of the house and at your table. This pie is perfect because it serves about twice as many people as a traditional, round pumpkin pie, and it’s easier to slice and serve.
Ingredients and Notes
Gather your ingredients, tie on your apron, and get the mixing bowls out. Here’s what you’ll need to make this sheet pan pie. You’ll find precise measurements in the recipe card below.

- All-purpose flour – Be sure to measure it correctly. I use a food scale. Without one I recommend the spoon and level method.
- Salt – Adds flavor and amplifies flavors already present. Don’t leave it out.
- Unsalted butter – COLD and cut into 1/2-inch cubes. Cold butter creates pockets of air in the crust as it bakes, giving you that flaky texture you crave.
- Very cold water – It must be very cold to help keep the butter cold in the crust.
- Pumpkin puree – NOT pumpkin pie filling, which has a bunch of added sugar and spices. You don’t need those here because you’re adding your own.
- Light brown sugar – Be sure to pack it into the measuring cup in order to get the proper amount. Dark brown sugar would also work if you prefer a deeper, more molasses-y flavor profile.
- Dairy – Heavy whipping cream AND milk. I find that using all heavy cream yields an overly heavy filling. Adding a little milk sets it straight. Both should be at room temperature.
, but doubles the servings!")
How to Make a Sheet Pan Pumpkin Pie
Here comes a basic overview of how to make slab pumpkin pie. Want more thorough instructions? See the recipe card below.
Make the crust
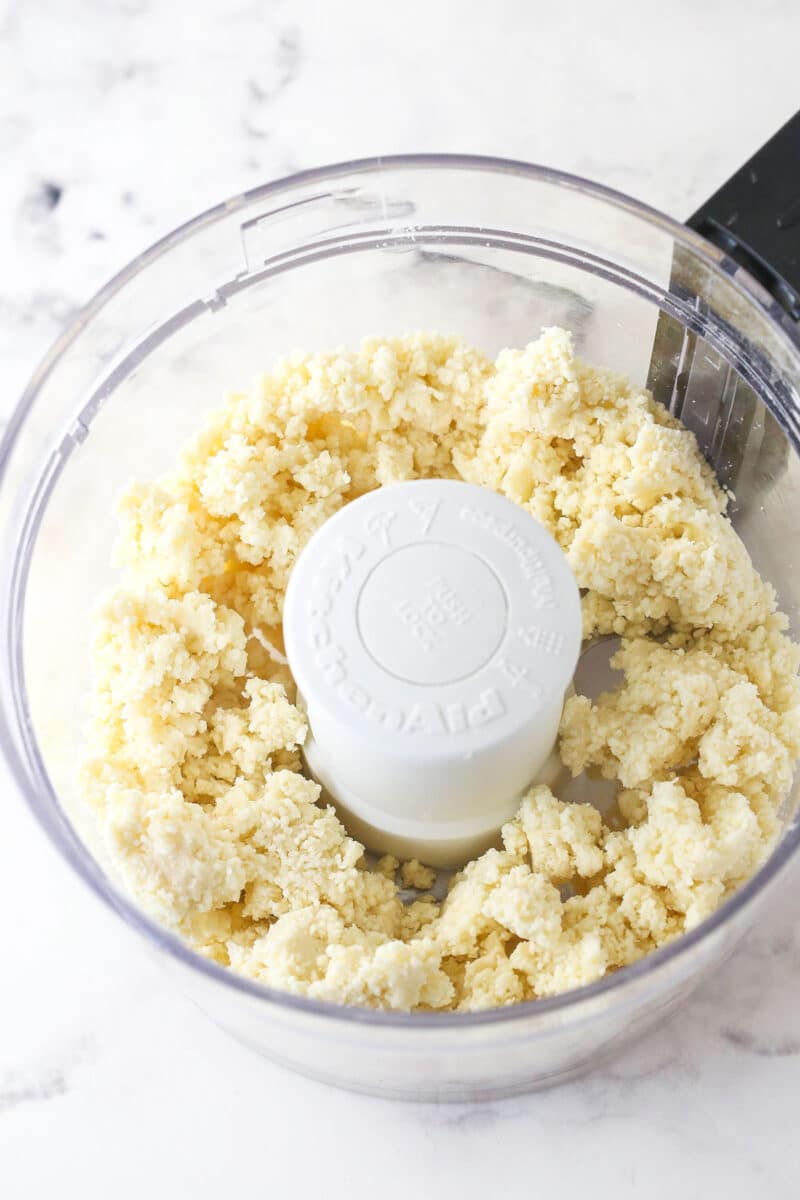
Add 1 1/2 cups of flour and the salt to a large food processor and pulse to combine. Add the butter and process until large chunks form and all flour is coated.
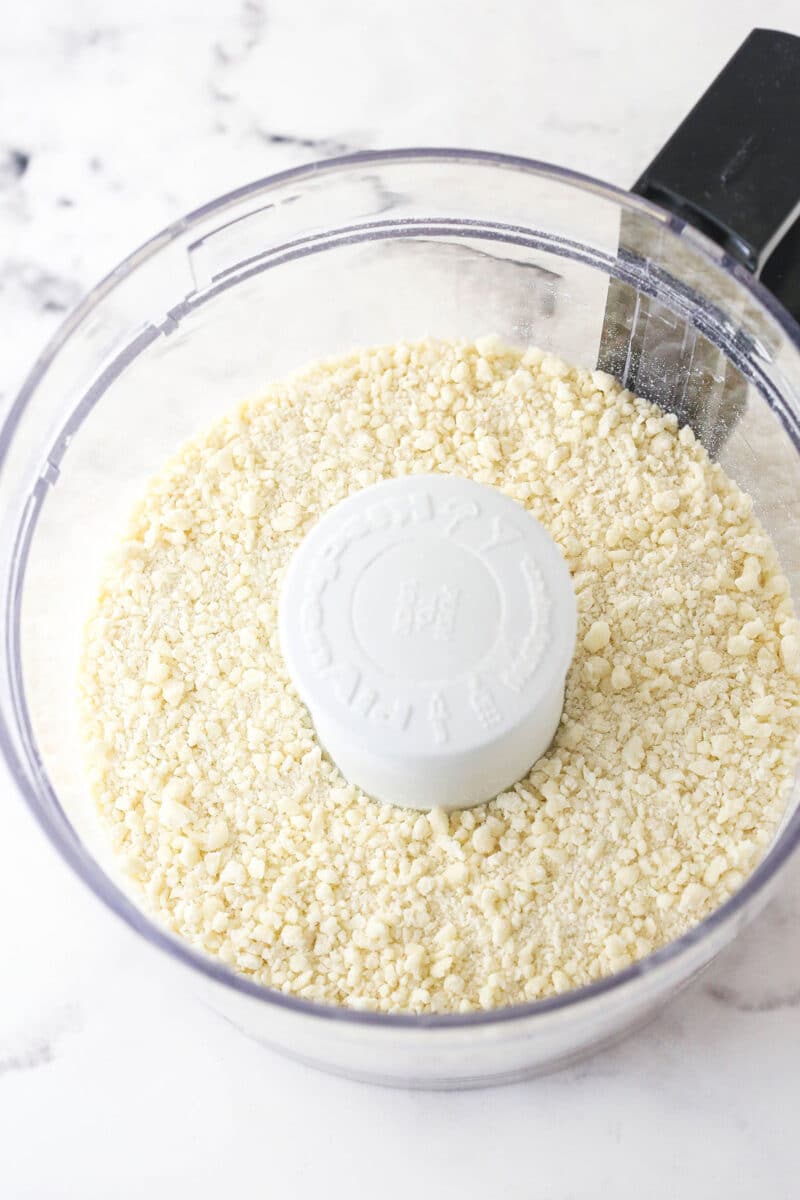
Add the remaining cup of flour and pulse a few times until everything is evenly distributed. The doughy pieces should break up and it should look sandy.
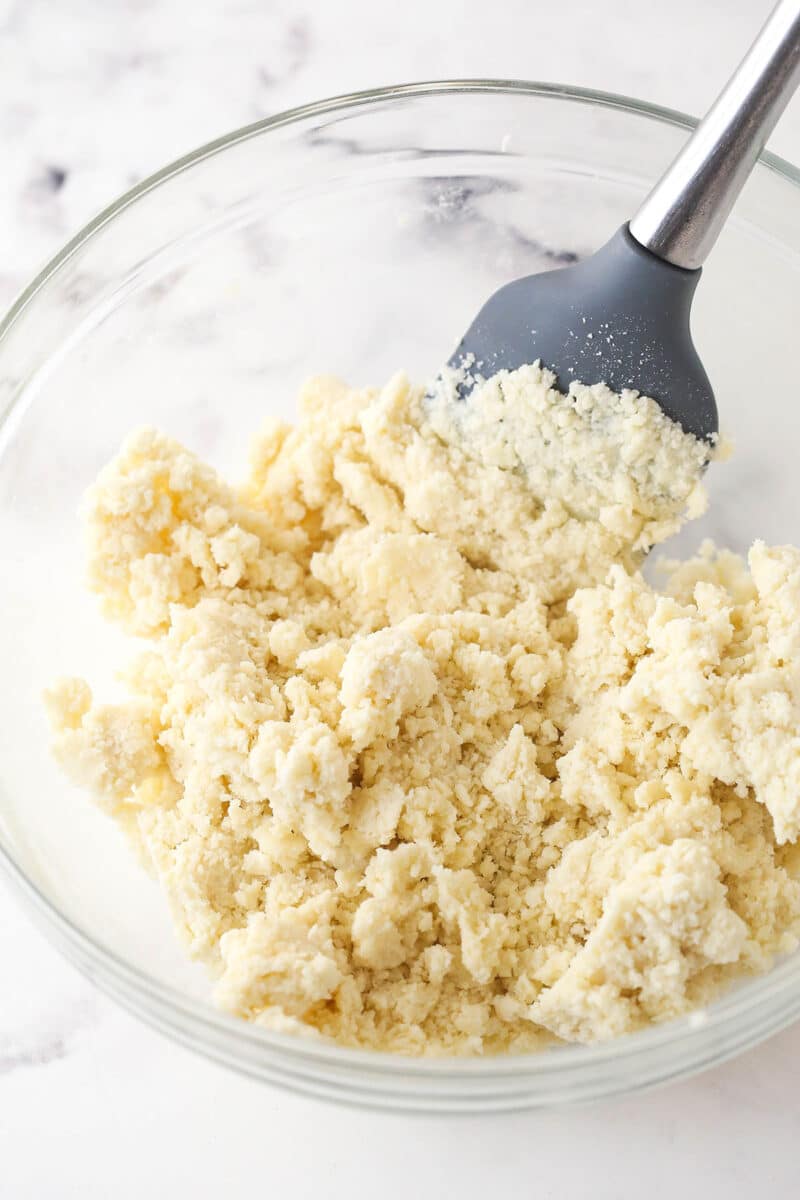
Transfer the dough to a bowl and mix in 4 tablespoons of the ice water. Keep adding more water (1 tablespoon at a time) until the dough holds together when pinched.
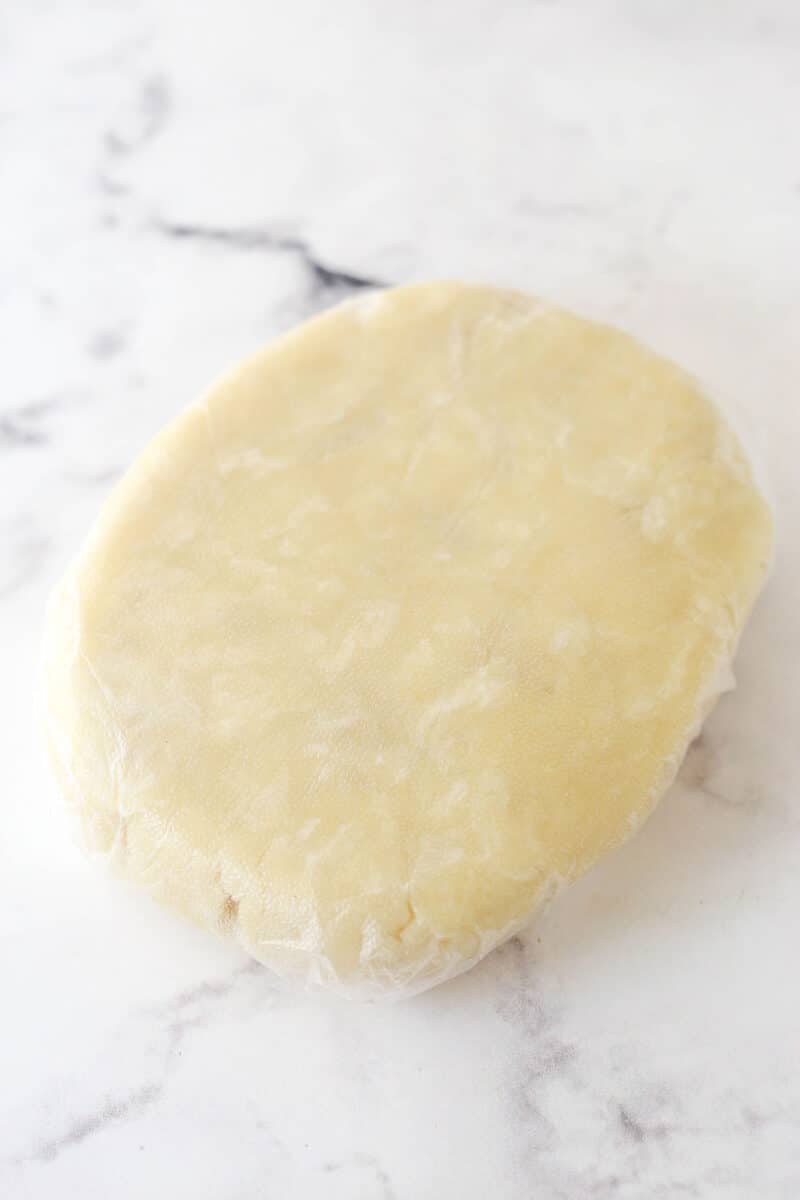
Work the dough into a bit of a rectangle and wrap in plastic wrap. Chill in the fridge for at least 1 hour.
No food processor? No problem.
Making pie crust is SO easy with a food processor, but you can also make this dough by hand! Just cut the cubed butter into the flour mixture until the largest pieces of butter remaining are about pea-sized. Then add the water and continue with the rest of the instructions.
Assemble and bake the pie
- Roll out the dough. Turn one of the disks of crust dough out onto a piece of parchment paper and cover it with another piece of parchment paper. Roll the dough out into a 10×15-inch rectangle (to fit the pan), with a little extra for shaping the crust.
- Dock the crust. Peel one piece of the parchment paper off and drape the dough over the pan. Peel off the other piece of parchment and use your hands to fit the crust into the pan. Prick the crust all over with a fork.
- Chill. Chill the crust in the freezer for 15 minutes or in the fridge for 30.

Roll the dough out between two pieces of parchment paper into a 10×15-inch rectangle (to fit the pan), with a little extra for shaping the crust.

Peel one piece of the parchment paper off and drape the dough over the pan. Peel off the other piece of parchment and shape the crust. Prick all over with a fork. Chill in the freezer for 15 minutes or in the fridge for 30.

Preheat the oven to 350°F and line the pie crust with parchment paper. Fill the crust with pie weights.

Bake for 20-25 minutes. Remove the parchment paper and pie weights and bake for 5 minutes.

Whisk together the pumpkin puree, eggs, egg yolk, and sugar. Then, whisk in the spices, salt, cornstarch, heavy cream, and milk. Remove the crust from the oven and change the temperature to 375°F. Pour the filling into the crust.

Bake for 30-35 minutes, or until set. Place the pie on a wire rack and let it cool to room temperature, then cover the pie and chill in the fridge for 4-5 hours.
If you’d like to add the leaves to your pie, you can set aside a little crust before rolling the crust out and use that later. Use leaf pie crust cutters to cut out the leaves. Arrange the leaves on a cookie sheet lined with parchment paper and bake at 350°F for 10-15 minutes. Place the leaves around the edges of the cooled pie.
, but doubles the servings!")
Tips for The Perfect Results
This pie is simple to make, but there are some things you need to know in order to get it just right. Have a read through these tips and tricks:
- Use COLD butter (and keep it cold). It’s important to start with cold butter and to keep the dough (with the butter in it) as cold as possible until you pop the crust in the oven to blind bake. Cold butter creates pockets of steam in the dough, which results in a flaky, tender crust.
- Ice cold water. Using very cold water will help keep the butter from melting.
- Don’t over-handle the dough. The heat from your hands (and/or over-mixing) can cause the butter to melt. Over-handling the dough can also cause the glutens in the flour to overdevelop, resulting in a tough, dense crust.
- Chill the dough. Chill the dough for at least 1 hour before you roll it out. This will help keep the butter nice and cold. You’ll also want to chill the crust before blind baking it for the same reason.
- Crimping tips. There is a fair amount of filling in this pie, so crimp the crust right on top of the lip of the pan to keep the filling from spilling over the top of the crust. This will also help the crust stay in place as you blind bake it.
- Dock. After shaping the crust, poke holes in it with a fork for ventilation. This will help keep the crust from bubbling up.
- Use pie weights. Before blind baking, line the crust with parchment paper and fill it with pie weights (or dry rice or beans). This will help the crust hold its shape.
- Room temperature eggs and dairy. Let your eggs and dairy (for the filling) come to room temperature before you get started. Any time I skip this step, my pie cracks.
- Don’t over-bake. Over-baking this pie can cause the filling to crack and can yield an unpleasant texture. Bake just until the edges of the filling are set and the center is still the tiniest bit jiggly. The filling will continue to firm up a bit as it cools.
, but doubles the servings!")
Frequently Asked Questions
Do I Have to Blind Bake the Crust?
Technically, no, you don’t have to. But I do highly recommend it.
When the crust bakes, it can easily bubble up. Because the pumpkin filling is on the lighter side, it’s not heavy enough to hold those bubbles down and keep them from pushing up from underneath your filling. When you blind bake the crust, you use pie weights that help the bubbling not be an issue. Plus, the sides of your crust are held in place by the pie weights during blind baking, ensuring that they don’t fall and shrink. If you don’t blind bake the pie, you’re more likely to have the bubbling issue. It can still happen even if you blind bake it, but it’s less common.
Can I Use a Store-Bought Crust?
You could, if you really wanted to. You’d want to take two crusts and cut and press the pieces together until you have the right pan shape. There is a chance that the crust can come apart at the seams when baking though.
How to Store
This pie can be made 1-2 days ahead of time. Once it’s set, wrap it in plastic wrap and store it in the fridge until you’re ready to serve. So far as leftovers go, here’s how to keep them fresh:
- Refrigerator. Once the pie has set in the fridge (after about 4 hours of chill time), cover it tightly with plastic wrap. You can store it in the refrigerator for up to 4 days.
- Freezer. Cover the fully set pie in a double layer of plastic wrap. Alternatively, arrange slices in a single layer in a freezer-safe airtight container. You can freeze this pie for up to 3 months. Allow it to thaw in the fridge when you’re ready to enjoy.
More Classic Pie Recipes


Sheet Pan Pumpkin Pie
save this recipe
Enter your email & we’ll send it to your inbox. Plus get new recipes from us every week!
Ingredients
Crust
- 2 1/2 cups (325g) all-purpose flour
- 1 teaspoon salt
- 1 cup (224g) unsalted butter (cold, cut into 1/2 inch cubes)
- 4-8 tablespoons cold ice water
Pumpkin Filling
- 2 1/2 cups plus 2 tablespoons (638g) pumpkin puree
- 4 large eggs (room temperature)
- 1 large egg yolk (room temperature)
- 1 1/2 cups (338g) packed light brown sugar
- 3 1/2 teaspoons ground cinnamon
- 1 1/4 teaspoons ground ginger
- 3/4 teaspoon ground nutmeg
- 1/2 teaspoon ground cloves
- 3/4 teaspoon salt
- 1 1/2 tablespons cornstarch
- 1 1/2 cups (360ml) heavy whipping cream (room temperature)
- 6 tablespoons (90ml) whole milk (room temperature)
Instructions
Make the crust
- NOTE: I make the crust with a food processor because it’s quicker and easier, but you can also do it by hand by adding the cubed butter to all of the flour and salt and cutting the butter into the flour until it’s all combined and the largest pieces of butter remaining are about the size of peas. Then add the water and continue with the rest of the instructions.
- Add 1 1/2 cups (195g) flour and salt to a large food processor and pulse together 2 to 3 times.
- Scatter the cubed butter over the flour and process until a crumbly dough forms, about 15 seconds. The flour should all be coated – none of the flour should be dry.
- Add the remaining 1 cup (130g) of flour and pulse a few times until everything is evenly distributed. The doughy pieces should break up and it should look sandy. There shouldn’t be a bunch of big pieces remaining. A few are fine, but it should be mostly evenly distributed.
- Move the mixture to a medium mixing bowl and add 4 tablespoons of the ice water. Start with 4 tablespoons and add from there. Using a rubber spatula, gently fold everything together. The crumbs should begin to form larger clusters. If you pinch some of the dough and it holds together nicely, it’s ready. If the dough falls apart, add 1 more tablespoon of water and continue to press until dough comes together.
- Pour the dough out onto a piece of parchment paper or a lightly floured countertop and work just enough for it to come together and form a ball. Shape into a bit of a rectangle, then wrap in plastic wrap and refrigerate for at least an hour or up to 2 days.
Assemble and bake the pie
- When ready to make the crust, place the pie crust onto apiece of parchment paper (NOTE: If you want to make the leaves, you can remove a little crust and set it aside for later). You can add a touch of flour if you like, but you don’t have to. Cover the crust with another piece of parchment paper and roll it out with a rolling pin into the rectangular shape and size of your 10 x 15-inch pan, with a little extra for shaping the crust.
- Peel one piece of the parchment paper off and use the other piece of parchment to lift the pie crust and drape it over the pan. Carefully peel off the second piece of parchment paper, then shape your pie crust.
- “Dock” the crust by pricking the crust with a fork to allow steam to escape evenly. This helps the crust not bubble up and cook unevenly. Freeze the crust for 15 minutes, or refrigerate for 30 minutes. You want the crust to be very cold.
- Preheat oven to 350°F (180°C) and line the pie crust with parchment paper. Be sure the parchment paper presses all the way against the crust so that it’s flush. Fill the pie crust with pie weights, rice or beans.
- Bake for 20-25 minutes, or until the crust just begins to brown. Remove the parchment paper and pie weights and bake for another 5minutes, or until the crust is lightly golden.
- While the crust bakes, whisk together the pumpkin puree, eggs and light brown sugar in a large mixer bowl. Add the remaining ingredients and whisk until well combined.
- Remove the crust from the oven when done baking. Change the oven temperature to 375°F.
- Pour the pie filling into the hot crust, then place back in the oven and bake for 30-35 minutes. You can add a pie crust shield to keep the crust from browning too much, if needed.
- When the pie is set around the edges and the center is just set (don’t over bake), remove the pie from the oven and set on a wire rack to cool to room temperature.
- If you’d like to add the leaves, roll out the reserved crust and use some leaf pie crust cutters to cut out the leaves. Bake at 350°F for 10-15 minutes, or until lightly browned.Place the leaves around the edges of the pie.
- Carefully cover the pie, if you can, and place the pie in the fridge to cool completely, 4-5 hours. Pie can be made 1-2 days ahead and refrigerated until ready to serve.
Notes
- Room temperature: The ingredients in the pie filling really do need to be room temperature. It helps prevent the pie from cracking.
- Shaping the crust: There is a fair amount of filling in this pie, so crimp the crust right on top of the lip of the pan to keep the filling from spilling over the top of the crust. This will also help the crust stay in place as you blind bake it.
Nutrition
The nutrition facts provided are calculated using a third-party tool and are estimates only. Actual nutritional content may vary based on the ingredients and brands you use, as well as portion sizes. For accurate results, please consult a registered dietitian or nutritionist.


