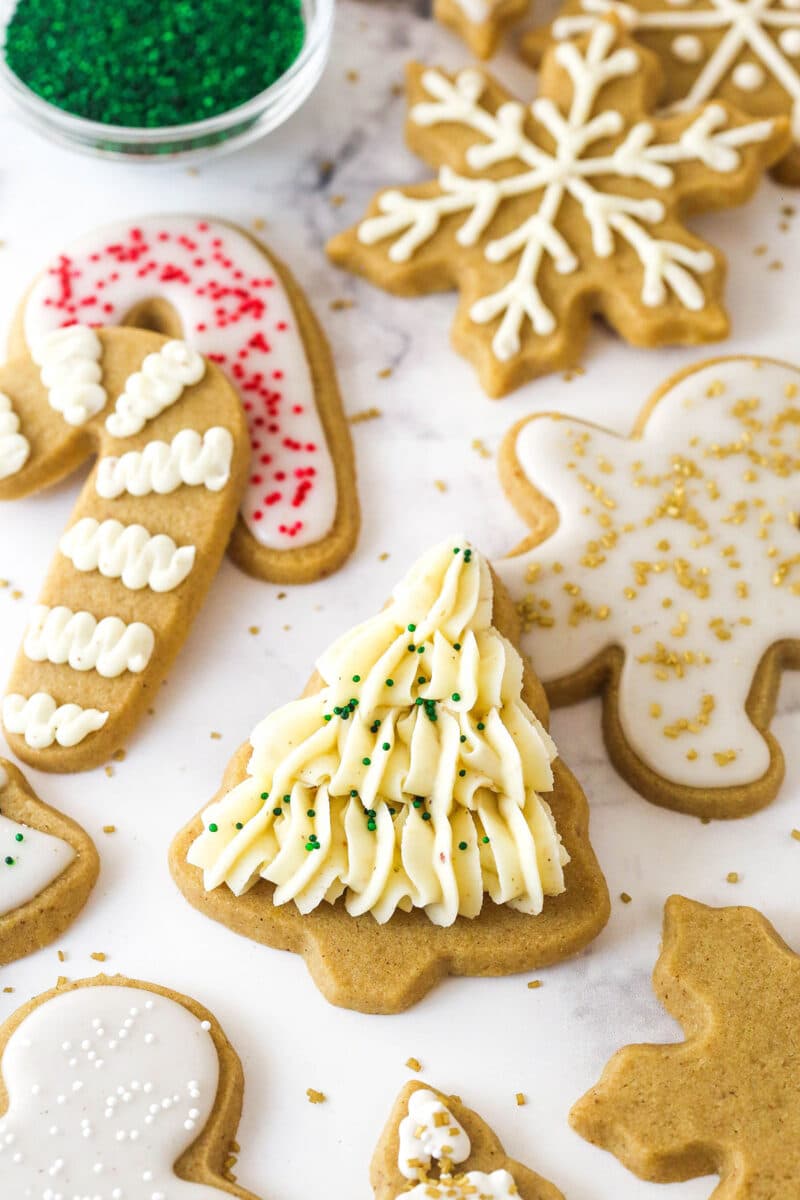
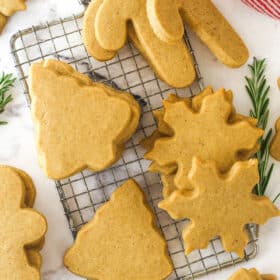
On the hunt for a holiday cookie that’s a cut above the rest? These brown butter cutout cookies are perfect. They are wonderfully soft and chewy, and browning the butter gives them a nutty, caramelized flavor you don’t want to miss. Frost them with brown butter buttercream for even more great flavor!

I love having a good classic cut out sugar cookie recipe. It’s the one you grew up making with your family as a kid. But as an adult, I also now love trying new cutout cookie flavors and using different ones for different times of year, or just changing it up. There are so many great recipes and flavors to make, why stick with the same one forever?
If you’ve ever tried my soft cutout cookie recipe or my chocolate cutout cookie recipe, you’ll love these new brown butter ones. This new recipe is based on those, but with brown sugar, brown butter and few other changes due to the nature of brown butter.
What is brown butter?
Brown butter is made by cooking butter on the stove until it turns golden brown. As it melts, the water evaporates, and the milk solids brown, creating a rich, nutty, caramel-like flavor and aroma. Let it cool for a bit, and you can use it in many a baking recipe to enhance the flavor profile. It only takes about 10 minutes to make.
Because the water evaporates when you cook the butter, you lose about 20-25% of your butter volume, depending on the butter brand. What that means for these cookies is that changes had to be made so that they didn’t turn out dry and hard with that loss of water content.
After lots of testing, I increased the amount of butter that is browned, removed the cornstarch (which isn’t needed for these cookies to maintain shape) and added an extra egg.


The Brown Sugar Cutout Cookies You’ll Want to Make Every Year
Of all the sugar cookies out there, why these ones? You’ll see once you try them for yourself, but here are some of my favorite things about them:
- Nutty, caramelized flavor. Browning the butter gives these cookies a warm, nutty, and caramel-like flavor that’s a step above your classic sugar cookie. A hint of cinnamon adds a festive touch.
- Soft, chewy texture. Made with dark brown sugar and two eggs, these cookies are wonderfully soft and chewy.
- Perfect for decorating. These cookies are the perfect blank canvas for decorating. The dough is sturdy, easy to roll, and holds its shape well during baking. The finished cookies are firm enough to support any icing or frosting you choose to use.
Recipe Ingredients
Here’s what you’ll need to make these simple brown butter cut-out cookies. See the recipe below for precise measurements.

- All-purpose flour – You could also try your favorite 1:1 gluten-free substitute. Be sure to measure it properly, so you don’t end up with dry cookies.
- Leavening agents – I used a combo of baking powder and baking soda to add a little texture and chewiness to these cookies, without it being so much that they over spread.
- Ground cinnamon – It goes perfectly with the brown butter, but you could also leave it out.
- Salt – Salt enhances the natural flavors in the cookie. Without it, the cookie would be a little bland.
- Unsalted butter – You could also use salted butter, just leave out the added butter.
- Dark brown sugar – Packed into the measuring cup to ensure the proper amount. Keep in mind that some brown sugars contain more molasses than others, which could lead to more spreading. Try to find one that’s not overly dark.
How to Make Brown Sugar Cut-Out Cookies
Don’t let the brown butter scare you. The recipe is actually super simple. Here’s a basic look at how it’s done (you’ll find more thorough instructions in the recipe card below):

To brown the butter, melt the butter over medium-low heat in a light-colored pan, stirring continuously.

Bring to a boil over medium heat. Stir constantly. A dense foam will eventually form on top.

Boil until the foam subsides a bit, and you see brown bits on the bottom of the pan. Stir constantly.

Immediately pour the brown butter into a heatproof bowl and let it cool to room temperature.

To make the cookie dough, whisk together the flour, baking powder, baking soda, cinnamon, and salt. Set aside.

Whisk together the butter, sugar, eggs, and vanilla.

Mix the dry ingredients into the wet ingredients.

Divide the cookie dough in half, and roll each portion out to ~1/4 inch thick between two pieces of parchment paper. Chill in the fridge for at least 1 hour.

Preheat the oven to 350°F and line a cookie sheet with a silicone baking mat. Peel off the top layer of parchment paper from the cookie dough and cut into shapes.

Transfer the cookies to the cookie sheet, and bake for 7-10 minutes. Let cool completely, then decorate.

Tips for the Best Cookies
This cookie dough comes together quickly and is easy to work with. Here are a few things to keep in mind:
- Browning butter. Don’t walk away while making it. If you walk away from the pan, you risk burning the browned butter. Also stir it constantly, so it doesn’t burn. And use a light colored pan, so you can see it change color. For more on browning butter, see my post How To Brown Butter.
- Cool the butter. Let the browned butter cool to room temperature before using it in the cookie dough. If it’s too warm, you’ll wind up with greasy cookies.
- Measure with care. Measure the flour correctly so that your cookies don’t turn out dry. To get it right, use a food scale or the spoon and level method.
- Don’t over-mix. When combining the wet and dry ingredients for the cookie dough, mix just until everything is incorporated. Mixing past this point will cause the glutens to overdevelop, resulting in tough, dense cookies.
- Thickness. Roll the cookie dough to about ¼ inch. If it’s too thick, the cookies could spread too much, losing their shape.
- Chill. Chill the dough a bit before cutting out the cookies. They will cut more cleanly and be easier to move to the cookie sheet.
- Don’t over-bake. Bake the cookies just until they no longer look under-baked in the middle.
- Plan ahead. The number of cookies you get depends on the size of your cookie cutters and how thick you roll the dough. Keep this in mind if you need a specific number of cookies.

Decorating Ideas
Sure, you could enjoy these brown butter cookies as is, but half the fun is in decorating them! Here are a few ways to do it:
- Ice ’em. Whether it’s my easy Sugar Cookie Icing, this Royal Icing, or a brown butter buttercream, it’s hard to go wrong with an iced cookie! I used a mix of all three in the pictures.
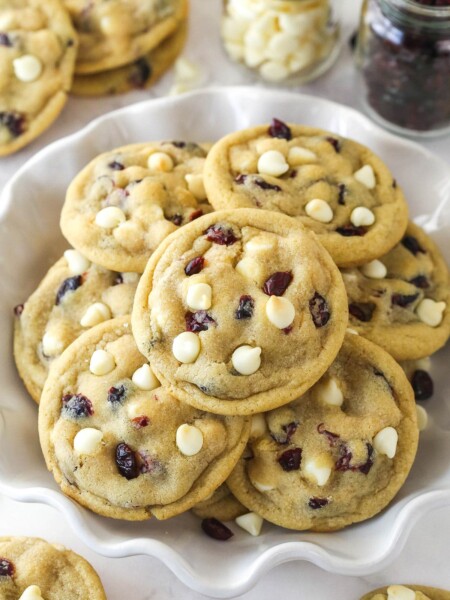
- Dip ’em. Instead of frosting your cookies, melt some chocolate (or white chocolate) and dip each cookie in the warm mixture. Lay the dipped cookies on a wire cooling rack and let the chocolate coating set. See how it’s done in this White Chocolate Dipped Cranberry Oatmeal Cookie Recipe.
- Cookie toppings. Just after spreading icing or buttercream over the cookies (or just after dipping them in chocolate), add your favorite cookie topping/s. Finely chopped nuts, sprinkles, and/or chopped candy canes would all be excellent. Let me know what you come up with!
Can I Make Brown Butter Cut-Out Cookies Ahead of Time?
Totally! There are a few ways to prep this recipe ahead of time. Here they come:
- Brown butter prep. Feel free to make the brown butter up to 3 days in advance, seal it in an airtight container, and store it in the fridge. Let it come to room temperature before making the cookie dough. It’ll be very firm when cold.
- Do the dough. Make the dough, wrap it in a double layer of plastic wrap, and store it in the fridge for up to 1 week or in the freezer for up to 3 months. Allow it to thaw/soften at room temperature before rolling it out and proceeding as usual.
- Cookies now, decorations later. You can also make the cookies from start to finish one day (see the section below titled “How to Store Cut-Out Cookies”) and decorate them in the days to come.

How to Store Cut-Out Cookies
- Countertop/fridge. Once cooled and decorated to your heart’s content, store the cookies in an airtight container. If you’re using sugar cookie icing or royal icing, they’ll keep at room temperature for up to 5 days. If you’re using buttercream, they’ll keep at room temperature for up to 2 days, but then you’ll need to store them in the fridge (for up to 3 additional days).
- Freezer. Seal the cookies in an airtight, freezer-safe container and store them in the freezer for up to 3 months. Let them thaw at room temperature before serving. Keep in mind that if they’ve been decorated with sprinkles, they may bleed when the cookies thaw.
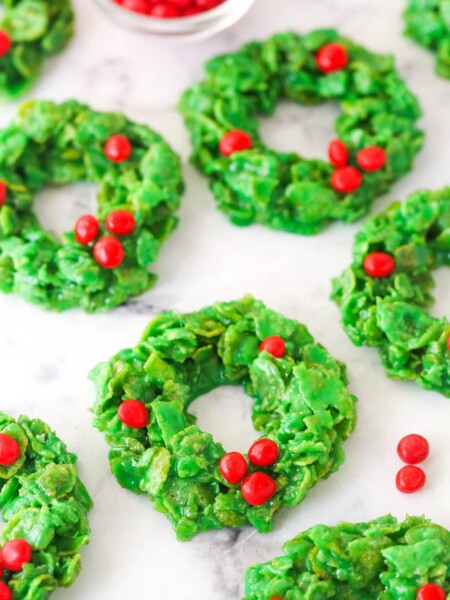
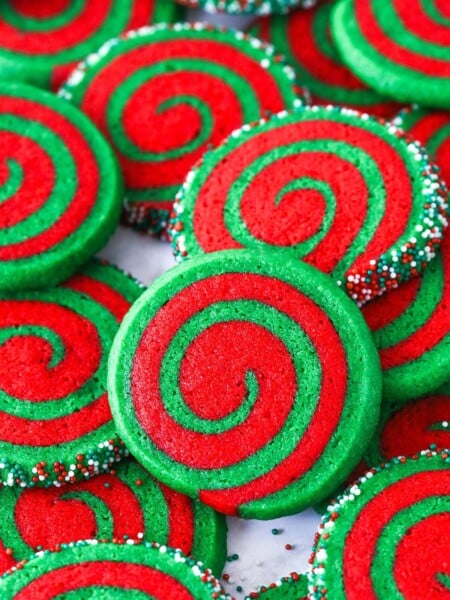
More Christmas Cookie Recipes

Brown Butter Cutout Cookies
save this recipe
Enter your email & we’ll send it to your inbox. Plus get new recipes from us every week!
Ingredients
- 3 cups (390g) all-purpose flour
- ½ teaspoon baking powder
- ¼ teaspoon baking soda
- ½ teaspoon ground cinnamon
- ½ teaspoon salt
- 1 ¼ cups (280g) unsalted butter, room temperature
- 1 cup (225g) packed dark brown sugar
- 2 large eggs
- 1 ½ teaspoons vanilla extract
Instructions
Brown the butter
- Note: The butter will brown quickly once it starts to turn brown, so don’t walk away from the stove. Have a bowl ready to pour it into once it’s done, so it doesn’t continue to cook and burn.
- Add the butter to a light-colored pan over medium-low heat and allow to melt, stirring continuously. Turn the heat up to medium and allow it to come to a boil, again stirring constantly.
- The butter will change as it boils, finally getting a dense foam on top once the water has all evaporated. Stir constantly so that the butter browns evenly and milk solids don’t settle on the bottom of the pan and burn. Stirring also allows you to see through the foam to see when the butter starts to brown. The foam will subside a bit and you’ll notice brown bits on the bottom of the pan. It’ll smell buttery and nutty. I like to stir a touch longer to get plenty of brown bits, just be careful not to burn it (keep stirring!).
- Immediately remove from the heat and pour the brown butter into a heatproof bowl. Set aside to cool to room temperature (or just slightly warmer). It will thicken as it cools and become more solid, but soft, at room temperature. If you want to prep the brown butter ahead, you can refrigerate it and bring it room temperature before using it.
Make the cookie dough
- Combine the flour, baking powder, baking soda, cinnamon and salt in a medium-sized bowl and set aside.
- Add the butter, sugar, eggs and vanilla extract to a large bowl and whisk together until well combined.
- Add the dry ingredients and stir together just until the dough is well combined. I folded it by hand with a spatula, but you could use a mixer. It may seem a little dry at first, but it’ll come together. Don’t over mix.
- Divide the cookie dough into two parts and roll each one out between two pieces of parchment paper to about ¼ inch thick. If much thicker, they can spread more.
- Refrigerate the cookie dough for at least an hour, or up to 2 days. You could also do this a day before you cut out your cookies and let it refrigerate overnight. If you have a container large enough to hold the rolled-out dough, you can store it in that. Otherwise, the cookie dough should be fine between the parchment paper. You could also just roll it into a ball to refrigerate, but the brown butter cookie dough gets quite firm so you’ll need to add time for letting it come to room temperature before you can roll it out.
Bake the cookies
- Preheat the oven to 350°F (180°C) and line a cookie sheet with a silicone baking mat.
- Remove cookie dough from fridge, peel off the top layer of parchment paper and immediately cut into shapes. Transfer cookies to cookie sheet.
- Bake for 7-10 minutes or until the cookies just look done in the center and before they start to brown on the edges.
- Allow the cookies to cool for 3-5 minutes, then remove to a cooling rack to finish cooling.
- Continue rolling the dough, cutting out cookies and baking them until you’ve used all the cookie dough. I always chill the cookie dough after rolling it out, before cutting the cookies, so that the dough is firm and cuts cleaner and is easier to transfer to the cookie sheet. You can chill in the fridge for about 20 minutes, or freeze for 5-10 minutes.
- Once all the cookies are baked and cooled, decorate them with the method of your choice. My photos show a mix of my easy sugar cookie icing, royal icing and brown butter buttercream.
- Store the cookies in an air tight container. If using sugar cookie icing or royal icing, they can stay at room temperature. If using buttercream, they be at room temperature for up to 48 hours and then should be refrigerated (but still served at room temperature). Cookies are best if eaten within 3-5 days.
Notes
- Dark brown sugar – Packed into the measuring cup to ensure the proper amount. Keep in mind that some brown sugars contain more molasses than others, which could lead to more spreading. Try to find one that’s not overly dark.
- Cool the butter. Let the browned butter cool to room temperature before using it in the cookie dough. If it’s too warm, you’ll wind up with greasy cookies.
- Thickness. Roll the cookie dough to about ¼ inch. If it’s too thick, the cookies could spread too much, losing their shape.
- Number of cookies. The number of cookies you get depends on the size of your cookie cutters and how thick you roll the dough. Keep this in mind if you need a specific number of cookies.
Nutrition
The nutrition facts provided are calculated using a third-party tool and are estimates only. Actual nutritional content may vary based on the ingredients and brands you use, as well as portion sizes. For accurate results, please consult a registered dietitian or nutritionist.


Delicious! Total winner, might just replace my traditional sugar cookie at Christmas!
Awesome! So glad to hear that!
I decided to make these this year over traditional sugar cookie cut outs and I’m very happy with how they turned out. The brown butter gives them such an amazing depth of flavor. Yum 😋
Awesome! So glad to hear that! 🙂