This post may contain affiliate sales links. Please read my disclosure policy.
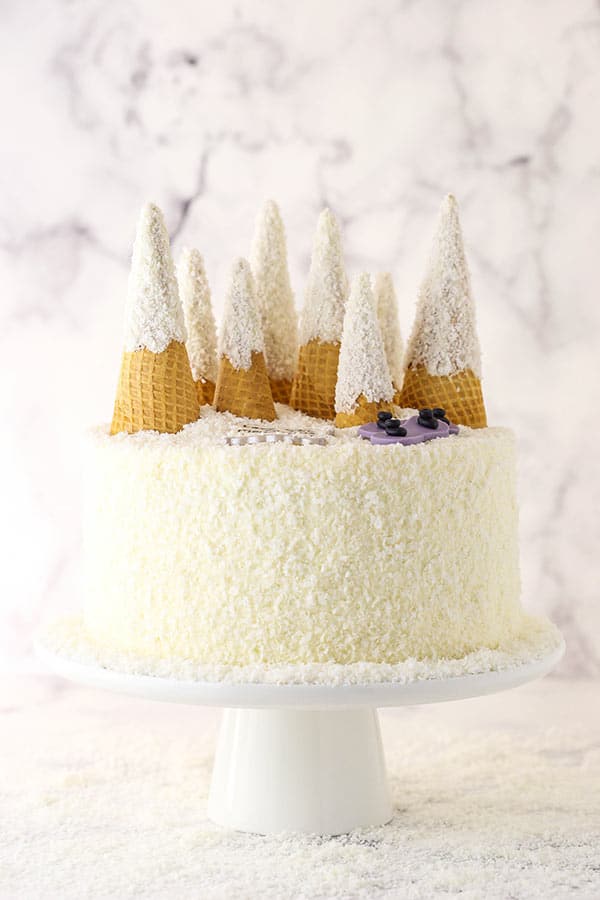
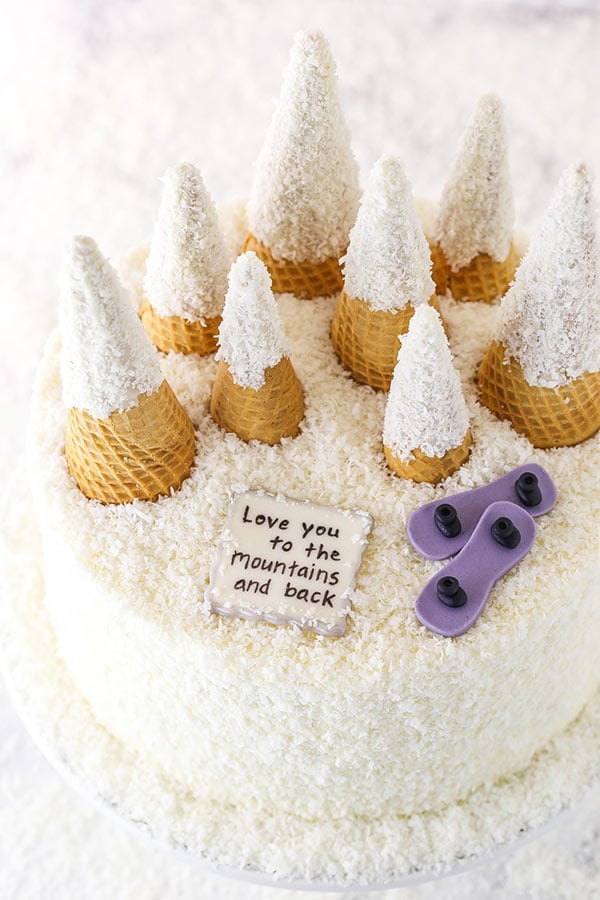
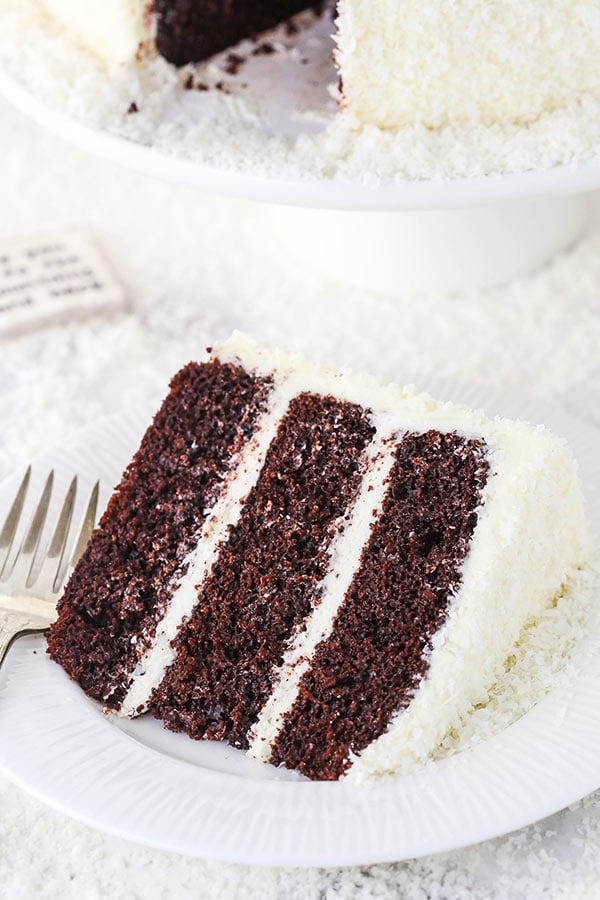
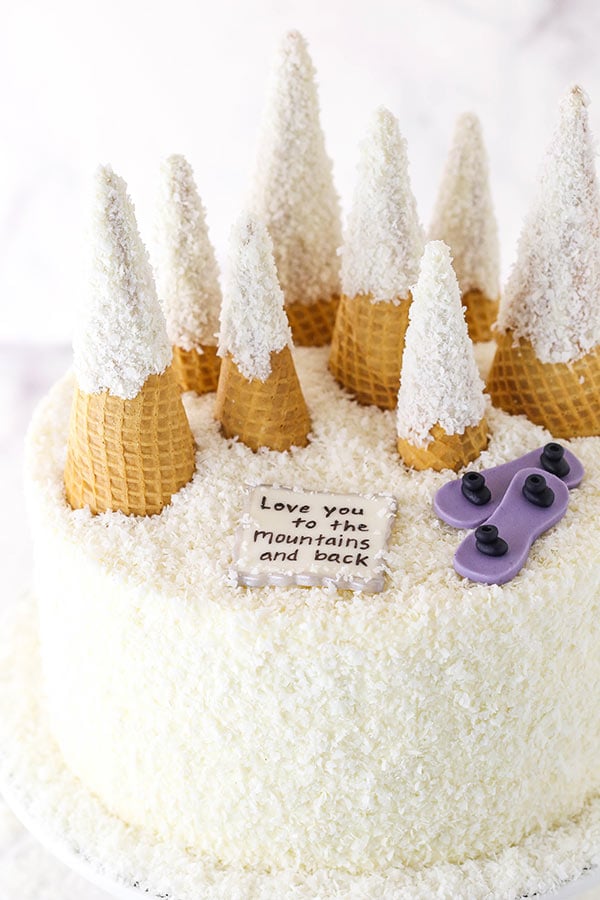
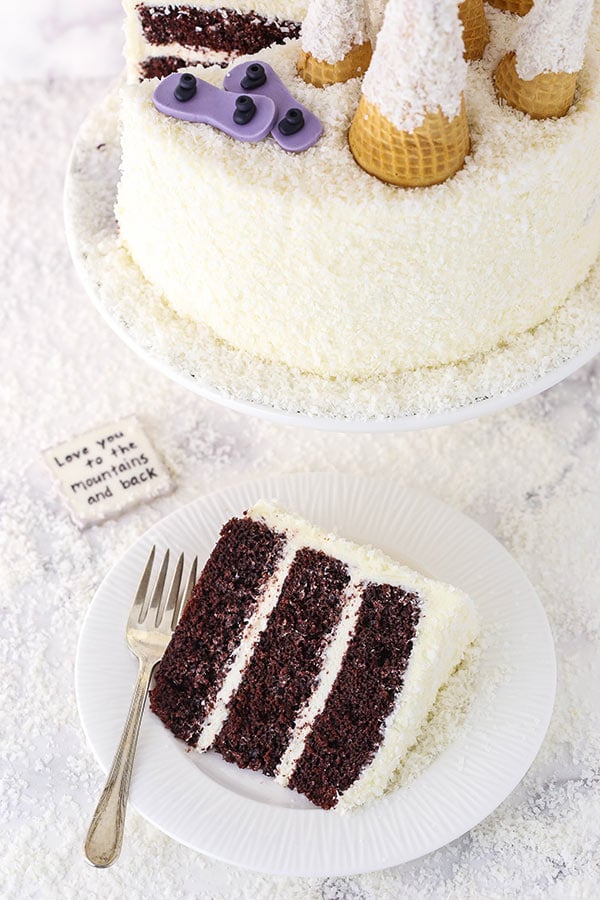
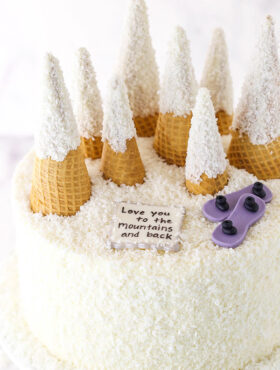
This Snowy Mountain Baby Shower Cake is a moist chocolate cake covered in vanilla frosting with crushed coconut pressed into it to look like snow! It’s covered in sugar cone snow-capped mountains and some little snowboards! Such a cute cake for a baby shower or other snowy occasion!
Today some friends and I are celebrating Julianne from Beyond Frosting with a Virtual Baby Shower! She is due with her first child – a baby boy – in just a few short weeks and I’m so excited for her!
If you’ve been reading the blog for long, you may know that Julianne and I have been friends for a while now. We met through blogging shortly after we both started our blogs and as soon as we met, we were pretty much inseparable (aside from the fact that we live across the country from each other). She’s not only a blogging friend, but has become one of my real life friends as well. She met our boys when she came to visit when they were about 7 months old and I can’t wait to meet her little guy one day when travel is a possibility again.
Had I been able to attend her baby shower (which was cancelled due to everything happening right now) and if I were the one making her cake, I would have made something like this. It’s inspired both by her love of snowboarding and by the theme of her nursery. I actually found a neat little wall hanging that had snowy mountains on it and said “Love you to the mountains and back” that I sent her, so that inspired this as well.
How to Make a Snowy Mountain Cake
To start with making this cake, you’ll want to make your snowboards so they have time to sit and firm up a bit. Grab a little bit of white fondant and color it to the color you’d like your snowboard. You won’t need more than a few tablespoons of fondant for these small snowboards.
Color your fondant and then roll it out. Use an exacto knife or something similar to cut out the shape of a snowboard. Then use a small amount of black fondant to make the boots. You’ll need to make a thinner and longer piece for the bottom part of the boots. Then for the top part of the boot, make an even smaller ball that you press the bottom end of a paintbrush into to create the boot opening. Use a little water to make everything stick together and then let it all dry.

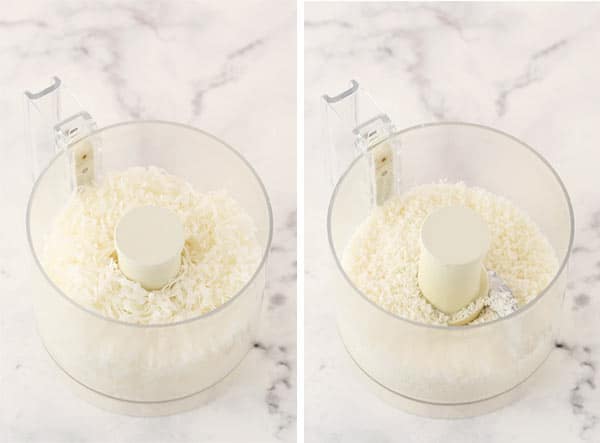
To make the mountains, you’ll want to first prep your “snow”. I thought coconut would work pretty well for that, but I didn’t want to leave it in big shredded pieces. So to get more fine looking snow, pop the shredded coconut into a food processor and pulse until it is in smaller pieces and resembles snow. To that, I added some sanding sugar to give it a little sparkly, but you could do without that if you prefer.
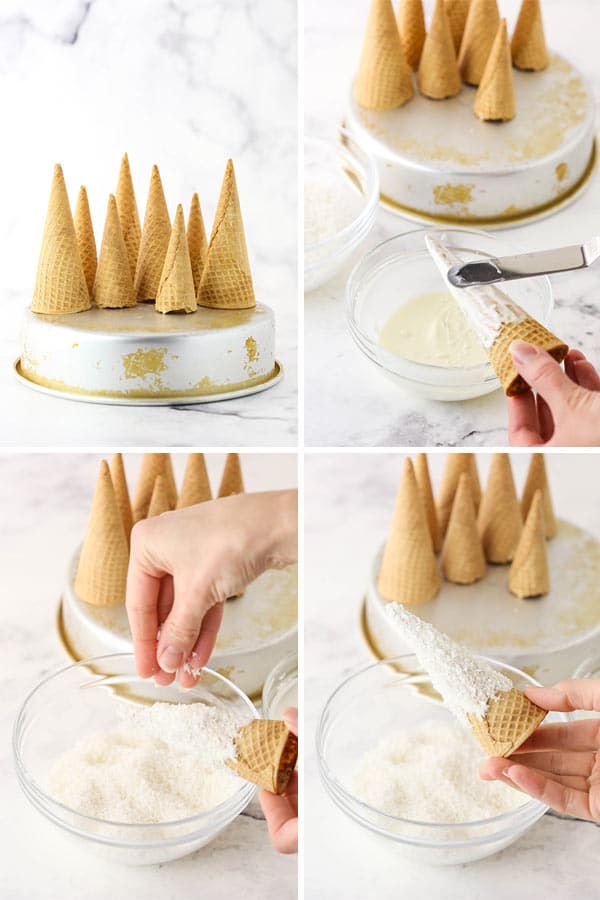
Once you have your snow ready, it’s time to make the mountains. I used sugar cones for the mountains. I wanted to have plenty of mountains on the cake and those seemed like a great, simple way to make them. Plus, they are lightweight, so you can have a good number of them and it won’t weigh the top of the cake down.
Start by placing the cones on top of the cake pan you’ll be using so that you can see how many you want, what heights you want the cones at and how they’ll lay out. Then, spread some melted white chocolate onto each cone and and press some of the coconut “snow” onto the white chocolate. Let them set aside to dry.
The next step will be to make your cake and frost it. From there, you’ll press the rest of the coconut “snow” into the frosting on the cake and add the mountains and snowboards to the top. I also added the little fondant piece on top with the saying on it. You could write anything on there, of course, to congratulation the new mom. I just used a food writer pen and wrote it right on there.
Of course if you are making this cake ahead, I’d suggest adding your decorations to the top shortly before serving so everything stays in tact well. Moisture can soften fondant fairly quickly, so for it to keep best, you don’t want it sitting on the cake for too long. If you get a chance to try the cake, I hope you enjoy it!
And of course I wish so much love and happiness to Julianna and her husband as they welcome their sweet baby boy! This is certainly a crazy time to have a baby, so I hope all goes well and they enjoy every moment! I certainly can’t wait to meet him one day! Congratulations, Julianne!
Also, be sure to check out the other blog posts from those joining in on the celebration today:
Banana Fritters from Grandbaby Cakes
Mama’s Best Banana Pudding from The Novice Chef
Snowy Mountain Baby Shower Cake from Life, Love and Sugar
Fruity Pebbles Muffins from Crazy for Crust
Mountain Baby Shower Cookies from Glorious Treats
Instant Pot Cheesecake from Dinners, Dishes and Desserts
No Bake Turtle Dream Bars from 365 Days of Baking and More
Churro Cupcakes from Spoonful of Flavor
Classic Lemon Bars with Shortbread Crust from A Classic Twist
Peanut Butter Chocolate Poke Cake from The First Year Blog
Chocolate Raspberry Layer Cake from A Dash of Sanity
Potato Chip and Pecan Sandies from Simple Joy
Snowy Mountain Baby Shower Cake
- Prep Time: 3 hours
- Cook Time: 33 minutes
- Total Time: 3 hours 33 minutes
- Yield: 12-14 slices
- Category: Dessert
- Method: Oven
- Cuisine: American
Description
This Snowy Mountain Baby Shower Cake is a moist chocolate cake covered in vanilla frosting with crushed coconut pressed into it to look like snow! It’s covered in sugar cone snow-capped mountains and some little snowboards! Such a cute cake for a baby shower or other snowy occasion!
Ingredients
- Black fondant
- White fondant
- Gel icing color (of your choice)
- Food writer pen
Snowy Mountains
- 1 3/4 cups unsweetened shredded coconut
- 1/2 cup white sanding sugar, optional
- 8 sugar cones
- 3 oz white chocolate
Vanilla Frosting
- 1 3/4 cups (392g) unsalted butter
- 7 cups (805g) powdered sugar
- 2 tsp vanilla extract
- 2–3 tbsp (ml) water or milk
- Pinch of salt, or to taste
Instructions
1. Make your fondant snowboards using the fondant and gel icing color. Use the photos and tutorial within the post for guidance. If you’re making a fondant cutout to write on, you could go ahead and cut that out as well.
2. To make the coconut “snow”, add the shredded coconut to a food processor and pulse until it’s in smaller pieces that resemble snow. Add the sanding sugar to it, if you’d like, for a little sparkle in the snow.
3. Set your sugar cones up on top of the cake pan you’ll be using to bake the cake so that you can be sure you have the number and sizes you want (again, refer to the tutorial in the above post for more guidance). Break the cones down to the sizes you want.
4. Melt the white chocolate and spread some onto each cone and then press some of the coconut “snow” into the white chocolate before it dries.
5. Set aside all the decorations to dry, then make the chocolate cake according to those directions.
6. To make the vanilla frosting for the cake, add the butter to a large mixer bowl and beat until smooth.
7. Slowly add about half of the powdered sugar, mixing until well combined and smooth.
8. Add the vanilla extract and 1-2 tablespoons of water or milk and mix until well combined.
9. Slowly add the remaining powdered sugar and mix until well combined and smooth.
10. Add salt to taste.
11. To put the cake together, use a large serrated knife to remove the domes from the top of the cakes so that they’re flat.
12. Place the first cake layer on a serving plate or a cardboard cake round.
13. Spread about 1 cup of frosting evenly on top of the cake.
14. Add the second layer of cake and another cup of frosting.
15. Top the cake with the remaining layer and frost the outside of the cake. Refer to my tutorial for frosting a smooth cake, if needed.
16. Press the remainder of the shredded coconut “snow” from the mountains onto the sides and top of the cake, then add the decorations. Serve cake shortly after adding the decorations.
Nutrition
- Serving Size: 1 slice
- Calories: 985
- Sugar: 108.7 g
- Sodium: 423.7 mg
- Fat: 51.8 g
- Carbohydrates: 131.5 g
- Protein: 6.6 g
- Cholesterol: 93.3 mg